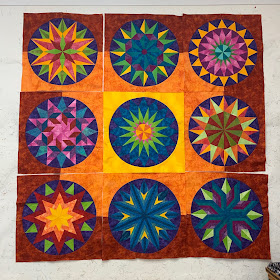
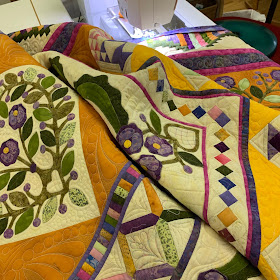
Be sure to READ ALL THE GENERAL DIRECTIONS and WATCH ALL THE VIDEOS. Each month's pattern has detailed instructions as well.
PRIOR POSTS WITH HELPFUL INFORMATION:
Block 1
Block 2
Block 3
Block 4
Block 5
Block 6
Block 7
CUTTING NOTE: for the last few blocks, I check to see if I have leftover pieces of the required fabrics I can use to cut some of the pieces BEFORE I cut the strips called for in the pattern. I have been able to save at least one strip each month--this will come in handy for the pieced border I will be doing with my Cool Kit version.
Here we are, with only two blocks to go. This month we have the pieced-in center circle again, as we had in Month 4:
Remember, the paper patterns for the center circle were printed in Month 4. You saved them for this month and Month 9. They are not printed again now. Becky has provided specific instructions for the circle on page 16 of the General Instructions:
I use Karen K Buckley's Perfect Scissors to trim the curved edges:
This block has wonky angles so be sure you have the fabrics placed correctly to cover the paper pattern. Here I have a pin on the seam so I can open the dark fabric BEFORE SEWING to be sure the positioning is correct:
Once I knew I had the fabrics in the proper place, I stacked up all the white #1 fabrics right sides together on top of the dark #2 fabrics, being sure the lower right corners were lined up. This made it very easy to chain-piece all the units one right after the other.
STOP! Now is the time to go back and READ THE DIRECTIONS--both on the Month 8 pattern and in the GENERAL INSTRUCTIONS, pages 16-19. If you did not print them, you can find them under Month 1. There are 27 pages of excellent advice and photos. Think of it as FREE book of directions.
Before trimming the paper, READ those directions. The lines are NOT STRAIGHT--they have slight angles. Here I used a red pencil to show where to stop as you cut the long edges in 3 steps:
Only trim as far as the line is straight, being careful not to over-cut beyond the seam allowance. Becky also advises to tear the paper where it changes direction:
Once the diamond segments are trimmed, join them in pairs, then pairs of pairs, then into two halves:
What if you really didn't enjoy piecing in that center circle in Month 4? You don't have to make this block just like this. Replace it with one of the blocks you liked, changing color/fabric placement.
OR start with the Diamond shape from Month 1 and change the lines. As long as you draw the lines in exactly the same place on all 8 Diamonds, they will fit and you will have your very own Block design.
You may choose to applique' the center circle rather than piece it in. Choose the method you like, that gives you the result you want. It's your quilt, you get to decide!
Happily, I followed Becky's instructions, putting pins on the Circle and then lining them up with the intersections on the Ring. I sewed slowly, using a stiletto to hold the edges in place and was completely satisfied with the pieced in Circle when sewn. Slow and steady is the way to go here. It is a lot of bulk but with the Circle on the bottom, the bulk is on top, use your hands to control it.
Hopefully, you won't find this as daunting as in Month 4 and can now look forward to doing it one more time in Month 9.
Let's Quilt!
Barbara


