Showing posts with label quilts as gifts. Show all posts

Wednesday, July 6, 2022

Sunday, September 19, 2021

A Gift of Comfort

 One of the Sunday Sew and Sews is dealing with breast cancer, again, after having beaten it twenty years ago. We wanted to make a quilt for her, to wrap her in love and comfort. We knew it could NOT be pink--she told us a few years back that pink was her least favorite color because it reminded her she had had breast cancer. 

So, what about red white and blue? I remembered she owned a couple antique family log cabin quilts that were red, white and blue. And that color combination always works, so that was the plan. 

The finished quilt: 


The top: 


Simple diagonal line quilting: 


When making a group quilt, it is best to use an easy block and a design that does not have blocks set side-by-side. This block is perfect--it FLOATS, meaning the star points are well inside the block edges, and perfection is not required. 

I have written about this block several times. Use the Search box in the upper left for Tiny Stars. Here is the post with the instructions: Tiny Stars Block Swap

This block can be made in just about any size, these stars are 4.5" Finished. Fifteen of us made the blocks. I had each person make 10 Tiny Stars AND assemble them in rows, alternating a Star/Blue Square/Star/Red Square, etc. All I had to do was open a seam or two to create the diagonal set. Much faster for me than if I had had to sew all the stars/squares together myself. I also asked each person to sign one of their stars, adding a message if they wished. 

The back and binding fabrics were donated by one of our group--it was fabric she had gotten from Janet, our Sunday Sew and Sew who passed away last year. So even Janet was able to contribute to this gift.

These quilters are all great piecers who have successfully completed some challenging quilts since we began this group in January 2017. Still, there are some tips I can share about piecing that might help improve all our piecing skills. I am NOT picking on anyone here--we ALL can improve, myself included. 

1. Use a fairly small stitch for piecing, especially small blocks. I recommend no larger than 2.0. If your machine default is 2.5, and many are, lower it before you begin. Here's why;

Discovered while quilting--this is tough to fix on a basted quilt--it is a star on the outside edge of the quilt. I had to hand-sew it closed with white thread: 


2. If seam allowances are important for construction, indicate which way to press them. Because the stars don't touch other pieced blocks, I told the group they could press the seams on the stars however they preferred. The seams joining stars to fabric squares, need to be pressed toward the squares--not everyone did that. It was a simple matter to repress those rows before assembling the quilt:


3. Double check your piecing. I do this all the time, and regret it if I skip this step. As you join a star to a fabric square, check to be sure your seam allowance is accurate. Two 4.5" finished blocks should be 9.5" when sewn together, including seam allowances. Two pair should be 18.5" when sewn together, with seam allowances. It is very easy when chain piecing a lot of blocks to get off just a little. And a "little" off, can add up. When joining the rows I occasionally found the intersections didn't always align--this is simply due to the seam allowance being off just a bit. 

Off just a tiny bit: 


Spot-on, 9" finished for two blocks: 


4. BE SURE THE BACK IS BIG ENOUGH: this last tip is for ME. I pieced the back from Janet's fabric, and knew it would be "close" to big enough. After spray basting the back, adding the batt and then adding the spray basted top, I was irritated at myself to see the back was about 1" too narrow. What a mess! To try to sew additional fabric on the spray basted back would have been really messy. 

My plan was to just cut off half the stars on both sides, not a great solution, just the easiest one. Once I started the quilting, I determined I didn't want to cut the stars off so I added more back fabric to both sides, sewing through all 3 layers. Now there is a visible seam on the top, very close to the edge. But, when completely done, those lines are not really visible unless you look for them. No picture to show you. All in all, it worked out.

The label is the last, important step for finishing any quilt. I named this "Stuff Happens", because it does, in life and in quilting. It tells the who, what, why, when and where of the quilt. Read more about labels here: Quilt Labels  For speed, this one was hand written with a permanent pen, on a folded triangle of white fabric, then included in the binding seam.  The only part of the label that needed hand stitching was the long diagonal folded edge.


After washing and drying the quilt, it was ready to be presented to our friend. She seemed pleased with it.  Speed was of the essence here, treatment is ongoing. I received the blocks September 5 and presented the quilt September 17.  

We hope it will help our friend feel the warmth of our love and concern for her during this trying time. 

Let's quilt.

Barbara

Sunday, November 29, 2020

First Quilt of Valor

 This has been in the planning stage for several years, as quilters are likely to do. Finally finished, this will be presented to a Marine Corps friend of ours. He knows nothing about it and I think his wife may only suspect. I named this quilt Broad Stripes and Bright Stars. The Top before quilting:


After quilting and binding:


The back, which only sort of shows the quilting designs:

Quilting Details:


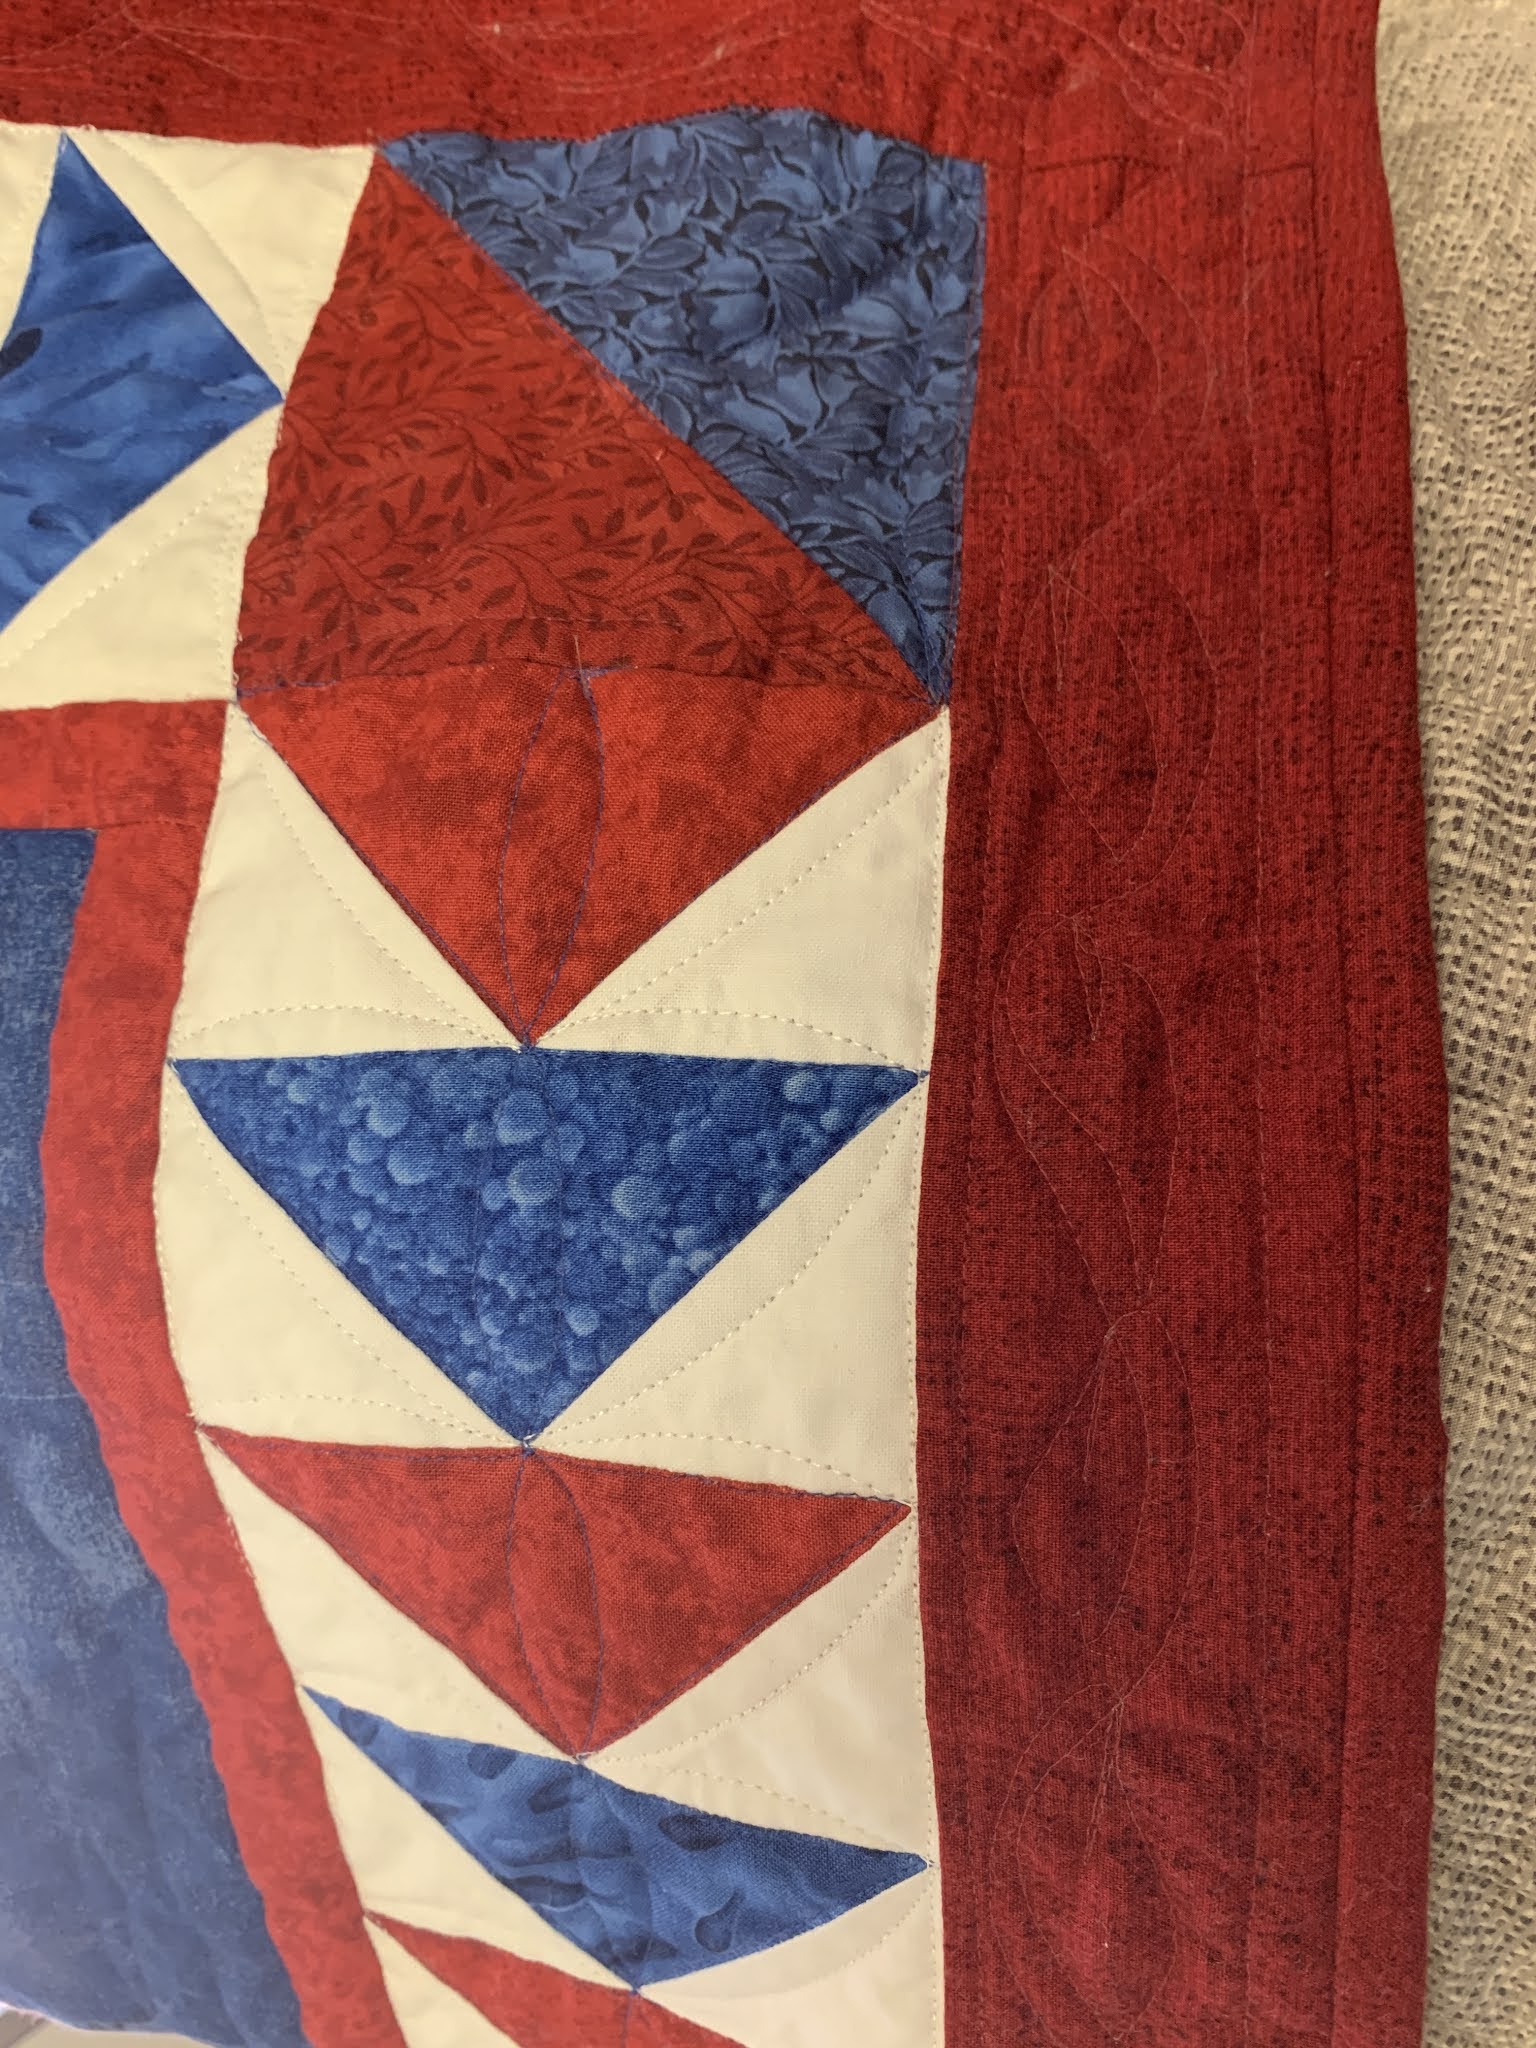
One side of the Flying Geese quilted, showing how necessary additional quilting is on the white parts:


Afternoon sun just adds something special. The binding is attached and ready to be stitched down by hand:

I usually err on the side to too little quilting. As I was binding this, I realized I needed to add another row of quilting between the pieced border and the red border. Before the additional line:


After the additional line. I do think it's better. Next time, I will quilt those inner and outer lines before doing the curvy vines between them--it will define the space to quilt the curvy lines in and I won't have to go back and add more quilting after I thought I was done:


The pattern appeared in Easy Quilts magazine, Spring 2019, and was called Sail On, designed by Eileen Fowler. I added the pieced Flying Geese borders. The original quilt design  had no border. 

Before I present this, I will wash it, using at least one Shout Color Catcher--most of the fabrics were not pre-washed. Wouldn't want a Red, Blue and Pink quilt.

Now to baste and quilt one more Quilt of Valor--also a surprise. This one for my husband. They will be presented together at an appropriate time when we can have a little ceremony. The back is pieced, the batting is selected, now to baste and quilt it. 

Patriotic Pineapple:


It's been a while since I have made quilts specifically to give away. I am enjoying this process.

Let's quilt.

Barbara 


Tuesday, February 26, 2019

Southern Super Star

I have started on a new project--making a Southern Super Star. The pattern is from Calico Carriage Quilt Designs. They sell individual patterns for an 80" square quilt or a different pattern for a 40" square. You are better off buying the booklet shown in the link to get a variety of sizes and ideas.

This Amish variation is mine--I have given away several of these and wanted one I could have for my own:


This is my "go-to" giveaway quilt. I  have made at least seven of them for nieces and nephews as college graduation gifts. The top can be made in a weekend, if you don't have to cook, and as I make them about 75" square they don't cost a tremendous amount to have quilted. That size is also not too hard to quilt yourself, as I will do with this one.

The latest one, 74" square. It turned out a bit more gold than I expected;


Over the years I have taught this many times--in the one-day class students learn how to make all the parts and can complete it easily at home. They are always surprised how fast it goes together. Several students have gone on to make more. It is easy to make them in college colors--I  have seen Super Stars for Auburn, Alabama, LSU, Tennessee, lots of schools. This will be on the summer 2019 class schedule if you are interested.

You make some of these:


And you make some of these:


And you make some of these:


Put them all together and you have this:


Add as many borders as you like to make it the size you want and the top is done. The size of the triangle units can also change the size of the overall star.

I have written about this class before, here is one such post: Class for Southern Super Star. And a few photos of these quilts:

Given to a  nephew

Student work by Donna D
Given to a niece

Given to a niece
It is fun to make this quilt as a gift for a specific person. Choosing colors that mean something to them makes it personal. There is a page in the booklet that helps keep you organized. I have saved most of them; that's good, because I don't have photos of all of the finished quilts I have given away:


Now to get this one quilted, bound and gifted.

THEN, it's time to finish the Lifetime Quilt so I can have my design wall back. Only 512 triangles left to make the final 20" x 20" block:


Let's quilt,

Barbara

Sunday, January 6, 2019

A Simple Gift Quilt

Sometimes you need to make a quilt as a gift and you need to make it quickly. If it's a "Group Project", you need a block everyone can be successful with--no Mariner's Compasses or Feathered Stars.

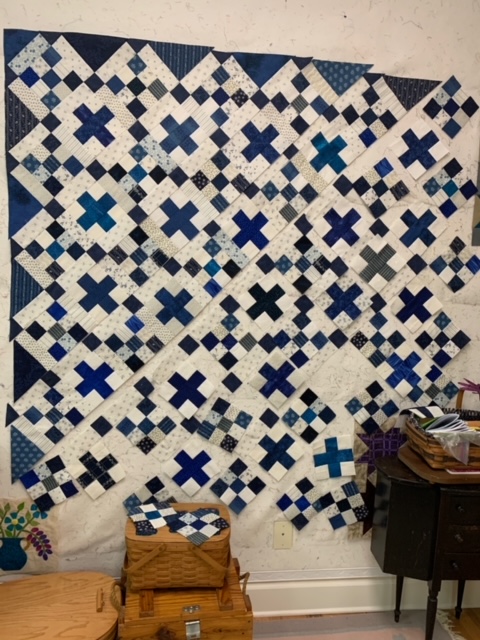
Recently, the Sunday Sew and Sews (a group of quilters who meet monthly) decided to make a quilt for one of our members who is dealing with cancer treatment. In just a few minutes of brainstorming, a plan was hatched and here is the result:

We used the super simple little floating star I wrote about in October: Tiny Star Block Tutorial. With the instructions already available to everyone on that blog, it was decided all 12 of us would make 6 blocks, using blue and white--turns out, blue is our friend's favorite color.

When I worked on the layout, I determined there should be 80 blocks so I made extras. Then a few others made extras and the quilt was 10 rows of 9 blocks, each block finishing at 4.5". The inner border is 3" finished and the outer border 5.5" finished.

This block is great for groups because the star points do not go to the outside edge, very forgiving. Each person just had to make their blocks 5" unfinished. I joined the stars into rows, added two borders, then basted, quilted and bound it.

Each person was asked to sign one of their blocks and I centered the signature blocks in the middle so we can all hold our friend close as she uses the quilt. I used one block as a label and placed it in the center--telling her the quilt was made just for her with love from the Sunday Sew and Sews and the date.

The quilting was fun. I used white thread to stitch loop-de-loops all around each block. I started with Microquilter thread, a 100 wt. polyester thread from Superior. About half way through it was breaking  frequently so I changed to Glide, a 40 wt. polyester. That worked very well and I was able to zip along with those fun loops:


In the light print inner border I used the white Glide thread for wishbone quilting, another free motion quilting design I really like and am getting better at--remember, practice makes perfect.

The outer border was also fun--blue Glide thread with swirls, leaves, a few hearts and flowers, and more loop-de-loops to fill in  the areas that needed more stitching:


In the center of each star I used the blue Glide thread to quilt a heart:


My favorite batting is Quilter's Dream Cotton, Request weight. When the quilt was finished I washed it--the binding was a dark blue batik and those can bleed. The Color Catcher was only slightly gray after washing so that was good. The quilt measured 57" x 61" before washing and 54" x 58" after washing and drying. It had that nice, cuddly, soft. slightly wrinkly, old-timey feeling. She loved it--perfect for a nap.

Gift quilts don't have to be elaborate or take months to make to be a special gift to a special person.  Three years ago I wrote about another quick quilt made for a relative: Snuggly Cuddly Strippy Quilt--a really fast quilt to make.

So jump right in and make a gift quilt when one is needed--it will be loved more than you know. Plus, what else are you saving all that fabric for???

Let's quilt!

Barbara

Saturday, November 11, 2017

Baby Quilts--Select Your Own

Over the years I've made a lot of smaller quilts, usually as class samples. Some of these are a good size for baby quilts. We are at the stage of life when our kids, nieces, nephews, and their friends are having babies. I've decided to let the prospective parents select their own baby quilt--from these that are done and ready.

This idea sure would have come in handy a few years ago when my husband came home from work to tell me he told a co-worker I would be happy to make baby quilt(s)--for her soon-to-be born twins! He did that frequently. Now I figure I am ahead of the curve.

And if they don't like these, they can put in a color request and I'll make something new.

In no particular order:

1. Opposites Attract  36" x 39"  UPDATE: Kallie and Corey have selected this for their wee one, due Ap


2. Black and White, It's a Challenge  34" x 34"


3. Hearts and Nine Patches 29" x 33"—UPDATE: this was sold to a friend


4. Strings A-Plenty 45" x 45"  This one is chosen--for Baby Edwards/Wasserman, due December 3, 2017.  UPDATE--Perrin Wasserman was born December 1, 2017.

5. Italian Shoo Fly #2 32" x 40"
6. Italian Shoo Fly #1  31" x 40"

7. Soft and Simple 26" x 31"

 8.  Trip Around the World  41" x 41"

9. Purple Boxes  39" x 47"

10. Bali Star  36" x 36"  UPDATE: this was sold to a friend

 11. Scrappy Trip 46" x 46"  UPDATE: this was sold to a friend

12. 3 Cheers for the Red, White and Blue  44" x 44" UPDATE: sold to a friend

While none of these are Heirloom quality, each will keep a little person warm or be good for floor use. Most are machine quilted, some in a rudimentary fashion as I improved. These are made to be used and used up, then tossed out. They can be machine washed and dried. Each will get a personalized label for the new, wee little one.

Jessica, you are up first. Do you see something you like?

Let's Quilt!

Barbara