Sunday, June 4, 2017

Ruler Work--the Basics

A new FINISH:


I call this "X Marks the Spot". There are a few blog posts I've done about this quilt, like this one and I did a tutorial on now to make it, here. This is a great block for a swap group because the recipient will trim their own blocks to whatever size they want. My blocks here came from a swap with 6 other quilters in 2012.

The top was finished in 2013 and I machine-stitched in the ditch on all the black sashing seams on my domestic machine, with a walking foot. I hand-quilted a simple design across the top row, so I could add the sleeve and binding and use it as a class sample. I also hand-quilted a few center blocks, fully intending to get back to it "later" to finish all the hand-quilting. Well, life goes on, hands get older, new quilting machines get bought, and this became a good piece to practice Ruler Work Free Motion Quilting with my Bernina Q20.

A more accurate term for rulers is "templates". Rulers are used to measure things. Templates are shapes we trace/stitch around. Don't think your regular rotary cutting rulers will work. These templates come in at least 3 thicknesses--my Bernina Q20 Sit-Down Long Arm machine requires the 1/4" "longarm" style templates.

You also must have a "Ruler Foot" that works specifically on YOUR machine. The Q20 has #96 and there is #72 for domestic Berninas. The 72 will work on the Q20, the 96 will NOT work on the Bernina domestics. Do your research for your machine before you buy. All of these gadgets are costly so you want to get the ones you need for your machine. Expensive machine repairs are not what you want as you learn how to use templates--be sure you have the right foot/templates before you begin.

RULER WORK LESSONS LEARNED--these will sound like common sense to most of you:

1. Figure out the design you want on paper first.You can also use Press n Seal plastic wrap or a large piece of plexiglass with a wash-off marker to audition designs directly on the quilt. It takes practice to figure out the needle is 1/4" away from the template edge. Eventually, you will know where the stitches will hit, especially at corners/intersections.

2. Use some form of gripper on the bottom of the templates: I like Stable Tape by Westalee, or Handi Grip from HandiQuilter. You could try double-stick tape and some people like to spray 606 Spray and Fix--that will make your templates tacky and eventually you'll need to wash it off and reapply.

3. Hold Tight! Put enough pressure on the template to hold it in place. This is easier than it sounds.

4. Stop, before you reposition the template. Don't stitch and move the template at the same time, this could spell disaster. Stop, with the needle down, then move the template as you need to.

5. Check your thread tension/stitches on a quilt sandwich made from the same top and back fabrics and batt used in the quilt. I'm learning to make a "sandwich" for machine quilting from any quilt I make that I plan to Free Motion machine quilt--it's a lot easier to make this right as I finish the quilt than to go searching some time later for that fabric and what batt was that again? Nothing fancy, just a few of the top fabrics quickly sewn together, a scrap of back and the same batt--mine are usually about 8" x 10".

6. Use good quality batt and thread. I really like Quilter's Dream 100% cotton batt, Request weight, and use it most often, but not always... The thread here is King Tut for the top and Bottom Line for the bobbin, both by Superior Threads--great thread and a wonderful US company. My machine loves it--there is no tension adjustment needed at all for me with these two threads--the default is perfect.

7. Use a good chair, with good support for your back. If you don't have a cabinet or table to drop your machine in, be sure you are sitting up high enough to relax your shoulders. Stop every 20-30 minutes, even if just to stand for a second and work out the kinks in your arms/back/neck. Good ergonomics will keep you healthy and quilting longer.

8. Learn from the experts. I took two excellent Craftsy classes, both by Amy Johnson, to learn the basics, particularly how to operate the machine safely when working with templates and the basics of design. Many free videos are available from the likes of Kim Brunner,  Jamie Wallen, Lisa Calle, and many others, all of whom teach at quilt shows. They make it look easy. Look for videos from template companies too, like Westalee. These will give you confidence and knowledge on how to do this relatively new technique on your sit down machine.

Some photos for illustration:


I love the Line Tamer Ruler from Four Paws Quilting. It has a channel that is the perfect size for my Ruler Foot, #96. As long as your ditch is straight, this is an easy way to Stitch in the Ditch (SITD). Above shows the way I started, STID around the X on the block.


I didn't rotate the quilt, I simply changed the direction I stitched using the Line Tamer. Here I am coming down, back to where I started.

After the X was completely STID, it was time to do a little curvy stuff:


This is the Westalee 12" Arc, a great little template. It's about 7" long, which is perfect for most of what I quilt. Longer is not necessarily  better--longer templates move more easily and need more pressure to keep them stable and in position.


Above I am preparing to stitch the 3rd arc in this design. The template edge is 1/4" away from the bottom corner so that the stitches will meet right at that intersection. Most of the time, anyway--perfect is NOT my middle name when it comes to free motion quilting, at least not yet.


Here you can see where the template was placed--the stitches are 1/4" away from the edge of the template. This takes practice but most times I got the corners where they were supposed to be.

This quilt is not going to be entered in International competition, it just is one I love for the wonderful reproduction fabrics and the great friends who helped me make it. The fact that it has some hand-quilting and some machine quilting is fine with me--I call it the "hybrid method". Even on quilts I will mostly hand-quilt, I often choose to STID by machine--no one sees those stitches if you do it right, and I'm trying to save my hands for the showy quilting. I usually hand-quilt with wool batt--it is so easy to needle and feels great to sleep under.

Here you can clearly see the machine quilting on the left and hand-quilting on the right. It is not as noticeable when looking at the entire quilt:


Detail 

Detail 
 Since this quilt was "finished" in 2013 it was bound then and had a label in place. Today I added "2017" to the label:

Detail of the back and label
So, this one is now officially "done" and it's time to get back to Stella's Splendid Sampler--50 of those 100 blocks still need to be quilted.

Let's Quilt!

Barbara

Friday, June 2, 2017

Long Time Gone, Continued

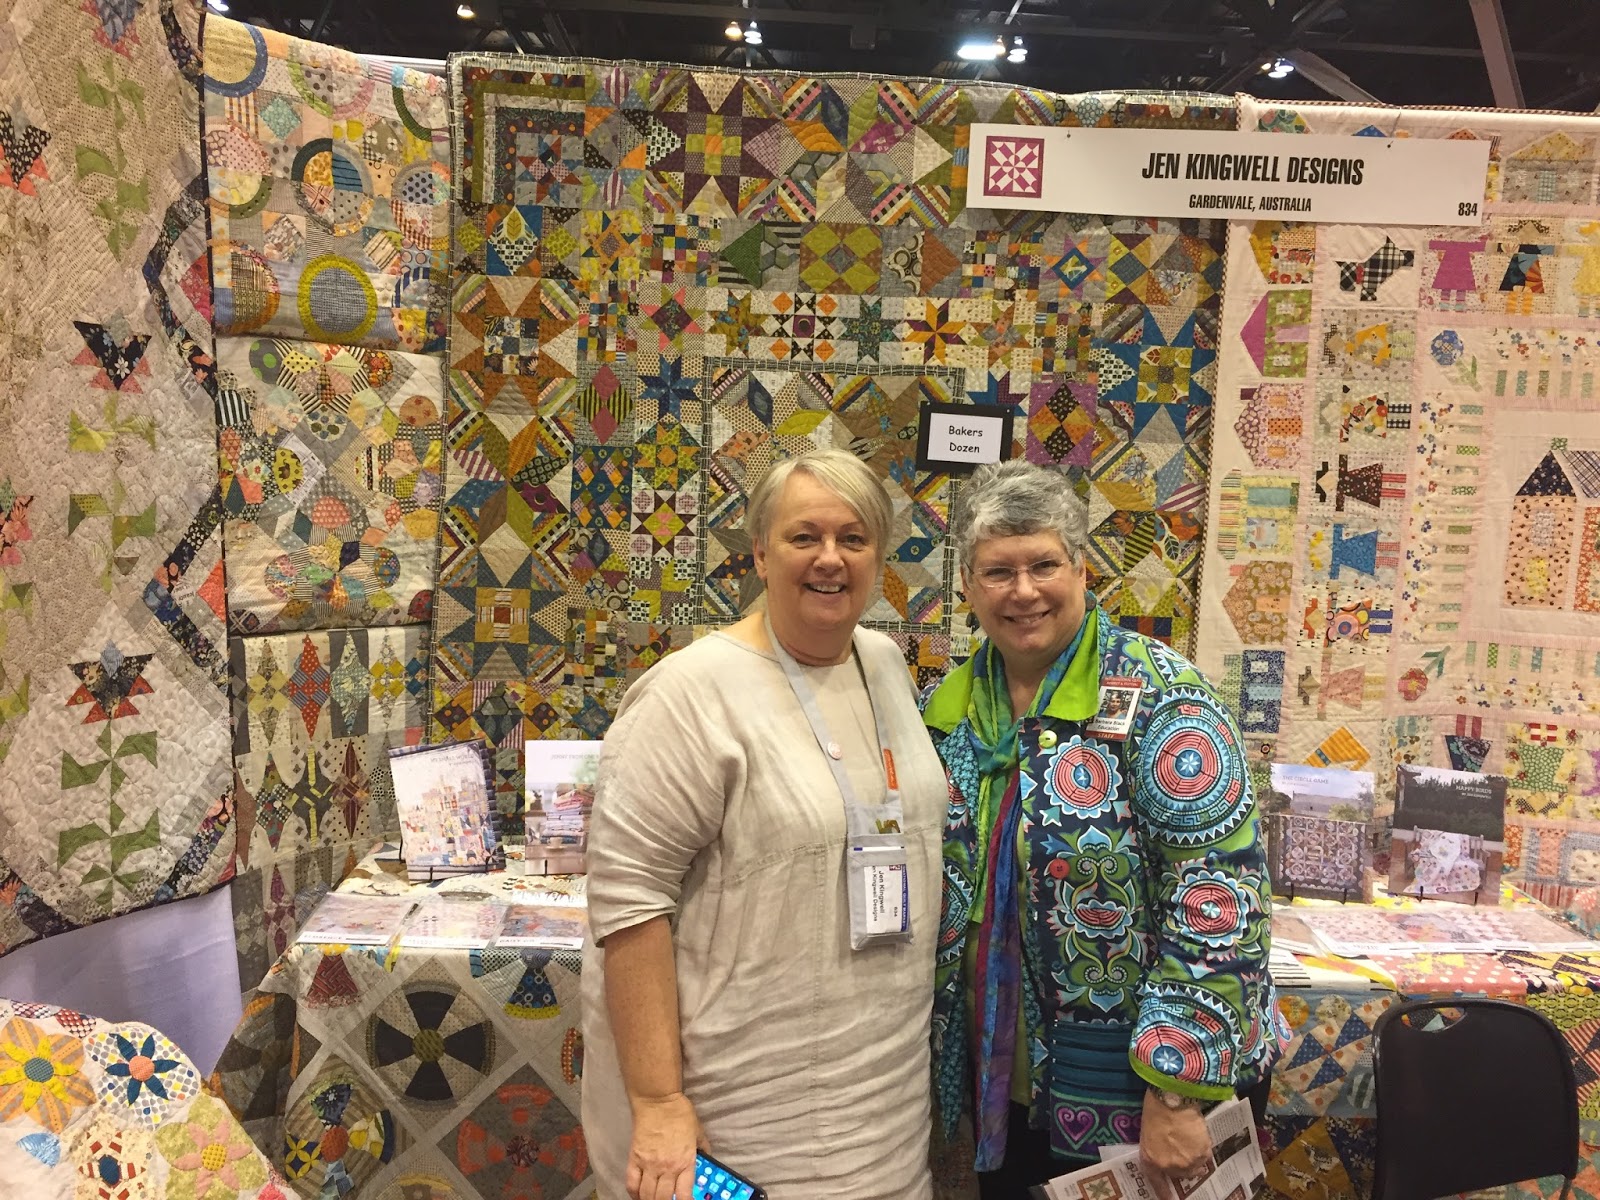
At Spring Market in St. Louis a couple weeks ago, I talked to Jen Kingwell in her booth and told her I was working on Long Time Gone, one of her great patterns. The fellow assistng her in the booth asked if I wanted a photo of the original Long Time Gone, as they had it hanging on the corner of their booth:

It's not a great shot but it was nice to see the original, with those soft yet dynamic Australian style fabrics. He then said he would take my photo with Jen and before I could decline, here we are:


In March I started working on Long Time Gone when I found a blog that was doing it as a once a week project, gnomeangel.com. If I kept up, my quilt top would be done by July 2017. I am glad to say I've kept up, even got a bit ahead in parts, and today I began playing with putting sections together:
Section 1

Most of the rest of the parts
I still have a few more sets of blocks to make and this is not the final layout, I just wanted to see them all on the wall. The turquoise sashing I purchased last week for this project. ALL the rest of the fabrics came from my stash, from strings bags, from shoe boxes of leftovers, from fat quarters pulled from boxes in the closet and from yardage on the closet shelves. So, it's a free quilt, right?

The response to this quilt has been exciting and I'll be teaching it as a once-a-month class starting in September 2017 and running for 6 months at a local quilt shop. It will be fun to see all the color combinations students come up with. And there is so much good stuff to teach with this quilt!

I've shared this post to Design Wall Monday.

At 3:20 p.m. I realized it was time to stop for lunch and clean up the studio. The great thing about having the Halo Sunday Sew and Sews come over once a month is I have to clear away the clutter before they come. Whenever I return from a trip, stuff gets put everywhere until I can sort through everything and put things in their place. This trip I had a lot of computer work to do, reports to write, classes to plan, supply lists to update, and a big job to check on--more about that soon.

My Halo Star Medallion Quilt is coming along nicely--I just can't show it to you yet. Another reason I enjoy spending time with the group of 15 who are working on this quilt--they appreciate what I've done and love to see what is coming next. I'm through the August patterns and September is almost done.

And I can't let this day go by without mentioning: STELLA TURNS TWO TODAY:


My husband and I will get to see her soon--she is such a character! We just love her to bits.

Let's quilt!

Barbara

Wednesday, May 31, 2017

Halo Star Medallion--Month 6

This month we make sawtooth borders--the reward for doing all those wonderful curved flying geese:


Mine are totally scrappy, using the fabrics I used in the curved flying geese.

I know some people really do not like paper piecing. This border is one you can easily choose to piece in the regular fashion. I did that with the left border. Then I used paper piecing for the right border so I could choose which method I preferred for the top and bottom borders--more on that later.

Here are some tips for piecing the half square triangles (HST) by regular piecing. There are several different methods you can use, I'll show you what I did. IF you are making the HST from only one fabric, it would be faster to use a grid method to create a bunch of them at one time. I will discuss using a HST ruler and how to make HST from squares--there are detailed photos of both those methods on an earlier blog I did for our Sew-A-Long, earlier this year.

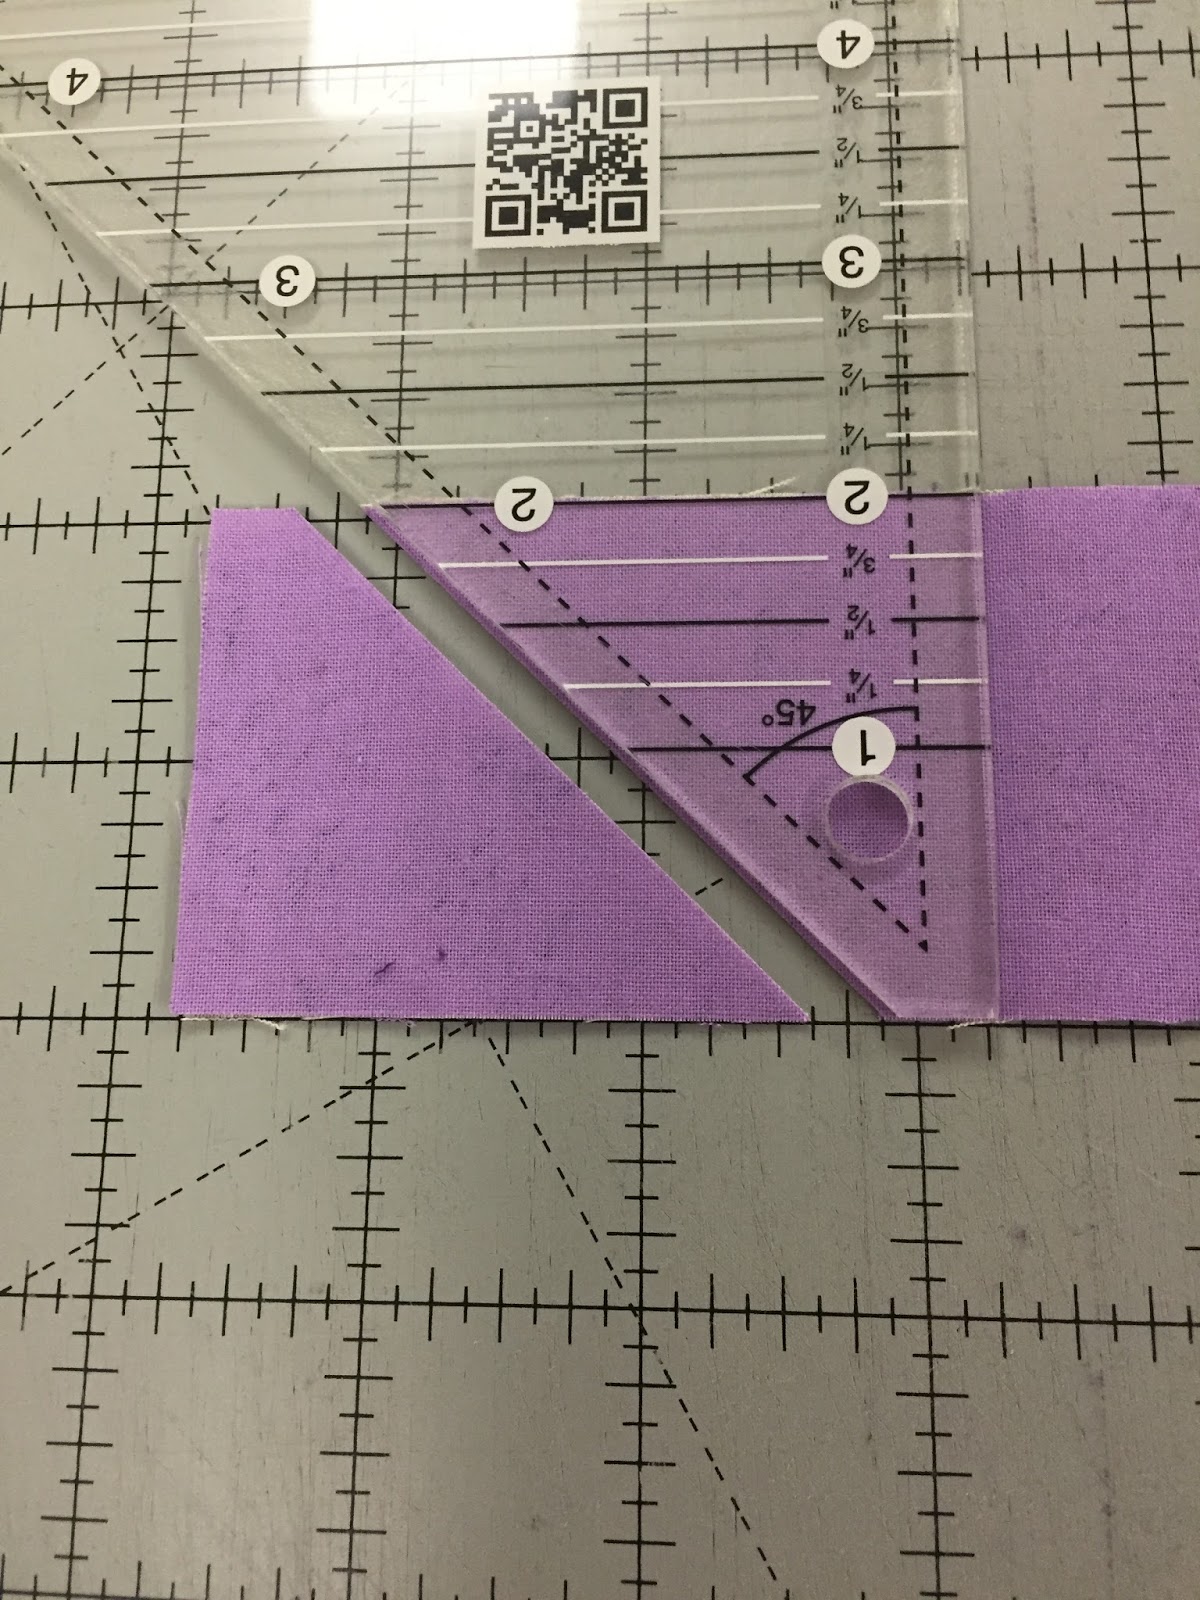
I like to use a half-square triangle ruler; there are several brands. The one I use is from Creative Grids, CGRT45. The advantages to this method are:

1. It uses less fabric--for 1.5" finished HST, strips are cut 2".
2. It is easy to check completed sizes as you sew.
3. It's not paper-pieced, important if that is not your "thing".

The disadvantages:

1. It may be slower.
2. The seam allowance is critical.
3. You make the units, then sew them into a border, two different steps.

Here I have 2" strips of a lavender and background, placed Right Sides Together. With this ruler you place the line that corresponds to the cut size of the strip on the bottom--each ruler has it's own instructions, some use the finished size of the HST, so be sure you know which line to use with your ruler:

Ready for the first cut

Ready for the second cut

Two HST ready to be chain pieced

The blunt edge on the top makes it easy to feed through the machine, no point to get "eaten" and saves a bit of trimming. I cut lots of these units, then chain piece them in one long chain:

"Chain, chain, chain..."

A bunch of HST chain pieced

An easy way to separate the units--a Clover thread cutting disc set in a child's wooden block

A new tool: Sunflower Quilts thread cutter, new to the Market


Pressed toward the darker fabric and ready to trim


I use a very scant seam allowance with units this size, more than an 1/8", less than a 1/4". It works for me. That makes these units a tad bit larger than 2" so I get to "Trim to Perfection". Above is the first trimming, below I have rotated the unit 180 degrees and trimmed the other side:


A bunch of perfect 2" unfinished HST
With the HST ruler, if you cut the strips EXACTLY 2", and sew EXACTLY a 1/4" seam, and press EXACTLY flat and square, in theory, your units should need no trimming. That's more perfection that I want to perform, I am happy to make the units slightly bigger and then trim them to the perfect size.

Once you have 34 HST you are ready to sew them into the Left border:


Here is the most important tip:  As you make pairs, check to be sure they are 3.5" unfinished. You will see quickly if your seam allowance is too narrow or to wide. Then join those pairs into units of 4--these should be 6.5", check to be sure. Then two units of 4 become 12.5".  Remember, if they are NOT THE RIGHT SIZE NOW, they will not miraculously become the right size in the next step:

Two HST = 3.5" 

Eight HST = 12.5" 

When all 34 are joined together your border should measure 51.5 (34 x 1.5"=51" + .5" seam allowance).  I was zipping right along, checking as I sewed the units, then got too sure of myself and stopped checking.  The border was 52" when I got done. I used a ruler to see where the culprits were, then snugged up four seams and Voila':


Perfect!

I did not keep track of how long this process took, only whether I liked the method. To compare, I did the right side border by paper piecing.  The advantages of this method:

1. As the units are sewn, the border is also being sewn, it's one step.
2. If the papers are the right size, the border units should be accurate.
3. It is easy to lay out the fabrics I wanted in each position.

The disadvantages:

1. Some people just don't like paper piecing, it's upside down and backwards--that's OK.
2. It requires a good bit more fabric.
3. Taking out those tiny stitches when you make a mistake is tough.
4. Seam allowances among the HST may be different sizes, that bothers some people.

If you want detailed instructions, with step-by-step photos, go back to Month 2.  That sawtooth border was 1" finished but the process is the same.

Let's talk about what SIZE to CUT the triangles. Sue's instructions say to cut squares 3", then cut those in half.  First, I started with 2.5" squares because I had 2.5" strips left over from the curved flying geese. That was TOO SMALL. The "drop-dead, has to be sewn perfectly" measurement for cutting 1.5" finished triangles from a square is 2 3/8" squares. So, 2.5" squares leave only 1/8" extra and when you cut the square in half, that means each triangle is only 1/16" larger than the space it has to fill on the paper.  Not good. I found I was a lot happier with squares cut 2.75". The larger the square, the more waste you have but being too small is just not fun. You decide what size to cut the squares, just make them bigger than 2.5"--and 3" works just fine.

One paper unit of 6 HST sewn

Trimmed

Paper has been removed and unit should measure 9.5" 

Join units of 6 HST with a 1/4" seam
Join 2 units of 6 HST--they should now measure 18.5"

Once you have all 6 paper pieces made, the paper removed and the units sewn together, your side border should be 51.5". Mine was so I was good to go.

What I decided about the two methods:

1. I was more accurate with the paper piecing.
2. I was faster with the paper piecing.
3. I am willing to "waste" a bit of fabric to achieve the accuracy I wanted.

So, I also did the top and bottom borders by paper piecing.  That's why there is chocolate AND vanilla--you get to decide which method you prefer. My motto, in life and in quilting is "I want the fastest method that gives me the result I want.". For me, with this border, it is paper-piecing.

IMPORTANT NOTE: Sue changed her design, replacing the top and bottom corner pieces with ONE WHITE SQUARE, instead of a half-square triangle, probably to make them the same as the Month 2 half-square triangle borders. We were not able to change her pattern so here is my workaround for pages 7 and 9, the bottom unit on the right hand side of the pages:


The top and bottom borders have 35 HST and ONE white square--they should measure 54.5" when sewn together, including the seam allowance.

Whichever method you choose to sew the sawtooth borders, when all four are done, you are ready to follow Sue's directions on page 3 to determine the size your floater borders need to be. They join the center of the quilt to these borders, filling in the space needed. Another name for these borders is "Coping Borders"--they help us "cope" with the different size borders.

Next month we will be making Pinwheel blocks for the next border. One of the members of my small group, the Halo Sunday Sew and Sews, said she really doesn't like Pinwheel blocks. I'll give you some alternative suggestions for the next border if you want something different in that space.

Let's Quilt!

Barbara


Sunday, May 28, 2017

International Quilt Market Spring 2017 St. Louis, MO

I love Market and Spring Market especially. Because there is no Festival right behind it like at Fall Market in Houston, we don't have extremely late nights and we get to see the Market quite a bit.


A very added bonus for me is that my grand-girl, Stella, lives in St. Louis, and I would get to see her and show her off a bit. We spent 2 hours together Saturday morning and had a great lunch at Sugarfire BBQ, just up the street from the Convention Center. She was unhappy when I sent Mommy and Daddy in to Market to look around, but really "on" when they came back out:


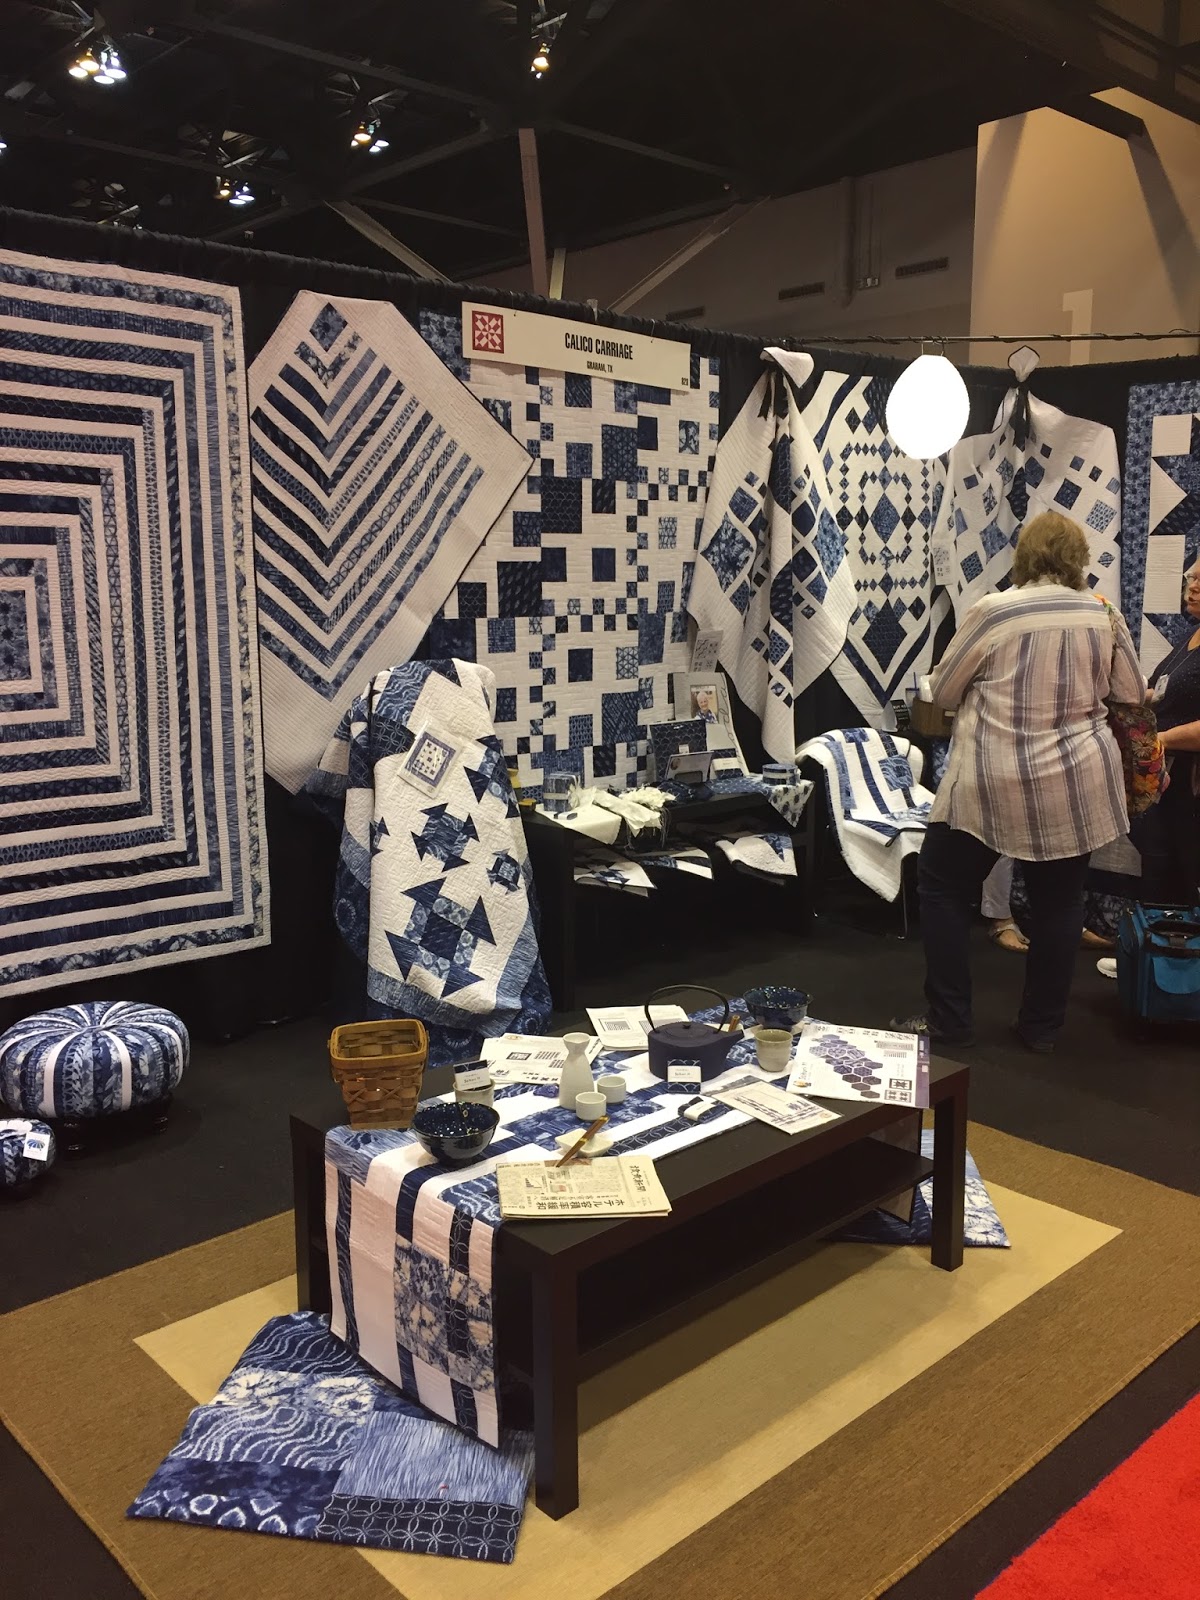
Things I noticed:  LOTS of Blue and White quilts and fabrics. 2019 is the Sapphire Celebration of International Quilt Festival in Houston and a Blue and White Exhibit has been announced: see here.
I fell in love with this quilt and have already got plans to teach it locally this Fall:


Spellbound from Calico Carriage Designs
Detail of quilting designs
It uses two jelly rolls for Shibori II from MODA and 3 yards of white. What a great quilt to practice free motion machine quilting!

More Blue and White:


Laundry Basket Quilts Edyta Sitar

Carolyn Forster in Schoolhouse talking about handwork
Calico Carriage booth
Other things I noticed:  lots of bright fabrics, children's clothing samples, handwork, and still some "primitive" and "country" feeling lines. Wool is popular for handwork. Embroidery is strong. Whatever brings new and younger quilters/sewers into the industry is fine with me. My daughter-in-law was surprised at what she saw, not the quilts she knows that I make. She was smart enough to take photos and send them to me--now I can get busy on special request projects.

Here is my loot, er, stash, er, inventory additions:


Most important of all for me, is seeing some of my favorite people, faculty, show staff, vendors. This is by no means a comprehensive list, just good folks you should know:

Julia Kelly-Hodenius of Pique

Catherine Redford

Cindy Rennels of Cindy's Antique Quilts

A few of the Quilts Inc.Show staff: Deann, Debra, Terri, Becky

Charlotte Angotti

Jen Kingwell and me
Kay Roberts of Franklin Quilt Company

Alex Anderson and Friend
Last, but absolutely not least, the Education Team that I am honored to be a part of, at our farewell dinner. Did I mention we ate really well at this venue:

Marcia Barker, me, Vicki Thomas, Meg Zimmerman, Barb Cline and Jill Benge, at the Bridge.

There you have it, a taste of Spring Market 2017. I could add many more photos. Instead, I recommend you go to Instagram and search for #missingmarket and #quiltmarket. You can spend hours seeing so many booths, projects and people. Enjoy!

Let's Quilt!

Barbara