Showing posts with label Bernina Q20. Show all posts

Sunday, November 5, 2023

ON THE LILY POND IN PROGRESS

 As you read this, I am traveling home from Houston, TX after teaching 3 amazing classes to wonderful, enthusiastic quilters.  Look for a big post about that next week.

Before I left, I began to machine quilt On the Lily Pond, my latest pattern and quilt class sample. I first wrote about this quilt in August, with photos of the antique quilt I own that inspired it. Find that post here:

A New Old Quilt

Here are some photos to show you the process.

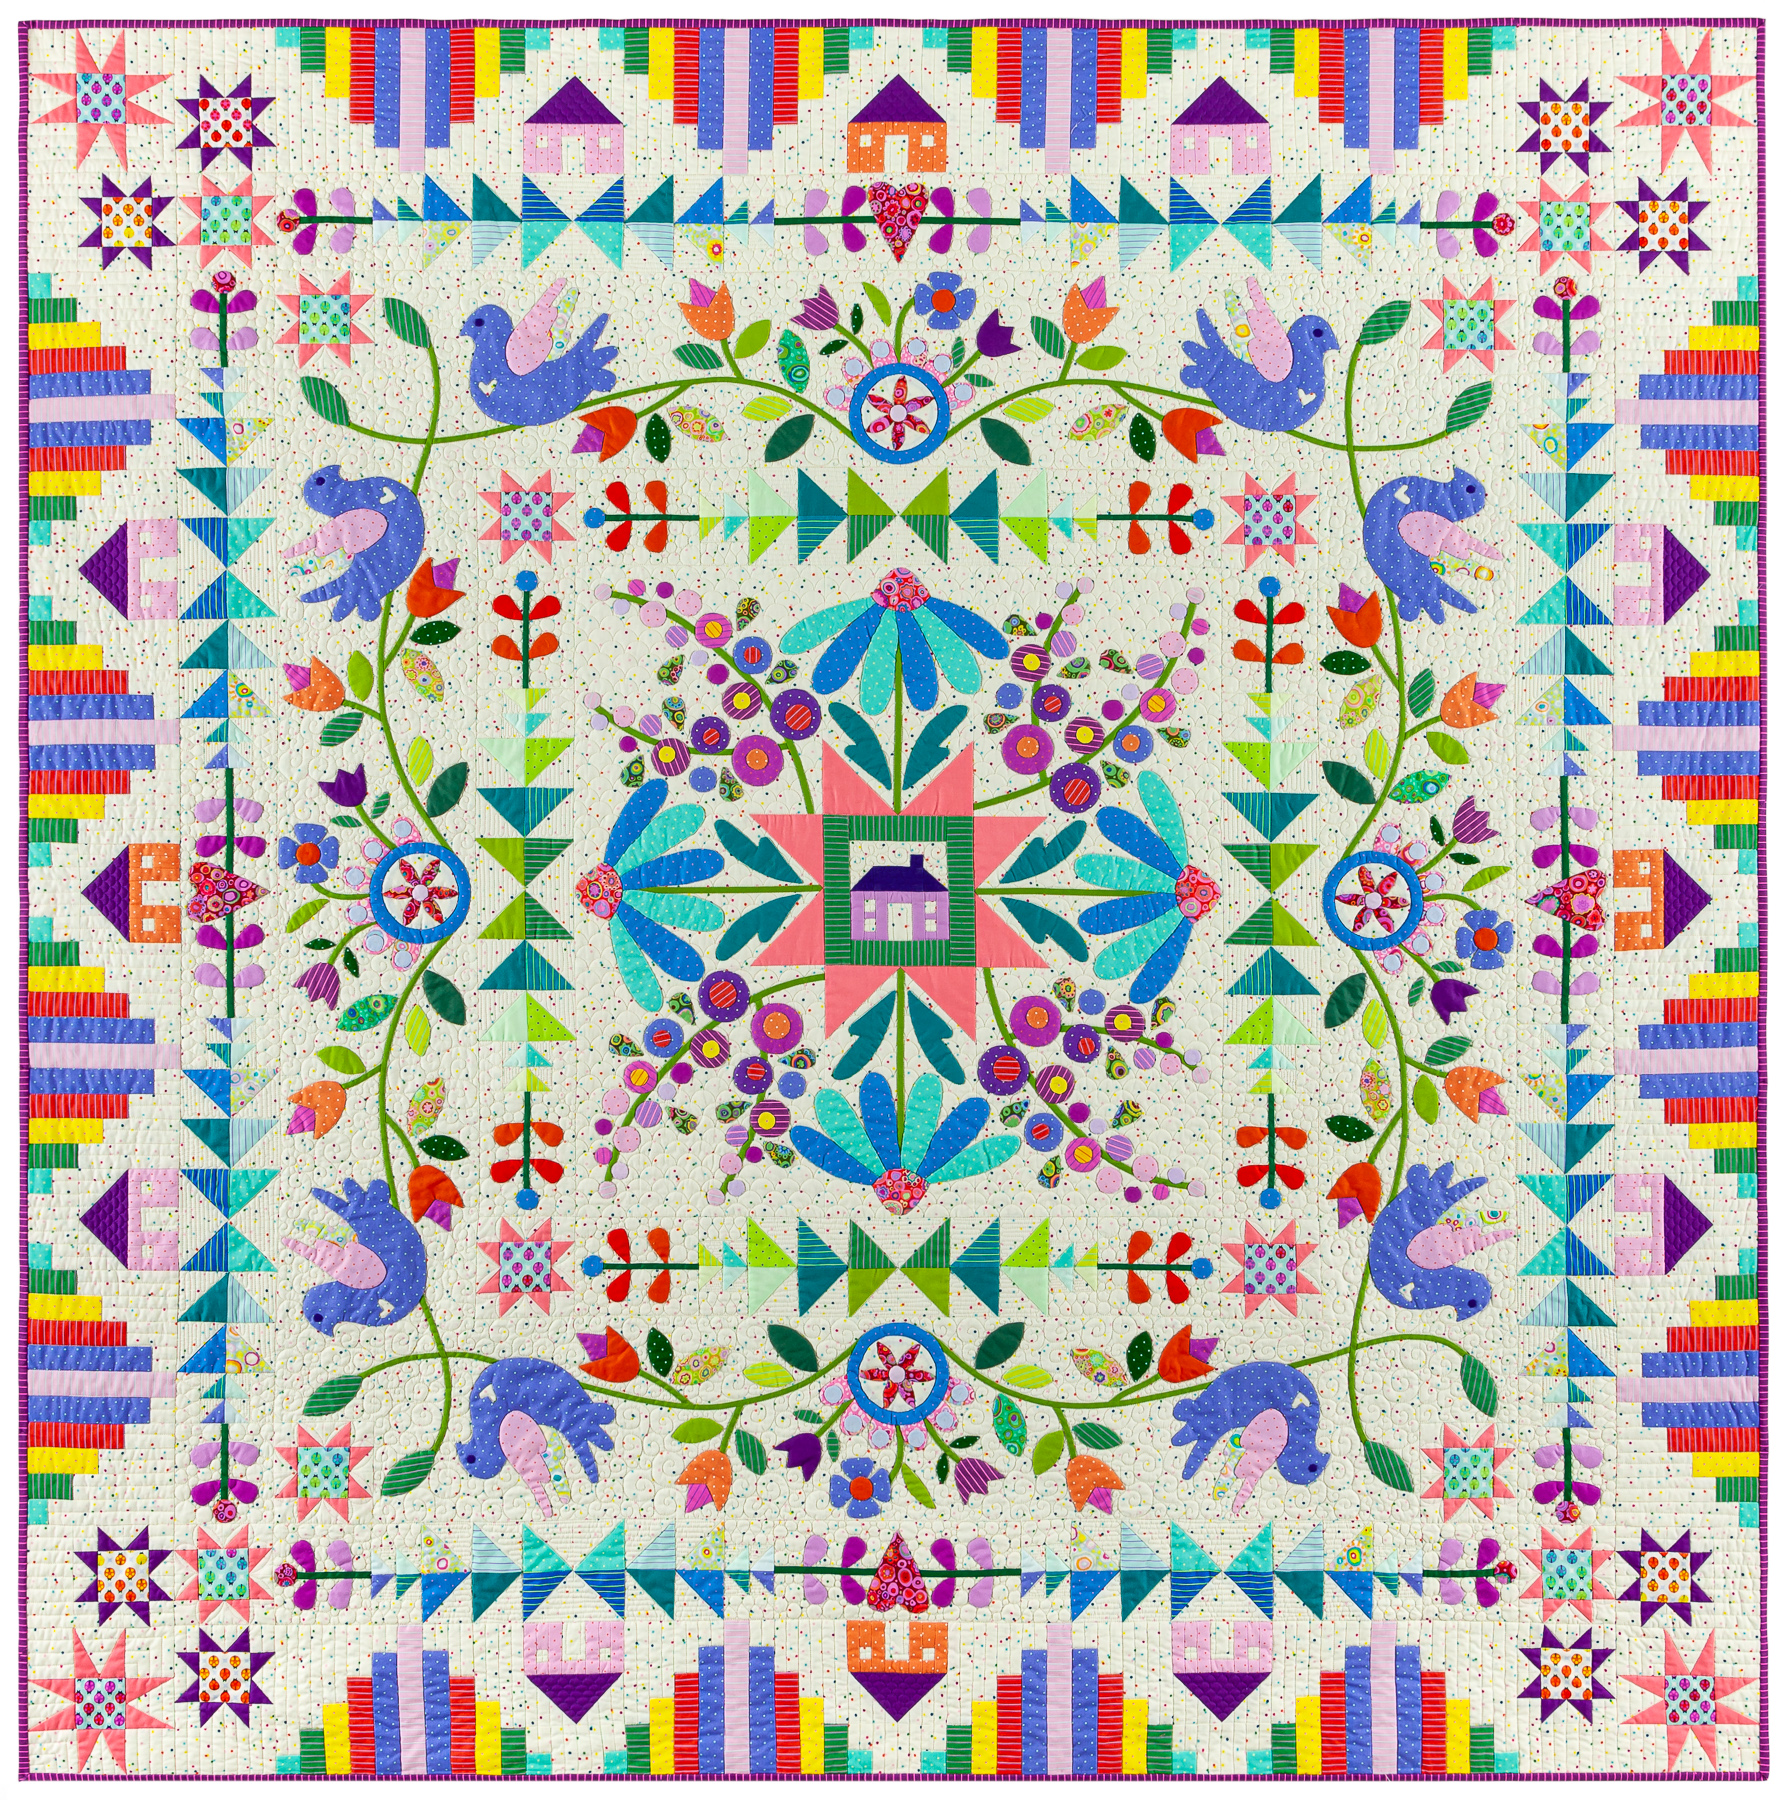
1. The top is done, about 76" square:

2. On to basting with safety pins, my least favorite part of the quiltmaking process. Mr. BB often helps:

3. Bobbin thread of choice for me is Superior's Bottom Line, a color to match the back, #653. For stitch in the ditch, I use Superior's Microquilter 100 wt thread or Quilters Select 80 wt thread--depending on the color I need--here I used QS 80, color #730. For quilting motifs/designs I often use Superior's So Fine 50 wt thread--color # 491 a soft pink, blends nicely on the front: 

4. First, I stitched in the ditch as the quilt was constructed. This supports and stabilizes the quilt and allows me to begin removing some pins. The empty spaces show the stitch in the ditch grid:

5. Once all the stitch in the ditch was done, I started on the pieced blocks. It took a few blocks to get the best "path" figured out. I want to minimize starts and stops and backtracking:

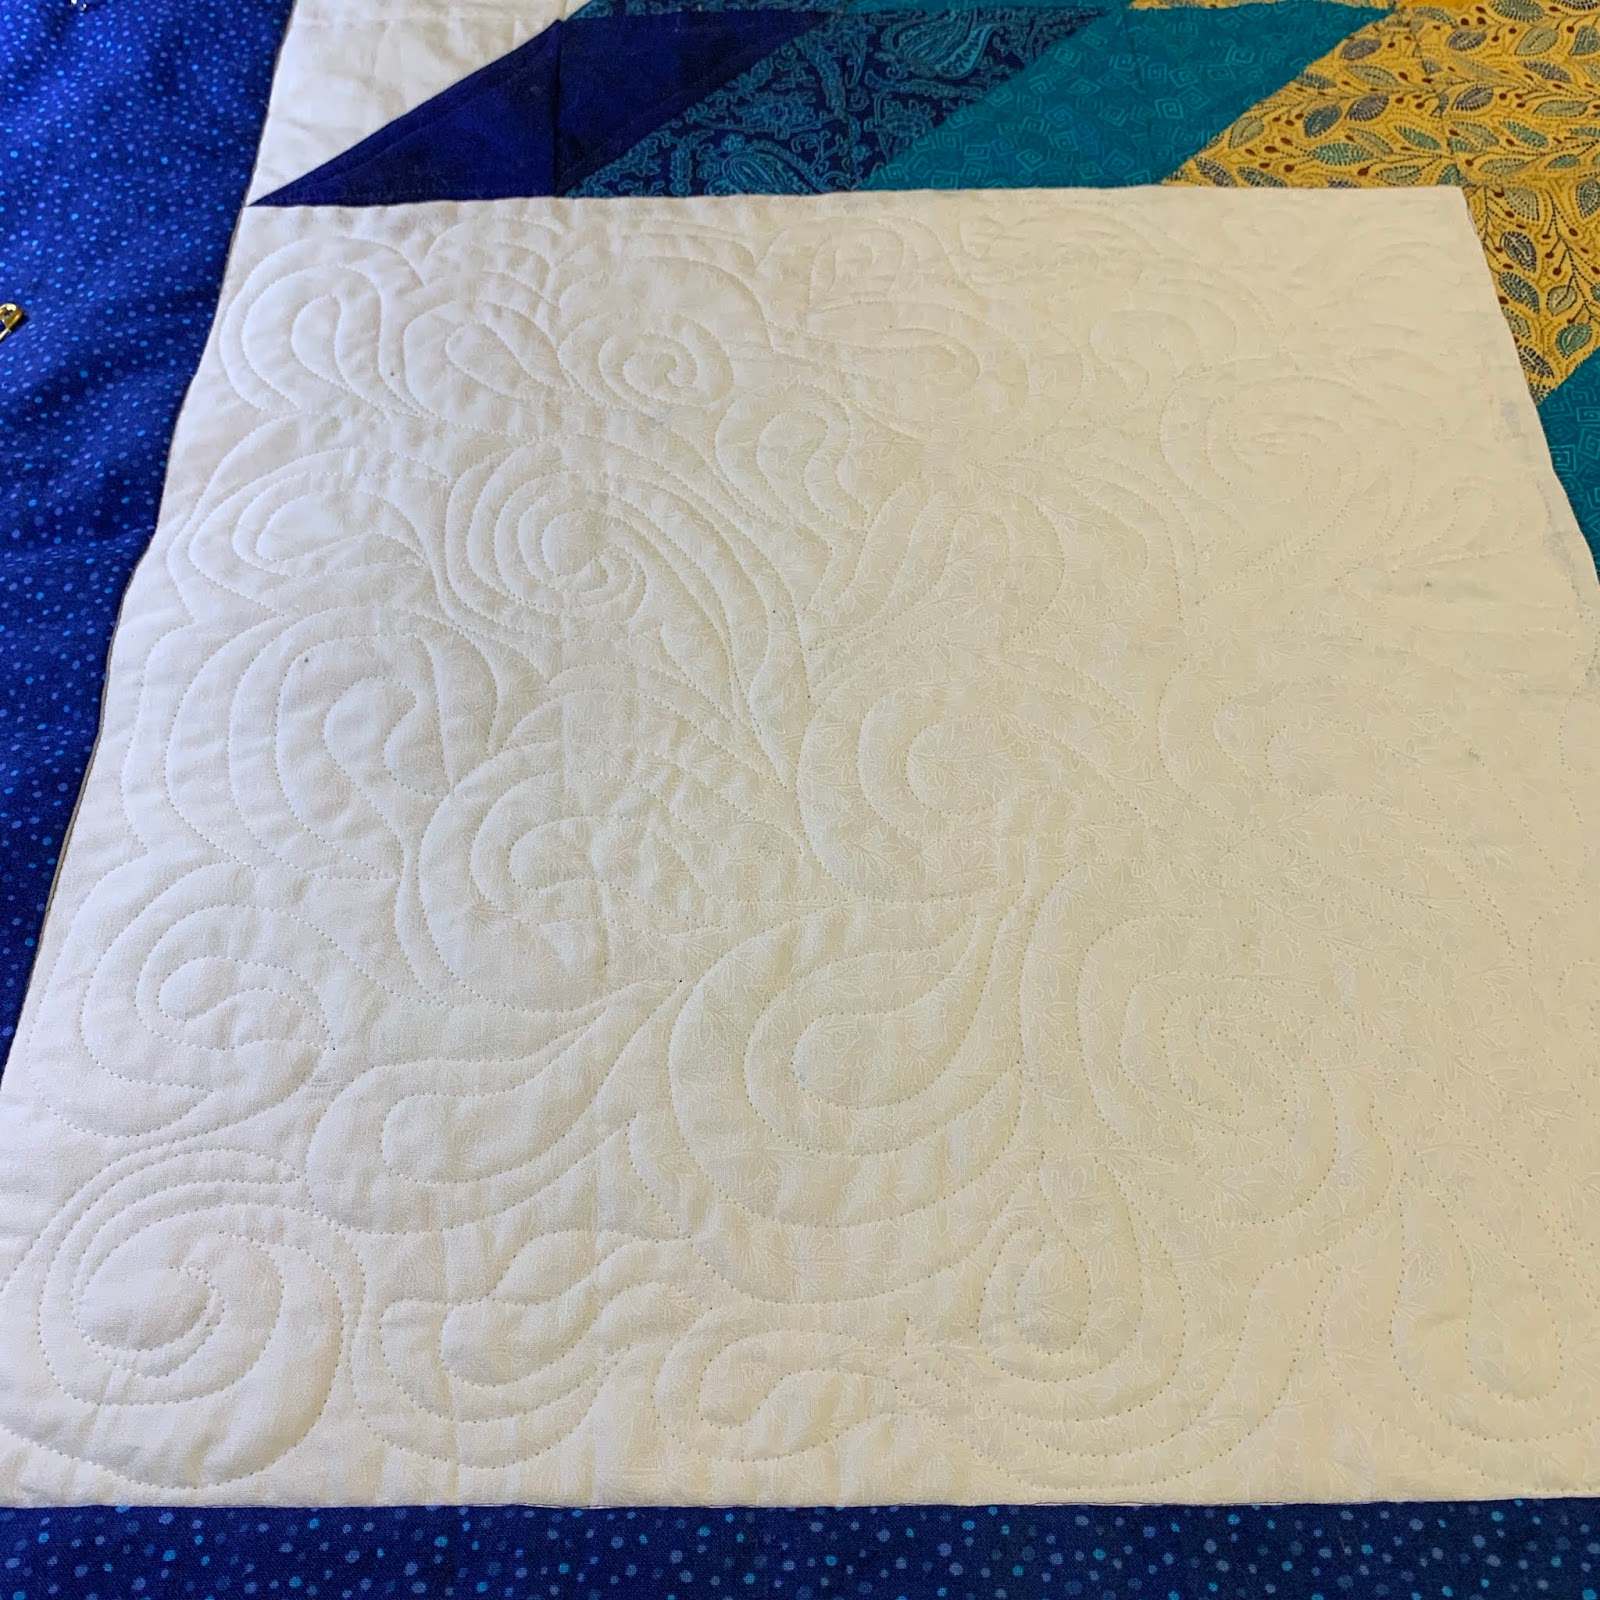
6. After I was satisfied with the design/path for the pieced blocks, I worked on the design for a Feathered Wreath in the 7.5" open blocks. This is where having a wide variety of stencils and quilting design books comes in handy. One for the outside ring of feathers, one for the inside ring, and I'm all set:


I am trying to get better at feathers as I LOVE them. With 25 blocks, 20 half block triangles, and 4 quarter block corners, I figured I would get better or give up. I am seeing improvement so practice does make "better". AND, the entire outer borders, pink/white, will be filled with a Feathered Vine:


7. Marking should be done as little as possible since every mark made is one that has to be removed later. I used a blue washout marker until it ran out then used a grey chalk pencil to draw a few guidelines for the feathered wreath. I was able to fill in the feathers from those guidelines much easier than trying to machine quilt on a drawn line:


8. I love ruler work and use it every chance I get. Stitch in the ditch is all ruler work using a fantastic tool, the Line Tamer by FourPawsquilting.com. The circle on the feathered wreath was done with a Good Measure Circle template. And for free motion I adore Grip-Its by sewingmates.com, two palm size "handles" with rubber grippy things on the bottom. They replace gloves, I simply rest my hands on them to guide the quilt as I stitch. They are indispensable to me:


9. There is still a good bit to go but I am on target for completion by Thanksgiving. The binding and sleeve are made, the pattern is written and all I have to do is complete the quilting, bind it, and update the pattern cover with a professional photograph of the finished quilt. 

Front:

Back:


I have written about machine quilting many times. Use the SEARCH box in the upper left, the orange B, for Ruler work, machine quilting, Bernina Q20--all of those searches will bring up previous posts. Here is a good one on Ruler work, there are many more:


Stay tuned when this quilt is done for photos of the completed quilt.

I will be teaching this locally in 2024 AND on the New England/Canada cruise with Stitchin Heaven, September 4-13, 2025. Once registration opens for that cruise, I will make a big announcement--it will FILL QUICKLY, I already know several friends who plan to join me on that cruise.

My Alaska cruise, August 9-16, 2024 is SOLD OUT--there could be a Waitlist if you still hope to come on that one. See my class quilt for that trip HERE:


Let's quilt.

Barbara


Wednesday, November 30, 2022

GARDEN PARTY DOWN UNDER -- QUILTING IDEAS

Many people have gotten their Garden Party Down Under top finished and are starting to think about the quilting process. See some of these tops on the Forum topic: Show Your Completed Top Here, you do not have to be a Star Member to see quilts on the Forum.

Here is mine, made in 2021 with the help of 8 of the beloved Sunday Sew and Sews. This photo was taken on the set while taping The Quilt Show in August 2021:


I quilted it on my Bernina Q20 sit down long arm machine. Here are some detail shots:


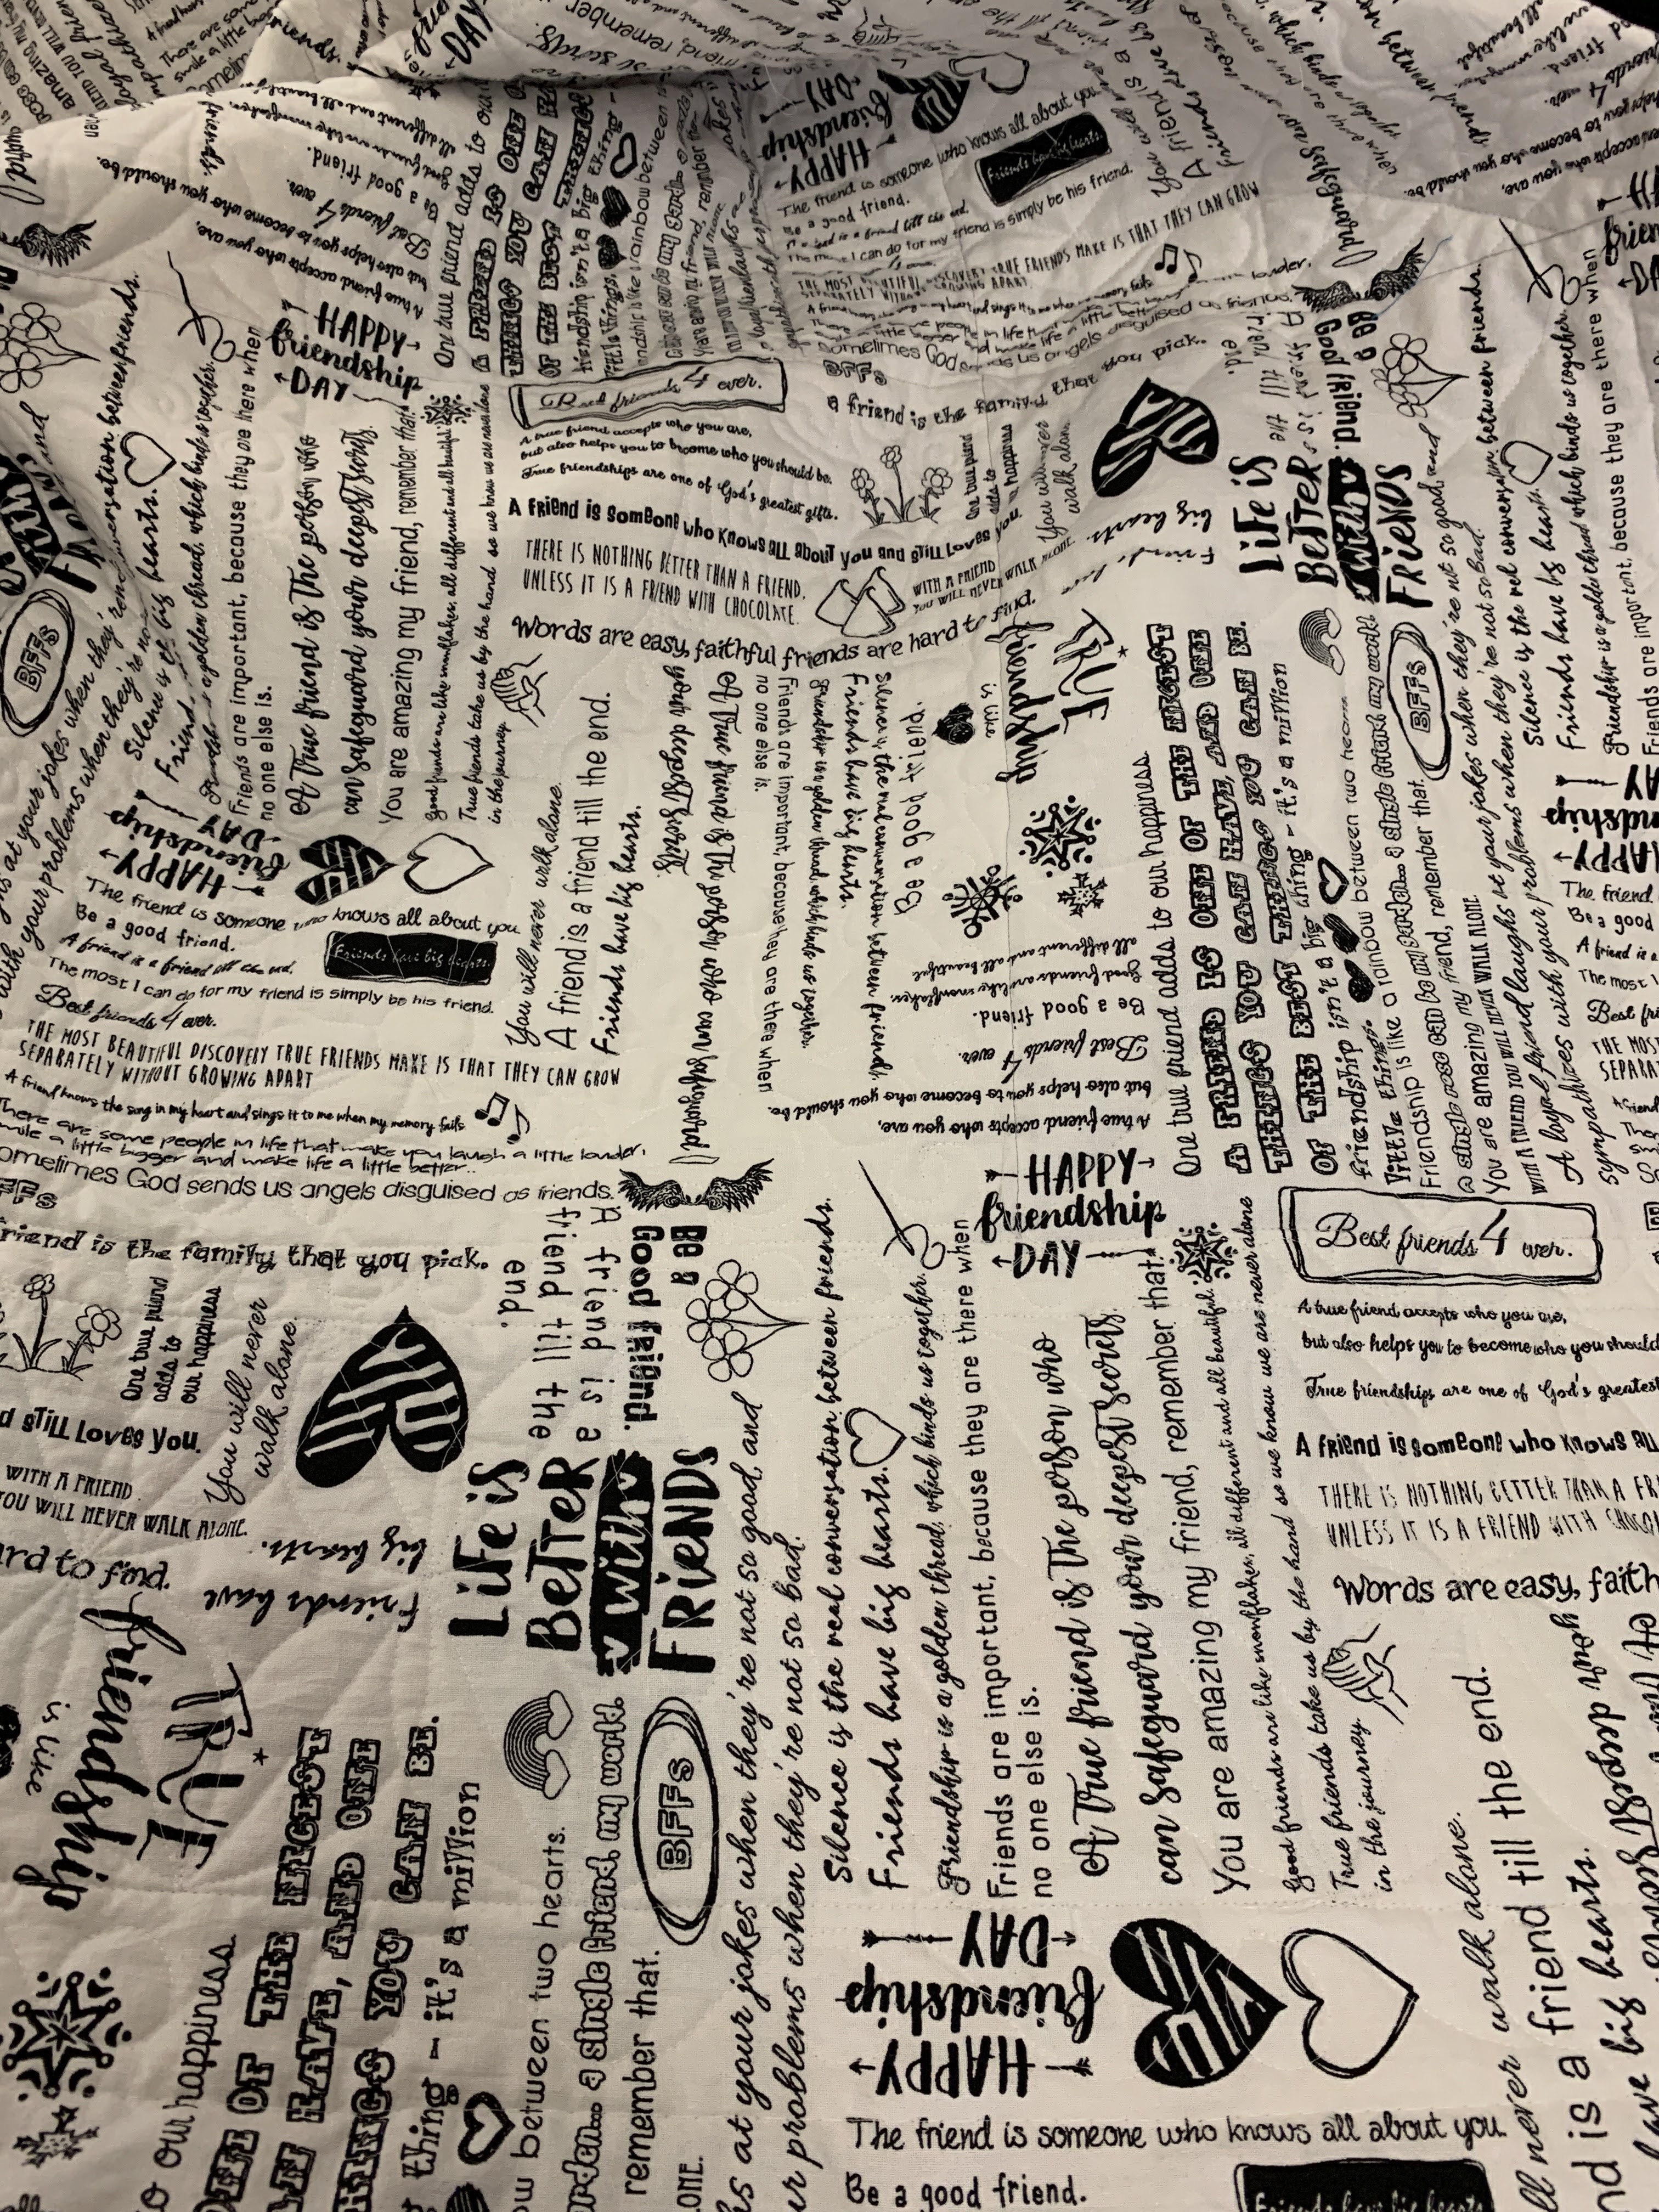
The Back--a busy print hides a lot of things better left hidden, and thread changes if there are any:


Resting on the spare bed after all the quilting was done:


A variety of thread colors and weights. The majority of the quilting was done with Superior's Microquilter in white on the top, and Bottom Line in the bobbin. Accent colors were used on the vases and larger motifs: 

I love ruler work so I often develop continuous designs using rulers that move nicely across the quilt. Using a circle I was able to move from one end of the diamond borders to the other, then go back in the opposite direction, creating a flowing curving design that complements the diamonds: 


See the same design used on the Dogtooth borders around the center:


Here is my basic process when quilting:

1. Good basting is imperative. I use safety pins and most often baste on my dining room table. I tape the back firmly to the table, wrong side up, using painter's tape at the top and bottom. Clamps are used to hold the edges securely to the left and right sides of the table. The batting is laid on top of the back, followed by the top, right side up--it helps to have another set of hands to spread out the batting and top. After pinning the middle, I untape/unclamp the quilt, and slide it to one side, retape/reclamp then pin that side. Repeat for the opposite side. After all the pinning, check to be sure you have no puckers/pleats basted into the back--they have to be fixed. I tend to get them near the corners. 

2. Make a small test "sandwich" with the same back and batting and some of the top fabrics so you can test the thread color and tension before you begin. I write a note for tension setting for each thread so I can get it correct each time I work on the quilt. This project took almost two weeks to quilt, a few hours a day.

2. I used Microquilter thread in the top and Bottom Line in the bobbin, white in both, for the majority of the quilting. The first step is to quilt straight lines from top to bottom, starting at the middle of the quilt. I pretty much follow the seam lines the same way the top was constructed. This serves to stabilize the quilt, allowing some of the safety pins to be removed. My favorite ruler for straight quilting is the Line Tamer by Four Paws Quilting, a great ruler. 

3. After all the straight line quilting was done in all directions, I thought about how to quilt each block. I If the background fabric had a good design, I followed that--like swirls or straight lines. If I needed to create a design, I played with a piece of plexiglass and a dry eraser marker to "audition" designs directly on the quilt--be sure to wrap the edges in painters tape so you don't overshoot the edge of plexiglass with the pen--a disaster you don't need. Designs can be tried out, erased and more designs tried again and again until you like what you see: 


4. Very little quilting was required on the motifs since most are small. The vases are large and need some quilting to secure them. I played with the plexiglass, drawing curvy shapes on the vases to try to give the vase some "round" dimension. While quilting the background of each block, I got close to the appliques, echoing them to help them stand out.

5. The borders were perfect for using a circle template (ruler) to create curving designs that move from one end of the borders to the others. 

6. The two small "floater" borders were the perfect place for some circles. I freehand quilted them: 


I  have written about my quilting process several times before:


Ruler Work -- the Basics   this is a long post and has LOTS of information.

UPDATE--on the December 2, 2022 LIVE broadcast I was asked about the corner flowers and my label. Here is the corner flower, with simple echo quilting on the background and around the shapes:


I make permanent labels for all my quilts. Find my TUTORIAL for LABELS HERE  My label:


This is one of my most favorite quilts. I love the fabrics. I love the design. l am happy with the quilting. And I LOVE the friends who helped me make the top:


You can find some photos of the quilting on Irene Blanck's quilt in our Gallery of Quilts: Monthly Guide . These photos were used for the Monthly patterns. Irene's quilt was quilted by Australian Longarm quilter Rebecca Rae. Find her on Instagram as @astitchnline_machinequilting.

Remember. the patterns for GARDEN PARTY DOWN UNDER are only FREE FOR STAR MEMBERS until December 31, 2022. After this year, the designer regains the rights to the patterns and you will have to buy them from her.

If you join The Quilt Show now, you can still download/save all 12 months of Garden Party Down Under and be ready to jump right in to the 2023 Block of the Month quilt, Homeward Bound, beginning January 1, 2023: 

Let's quilt.

Barbara

Sunday, March 28, 2021

Latest Finish--Sawtooth Stars

 About a year ago I participated in a swap of 6" Sawtooth Stars organized by Barb Vedder of  the blog Fun With Barb. She has done several and this link shows some great tutorials on the swap blocks used in this and prior swaps. She has said this will be the last, there is lots of work to manage these free swaps, and I understand why she will do no more.

I had fun with the quilting. It is now finished except for the label, almost queen size: 


It is hard  to show the quilting. All of it was done with rulers on my Bernina Q20 sit down longarm. Simple half circle designs on the white sashing:


Point to point half circles on the stars--I figured that out all by myself: 

Curved crosshatching on the perimeter triangles  and the smaller triangles: 


Overall effect is pleasing to me. Might just give this one away to a friend who needs a quilt: 

I made and received 40 star blocks made from reproduction fabrics. I made 10 more to complete the design. To enlarge the blocks I added four triangles to each to make them 9" blocks: 

I posted more about how and I why I made this quilt here: Sawtooth Star project.

Now on to finish another top.

Let's quilt.

Barbara


Wednesday, September 16, 2020

Ruler Work

 Since getting my Bernina Q20 sit down longarm quilting machine 5 years ago, I have enjoyed learning to use rulers for quilting. More accurately called "templates" than "rulers", they allow you to create straight lines and nice curves and a whole host of designs. 

My most recent finish is the Afternoon Delight in Red, White and Blue, I made from the demo blocks I used to write my various blog posts about this 2020 Block of the Month quilt from The Quilt Show. It's about 48" x 66":


Curved crosshatching is one of my favorite designs so I put that in the perimeter triangles. I added some curves to the outer borders and filled in with "wishbone" or "figure 8" designs:


What I didn't do was carefully plan the corners. I just let them fall where they wanted to so all 4 are different. I always quilt at least one heart somewhere in a border of every quilt I make, see it in the first photo:


Books and YouTube videos have taught me a lot and I spend some time with each quilt figuring out what I want to quilt in each section. Natalia Bonner's website and YouTube videos have been especially helpful with this one. I have also learned a lot from Angela Walters.

The first thing I do with most quilts is stitch in the ditch across the quilt, stabilizing all the sections. As I do that I remove some of the safety pins I use for basting. Then I work on the various blocks, trying to keep the amount of quilting somewhat the same throughout. If you have some areas densely quilted and some with little quilting, you will get ripples and waves. This quilt needs to be washed and blocked still--that will make the borders less wavy. 

The white squares got "pumpkin seed" designs, with rulers, and the tiny red and blue squares got a simple diagonal line, using my favorite ruler, the Line Tamer. The narrow blue border got a free motion swirly curvy spiral:


For the applique blocks, I did free motion quilting around each shape--thought it might need more but decided to stop:

Threads could be an entire post so I'll just tell you I used Bottom Line in the bobbin, to match the back fabric. The white for stitch in the ditch and echo quilting around the appliques is Microquilter 100 wt. The red and blue is Quilters Select 60 wt. The Bernina Q20 makes it a snap to change thread sizes and make any adjustments to tension as needed. It is a great machine. 

I have a lot of rulers--most of us go overboard buying them when we get the bug to quilt with rulers. But the ones I use most are these:

The top two curves are from a set by The Quilted Pineapple--Linda Hrcka's company. They work great for curved cross hatching. The white stuff is grippy on the bottom and the painters tape is set where I want to line up the ruler on the quilt block. 

The middle one is my most favorite and I use it on every quilt: the Line Tamer,  from Four Paws Quilting. The channel in the middle holds the ruler foot securely and I can sew straight lines FAST! And Straight! The bottom two are my newest from piecenquilt.com--Natalia Bonner's site. These are the Mini 4-N-1 and Mini Inside Out Quilting Rulers. They also come in a larger size but this size worked great for me and this quilt.

Natalia currently has a 9 PatchALong using these two Mini rulers: find the info on her site or her Facebook group for this 5 week project. Tuesday and Thursday she offers a new design and I am learning a lot and developing favorite designs I will want to use again.  This sewalong is free--many of the quilters who offer great products for sale provide free classes/sewalongs to help us all learn. A lot of time and effort goes into these and I am thankful they exist. 

My 9 PatchALong so far, the blocks are 12" 9 patches--I wish I had made the sashing wider--mine is 1.5" so I didn't have to piece a back but 2.5" would have looked better. Same with the border:


As this is a practice piece, it's good enough. It will become a baby quilt some day. As I got to the end of a cone of thread, I started having tension issues so that gave me the opportunity to figure that out too. Always learning something!

I have written about Ruler Work and the Q20 several times before. Just use the search box in the uppr left to find them--Ruler Work--the Basics is comprehensive.

Have you used rulers/templates for your quilting? Do you want to?

Let's quilt.

Barbara


Wednesday, December 11, 2019

Need a Fast and Easy Quilt?

About November 1 I received a request from the good folks at Road2CA to make a quilt for them using Souvenir Fabric they had printed to celebrate their 25th anniversary. This Show  is January 23-26, 2020, in Ontario, CA. I am teaching four classes there and look forward to that show. It is a very large show, attendance about 45,000, so it's a big show in the western US.

The request came at a busy time so I passed on the opportunity. Four weeks later they asked again so I agreed to help out. I asked for 3 yards of the fabric, having no idea what it looked like and absolutely no idea what I would do with it.

Wednesday December 4 the fabric arrived about noon:

During lunch I looked through my Pinterest boards for inspiration. The quilt had to be fast and easy and had to feature the souvenir fabric.

I found this Super Fast Baby Quilt Tutorial. It is a technique I was familiar with, having done it before with much narrower strips. These instructions are clear and the quilt is 36" x 48"--perfect for a baby quilt or small throw. And you could easily enlarge it, using more fabrics.

Cutting the strips 4.5" allowed the Souvenir fabric to be featured in squares large enough to be a focal point.

Wednesday afternoon I cut out the fabrics and began construction. Thursday morning I finished the top, basted the 3 layers and began a very simple quilting plan:

Matchstick quilting
Friday morning I finished the quilting, trimmed the edges, made the binding, sewed the binding to the back of the quilt, turned the binding to the front and used Elmer's glue to secure the binding to the front of the quilt. This makes it easy to machine stitch the binding in place. 

I used a decorative stitch, a buttonhole stitch, to catch the binding securely. It's a little bit noticeable on the back but almost impossible to see on the front since I used thread that closely matched the binding.

Before lunch Friday the quilt was completely done. Well, except for machine washing to get rid of some glue that got on the binding.  

Ta da! Less than 48 hours from concept to completion:


Since I had 3 yards, the back is one piece of the Souvenir fabric:


Easy peasy! I will remember this one for future baby quilts or "have to be done right now" quilts.

From the original 3 yards I have about one yard left. I cut it into four equal pieces and will use those as door prizes in each of my four classes. 

The matchstick quilting was fast and easy. I wanted the lines "straight-ish"--not perfectly straight. That way I could free-motion quilt it quickly on my Bernina Q20 sit-down longarm.  

If I wanted the lines perfectly straight I would have used a ruler foot and Line Tamer ruler. On  a domestic machine, a walking foot would be your friend for this process:

Here is the quilting plan:

1. Stitch in the Ditch down each vertical row of squares--those first lines are 4" apart. This helps stabilize the quilt--if you used pins for basting, many can be removed now.

2. Stitch a line a little more than an inch from the edge of the block--about one third of the block size. I started at the left, went down the first line, back up the next line, again a little more than an inch from the first line, then down again a little more than an inch from the second line. I continued this process all the way from the left to the right of the quilt. This put 3 lines in each square. No starting and stopping, one continuous line of quilting all the way across the quilt.

3. Again, starting at the left, I "split the difference" between the sewn lines, going down one line, traveling in the outside of the quilt, back up to the top, then down again, each time making the lines about halfway apart between the two lines already sewn. All the way across the quilt.

4. Now the lines are about 1/2" apart so I "split the difference" one last time, all the way across the quilt, from the left to the right, down, up, down, etc.

This is HARD TO EXPLAIN but EASY TO QUILT.  If you try to quilt all those lines about 1/4" apart from the beginning, you will likely get lots of bunching as you go. Doing the lines wider, then closer each time, makes the process fast and the results nice and flat. 

Glad I can check this one "Done" on the list. I will deliver it in January.

Let's quilt.

Barbara


Sunday, September 8, 2019

Lots of Quilting Going On

Mostly, I'm a piecer--spending the majority of my sewing time making tops. They begin to pile up and it's time to quilt them.

With the Heritage Quilters of Huntsville Quilt Show coming up October 11-12, 2019, I had one top that really HAD to get done--my Lifetime Quilt. Read about this quilt HERE.


100" X 100"


It has 12, 800 triangles, 1.25" finished Half Square Triangle units. It is heavy! Thank goodness I have a longarm friend who offered me time on her machine to baste it--there aren't enough safety pins to baste it that way--that process took 3 hours.

Thank goodness for my Bernina Q20 sit down longarm machine--with both extensions in place the table is 76" long which provided plenty of support for this beast while quilting:


This top has been under construction for 3 years. I've known for a while how I planned to quilt it:

Practice block

The back of the practice block


I never planned to stitch in the ditch--that would only show any place where the ditch was "wobbly" and there are a few of those. Using the Line Tamer Ruler, it was a breeze to quilt down the center of each diagonal row. Bottom Line thread in the bobbin, So Fine 50 wt in the top--for those who will ask. Quilters Dream Wool batt, soft and breathable.

Beginning at an outside corner, I just started. Those first rows were really short and it was so easy. The Line Tamer keeps the ruler foot in place and the rows were straight, most of the time.

Of course, each row got longer and longer and there was much squishing and bundling as I approached the middle. I worked on it two hours a day, in one hour increments so as not to hurt myself--the shoulders were sore after an hour.

The first half took 9 hours over 5 days. Then I turned it around and began in the middle, another really LONG row--that middle row! BUT each row got shorter after that and the squishing/bundling was easier so the second half was done in 6 hours.


I love how the simple quilting is exactly what this quilt  needed--here you can see the not-quilted area in the upper right:


 I am 15.5 hours into the binding process now with one side remaining:


Since I was on a quilting roll, I decided to keep going, quilting a gift for my niece Devon who graduated from Harvard in May, 2019. I promised her she would have it before the weather turns cold:

75" x 75" Southern Star


The border still needs to be done, I'll add more quilting in the star itself and there are 3 more white sections to go, but it's coming along nicely and the weather is still hot.

Next week I have to baste one more 75" square quilt and get it done before Houston--looking forward to showing you that one as it gets quilted.

In between quilting these two I pieced a top, because that is what I do. A very scrappy New York Beauty, 42" x 42":

This probably won't get quilted for a while, just get in line and wait your turn...

Let's quilt.

Barbara