Laurel Ridge is the 2025 Block of the Month quilt designed by Lynn Wilder exclusively for The Quilt Show. Star Members have FREE access to the patterns starting January 1, 2025. Made in two colorways, the complete patterns are excellent. You will love making this quilt. Lynn supports the pattern instructions with Videos too.
Be sure to watch Lynn's Show, #3601, airing December 29, 2024. It is FREE TO ALL, so tell your friends to watch.
Find the Monthly Patterns under LEARN--DOWNLOAD the pattern to your device before printing.
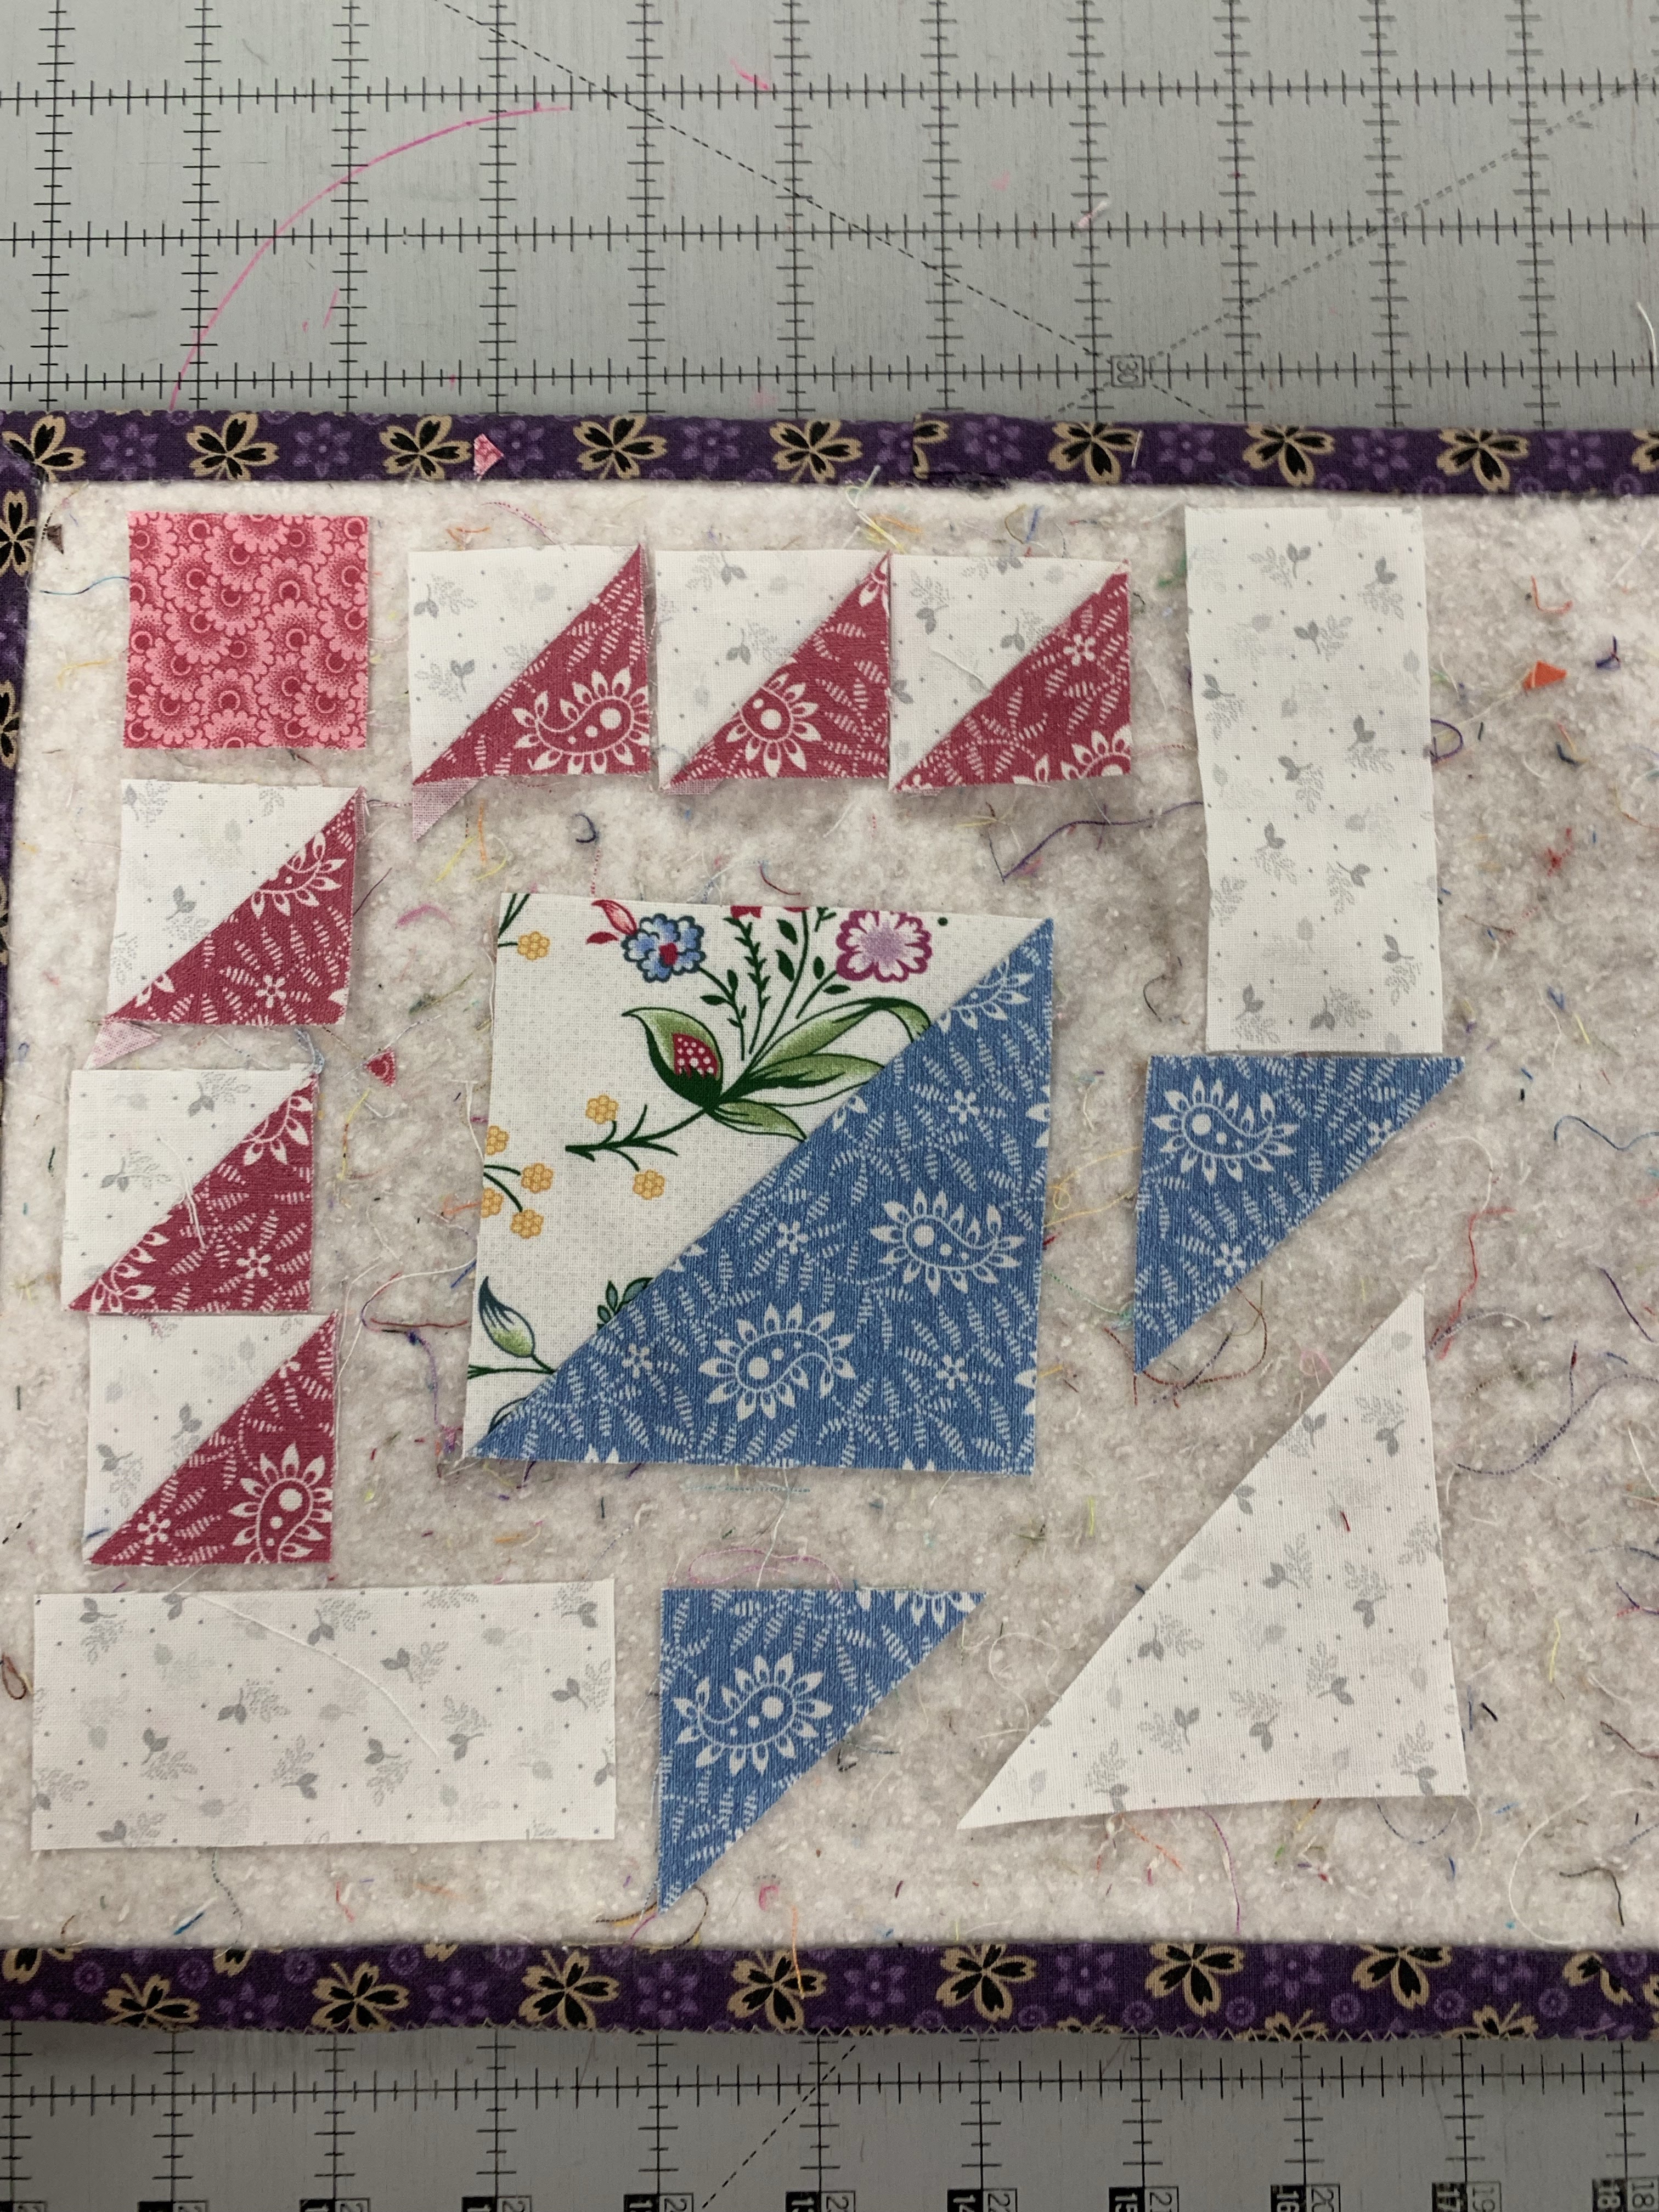
Month 1 has us making FOUR PATCH IN A STAR blocks, 4 each in TWO colorways.
IMPORTANT CAUTIONARY NOTE: While I am using the SPRING KIT, I have added a few additional fabrics and occasionally selected different Kit fabrics for certain blocks. I cannot guarantee the Kit has enough fabric when I use one in a place not intended by the designer. If you are concerned about that, simply follow the design instructions exactly as written for either of the Kits.
My FOUR PATCH IN A STAR BLOCKS:
The pattern instructions are excellent. I offer tips when I have a suggestion that saves time for ME.
This month I suggest these cutting adjustments:
1. Letter D--the instructions say to cut 2 strips--you will definitely need 1 but may not need the second one this month. I did NOT NEED the second one to make all the 4-patches required. This depends entirely on how wide your fabric is. Some WOF may be 40", others are 42" or more.
2. Letter E--the instructions say to cut 2 strips, then sub-cut into squares before drawing the sewing line on the wrong side. I prefer to cut larger squares, draw the lines, then cut them apart. I cut 1 strip 4 1/2" but next time I will cut it 4 3/4" for a little more "insurance". NOTE: 4 3/4" worked much better for me.
8 larger Squares provide the 32 smaller squares needed this month. Using a mechanical pencil I carefully drew diagonal lines from corner to corner on the WRONG SIDE of the fabric. Carefully cut the large square into 4 smaller squares--the lines are already drawn, it's like magic:
The instructions and Lynn's Video show how to draw the diagonal lines using a small 1/2" wide ruler. I have one of those somewhere! Once I learned this trick for quickly drawing lines on four squares at once I never looked for that little ruler again. With an accurate 1/4" presser foot, I only need to draw the center line. If you prefer to draw the SEWING LINES, draw 1/4" away from the center on both sides of the diagonal.
Yes, I know there are other ways to make Flying Geese (FG). This is my preferred method. The measurements are slightly oversized so you can "Trim to Perfection".
It is VERY IMPORTANT to trim these Flying Geese units to 3" by 1.75"--they FINISH at 2.5" x 1.25"--that is when sewn into the block. Lynn's Video for Month 1 shows how to trim using the Bloc Loc ruler.
When I made these first Flying Geese units I didn't have the Bloc Loc ruler in that size. To use a square ruler, place the 1.5" line at the middle of the unit, being sure the height is at least 1 3/4". Trim the right and top sides to that size--this is the FIRST CUT:
Turn the unit completely around, place the 1.5" line at the middle again and trim the remaining two sides. The first cut is IMPORTANT, the second cut is CRITICAL. It will determine what size the Flying Geese unit is:
What if you have a Bloc Loc Ruler that is NOT THE RIGHT SIZE? Can you use it? Yes, sort of. The 45 degree angle at the peak of the Flying "Goose" is the same angle, regardless of size. You can use a larger Bloc Loc ruler to cut the TOP EDGE of the unit.
In the photo below, the top FG unit shows the accurate ruler size and the bottom FG unit shows a much larger ruler:
The larger ruler can help you cut the TOP EDGE only of the FG. Use a square ruler as described above to cut the remaining 3 sides. BE SURE TO TRIM TO 3" X 1.75":
Notice the FG unit is now turned upside down. Place the 1.5" mark on the ruler at the V of the FG, keeping the diagonal line on the seam. The unit must be 1.75" high to be cut accurately so be sure to look at the lower edge BEFORE CUTTING:
Trim the right and top sides:
Turn the FG unit again so you can trim the remaining edge. The unit needs to be 1.75" x 3":
Lucy K made a post on the FORUM that the Deb Tucker Wing Clipper II ruler had the markings for the correct size Flying Goose: 1.75" x 3" cut size, 1.25" x 2.5" finished size. My local quilt shop had this ruler in stock so I bought it to try:
It was successful if I was careful to hold the ruler tightly in place while trimming. Having gotten VERY USED to quality rulers with non-slip stuff on the bottom, Quilter's Select and Creative Grids, I found it easy for the ruler to slip as I was trimming. Putting solid pressure on the ruler prevented that, I just had to remember I really had to press down firmly.
AVAILABLE NOW:
The diagonal line goes on the right diagonal seam. Remember to CUT 1 3/4" x 3". Trim the right and top sides:
Turn the unit upside down. The
X sits exactly at the Point of the goose, the 1 3/4" line is now at the bottom and the 3" line is on the left side. HOLD tight as you trim to exactly 1 3/4" x 3":
So it is clear you don't have to have specific rulers to make Flying Geese. As it is difficult to find the 1.75" x 2.5" Bloc Loc Flying Geese Ruler most will be using another type of ruler to trim the FG units. Once you get the hang of your preferred method you will be all set. The EXACT SIZE BLOC LOC FG Ruler just makes the trimming process easy, accurate and fast. If and when more of these rulers become available I will announce it on the
FORUMI love making Four Flying Geese at once and always make them the way Lynn describes in the pattern and her video. Making them OVERSIZE allows for insurance. You just have to know what size to cut the squares for the specific size Flying Goose you want to make. I have a TUTORIAL here you might also find helpful: Four Flying Geese
Here is a GREAT CHART that shows the sizes to cut squares needed for a variety of Flying Geese units Four at a Time Oversized:
The Crafty Quilter
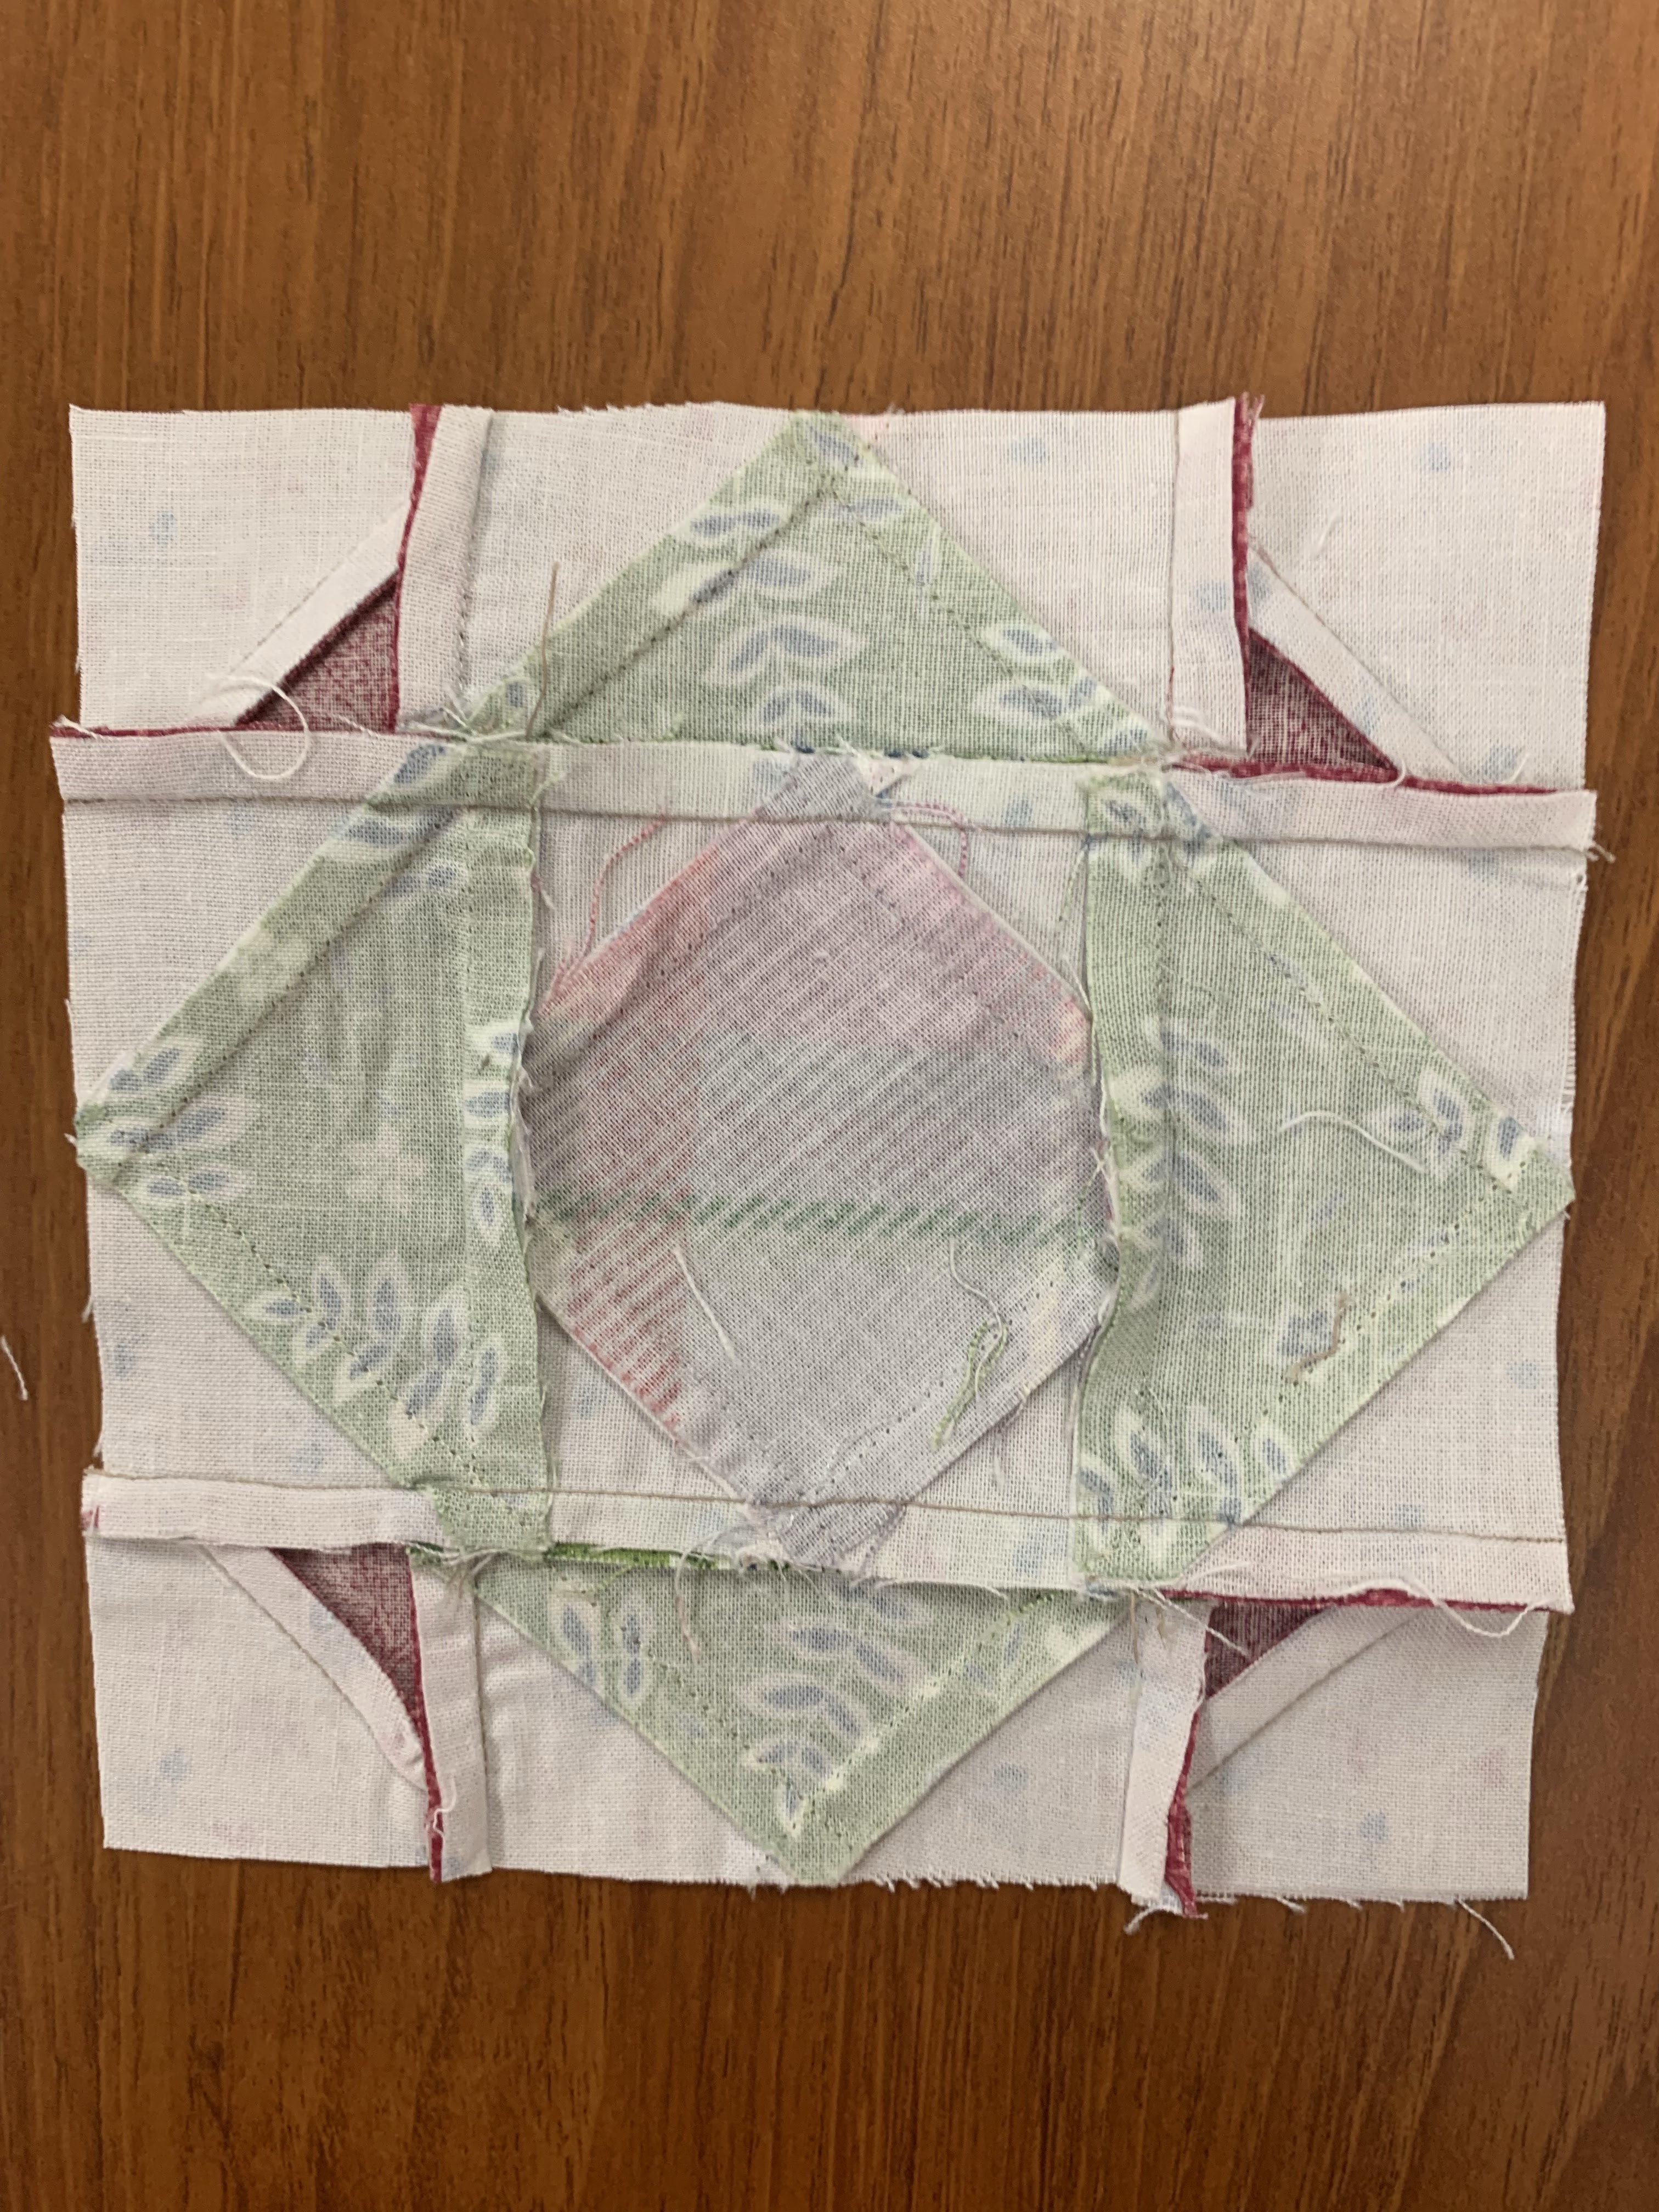
The 4-Patches are simple to make. The pattern instructions say to press the seams open. I don't usually do that. I "twirled" the center:
The pattern instructions clearly show how to assemble the block with the Flying Geese and 4-Patch units. I pin at all intersections and sew carefully. It's not a race, sew as slowly as needed to be successful. Double check your blocks to be sure they are the correct size when complete.
The pattern instructions also say to press seams open in the block construction. I will be interested to hear what Lynn says about this. For now, I pressed mine like the one on top, the one on bottom is pressed open:
At the time I made these blocks I did not have access to Lynn's show or videos. After I watch those, I may change my mind about pressing.
Next month the first applique blocks are made. I am working on "optional alternative pieced blocks" should you prefer not to do applique. The choice is completely yours.
Let's quilt.