Showing posts with label Sizzle quilt. Show all posts

Sunday, April 5, 2020

Free Motion Quilting--Ruler Work--Quilting Sizzle Quilt

UPDATE NOTICE--lots of photos have been added showing how I quilted the Cool Sizzle quilt.

For a lot of quilters, deciding HOW to quilt our quilts is the biggest challenge. It certainly is for me. I really like Ruler Work so do as much of it as I can.

This week I finished quilting the Cool Sizzle quilt, with the pieced borders:


While quilting it, I thought "who can I give this to?" Our niece, Kallie, who is expecting her first baby in just a couple weeks did not get the traditional "college graduation Super Star quilt" I make for all our nieces and nephews--she wasn't an official part of the family then. A couple years ago she told me turquoise was one of her favorite colors. It just seems like she is the right one to get this quilt.

Sizzle was designed by Becky Goldsmith for The Quilt Show. It was the 2019 Block of the Month. Now Becky has the rights to her pattern back and is working on having it published. She enjoyed seeing some of the border variations members of TQS did on their quilts and this is a border she wants to include. So good photos are a must.

Once the quilting was done on Cool Sizzle, I jumped on to Foothills:


I really love this quilt and am keeping it for  myself. See these posts for more information:

Last Chance

Change Your Mind

I worked with plexiglass and a dry erase marker, trying out a variety of design ideas after going through a lot of Free Motion Quilting books and YouTube videos:


I also played with paper and pencil:

When I had a plan, I just started. Only have a few blocks done so far but I am happy with the designs overall:


For Free Motion Quilting, I am working to master a few designs I really love and those will become my "go-to" designs for most quilts. Feathers are high on the list so I might quilt a simple feather border on the narrow outside border. On second thought,  it really might be too  narrow for feathers so loopy leaves is another design I enjoy--that is fast and fun.

I will enjoy quilting several blocks on Foothills each day, now that I know what the plan is.

What are you working on? Does the quilting part come naturally to you or is it hard to decide what to quilt?

Let's quilt.

Barbara

Sunday, December 1, 2019

Sizzle--It's a Wrap!

We have made it to December and Sizzle is coming to an end. My Warm version is done and gifted, it now lives in Texas:

SIZZLE--HOT!
VERY IMPORTANT NOTE: If you are not done, and that's OK, BE SURE you download/print/save ALL the instructions by December 31, 2019. After that date they are ALL removed from The Quilt Show and become the sole property of Becky Goldsmith, the designer. Any you are missing you will have to purchase directly from Becky when she has the pattern available for sale. That's the legal, contract, and copyright rules and we have to abide by them.

Let's talk about assembly of the top. It's pretty simple:

1. Sew 9 blocks together into rows, 3 x 3
2. Add Left and Right borders on the sides
3. Add Top and Bottom borders--Done!

Now it's time to quilt. I did this one myself on my Bernina Q20 Sit Down Longarm. I pin-basted it with safety pins, using my dining room table, doing first one side, then the next.

I selected threads that would blend with the various fabrics. I used a tan Bottom Line thread for the back, that blended completely with the back fabric:


When I am quilting my own quilt, I make a test "sandwich" of the same back and batting and several of the fabrics in the quilt. This allows me to test the thread and tension before working on the quilt. This one is pretty skimpy, I recommend a larger "sandwich":

While in Denver in August taping The Quilt Show, I was able to see and photograph both the Cool and Warm versions made by Becky Goldsmith. The Cool was quilted by Becky and the Warm by Angela Walters. This gave me a few ideas for quilting designs.

First, I stitched in the ditch between the rows of blocks. This helps to stabilize the quilt and quite a few of the pins can be removed as this step is done.

Second, I stitched around the large circle of each block. It took me until block 6 to realize I had to SLOW DOWN--I took out quite a lot of the stitching as I veered off course going around the circles. If doing this on a domestic machine, with feed dogs, I would have been more successful from the beginning. Once I slowed down and kept my hands close to where I was stitching, things were much better.

Now it was time to add more quilting to each block. I love ruler work so chose then whenever possible and appropriate:

Stitching in the Ditch where the border meets the quilt

For each block, I used a piece of plexiglass and dry erase marker to "audition" free motion designs I wanted to try:
Ideas for the Background


For the purple wedges that are along the outer circle edge, I wanted to use a design that was easy to quilt and would be continuous around the the block. All 9 would be done the same. Here is what I decided to do:

As I went around the circle, I used the ruler to go down the right side of the wedge, then did a double loop from the point up toward the outside of the wedge, then I used the ruler to move up the left side of the wedge, back to the curved outside edge. If you are really good at free motion, you could do those straight lines without a ruler.

The most important decision was how to quilt the yellow/orange/rust backgrounds. In the photo above you see the path I selected. Here is the result:


I used white school chalk to make marks at the places I needed to hit. To keep it continuous, the center line was stitched up then back out so I could keep going.

When the first pass was done, I decided it needed more quilting so I did a second pass that echoed the first and traveled in the ditch. Yes, that puts a good bit of stitching in the ditch in places, but you can't see it unless you really look close. And that beats starting and stopping all the time.

Each block got additional quilting, some ruler work, some free motion, depending on what I felt it needed. Some were better than others, some I kept adding to, usually after thinking I was done. The next day I would realize more quilting was needed.

For the Borders, first I echoed each applique' shape. Then I filled in with swirls and loops, all of this with thread that closely matched the rust fabric. Then I used thread that matched the applique's and did some decorative stitching on each shape.

All in all, it was fun, I was pleased with my quilting and the overall quilt is one of the best I've ever quilted myself. The entire job took less than 20 hours over 5 days.

Here are shots of each block:


Feel free to quilt yours however you like.

Finishing the quilt requires binding, adding a sleeve and a permanent label. I have written about these topics before. And there are many videos online that show these important steps. My links:

Finishing and Binding and adding a Sleeve

Adding a Permanent Label   I am a believer that every quilt needs a label, just do it.

The label I put on mine, showing the back fabric:


When my Sizzle--Hot! was completely done, I machine washed and dried it with a Color Catcher--if it was going to bleed I wanted to find out before giving it to my friend. That got rid of the chalk marks and left it soft and cuddly. She likes it and I am happy she will enjoy it.

Next up for me is quilting Sizzle--Cool. I will do the backgrounds the same but have a few other quilting motifs in mind for this one:
Pin basted, ready to go

Test sandwich, ready for thread and tension adjustments
I hope you have enjoyed this year-long journey. We have Becky Goldsmith to thank for a wonderful design, and The Quilt Show to thank for giving it to us for FREE!

Let's quilt.

Barbara

Wednesday, October 30, 2019

Sizzle Month 11 Top and Bottom Borders

We are about at the end of this journey. The top and bottom applique' borders are ready to be created.

My  instructions are very similar to Month 10, the Side Borders. I printed the patterns on Quilters Select Print and Piece Fuse Lite and cut all those shapes out. 

IMPORTANT CUTTING TIP: I found my top and bottom borders to be too short when all the applique' was done and had to add about 3" to each end of both before trimming. The applique' process takes up some fabric. Also, since I had not prewashed the rust fabric, the borders may have shrunk in the sink as they soaked. Ultimately, the borders were trimmed to 6" x 71.5"--start with at least 7" x 75"--I wish I had. 

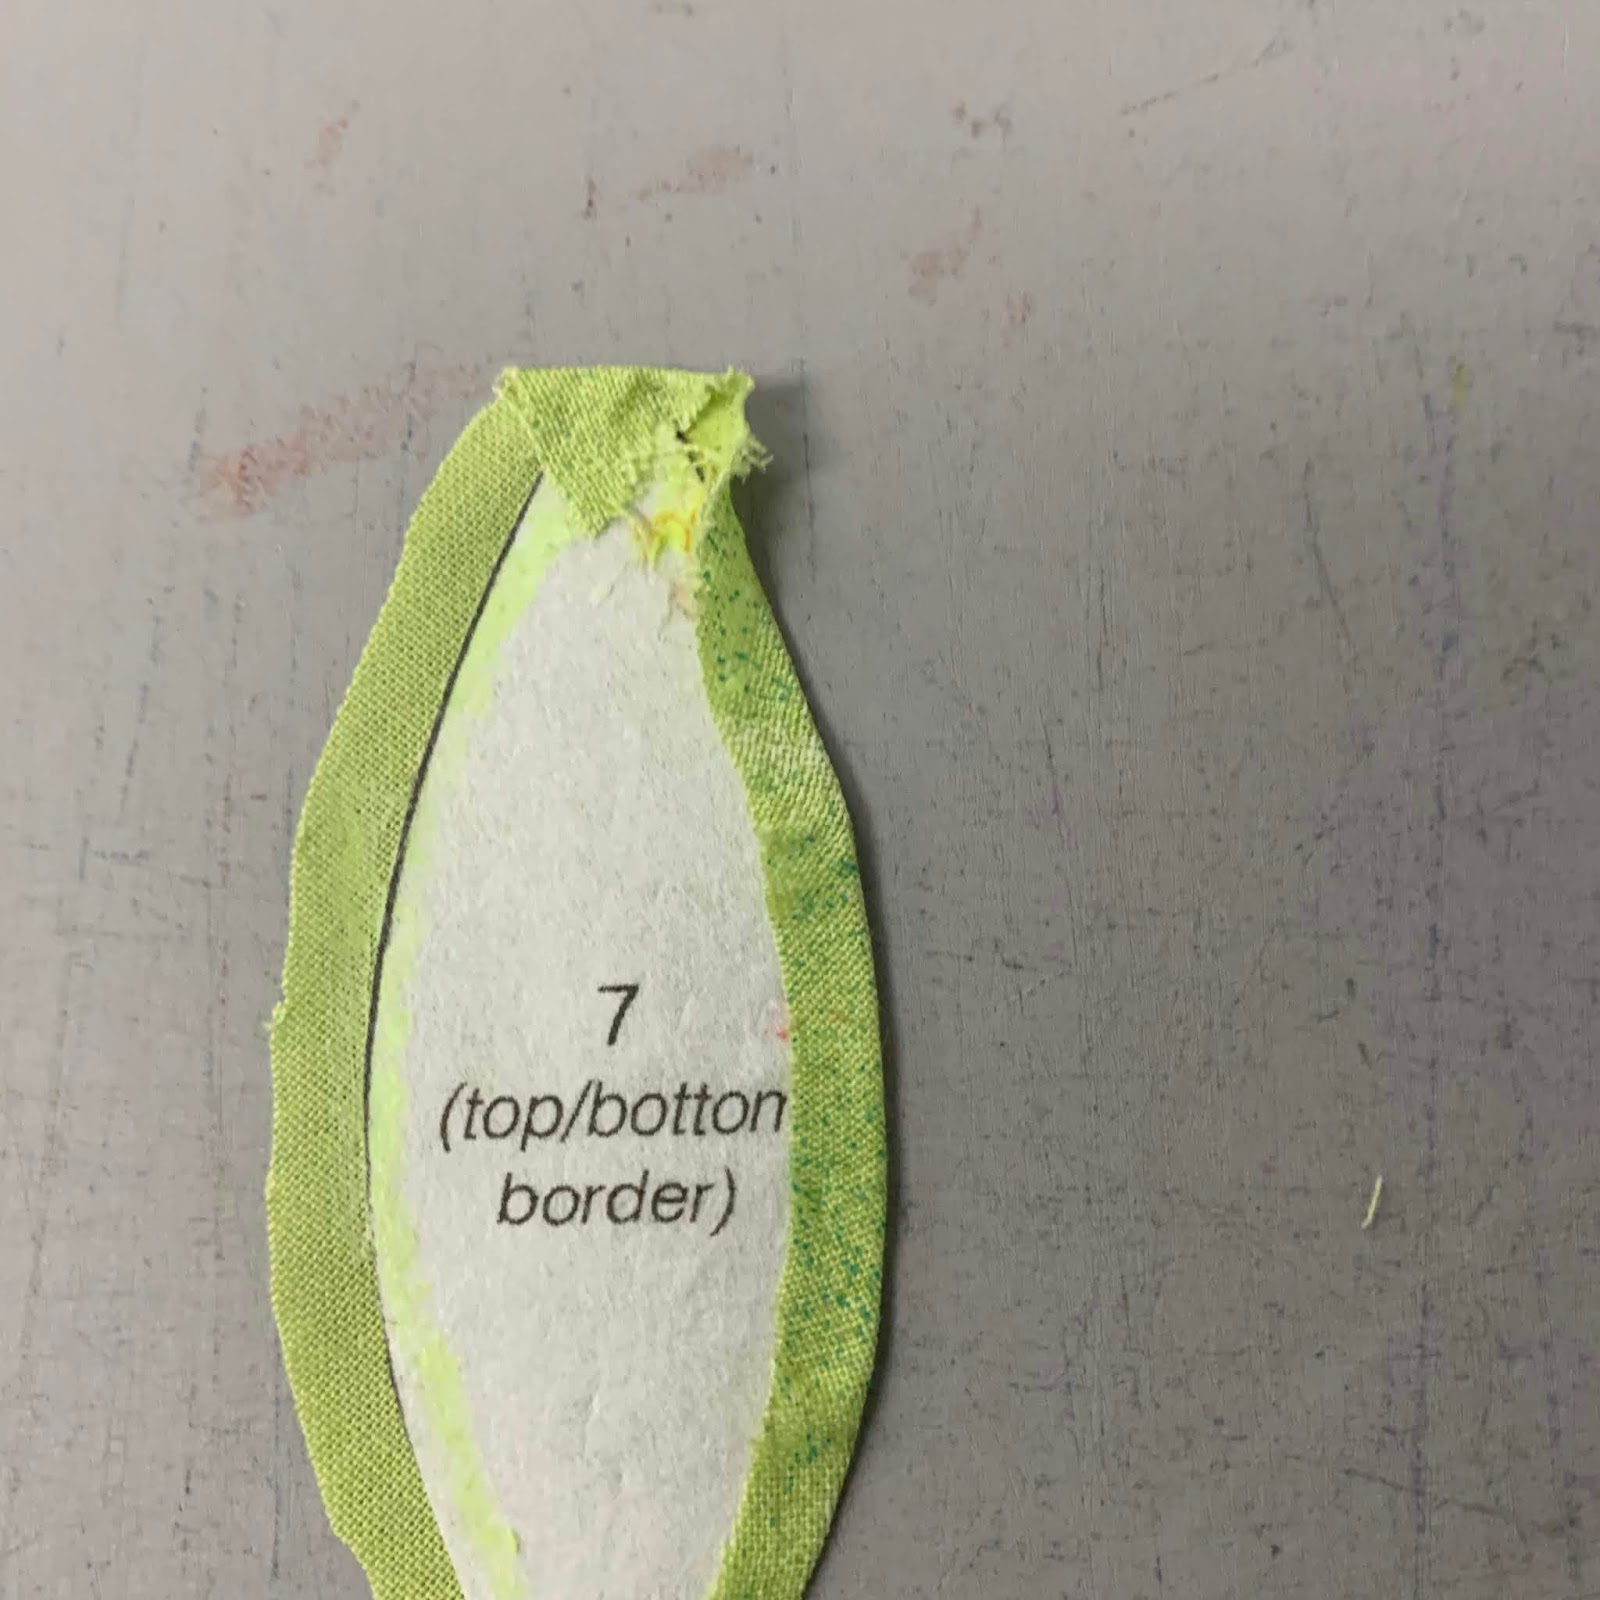
Preparing the shapes takes time. First, you fuse the pattern to the back of the fabric, then cut out the shapes, allowing a 1/4" seam allowance:


Glue the edges of fabric over the interfacing:


I like the forked tongue end of the Appliquick tool, it really grips the fabric:


 To make the tip pointy, I turned it under first:

Then I fiddled with both sides to make the tip as pointy as possible:

Real leaves don't have perfect points, so allow for some imperfection if you can't get them all really pointy.

You may remember last month, I found it very easy to print the placement patterns on vellum, tape those together, and have a placement pattern I can see through without all the work of tracing on vinyl:


Using the placement pattern, I put the 3 green leaves on the background, pinning them in place. I did two sets of 3 leaves at a time, then applique'd them. The green thread worked on  both fabrics, so each group of 3 was stitched as a group:


After all the green leaves were applique'd, I added the orange/yellow sets of leaves, 4 in each group. I did the four leaves as a group so I could applique' them in one step, not changing thread. The green circle covers the place where I moved from one petal to the next.


The single yellow petal that does not go under the green circle was stitched after the 4 orange/yellow leaves were stitched. Since I had to start and stop and tie off the threads, they were done last.

Becky recommends using Karen Kay Buckley's Perfect Circles--that is what I did. I started with the interfacing on the back side of the fabric, that adds a good edge for the applique'.  A row of small basting stitches is used around each, in the seam allowance:
Using the templar "washers" the correct size, draw the basting thread around each circle, pull tightly and press:

I used spray sizing spritzed directly on the circles, let that dry just a bit, then used the iron to fully dry the circles. Be sure they are really dry before you remove the washer--I left them at least 30 minutes after ironing dry. Carefully open the basting just large enough to remove the washer, then pull the basting thread to get the circle back into shape. The sizing helps the edge stay crisp and the circle easily goes back into shape.

Once all the circles were made, I added all the blue circles, then all the green circles. Blue thread on the blue, green thread on the green:


I soaked each border in the sink in warm water for about 15 minutes to remove the glue and fusible interfacing. I left them dry overnight before pressing firmly and trimming them to size.

Just as with last month, I used a 6" wide ruler and white chalk pencil to draw lines on the border before cutting. I was able to be sure the shapes were centered before making a mistake cutting. Then I cut the border to 6" wide.


It was at this point I discovered my borders were too short. I added about 3" of rust to each end of both borders, then carefully trimmed them to 71.5" long. See CUTTING TIP above to avoid this problem.

Becky decided to put her top and bottom borders in the same orientation--she did that deliberately. I put mine so they are "mirror images" of each other, with the long orange petals along the outer edges. As she says, "it's your quilt, you get to decide how you want to do it".

So, here we are at the end. Next month we will talk about the quilting and a few other things.

Let's quilt.

Barbara