Showing posts with label Sizzle applique' borders. Show all posts

Wednesday, October 30, 2019

Sizzle Month 11 Top and Bottom Borders

We are about at the end of this journey. The top and bottom applique' borders are ready to be created.

My  instructions are very similar to Month 10, the Side Borders. I printed the patterns on Quilters Select Print and Piece Fuse Lite and cut all those shapes out. 

IMPORTANT CUTTING TIP: I found my top and bottom borders to be too short when all the applique' was done and had to add about 3" to each end of both before trimming. The applique' process takes up some fabric. Also, since I had not prewashed the rust fabric, the borders may have shrunk in the sink as they soaked. Ultimately, the borders were trimmed to 6" x 71.5"--start with at least 7" x 75"--I wish I had. 

Preparing the shapes takes time. First, you fuse the pattern to the back of the fabric, then cut out the shapes, allowing a 1/4" seam allowance:


Glue the edges of fabric over the interfacing:


I like the forked tongue end of the Appliquick tool, it really grips the fabric:


 To make the tip pointy, I turned it under first:
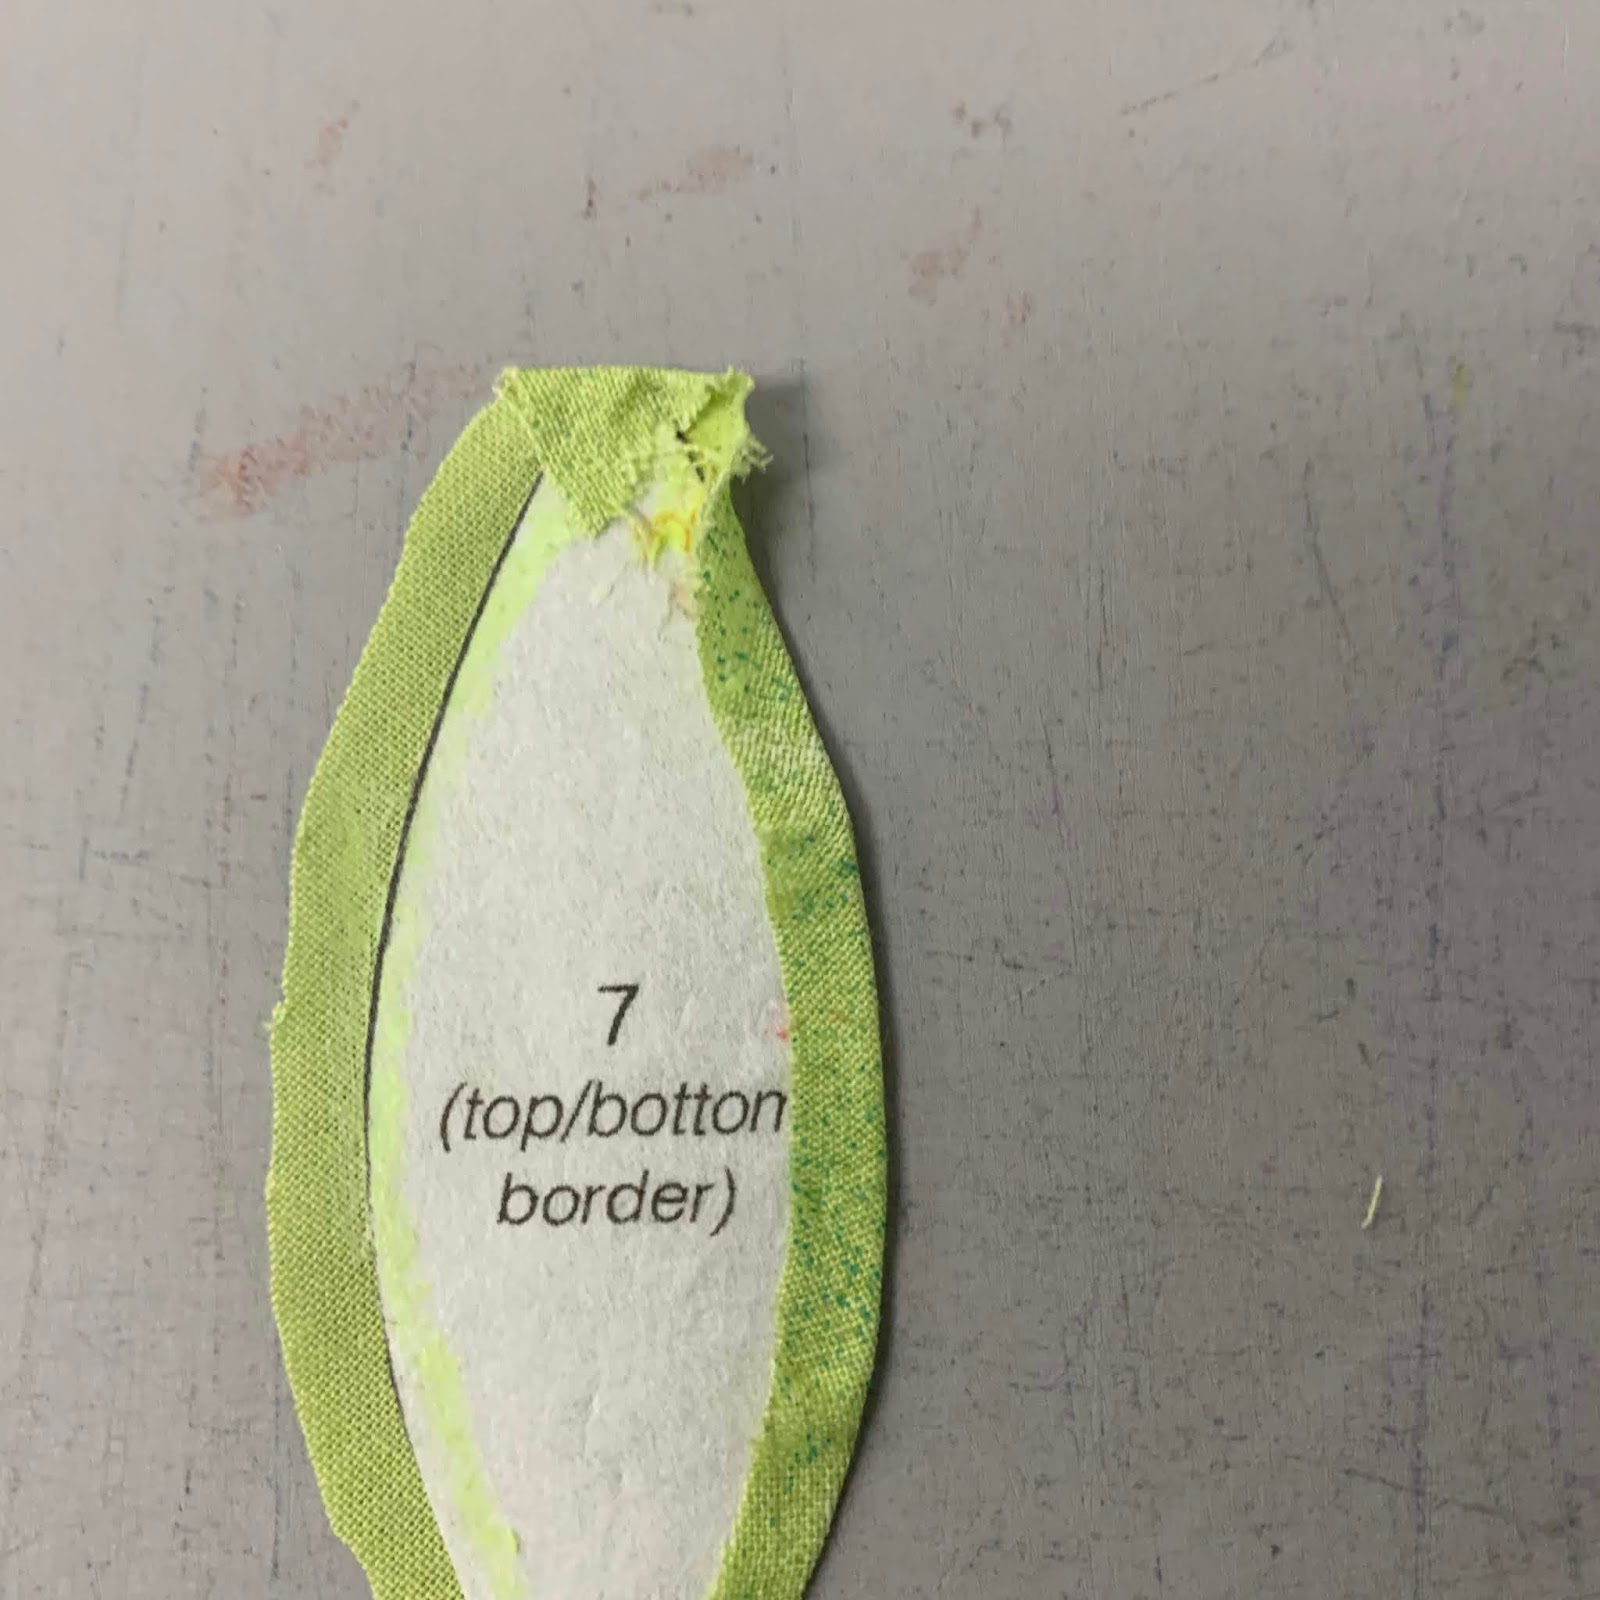
Then I fiddled with both sides to make the tip as pointy as possible:

Real leaves don't have perfect points, so allow for some imperfection if you can't get them all really pointy.

You may remember last month, I found it very easy to print the placement patterns on vellum, tape those together, and have a placement pattern I can see through without all the work of tracing on vinyl:


Using the placement pattern, I put the 3 green leaves on the background, pinning them in place. I did two sets of 3 leaves at a time, then applique'd them. The green thread worked on  both fabrics, so each group of 3 was stitched as a group:


After all the green leaves were applique'd, I added the orange/yellow sets of leaves, 4 in each group. I did the four leaves as a group so I could applique' them in one step, not changing thread. The green circle covers the place where I moved from one petal to the next.


The single yellow petal that does not go under the green circle was stitched after the 4 orange/yellow leaves were stitched. Since I had to start and stop and tie off the threads, they were done last.

Becky recommends using Karen Kay Buckley's Perfect Circles--that is what I did. I started with the interfacing on the back side of the fabric, that adds a good edge for the applique'.  A row of small basting stitches is used around each, in the seam allowance:
Using the templar "washers" the correct size, draw the basting thread around each circle, pull tightly and press:

I used spray sizing spritzed directly on the circles, let that dry just a bit, then used the iron to fully dry the circles. Be sure they are really dry before you remove the washer--I left them at least 30 minutes after ironing dry. Carefully open the basting just large enough to remove the washer, then pull the basting thread to get the circle back into shape. The sizing helps the edge stay crisp and the circle easily goes back into shape.

Once all the circles were made, I added all the blue circles, then all the green circles. Blue thread on the blue, green thread on the green:


I soaked each border in the sink in warm water for about 15 minutes to remove the glue and fusible interfacing. I left them dry overnight before pressing firmly and trimming them to size.

Just as with last month, I used a 6" wide ruler and white chalk pencil to draw lines on the border before cutting. I was able to be sure the shapes were centered before making a mistake cutting. Then I cut the border to 6" wide.


It was at this point I discovered my borders were too short. I added about 3" of rust to each end of both borders, then carefully trimmed them to 71.5" long. See CUTTING TIP above to avoid this problem.

Becky decided to put her top and bottom borders in the same orientation--she did that deliberately. I put mine so they are "mirror images" of each other, with the long orange petals along the outer edges. As she says, "it's your quilt, you get to decide how you want to do it".

So, here we are at the end. Next month we will talk about the quilting and a few other things.

Let's quilt.

Barbara

Friday, October 4, 2019

Machine Applique'--Stitching Shapes in Place

The pattern shown here is the 2019 Block of the Month Quilt, free to Star Members of The Quilt Show from January 1, 2019--December 31, 2019. The pattern is Sizzle, designed by Becky Goldsmith.

These instructions apply to any machine applique' pattern.

Now we get to the fun part, machine appliqueing the prepared shapes to the border fabric. The first side border is trimmed and on the wall--I like it:


You have lots of choices in this process:

Thread Size: thick or thin, anything from 40 wt to 100 weight

Decorative Stitch: Blanket Stitch, Straight Stitch, Zig Zag Stitch, Blind Hem Stitch, or others, you decide which you like

Thread Color: one or many? Matching the applique' means your stitches will hardly show. One color that blends well with most of your fabrics means you don't spend time changing thread

Becky has two videos in which she shows you both straight and buttonhole stitching. Practice a variety of stitches to see which you like. This sewing is going to take a while so you want to be happy with your stitching.

My thread choices:

Most important to me was the thread color. The blue and orange threads are Sew Complete, a 50 wt polyester thread from Superior Threads. The green on the left is 80 wt polyester thread from Quilter's Select.

The light orange thread in the back is the reject--I tested it on my orange fabric and thought it was too light so I replaced it with the darker orange in front of it.

The dull green on the right is also 80 wt Quilter's Select--it was going to be the bobbin thread I used for all of the stitching. BUT once I started stitching the orange swirls I found the bobbin thread wanted to show so I put the orange thread in the bobbin for those shapes and all was well. Much easier than making lots of adjustment to tension.

Here is my quick sample to test thread colors and stitch length:


The stitch is a buttonhole stitch, #1329 on the Bernina 765/770. I started with settings of 2.0 length, 2.0 width, as Becky recommended. The blue piece was stitched with that setting. On the rest of the pieces I increased the length to 2.3 and liked it better. Play with various sizes to determine which you prefer. Start with the machine default, then adjust until you are happy.

My sewing plan: stitch all the orange swirls first, 3 pair on the side border. Then add the 3 green leaves between the orange swirls--I chose one green thread that would work on both my darker and lighter leaves so I could applique' all three without having to change threads. Lastly, the blue circles get stitched on top of all the tails of the 5 shapes already stitched.

WHAT COULD POSSIBLY GO WRONG?

Several things. Buttonhole stitch looks best when the stitches are perpendicular to the background fabric. That means lots of pivoting. On tight curves it could be stitch, pivot, stitch, pivot, stitch, etc. Slow the speed down.

If your stitch goes into the applique' with a left swing, be sure to pivot ONLY when the needle is in the RIGHT position, in the background fabric.

If you find it hard to keep those buttonhole stitches straight and perpendicular, you might prefer a narrow zig-zag--it's supposed to be slanted.

Tension was off when I changed bobbins--check tension on a practice piece each time you change thread/bobbins.

When it was time to applique' the blue circles on top of the 5 raw edges, the 3 leaves and 2 orange swirls, I discovered the center circle had to be bigger--the shapes were farther apart then they should have been. TIP: don't make the circles until AFTER you stitch all the shapes--then you will know if your circle needs to be larger. Here  is my center blue circle after I  made it bigger:


NOTE; For the right Side Border, I used a white chalk pencil to draw the circle on the border--the only pencil marks I made on the border. This way I could be sure I placed the applique's so that all the raw edges would be covered by the circle:


Next, I put the entire border in the kitchen sink in warm water and let it sit about 15 minutes. This removes the fusible interfacing product and the glue:

Oh, my, it appears there is bleeding... No, I didn't pre-wash most, if any, of these fabrics. Unlike the Cool Kit--I did pre-wash all of that. Hopefully, the fabrics won't absorb this color, time will tell. This quilt will definitely be washed with Color Catchers when completely done.

Since the other 3 borders were cut but not sewn yet, I soaked those 3 borders before sewing the applique's in place. After 15 minutes:

After allowing the Side Border to air dry overnight, I very carefully trimmed the border to 6" x 60.5". Measure three times to cut once--there is no do-over if you get it crooked.

I was careful to measure out from the applique's, keeping the background on both sides as close to the same distance from the applique's as possible. I used a chalk pencil with a light touch to know where to trim the outside edges of the border. Using a 6" wide ruler made it possible to draw both lines at once:


Half of 60.5" is 30.25"--I folded the border in half and measured from 30.25" out:


It took several days to do all these various steps before I could machine applique'. Lots of prep, but the sewing is fast. With needle turn applique', I have less prep time but the sewing is slow. Each has it uses, decide which you prefer for any given project.

Now it's on to the second Side Border, then the Top and Bottom borders.

Let's quilt.

Barbara


Wednesday, August 14, 2019

Secret Sewing and Preparation

There has been a lot of secret sewing going on in my studio. The other day I finished my second Sizzle top--my Warm/Combo one:

The applique' border patterns will be released  October 1, but I have to work in advance so the blog with tips and tricks will be ready that day.

While I am making two of these quilts, I did not want to do applique' on both of them, it takes a long time. So here is my Cool Kit version, with a pieced border I designed:


I wanted to be sure whatever design I came up with could be made from the remaining Kit fabrics. If someone runs out, any blue or green that looks like these fabrics, or for the Warm Kit, fabrics that look like those, can easily be substituted in the border.

Recently, I have been hard at work on the 2020 Block of the Month for The Quilt Show. Yes, with a little help from my friends, I made it and will be heading to Denver later this week to tape the show that will reveal it. That show will air in late December. It is a commercial pattern, not my own, and I think most of you will LOVE it.

Much work goes into preparing samples and "step outs" for taping a show. Lots of coordination with the Producer, and others, and lots of practice. Here is my stack of stuff, ready for another run-through before I pack my suitcase:


As an added incentive to join or renew your membership, The Quilt Show is offering a "Taping Special" until August 20--a roll-back to the 2008 price of $42.95 for a one year Star membership. All you have to do is enter AugTaping as the Coupon Code at checkout to get this great deal. The Quilt Show.

Do you know that as a Star Member you have access to ALL the previous shows from the last 12 years? Wonderful teachers, some who no longer travel to teach, and so much great information.

If you join now, you get SIZZLE, the 2019 Block of the Month designed by Becky Goldsmith, FREE,  and get all the information as it is released for the 2020 Block of the Month--you will get that pattern FREE as well, starting in January 2020. Yes, I get paid for some of the work I do for The Quilt Show, but first and foremost, I am a FAN.

The other day I just wanted to quilt something so I created a back and batting for this cute quilt a friend gave away. It is about half done. When finished, I will donate it to my guild's Comfy Quilts program:


Let's quilt.

Barbara