Showing posts with label Garden Party Down Under. Show all posts

Wednesday, November 30, 2022

GARDEN PARTY DOWN UNDER -- QUILTING IDEAS

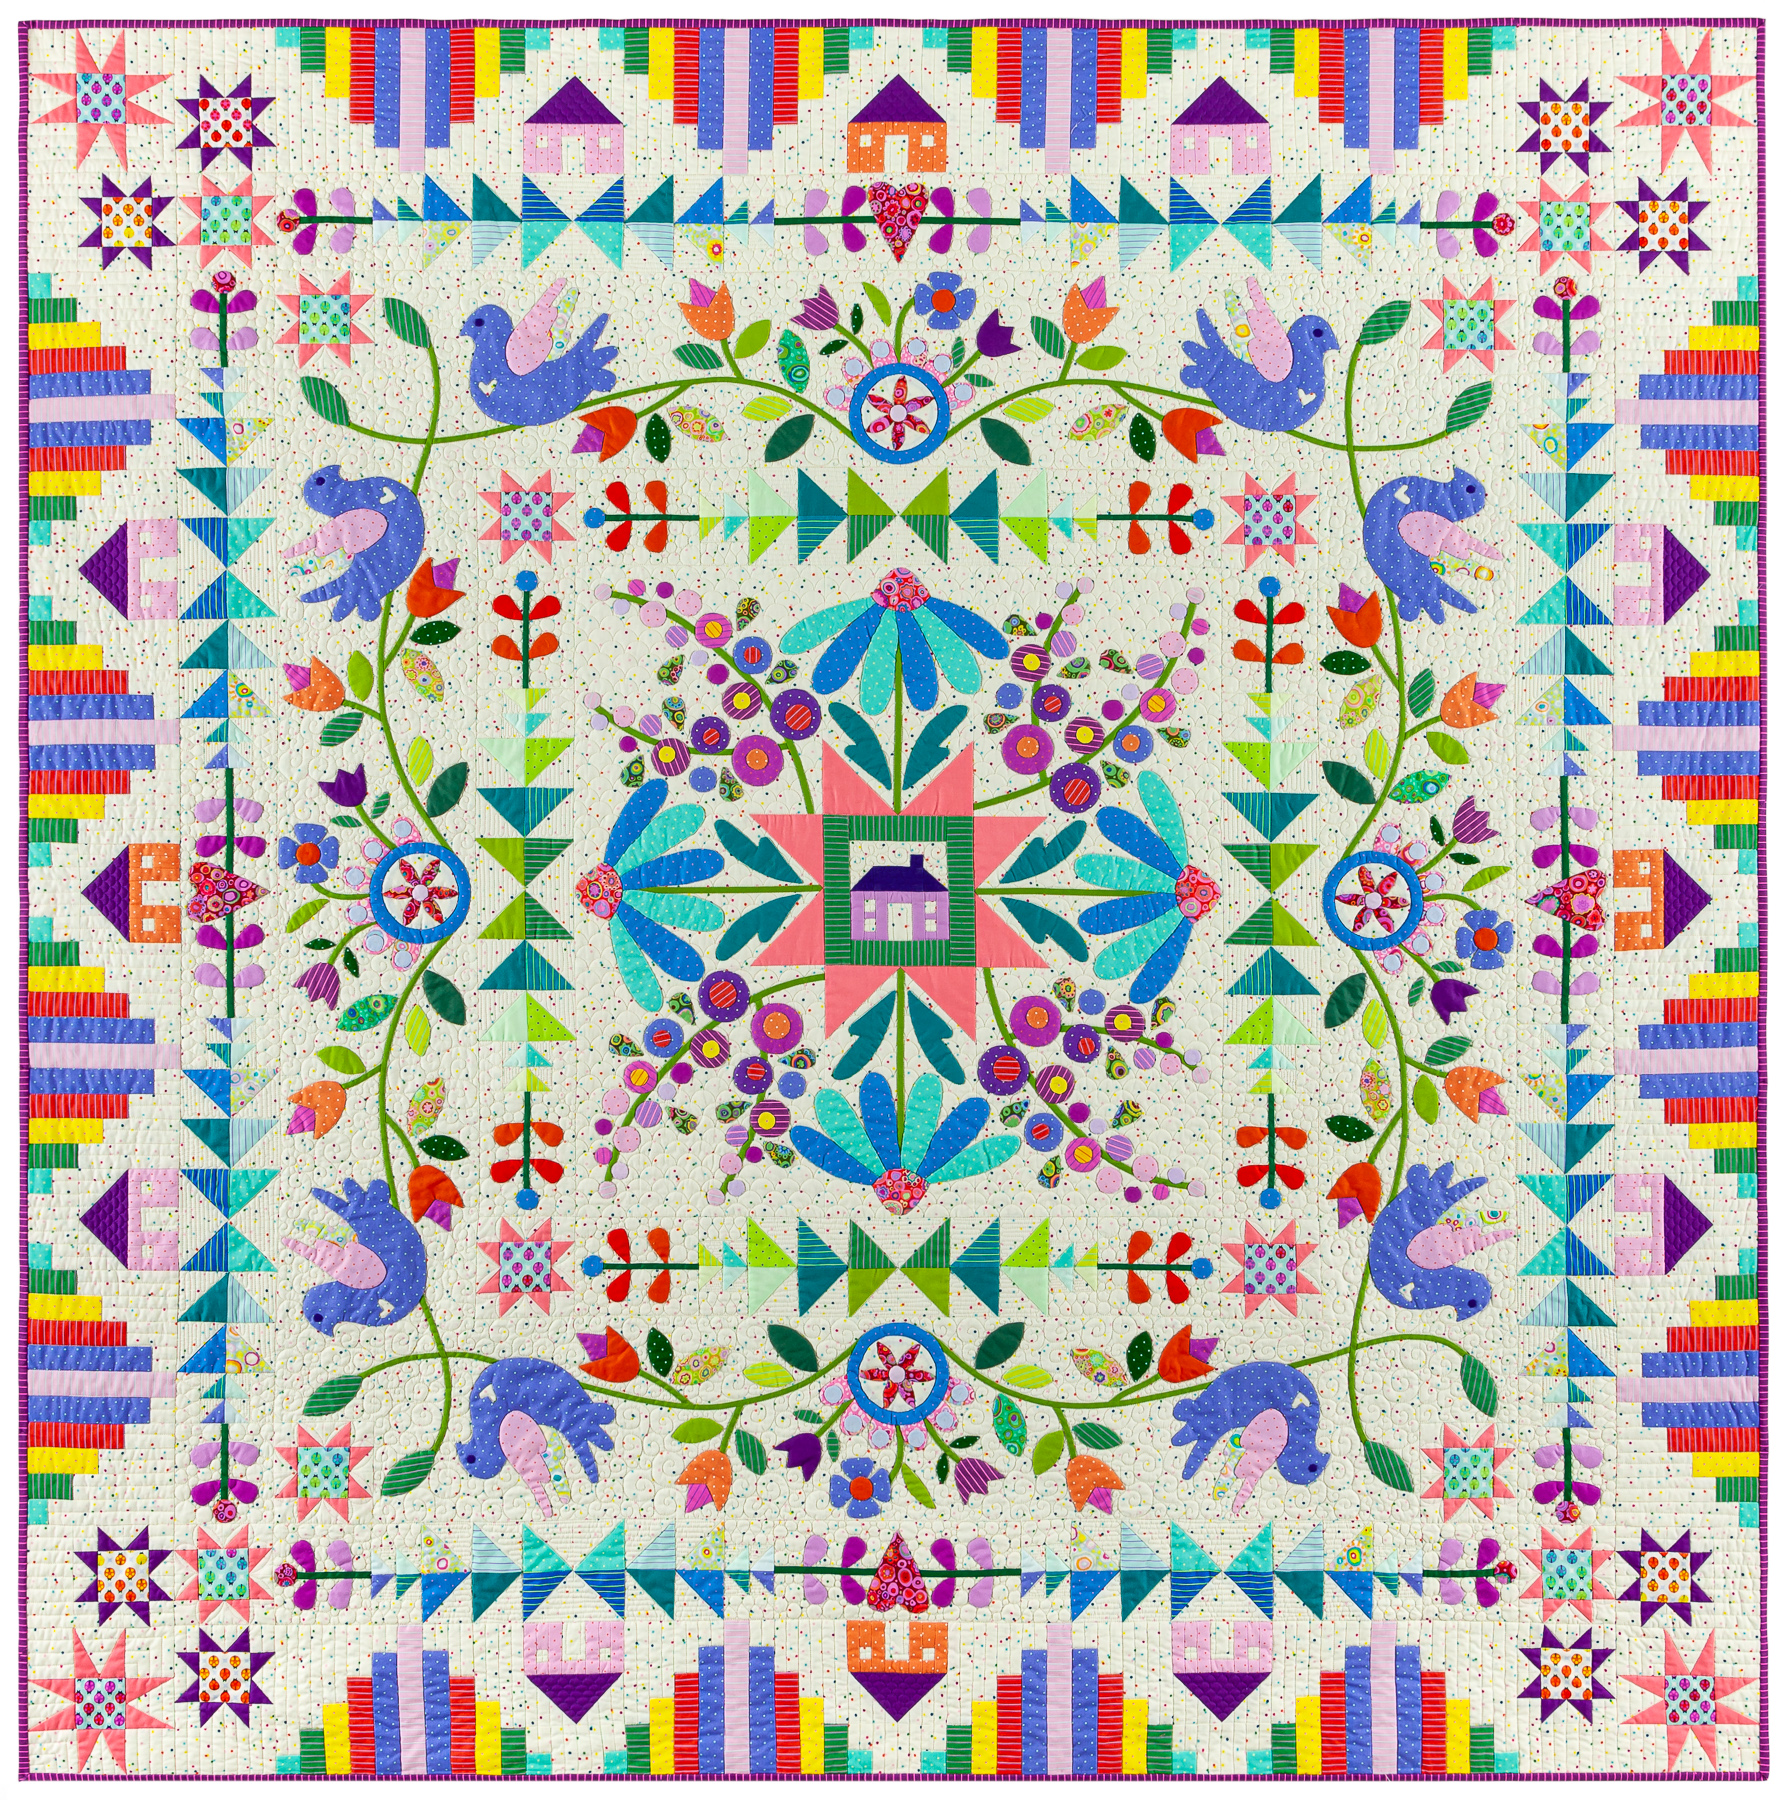
Many people have gotten their Garden Party Down Under top finished and are starting to think about the quilting process. See some of these tops on the Forum topic: Show Your Completed Top Here, you do not have to be a Star Member to see quilts on the Forum.

Here is mine, made in 2021 with the help of 8 of the beloved Sunday Sew and Sews. This photo was taken on the set while taping The Quilt Show in August 2021:


I quilted it on my Bernina Q20 sit down long arm machine. Here are some detail shots:


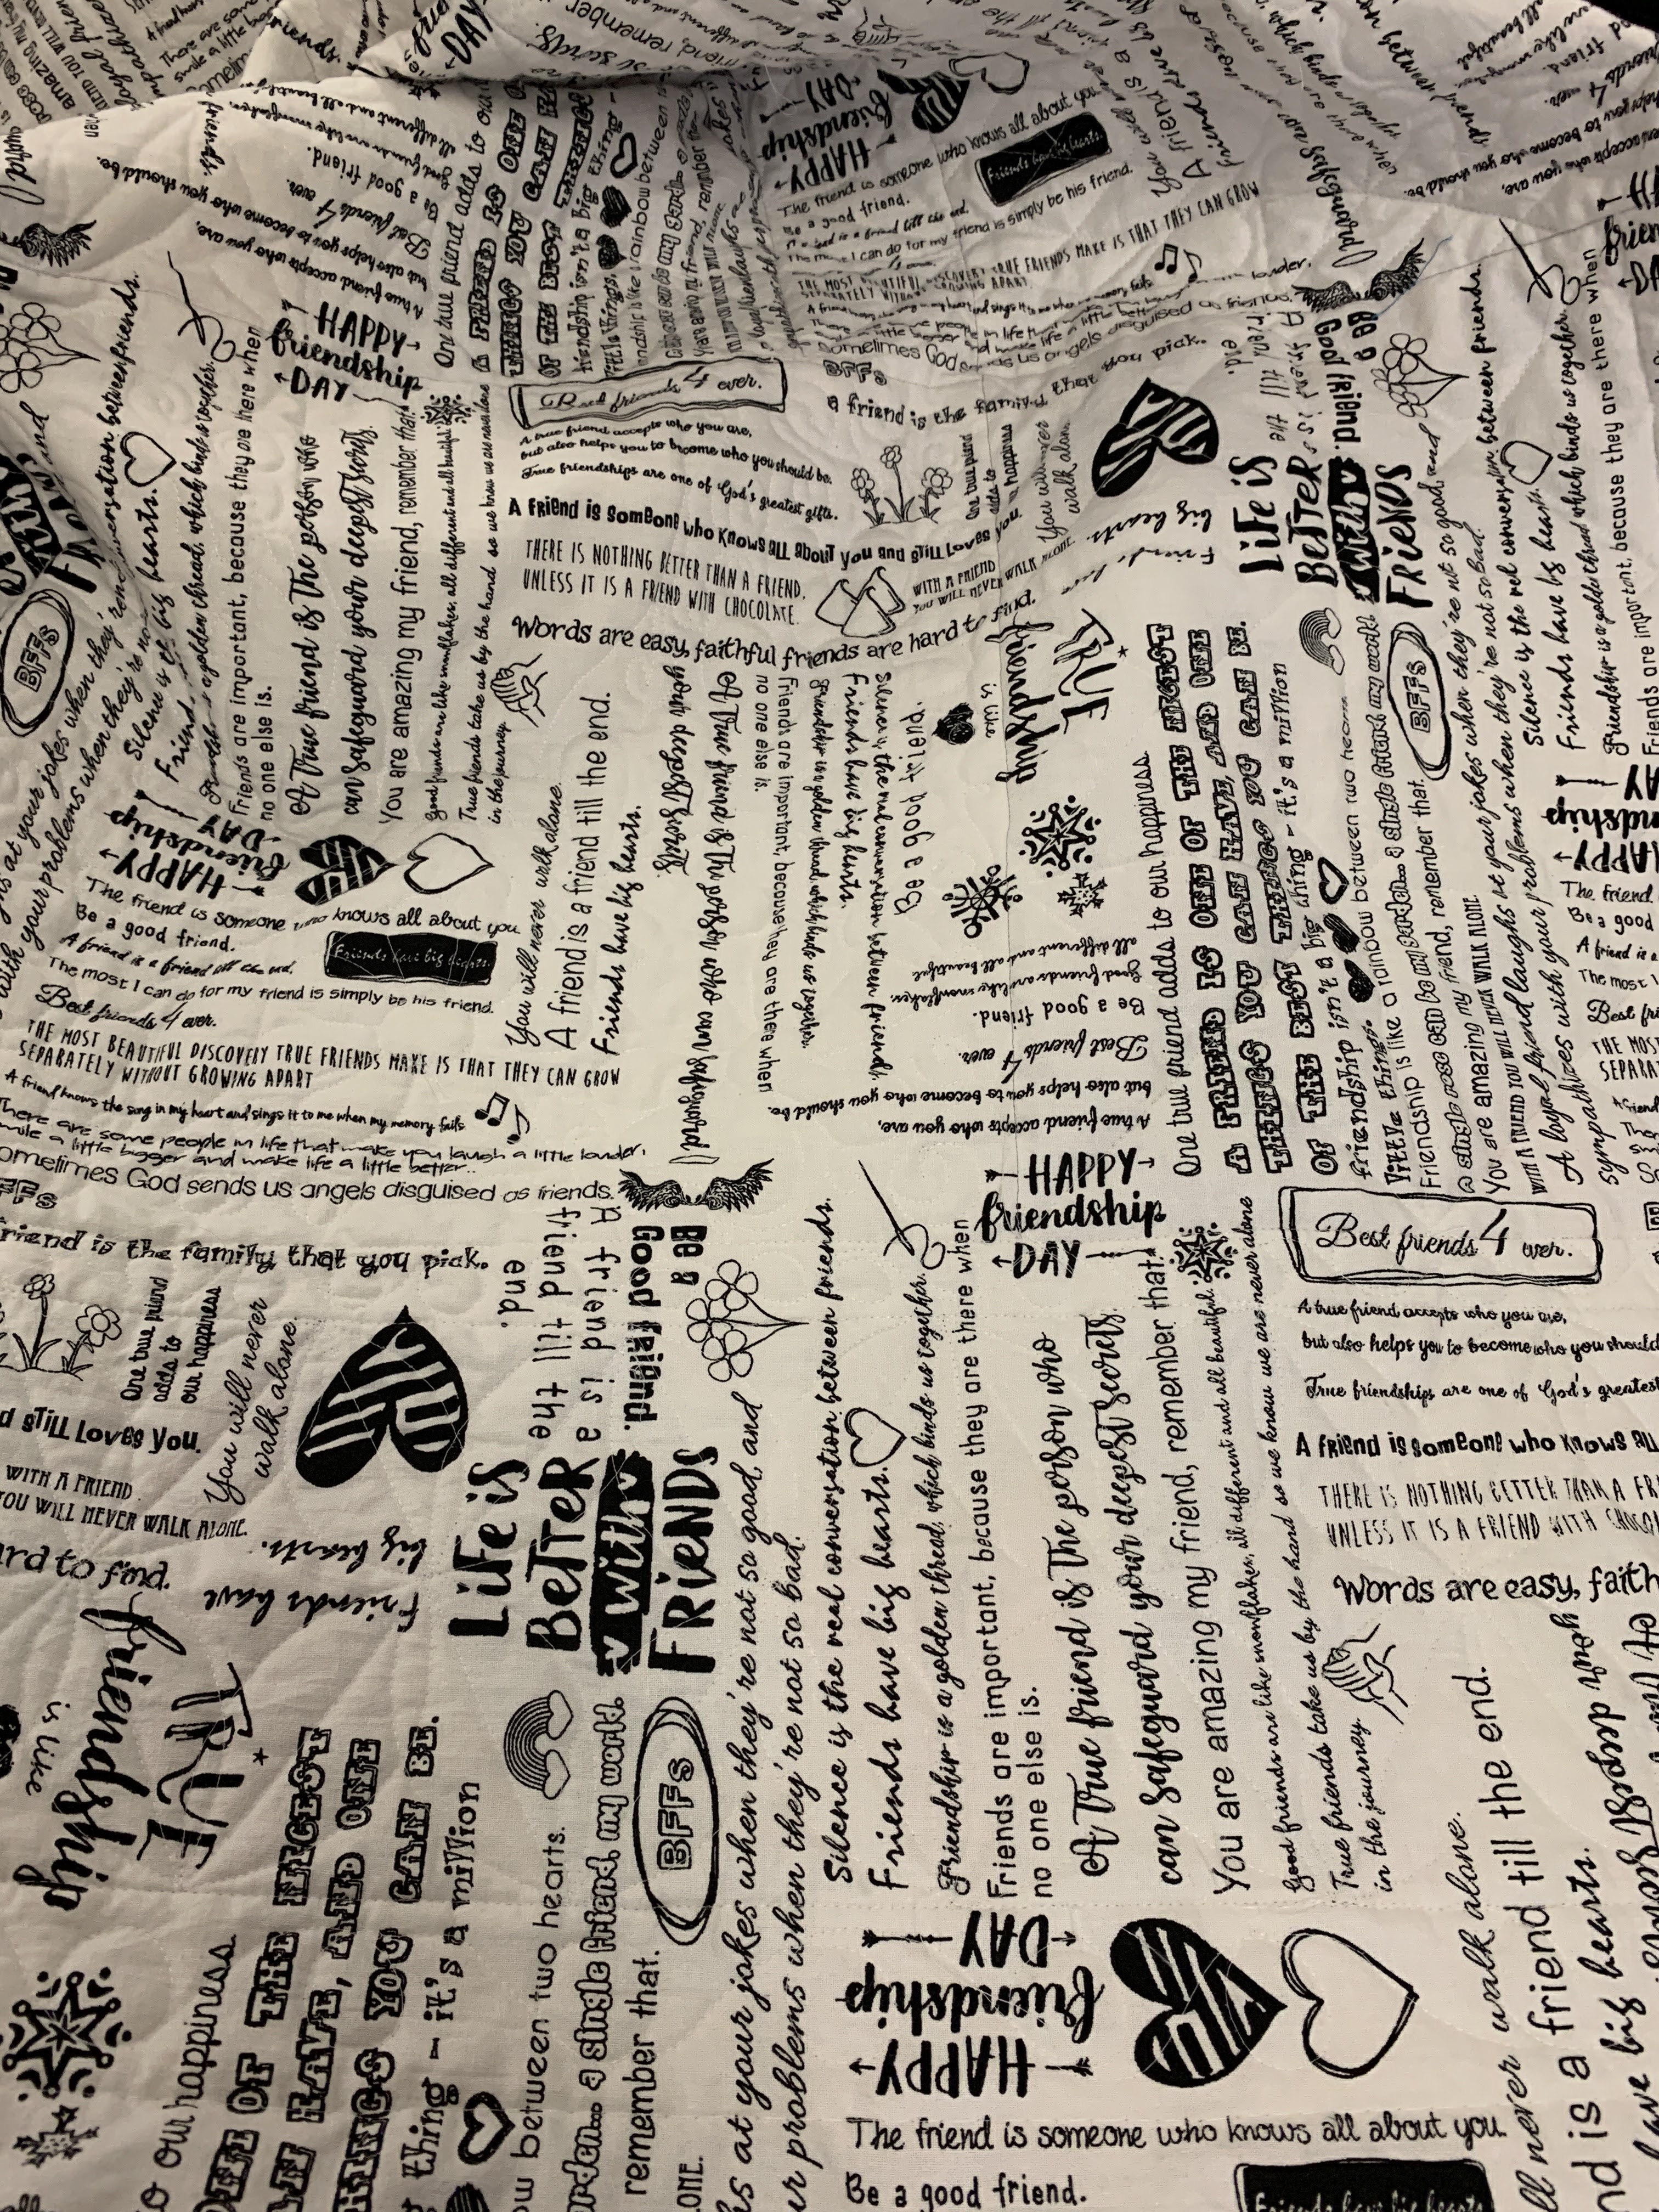
The Back--a busy print hides a lot of things better left hidden, and thread changes if there are any:


Resting on the spare bed after all the quilting was done:


A variety of thread colors and weights. The majority of the quilting was done with Superior's Microquilter in white on the top, and Bottom Line in the bobbin. Accent colors were used on the vases and larger motifs: 

I love ruler work so I often develop continuous designs using rulers that move nicely across the quilt. Using a circle I was able to move from one end of the diamond borders to the other, then go back in the opposite direction, creating a flowing curving design that complements the diamonds: 


See the same design used on the Dogtooth borders around the center:


Here is my basic process when quilting:

1. Good basting is imperative. I use safety pins and most often baste on my dining room table. I tape the back firmly to the table, wrong side up, using painter's tape at the top and bottom. Clamps are used to hold the edges securely to the left and right sides of the table. The batting is laid on top of the back, followed by the top, right side up--it helps to have another set of hands to spread out the batting and top. After pinning the middle, I untape/unclamp the quilt, and slide it to one side, retape/reclamp then pin that side. Repeat for the opposite side. After all the pinning, check to be sure you have no puckers/pleats basted into the back--they have to be fixed. I tend to get them near the corners. 

2. Make a small test "sandwich" with the same back and batting and some of the top fabrics so you can test the thread color and tension before you begin. I write a note for tension setting for each thread so I can get it correct each time I work on the quilt. This project took almost two weeks to quilt, a few hours a day.

2. I used Microquilter thread in the top and Bottom Line in the bobbin, white in both, for the majority of the quilting. The first step is to quilt straight lines from top to bottom, starting at the middle of the quilt. I pretty much follow the seam lines the same way the top was constructed. This serves to stabilize the quilt, allowing some of the safety pins to be removed. My favorite ruler for straight quilting is the Line Tamer by Four Paws Quilting, a great ruler. 

3. After all the straight line quilting was done in all directions, I thought about how to quilt each block. I If the background fabric had a good design, I followed that--like swirls or straight lines. If I needed to create a design, I played with a piece of plexiglass and a dry eraser marker to "audition" designs directly on the quilt--be sure to wrap the edges in painters tape so you don't overshoot the edge of plexiglass with the pen--a disaster you don't need. Designs can be tried out, erased and more designs tried again and again until you like what you see: 


4. Very little quilting was required on the motifs since most are small. The vases are large and need some quilting to secure them. I played with the plexiglass, drawing curvy shapes on the vases to try to give the vase some "round" dimension. While quilting the background of each block, I got close to the appliques, echoing them to help them stand out.

5. The borders were perfect for using a circle template (ruler) to create curving designs that move from one end of the borders to the others. 

6. The two small "floater" borders were the perfect place for some circles. I freehand quilted them: 


I  have written about my quilting process several times before:


Ruler Work -- the Basics   this is a long post and has LOTS of information.

UPDATE--on the December 2, 2022 LIVE broadcast I was asked about the corner flowers and my label. Here is the corner flower, with simple echo quilting on the background and around the shapes:


I make permanent labels for all my quilts. Find my TUTORIAL for LABELS HERE  My label:


This is one of my most favorite quilts. I love the fabrics. I love the design. l am happy with the quilting. And I LOVE the friends who helped me make the top:


You can find some photos of the quilting on Irene Blanck's quilt in our Gallery of Quilts: Monthly Guide . These photos were used for the Monthly patterns. Irene's quilt was quilted by Australian Longarm quilter Rebecca Rae. Find her on Instagram as @astitchnline_machinequilting.

Remember. the patterns for GARDEN PARTY DOWN UNDER are only FREE FOR STAR MEMBERS until December 31, 2022. After this year, the designer regains the rights to the patterns and you will have to buy them from her.

If you join The Quilt Show now, you can still download/save all 12 months of Garden Party Down Under and be ready to jump right in to the 2023 Block of the Month quilt, Homeward Bound, beginning January 1, 2023: 
Let's quilt.

Barbara

Wednesday, November 23, 2022

Garden Party Down Under Class Efforts

 A group of great students worked on Garden Party Down Under during 2022 as part of a year-long class. We met 6 times, every other month for a Lecture/Demo class at Sweet Home Quilting and Supplies. All sewing is done at home. I provide tips and tricks for the current and upcoming month's patterns. We enjoy "show and tell" and  best of all, many of the students have become friends.

Here you can admire their efforts.

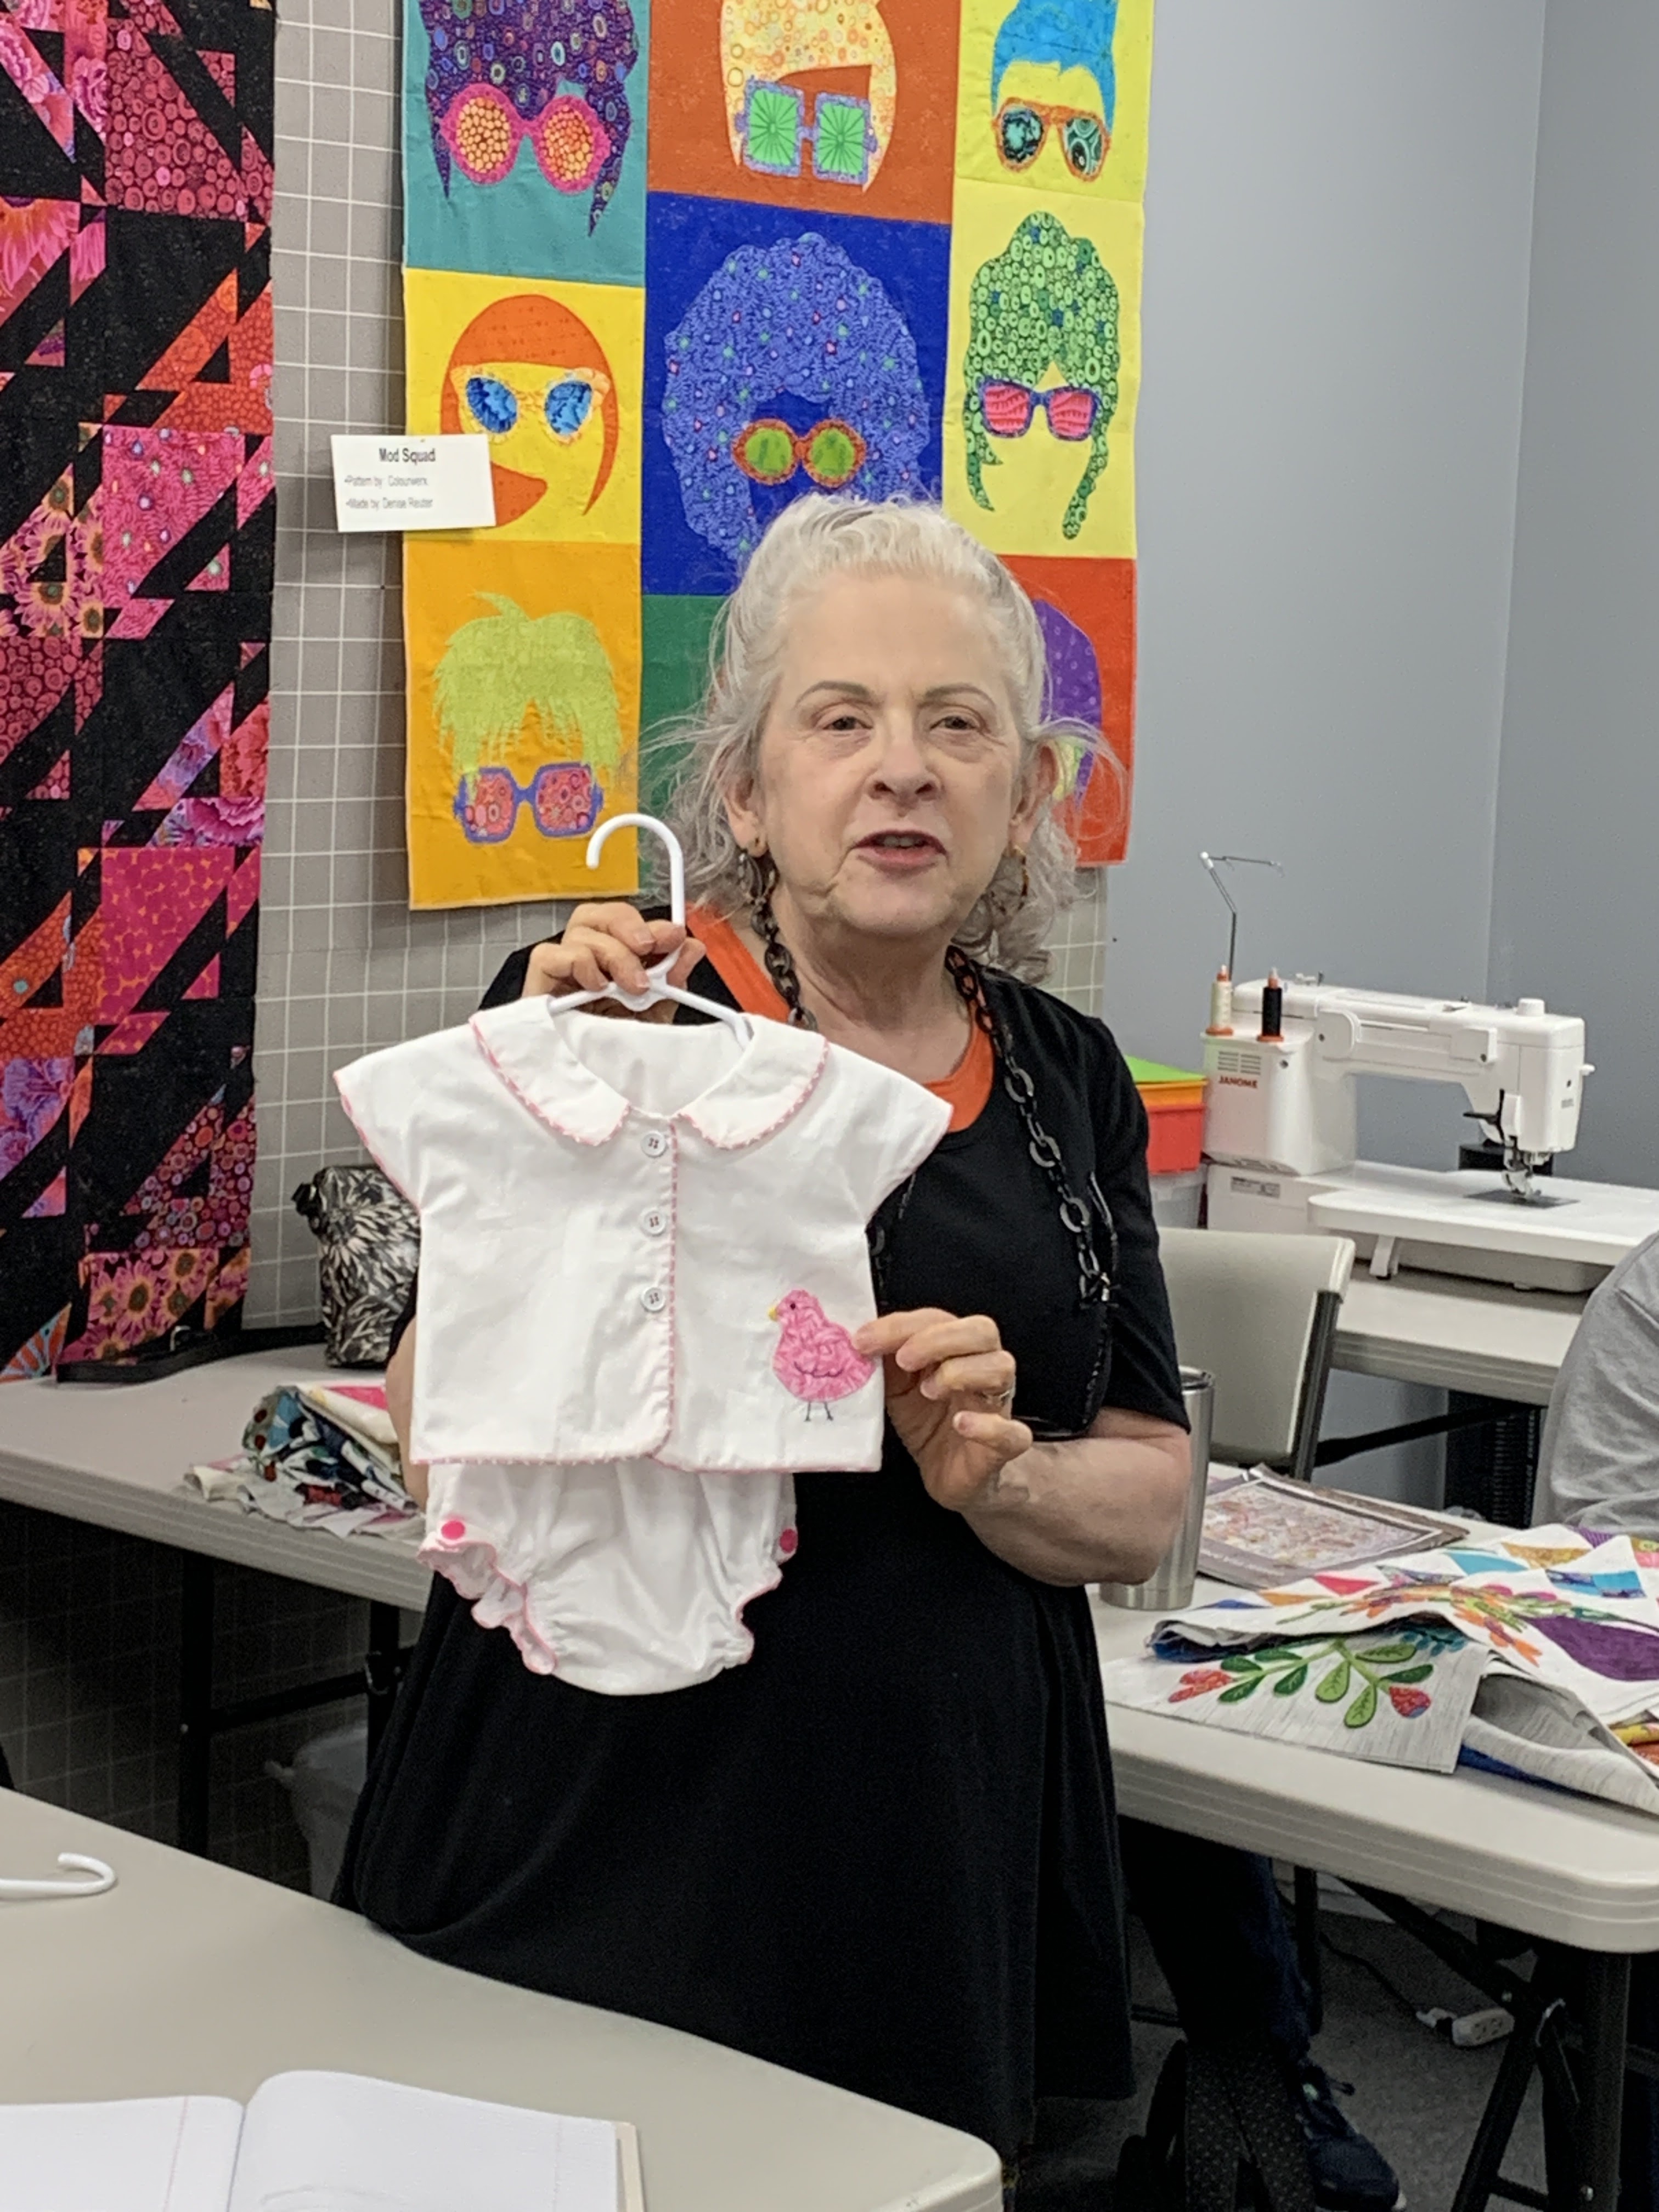
Mary-Louise is making her GPDU from men's ties on a black background. She didn't bring it to our final class as she is deep into making baby clothes for her first grandchild. Her daughter has named her   "Mistress of the Wardrobe" so she started playing with fat quarters to see what she could make: 

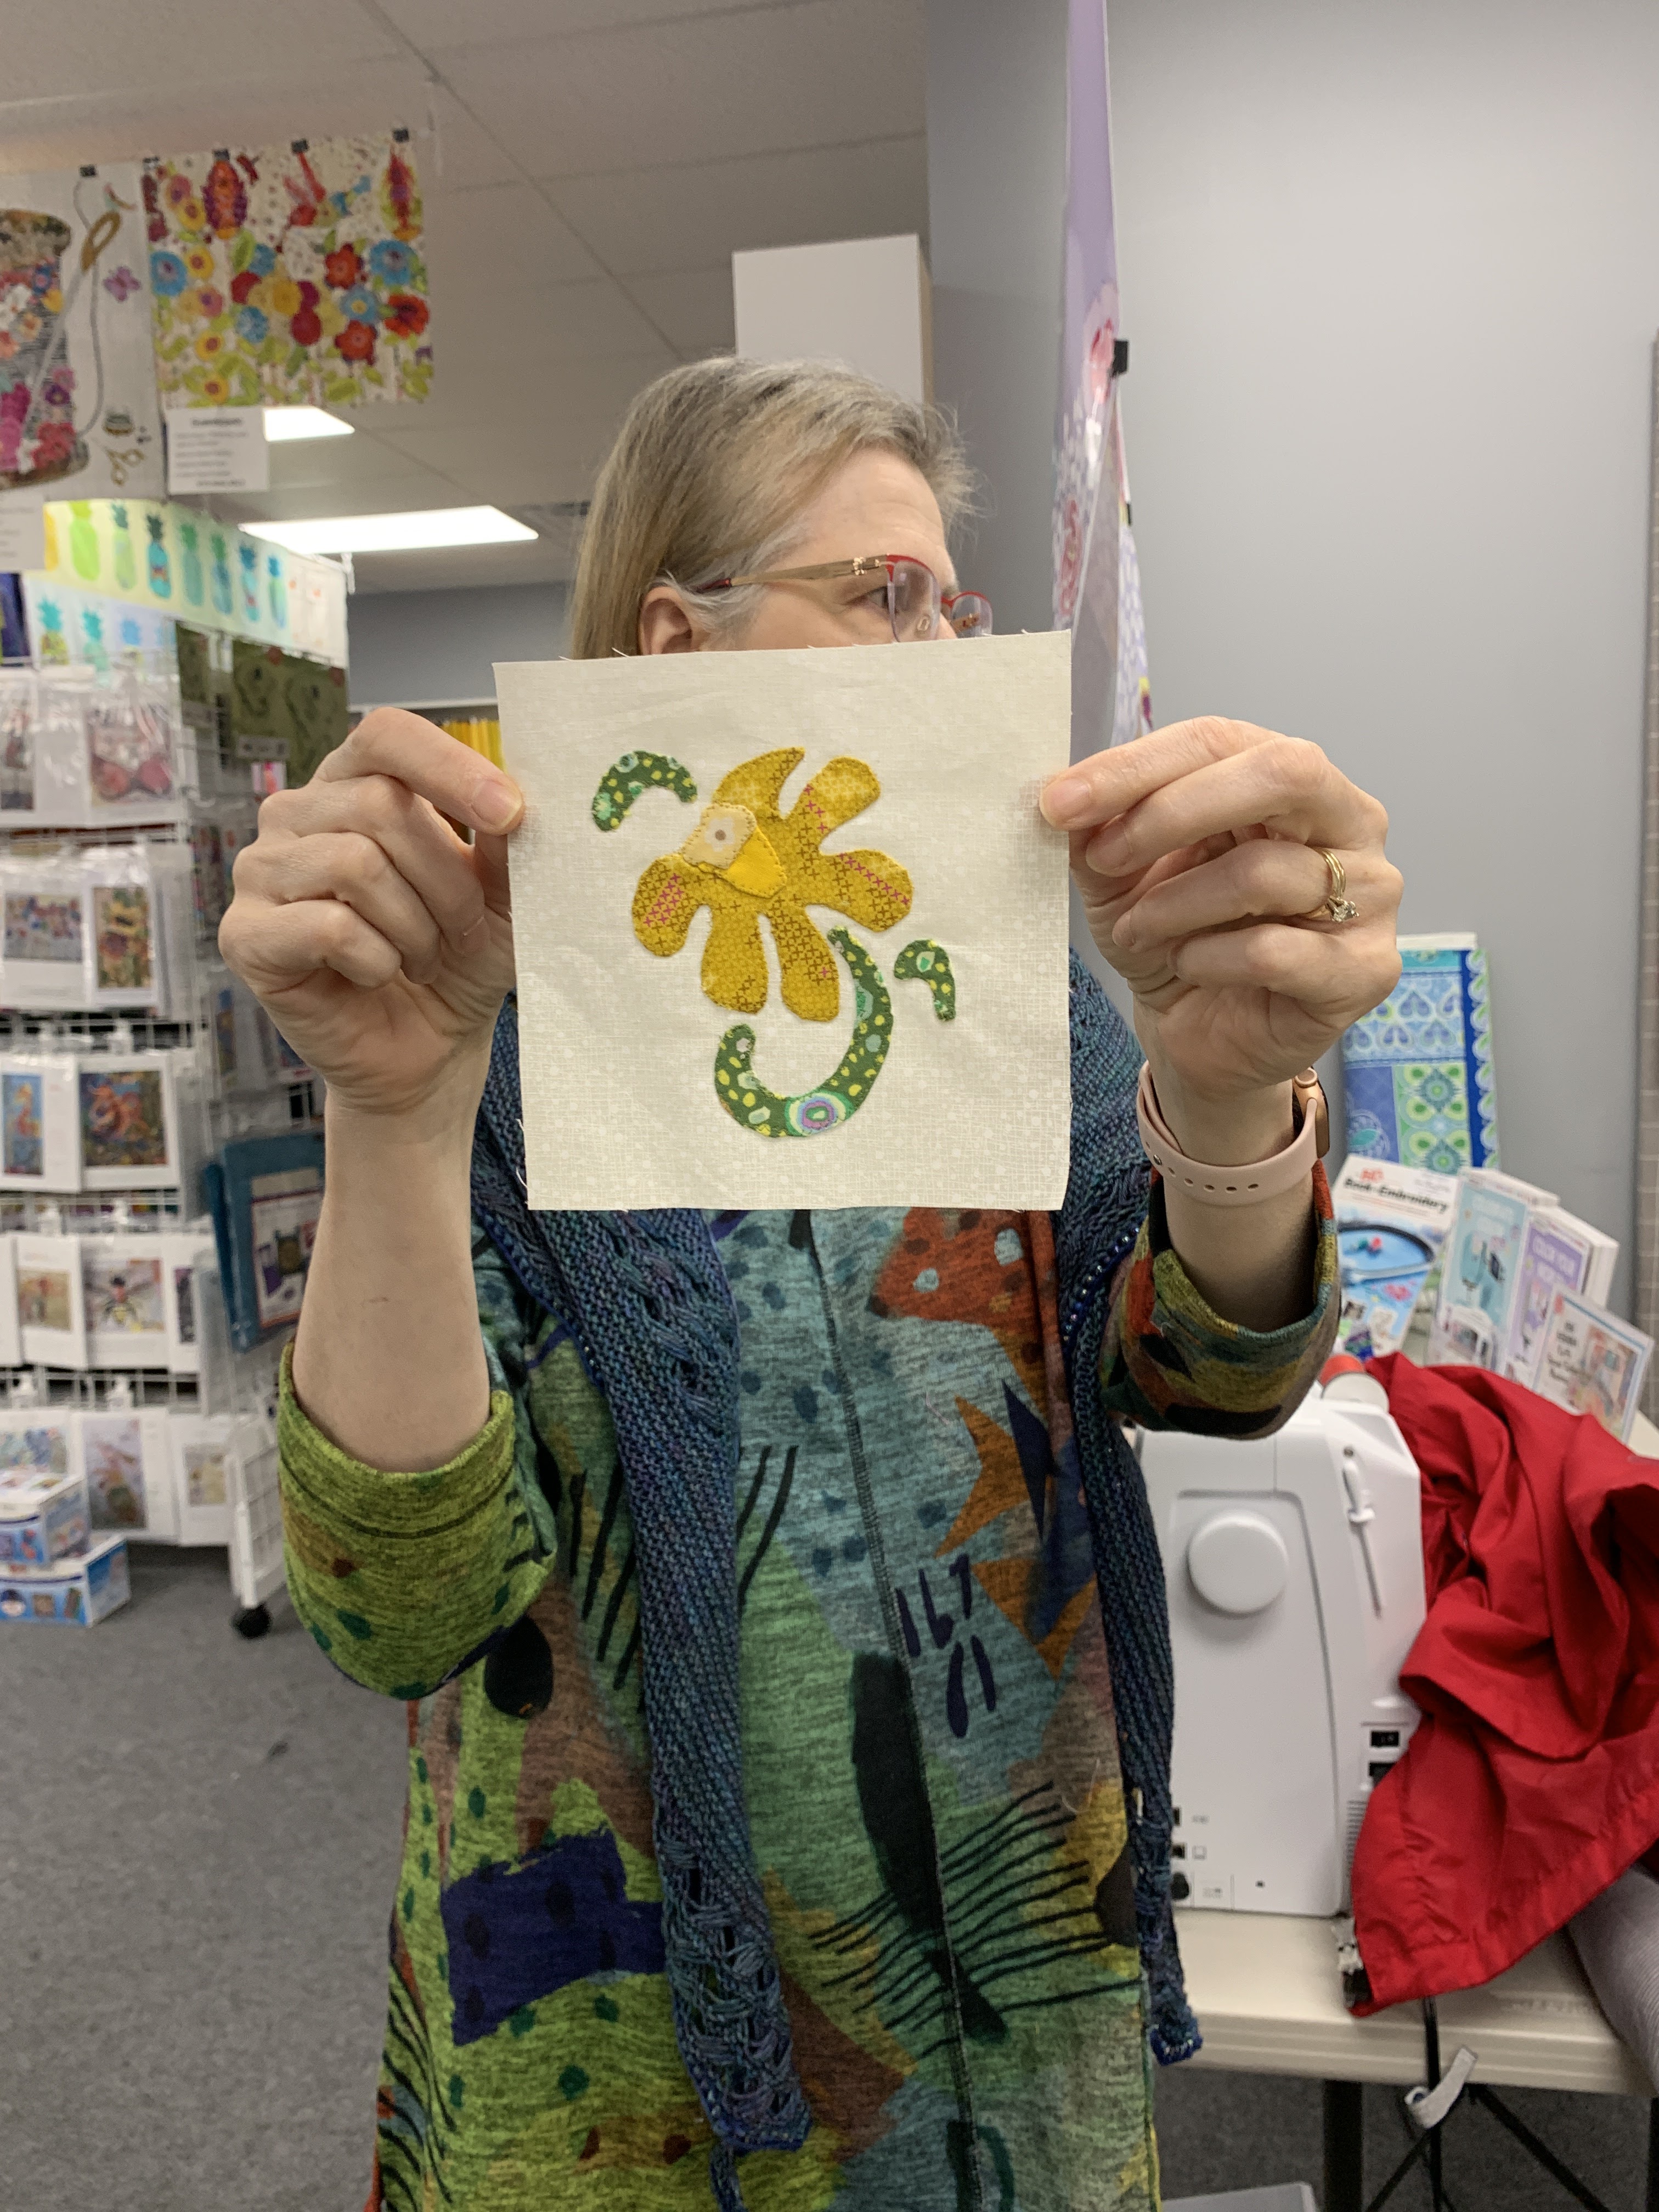
One of the flower motifs from GPDU:

Cyndi has a great eye for fabric, color and design--I would love to play with her scraps. 


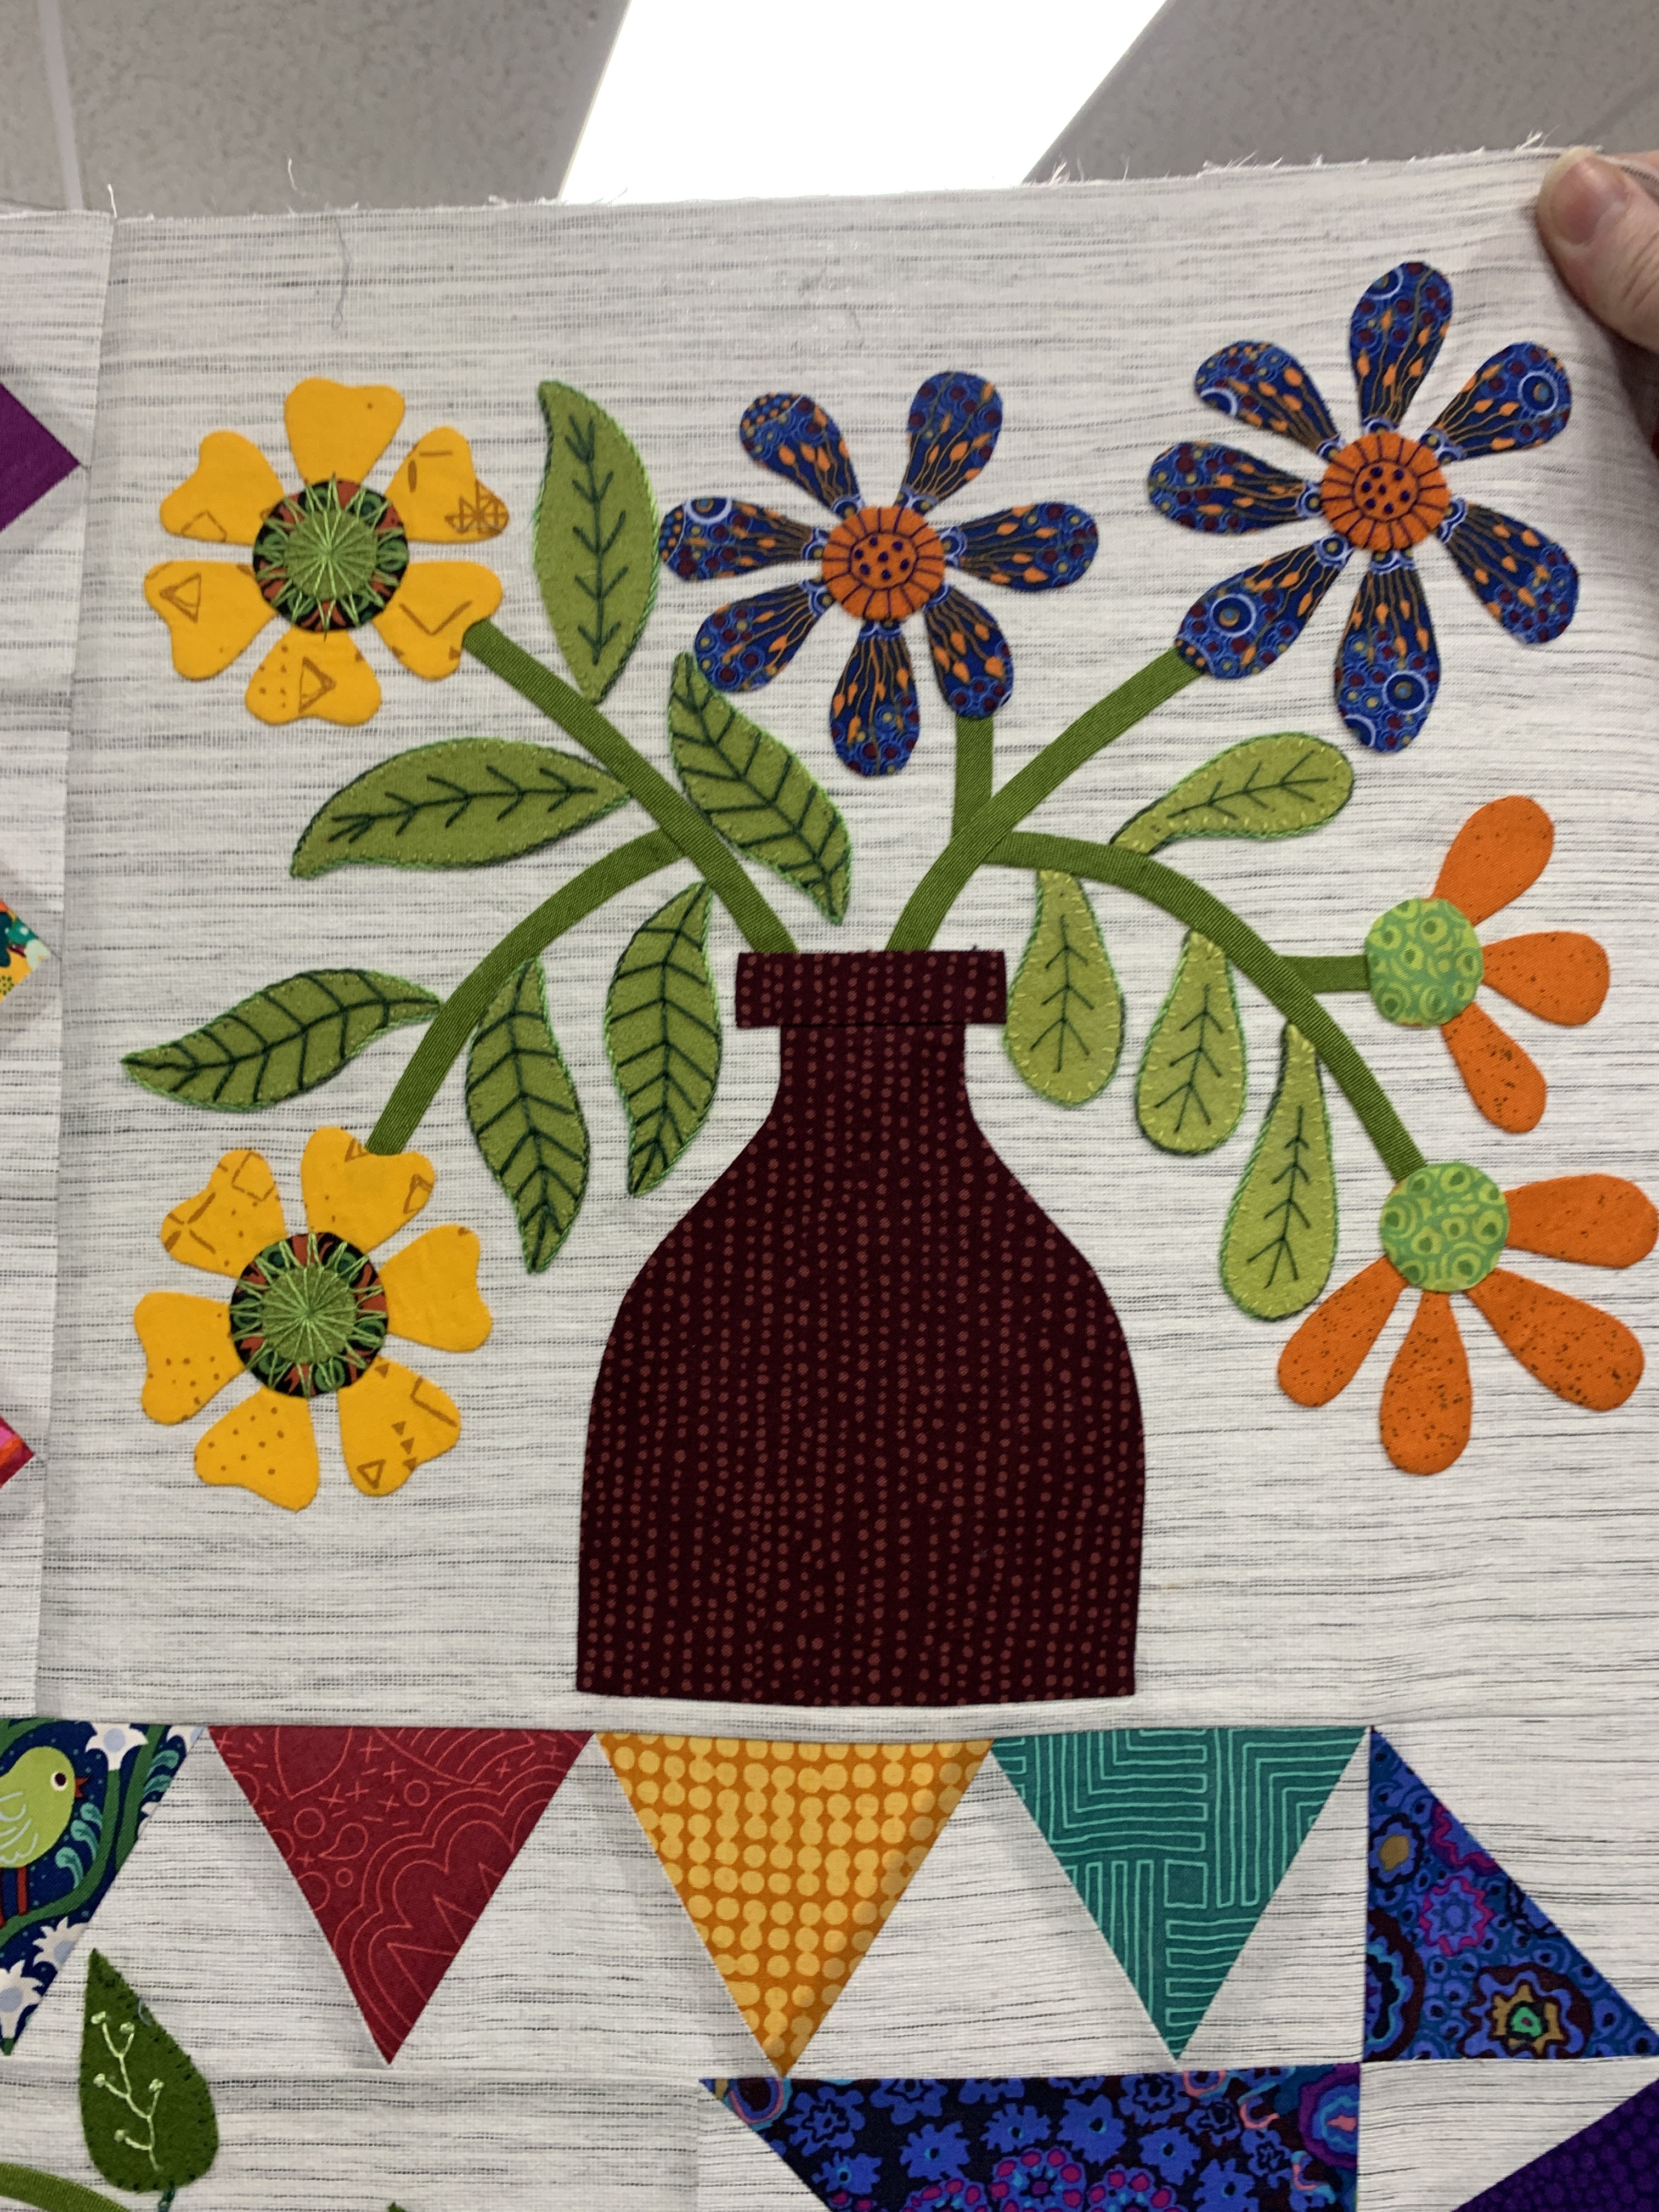
Cyndi designed her own corner blocks, using an idea from one of the skinny vases: 

Cyndi pieced the Diamond borders and they are ready to go: 

Sally is making this quilt so much her own. Lots of wool and hand embroidery, along with regular applique. I admire her work so much:


Fanny is using a beautiful, soft pastel color palette, so different from some of the others. It is such a lovely quilt: 

Victoria has used this project to help her through some life obstacles. She tends to second guess her ability. Each class we are able to assure her she is making a great quilt and has made it her own by adding birds and other personal motifs: 


Claudia is using the Kit as well as some of her own favorite fabrics. Her work is meticulous and coming along beautifully:  


Julie has a great sense of color--I love everything about this block: 

Remember, it is not too late to make your own Garden Party Down Under--or even to just acquire the patterns for FREE. All 12 of the monthly patterns are available to Star Members of The Quilt Show through December 31, 2022. After that the rights to the patterns return to the designer, Irene Blanck, and you will have to buy them from her. 

I enjoy teaching these Lecture/Demo classes locally. There may be one set up for the 2023 Block of the Month quilt for The Quilt Show if there is enough interest. Local folks, please let me know by December 1 if you want to participate. You must be a Star Member of The Quilt Show to get the patterns for HOMEWARD BOUND, designed by Sarah Fielke exclusively for The Quilt Show::


Here is mine in progress, I used a different background so I could start in September: 


Let's quilt.

Barbara

Sunday, October 30, 2022

GPDU -- MONTH 11 and 12

Here we are close to the end of Garden Party Down Under. Designed exclusively for The Quilt Show by Irene Blanck, this lovely quilt is sure to be a favorite in your family for years to come. 

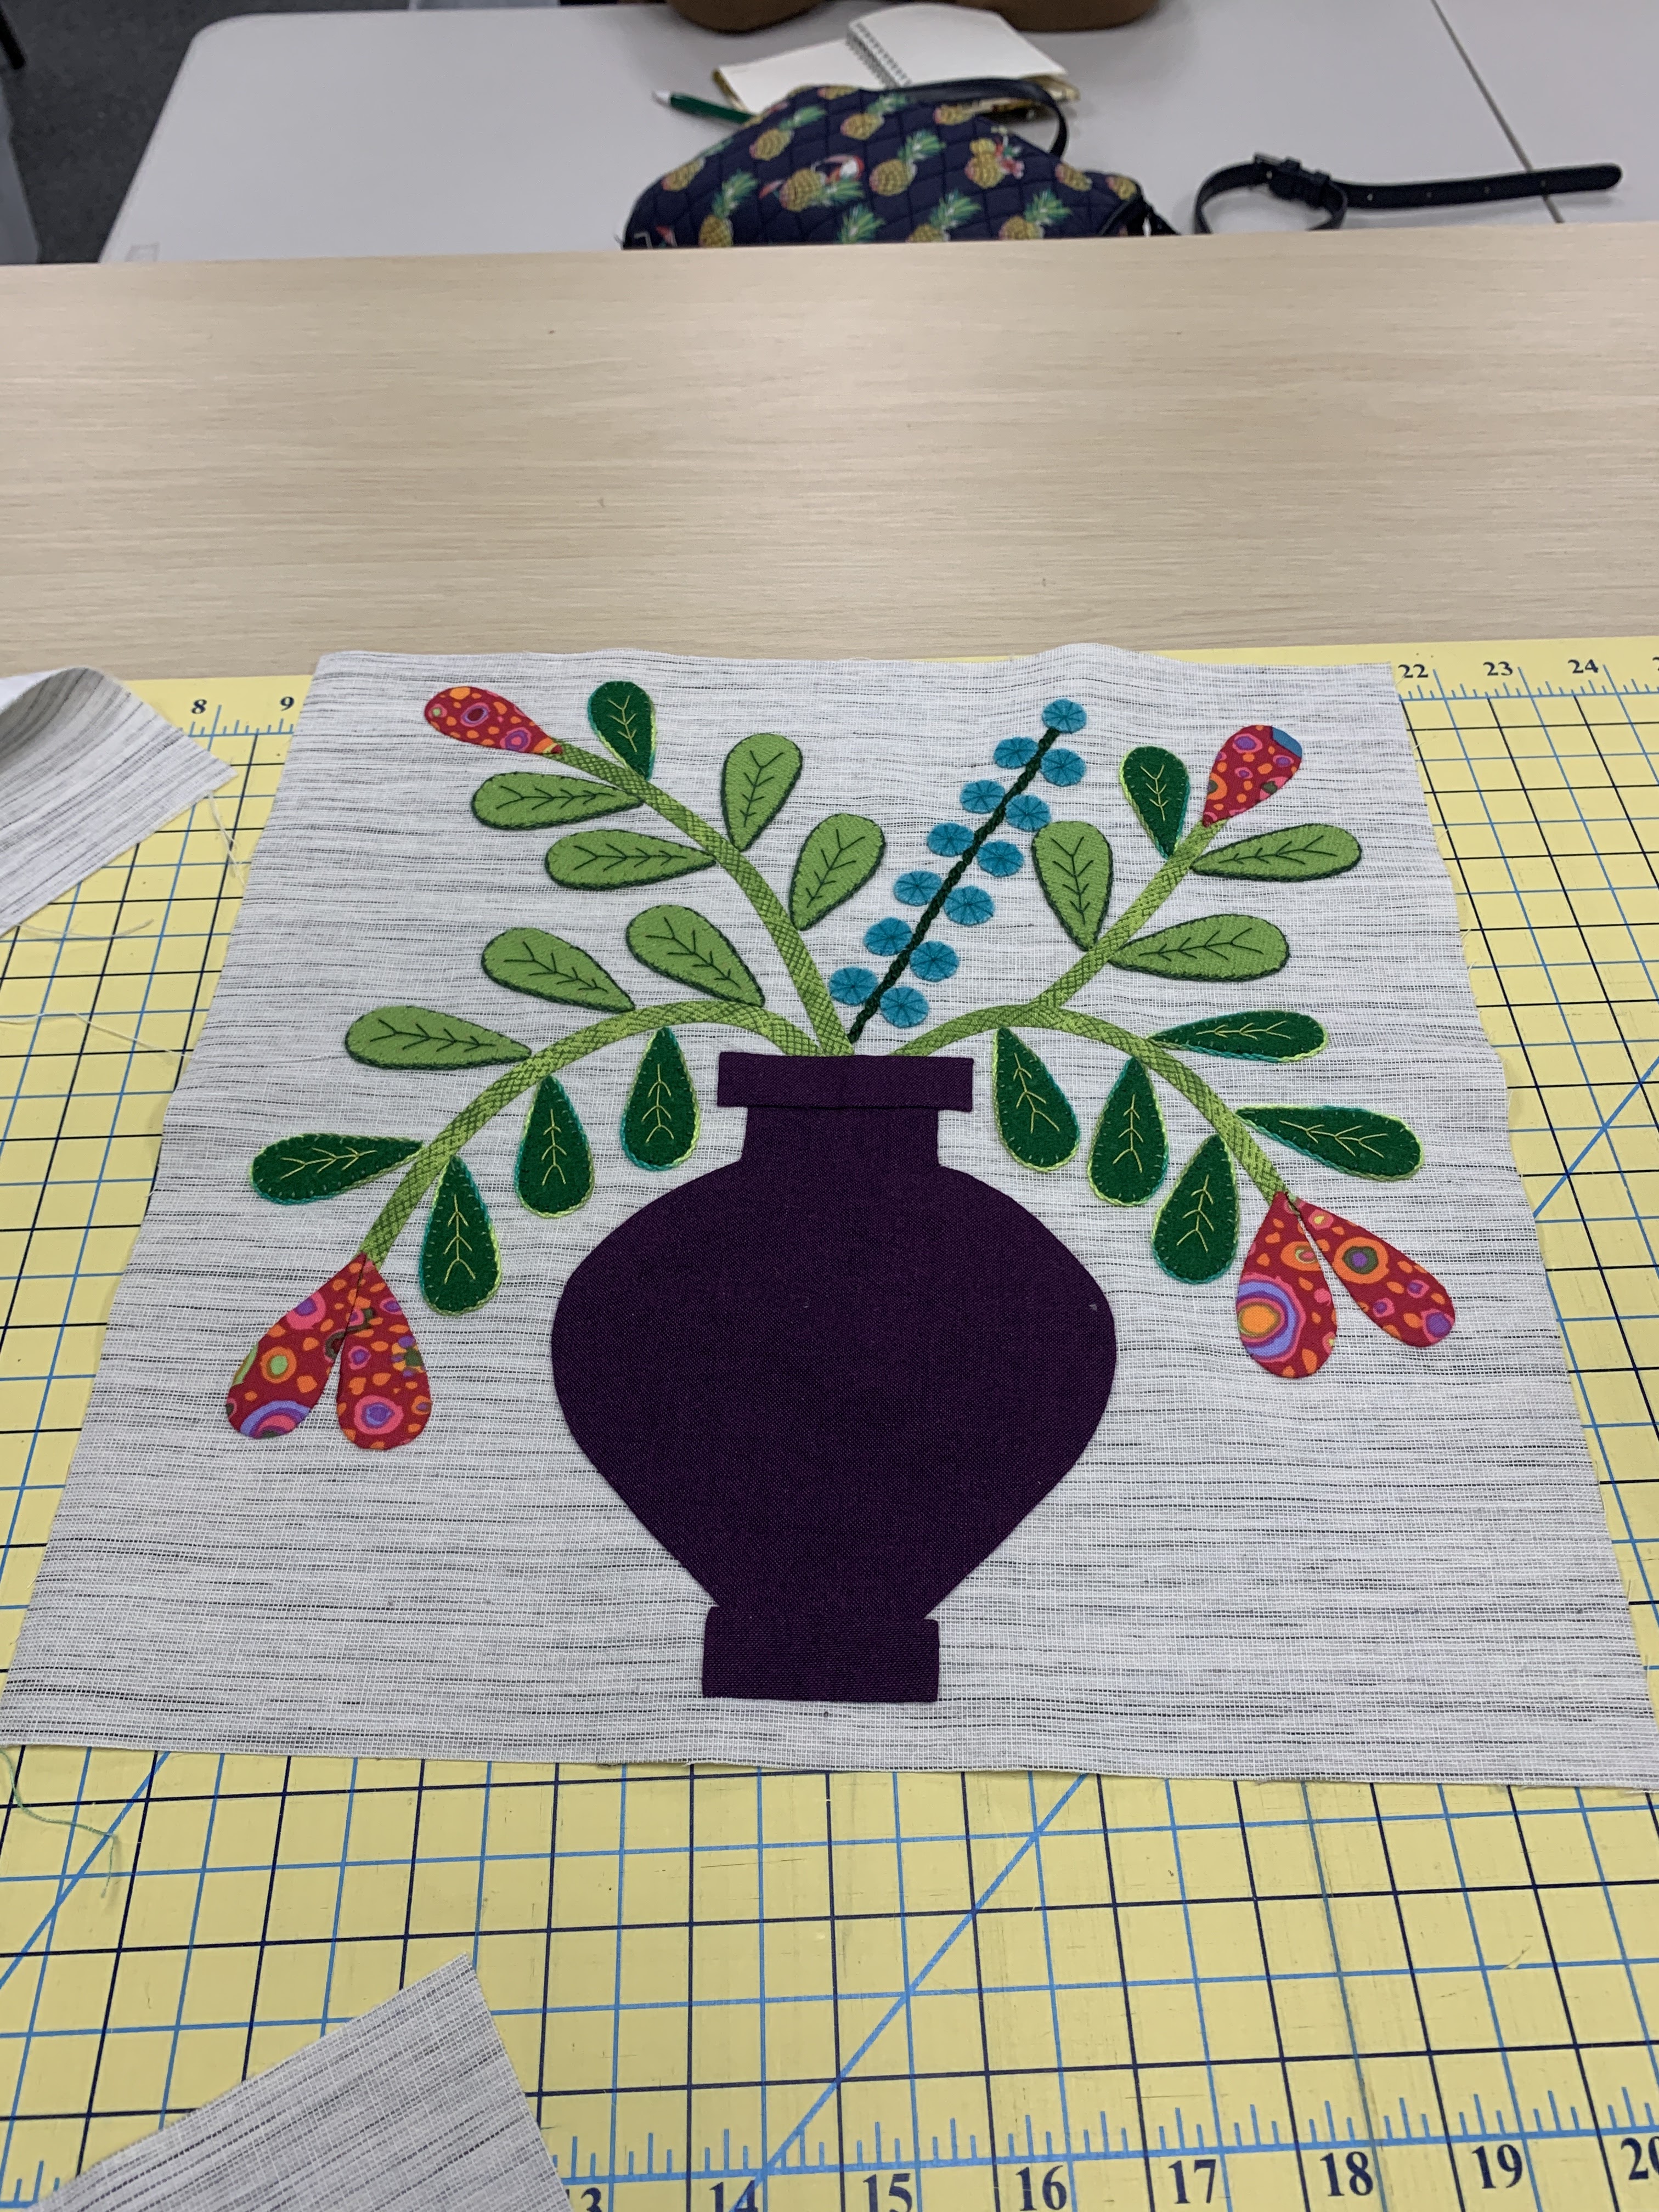
Month 11 brings us the last vases--I call these "Skinny Vases". Here are mine in the sample quilt I made last year: 


Here are designer Irene Blanck's: 


I made a tracing of the circular flower for placement help. Here you can see mine is more oval than round but that's OK:


Once the two skinny vases for Month 11 are done, you can complete the left side of the quilt. Then you make the left side Diamond Border, either by applique or piecing--see my post on the Month 10 Diamond Borders for more information.

I liked these Skinny Vases so much I made them again, even though all my previous blocks were already put into two finished wall hangings. It was time to make one more project from my 2022 sample blocks made this year:


Month 12 has you make the top and bottom Diamond Borders, including a floral motif in each of the corners. Once that  step is done, your quilt top is finished!

One more step--upload a photo to the Forum for the world to see your beautiful top: Show Your Finished Top Here    Take a look to see really great quilt tops.

Here are the two wall hangings I made earlier this year with the blocks made as samples for the blogs and videos. It just goes to show you don't have to make a bed quilt if you don't want to:

Months 1 and 2, 38" square


Months 3-7, 50" square


In December I will have closeups of the quilting I did on mine. 

This month we have released BOTH Month 11 and Month 12 patterns so those who joined or renewed at the end of 2021 can still get ALL the patterns without having to renew for another year. Of course, I can't imagine why everyone wouldn't want to renew, The Quilt Show provides a lot of bang for your buck. I learn something from every show--a new show is released every two weeks. AND you have access to ALL the previous shows, going back 14 years.

AN IMPORTANT REMINDER ABOUT ACCESS TO THE PATTERNS:

The patterns are FREE to Star Members of The Quilt Show until December 31, 2022. There are many reasons to become a Star Member, the Block of the Month patterns are one. If you love this quilt, you can make it, just download and/or print and save the patterns in a safe place. After December 31, 2022, we will no longer be able to provide them to you, nor can anyone else. You will be able to buy them from the designer when she regains the rights to the  pattern.

Very soon it will be time to get ready for the 2023 Block of the Month project. It is a charming quilt, full of things to learn and I know you will like it. I am happily working on mine.

Let's quilt.

Barbara
Wednesday, September 28, 2022

GPDU -- MONTH 10 The DIAMOND BORDERS

This post is coming out a few days early so you can be ready to work on the Diamond Borders when the pattern is released, usually the first of the month.

Irene Blanck, the designer of the 2022 Block of the Month quilt for The Quilt Show, describes this border as representing a picket fence around your beautiful garden. 


The first decision you will make is if you will applique the diamonds onto a long background OR if you will piece the diamonds with equilateral triangles.  Irene appliqued hers, I pieced mine.

A segment of my pieced border:


To help you make the decision, there are TWO VIDEOS, one describing Irene's technique and one describing mine. Star Members of The Quilt Show have FREE access to the Videos and all the patterns until December 31, 2022. Membership alone is a great deal; having amazing, exclusive Block of the Month patterns is like the best icing on the cake.

Some important things to consider:

1. If using the Kit fabrics, be aware the stripe provided for the border must be cut into eight 6" wide x WOF cuts, then pieced together to create the length needed.

2. The Length Needed will depend on the size of your quilt center. In a perfect world it should be 62.5". Mine grew to 63". I went with that. If I had been appliquéing the borders I would need length AT LEAST 63". And since applique tends to "shrink up" the background, I would cut mine 64"--you can always trim off a little on each end AFTER the diamonds are in place. 

3. If you want to PIECE THE BORDERS, I strongly recommend you select a fabric that is non-directional.  The gray/white stripe in the Kit is beautiful but the stripes will not line up easily if the borders are pieced. One yard will do it BUT get two yards so you can add a Floater Border if necessary and an outer border should you choose. 

Here are two good options, the top is what I used in my Sample Quilt and the bottom would be a good choice if you want a little darker background: 


4. Irene's applique method uses 20 diamonds on each side. They are 3" wide so those 20 fill 60" of space. As the borders are at least 62" finished, you will want to leave a very small space between them OR leave an inch on either end. The VIDEO I made explains this in detail.

5. My pieced method uses 21 diamonds on each side and a Floater Border to make the pieced border fit the quilt center. There are 5 detailed pages of  OPTIONAL ALTERNATIVE instructions, with photos of each step, included in the Month 10 pattern section. 

6. If  you applique the Diamond borders, you will determine if you want to trim them to 5.75" tall, so the points exactly touch the center of the quilt, OR if you want to leave them 6" tall. I would leave them rather than trim 1/8" off both sides. The points will be "close enough" to the quilt center for me. It's your quilt, you get to decide. This is discussed in the VIDEO.

7. If you piece the Diamond borders, they should be 5.75" tall when done. Piecing them requires careful attention to the 3 things we can do wrong in piecing: the CUTTING, the SEWING, and/or the PRESSING. The instructions address all of these steps. The VIDEO will be very helpful. 

For those of you who are not Star Members of The Quilt Show here are some photos of my borders in progress last year. These are here to TEMPT you into joining us and taking advantage of ALL you can learn from our Shows and Block of the Month patterns:

Pieced Segments 

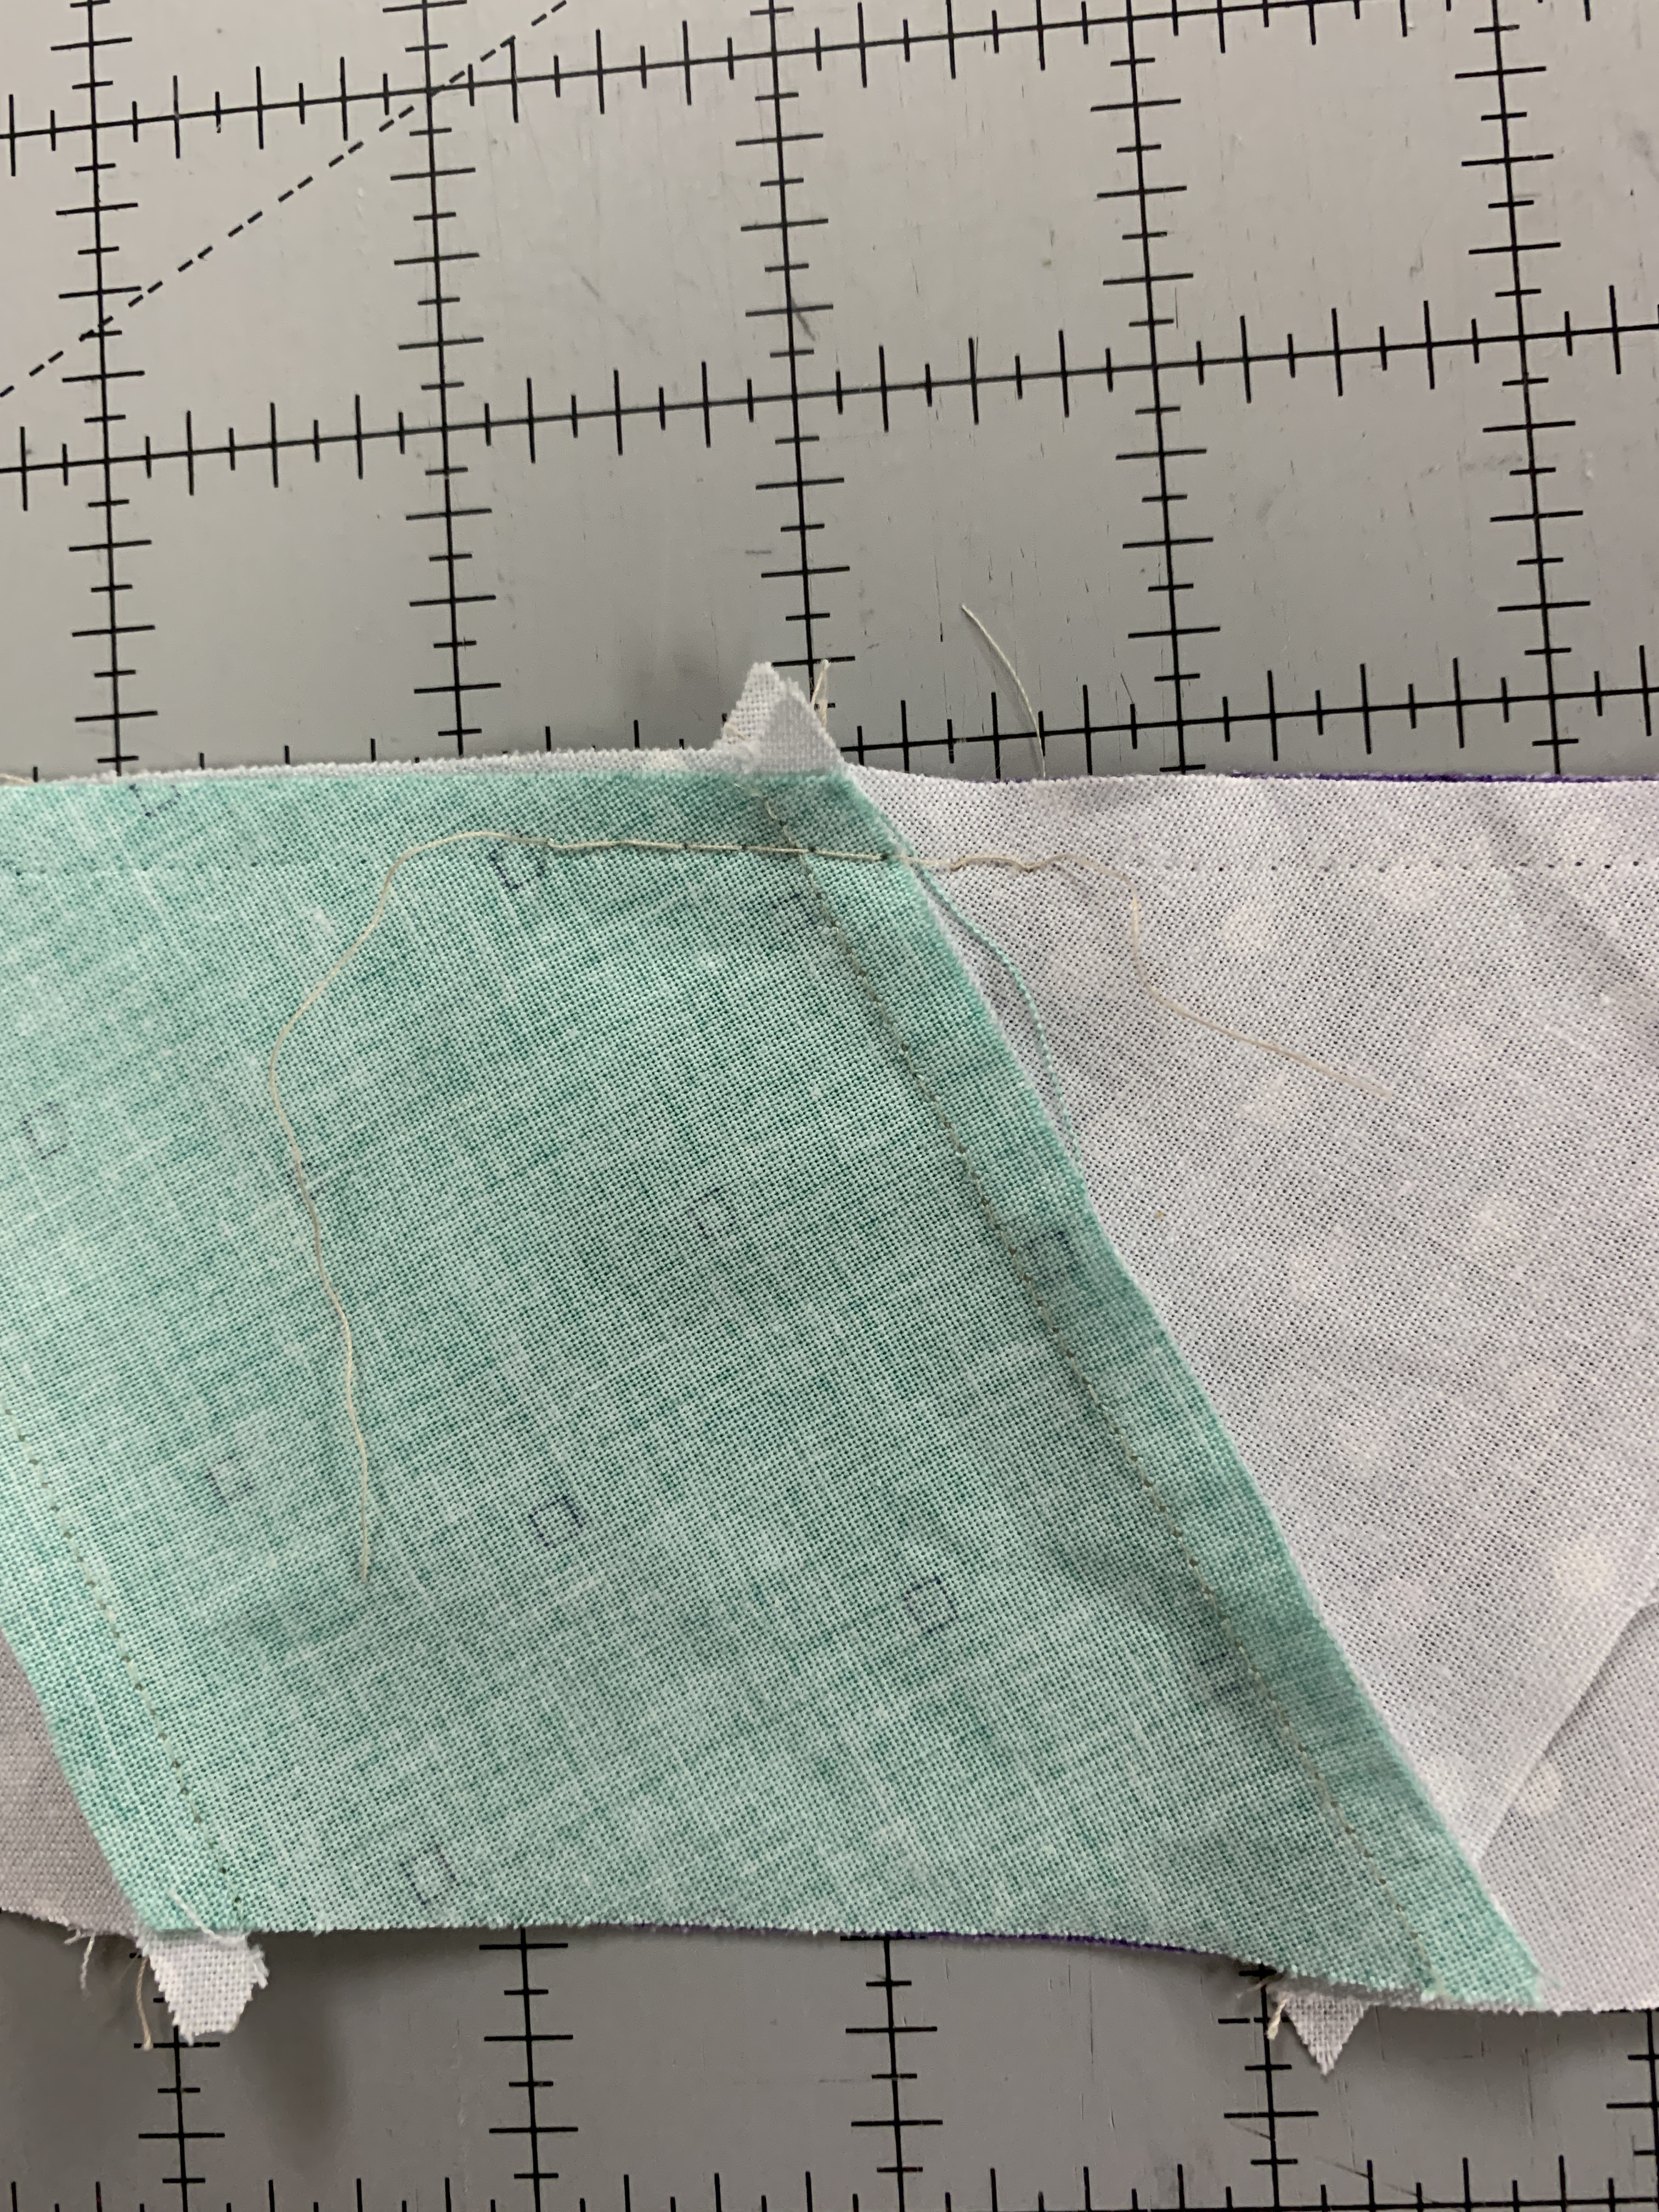
I machine baste the critical center join 

I pressed seams open

Picking Diamond fabrics was the fun part

As the borders were finished so I could select fabrics for the next border

How I kept the selected fabrics in order prior to sewing

How to cut the Equilateral Triangles

A Perfect 60 degree equilateral triangle

The two outer diamonds with Half Triangles ready to sew, then they will be trimmed to 1/4" beyond the point. Each will also get ONE triangle on the outer edges.

Friday September 30, 2022, I will do the monthly FACEBOOK LIVE for MONTH 10. It is early this month so we can discuss these things in advance. They are available FREE to everyone and are always available after they air on Facebook AND The Quilt Show's YouTube channel. 

In Month 11 we get the final TWO SKINNY VASES and make the LEFT SIDE DIAMOND BORDER. Here's a tip: the LEFT SIDE is exactly the same as the RIGHT SIDE.

Let's quilt.

Barbara