Showing posts with label X Block Swap. Show all posts

Tuesday, May 9, 2017

Playing with Rulers

It is so much fun to free motion quilt (FMQ) using rulers. Some people call the plastic devices used for this purpose "templates", which is probably more accurate. They are used to quilt around as a guide for the quilting designs, they are not used to "measure" anything like a ruler typically does.

Hand Quilting on the right, FMQ on the left

This quilt has been languishing since 2013. I did Stitch in the Ditch on all the black sashings, then hand quilted simple shapes along the top row so I could bind the quilt and attach a hanging sleeve. I have taught this X Block quilt several times since then, always intending to get back to the rest of the hand quilting each time I brought the quilt hone from the shop after class. Realizing that was probably not going to happen, I decided to FMQ all the remaining blocks so it can be done now, not years from now.  I have a Tutorial on this block here.

There are eight blocks in each row. I am quilting one row a day, only seven more days to go and this quilt will be done. And, sometimes, "Finished is Better than Perfect". Here is how it's going:


I LOVE this Line Tamer ruler for Stitch in the Ditch (SID).It's by Four Paws Quilting.  The channel is 1/2" wide, the right size for my Bernina Q20 Ruler Foot #96. If your ditch is straight, it works great.


 After stitching the X with the Line Tamer, I use this Sew Steady 12" arc template to do the curves on the triangles. There is Handi-Grip on the bottom of the template to help prevent slipping. It works great.

The outside triangle edge is longer than the two inside edges so I made the outside line deeper than the other two. I suppose I could have made them the all the same but I like this look. That's my story and I'm sticking with it.
A finished block

The back:

A busy back is the machine quilter's best friend, until you get REALLY good.

Like most things, there are a few rulers I find myself using a lot, the others I have to think about how to use. Here are most of mine:


Here are a few more photos of Ruler Work from the Random Ohio Stars quilt I wrote about here. These were taken after the quilt was washed and dried:


And the finished quilt:

Let's Quilt!

Barbara


Thursday, March 23, 2017

"X" Marks the Spot

NOTE: this was originally posted in March 2014. Still good info...

I taught a fun class last night, the "X" block from Sharyn Craig's book, Layer 'em Up. It's a sort, cut, shuffle, and sew process that creates 6 blocks quickly and all six are different.  The book is available here along with a link to a video of Sharyn showing the process.

Sort, light to dark

Cut

After first cut, before the shuffle

After the shuffle, ready to sew

Chain, Chain, Chain

Press, press, press
Modern blocks

Reproduction blocks

Beautiful blocks
Susan C with her first completed set of blocks

In less than 3 hours everybody clearly understood the process and had their first set of 6 blocks done.

CHART FOR CUTTING MEASUREMENTS:

FAT "X"               2" finished           Place ruler on 1.25" mark, corner to corner
NORMAL "X"  1.5" finished          Place ruler on 1" mark,  corner to corner
SKINNY "X"       1" finished          Place ruler on .75" mark, corner to corner

BONUS:  this block is adorable made very small.  Use 5" Charm squares and place the ruler on the 1/2" mark, corner to corner.  The "X" is 1/2" finished and blocks are 3" finished:


SHUFFLING STEP:  move the first two center squares, Fabrics 1 and 2, to the bottom, Fabric 1 is now under Fabric 6. Then move Fabric 1 "X" to the bottom of each stack.  You now have 6 completely different blocks.

This is a great project for a swap--since each block can be trimmed to the perfect size, since everyone has their own personal 1/4" seam allowance.   Here is my class sample, made from blocks swapped with 5 other quilters:

Let's quilt!

Barbara

Tuesday, October 21, 2014

A Finish and A Start

I finally finished hand quilting a small quilt with Big Stitch.  I started this baby 2 years ago and dug it out from the bottom of a pile a couple weeks ago to get it finished.  Now it's done:


This project came from Carolyn Forster's book Utility Quilting.   There are several quilts in that book I like and it has great info on finishing quilts as well as instructions for fast hand quilting with Big Stitch.

I needed a quick project to work on this morning so I got back to these sweet little X Blocks.  They are made the same way as the X Block swap blocks I wrote about here. 

These finish at 3" so it's a little quilt.  I started with 5" Charm squares where the large blocks start with Layer cakes, 10" squares.  I plan to make one more set of 6 to provide a little more variety.  I am linking up with Patchwork Times.

Tomorrow I head off to Houston for the 35th anniversary of Quilt Market and the 40th anniversary of International Quilt Festival.  It is sure to be a great two-week trip--I'm really looking forward to all the folks I'll get to see there.  A few special friends are making the trip this year and that will make it an even more exciting event.  I'll post a blog or two as time permits.  First, comes the work I am going there to do, then the fun stuff.

Let's Quilt!

Barbara

Tuesday, June 10, 2014

Swap Blocks for Confident Quilters--Even if You're Not


Planning for our next quilt show, Fanfare 2015, is just getting underway and the committee has expressed interest in having a quilt block swap. 

If you have ever participated in a block swap, you know that most people have a "personal" 1/4" seam allowance, and the more complicated the block, the more likely blocks from several people will not fit together--that is, those blocks don't play well with others. 

After a few of those experiences, a new idea came up among a small group of my friends some years ago.  Now we try to find "units" to make that can be trimmed to the desired size by the recipient, and the owner then puts those units into her own quilt.  It worked very well with 3 separate groups I worked with.

So, here are some ideas for our next swap, which will involve about 20 quilters, most of whom are very experienced:

1.  X Block--this comes from Sharyn Craig's book Layer 'Em Up
Top I made with the last swap I did with these units

Size possibilities:  8" or 3" finished blocks
I am very partial to this small size, here in an antique top I bought recently 
2.  Sixpence blocks--I call them this because they use 6" squares to start with:

Quilt I made with swapped sixpence units some years ago
The unit, very fast to sew and the pressing and trimming is done by the owner, not the person who sewed it
3.  The Japanese X and + blocks--all over the internet and Pinterest--I love this but it requires a lot of different fabric to be most effective.  That makes this a great swap block:

Completed block

Top in Progress
The plan:  only the 4 outer corner "wedges" are sewn by the group.  The owner chooses her own center rectangle and squares and sews the block together, so it should fit.

A test block I sewed--notice I sewed the corner "wedges" in the wrong orientation--OOPS! 

Here's another layout for those "wedges" or X units:


4.  Last option:  String Blocks, another one that needs lots of fabrics to be effective:

String blocks sewn to paper--like old telephone book pages
 
So those are the 4 choices I'm presenting to the group.  We'll select the one that most appeals to people and I'll write up the rules.  I'm good at rules and that's the best way to have satisfied quilters at the end of the process, clear rules.  Everyone knows what is expected and agrees to do their best sewing and use first quality cotton fabrics. 

Each of these units will have their own very specific size and sewing rules and the number of units to make will be defined.  Each person will sew as many as she receives--the beauty of such a swap is the wide variety of fabrics that one gets in their blocks, without having to buy it all.  And each person gets to determine what colors she wants, old reproductions, 30's, batiks, very bold Modern fabrics, whatever she wants. 

I already know I'll have a hard time choosing which to do.  I hope the others like these choices.  Stay tuned as this project gets going.

Let's Quilt!

Barbara

Monday, September 2, 2013

X Block Swap

The X Block Swap top is done--now to machine quilt in the ditch and hand quilt in the larger triangles.  I really like how this came out.  Had to stop myself from adding a wide border on the outside--that's so late 20th century, not how this one would have been done in the late 1800's.


Jump on over to Judy L's Design Wall Monday Judy L's Design Wall Monday blog to see what other's are doing.

Let's Quilt!

Barbara

Saturday, August 24, 2013

Over One Hundred!

I just noticed this is my 102nd blog post.  That slipped right by me.  I enjoy sharing my quilt life with you.  If you like what you see, please spread the word to your friends--I'd love to have over 100 followers too.

Here's what I've been working on this week:

These blocks are part of an X-block Swap Group I put together in my quilt guild.  There were 6 of us who made 12 blocks for each of the six.  Finally got around to trimming them to 8" and putting them on the wall.  Now to add the black sash with cheddar cornerstones--maybe later today after my outside chores are done.  I'm not sure if any of the others have played with their blocks yet.  Mine are done in 1800s reproduction fabrics--everyone chose what they wanted and it was fun to work on.  Here is the blog post I did earlier showing the other colors:  X Block Swap.

I decided to get on this for two reasons--the design wall was empty so it was easy to get started and I plan to hand quilt this and that will take some time.  Our guild quilt show is October 2013 so those entries are already a done deal.  The next show will be in 2015, most likely, and I'll be ready for that one.

While working on this one, I came up with another quilt that needs to get made--a Christmas gift for a young woman.  I spent some time yesterday looking at photos of Modern Quilts, on flickr.com and Pinterest.  I am eager to get started on that one--just as soon as this quilt is sashed and off the design wall. 

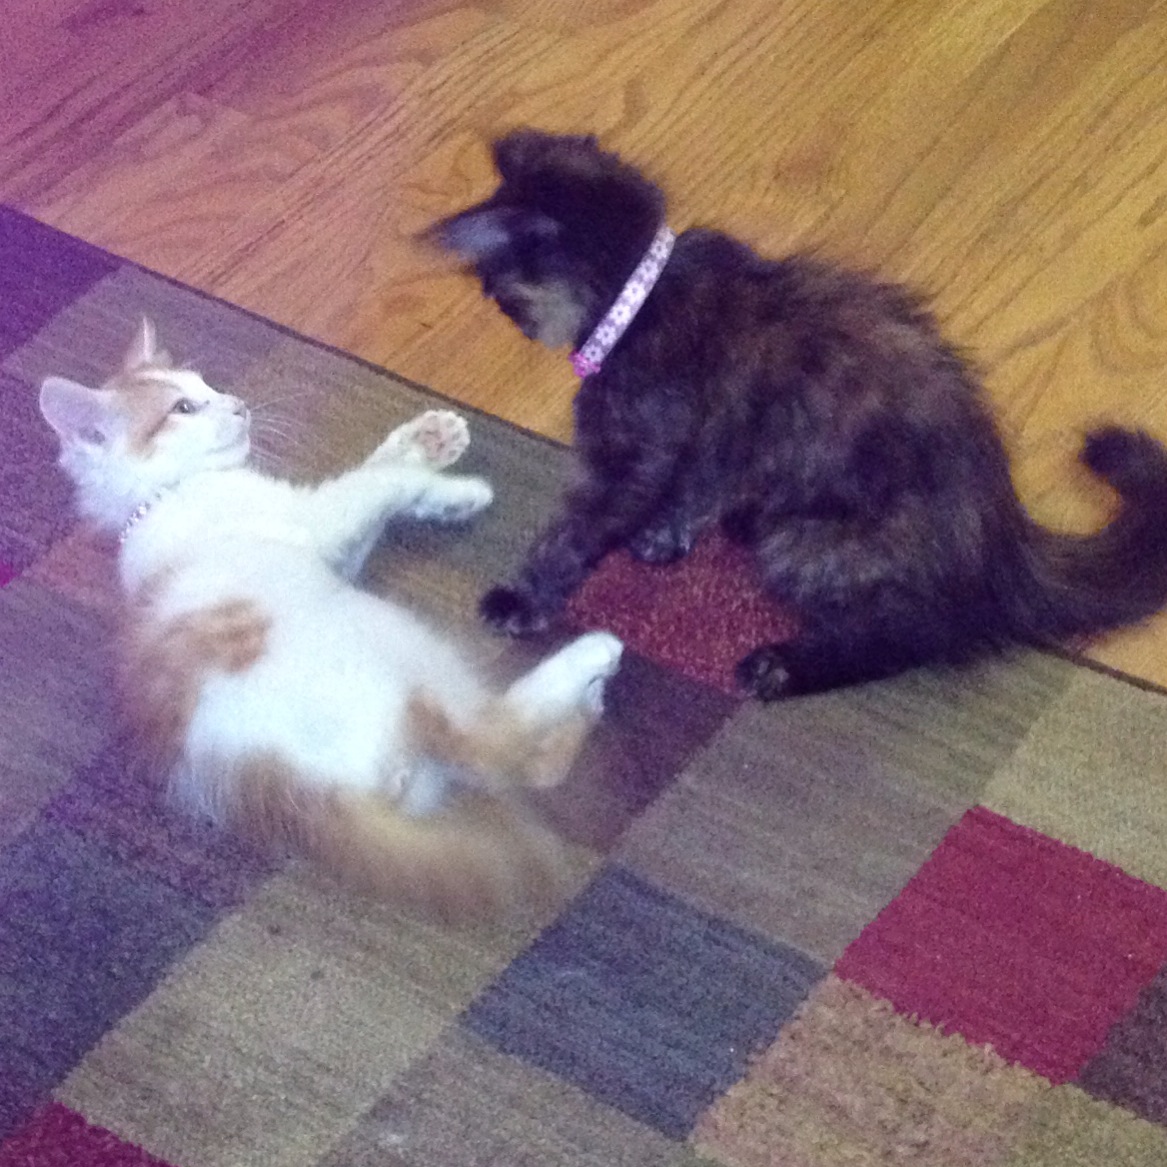
Here are my helpers:  Stitches and Patches.  Most of the day they sleep but at 10 pm the Kitty tussle begins--they are wild for about 30 minutes--then they crash!

Let's quilt!

Barbara

Saturday, September 15, 2012

X Block Swap

I've been working on my X Blocks for the Swap I put together with 6 other guild members.  They are fun and fairly fast to do.  Each set of 6 blocks that finish to 8" uses six 10" squares of fabric, that are cut and scrambled to create 6 different blocks.  The pattern is from Sharyn Craig's book Layer Em Up.   Here is a video of Sharyn showing the process.  We added one extra decision--what size X's did we want:  Fat, Normal or Skinny?  That decision determined how wide to make the cuts.  We also all agreed to make two sets of 6 blocks for each person.  So, we will all receive 72 blocks all together.

Each of us gave all the others a piece of "theme" fabric to show us what kind/colors of fabrics they wanted, along with their size decision.  About 6 weeks ago I hunted through my stash of fat quarters and selected all the fabrics for each person.  It was fun to find wonderful fabrics I hadn't seen in years as well as new stuff.  This used up 5 yards of fabric--a pittance in the grand scheme of things but still good to get that much gone.  Here are my results:

these are for Juli
 
 
these are for Mary
 
Juli and Mary did something interesting:  they gave each of us two 10" squares of their theme fabric for us to include in the two sets of fabrics we used for them.  This way, half of all the blocks they receive will include the theme fabric.  That makes for more continuity in the groups.  Easy!
 
these are for Melissa--30's was her "theme"
these are for Kathy
Rhonda's are similar to Kathy, but different size X's
These are mine from Rhonda, along with 6 I made as samples to demo with.  My theme was 1800's reproductions. 
 
This is great for a group project--fast and pretty easy AND each person will trim their own blocks when they receive them.  If the seam allowances vary, and don't they always in a group project?, we will just find the lowest common denominator and trim them all to that size. 
 
I have one more group to do--I've saved that for last since it's my favorite set of fabrics.  I've also started a new project and made a few more doll quilts this week.  More about that later.
 
Finally slept better last night--Advil PM to the rescue!  Even went out to dinner last night and wore long pants and real shoes--progress!
 
Let's Quilt! 
 
Barbara


Monday, September 10, 2012

Creativity and Recovery

Today is 3 weeks post-op and I continue to do well with my knee replacement recovery.  I do my therapy exercises twice a day, and the therapist comes here 3 times a week to increase the exercises/weights, reps etc.  I am able to walk through my home with no cane or walker and feel stronger each day.  The  only annoying issue is I'm still not sleeping as well as I'd like.  My husband says it's because I'm sitting around all day, not being very active.  He hasn't seen me in the studio.

This past week I've gotten several things done.  Here are 3 more doll quilts:


 These are from the Temecula Quilt Company blog.  The blocks are their summer stars sew-a-long.  I've enjoyed their quick, easy patterns. 
 
This Bricks quilt is the larger version of Tiny Bricks I made in January. 
 
I saw this on one of the blogs I follow, Taryn at Repro Quilt Lover and thought it was sweet. It was also tiny. Those bricks were cut 7/8" x 1 1/4" and finish at .375" x .75".   Then I  cut out 61 more bricks, almost four times that size, cut 1.5" x 2.5".  Look how much larger the second one is!  The small one is 6" x 7", the large one 14" x 16".   
 
 
Then I started on the X Block Swap blocks for the group I put together.  There are 7 of us and each person will make 2 sets of 6 blocks for each person, using their preferred theme or colorway.  Each person decided if she wanted wide, narrow or middle-of-the-road X's--this determines how you cut the fabrics.  Each set of 6 starts with six 10" squares of fabrics, sorted light to dark more or less.  They are cut, then the pieces are scrambled--very fun to see what you get!  Here are Rhonda's blocks:
 
 
This pattern is from Sharyn Craig's book Layer 'Em Up and she has a great little video showing the process:  http://www.youtube.com/watch?v=dJ5tIj6g3tg    It takes me less than an hour to make a set of 6 blocks and we are doing 2 sets for each person.  My plan is to do one set a day for the next 10 days and I'll be through with this project--until I receive my 72 blocks and get to play with a new quilt design.
 
While I'm piecing, I work with Leaders/Enders--using pieces at the beginning/end of piecing to create other small blocks as I go.  For quite a while I've been making 2" finished four-patches and must have hundreds of them by now.  Here is the latest layout to use some of them up:
 
 
Don't know what this will become next, but it tames some of those four-patches. 
 
I'm linking up with Judy L's blog--check it out to see what others are up to. 
 
Time for therapy then I can quilt!  Have a great week, all.
 
Barbara