Showing posts with label circles for applique. Show all posts

Sunday, September 25, 2022

GPDU -- MONTH 10 The Two Skinny Vases

I am providing the Month 10 information a bit early this month. Before we can start making the Diamond Borders, we need to make the two "Skinny Vases"  so the right side of the quilt can be assembled.

This month we make TWO vases, what I call the "Skinny Vases". Each block is 14" tall x 6" wide finished, so are trimmed to 14.5" x 6.5", and then they are sewn together to make a block 14" tall x 12" wide finished.

My latest blocks, not sewn together:

My blocks from the Sample quilt made last year, thanks to Donna D:


Irene's blocks from her quilt:


These feature wonderfully shaped vases, small circles, bias stems both 1/8" and 1/4" and flowers and leaves.

They sew up quickly and I think they are great vase blocks. Star Members of The Quilt Show have access to the Month 10 Video I made showing some tips for making these vases.

Once the Skinny Vase blocks are joined together, the right side of the quilt is assembled with blocks previously made. Then we can measure the quilt to check what size the Diamond Borders will be. 

There is a second blog post on making the borders and there are TWO VIDEOS ON BORDERS--these provide very important information you need to read BEFORE cutting the Diamond Border fabrics. Find them under Month 10 in the 2022 Block of the Month section. The videos and patterns are available FREE to Star Members. 

It is not too late to start making your own Garden Party Down Under--the patterns remain available FREE for members of  The Quilt Show. until December 31, 2022. The Block of the Month patterns are included FREE with membership, a great deal. 

I use Karen K Buckley's Perfect Stems to make the 1/8" stems. For the 1/4" stems I cut bias fabric 3/4" wide and press in thirds, no sewing, no fuss, just press in thirds.  All my circles are made with Karen K Buckley's Perfect Circles. 

All the shapes are prepared with patterns cut from Print & Piece Fuse Lite, printed out then fused to the wrong side of the fabric. This reverses the design but I am fine with that. 

As you get your Skinny Vases done, post a photo on the Forum--there is a Topic specifically for Month 10 -- Show Your Progress Here.  FORUM for Garden Party Down Under

Let's quilt.

Barbara

Sunday, September 27, 2020

Big Circles

 My current project, Western Sun, has BIG circles. I thought you might like to see how I am making them.

See the first post I wrote about this project here: Western Sun

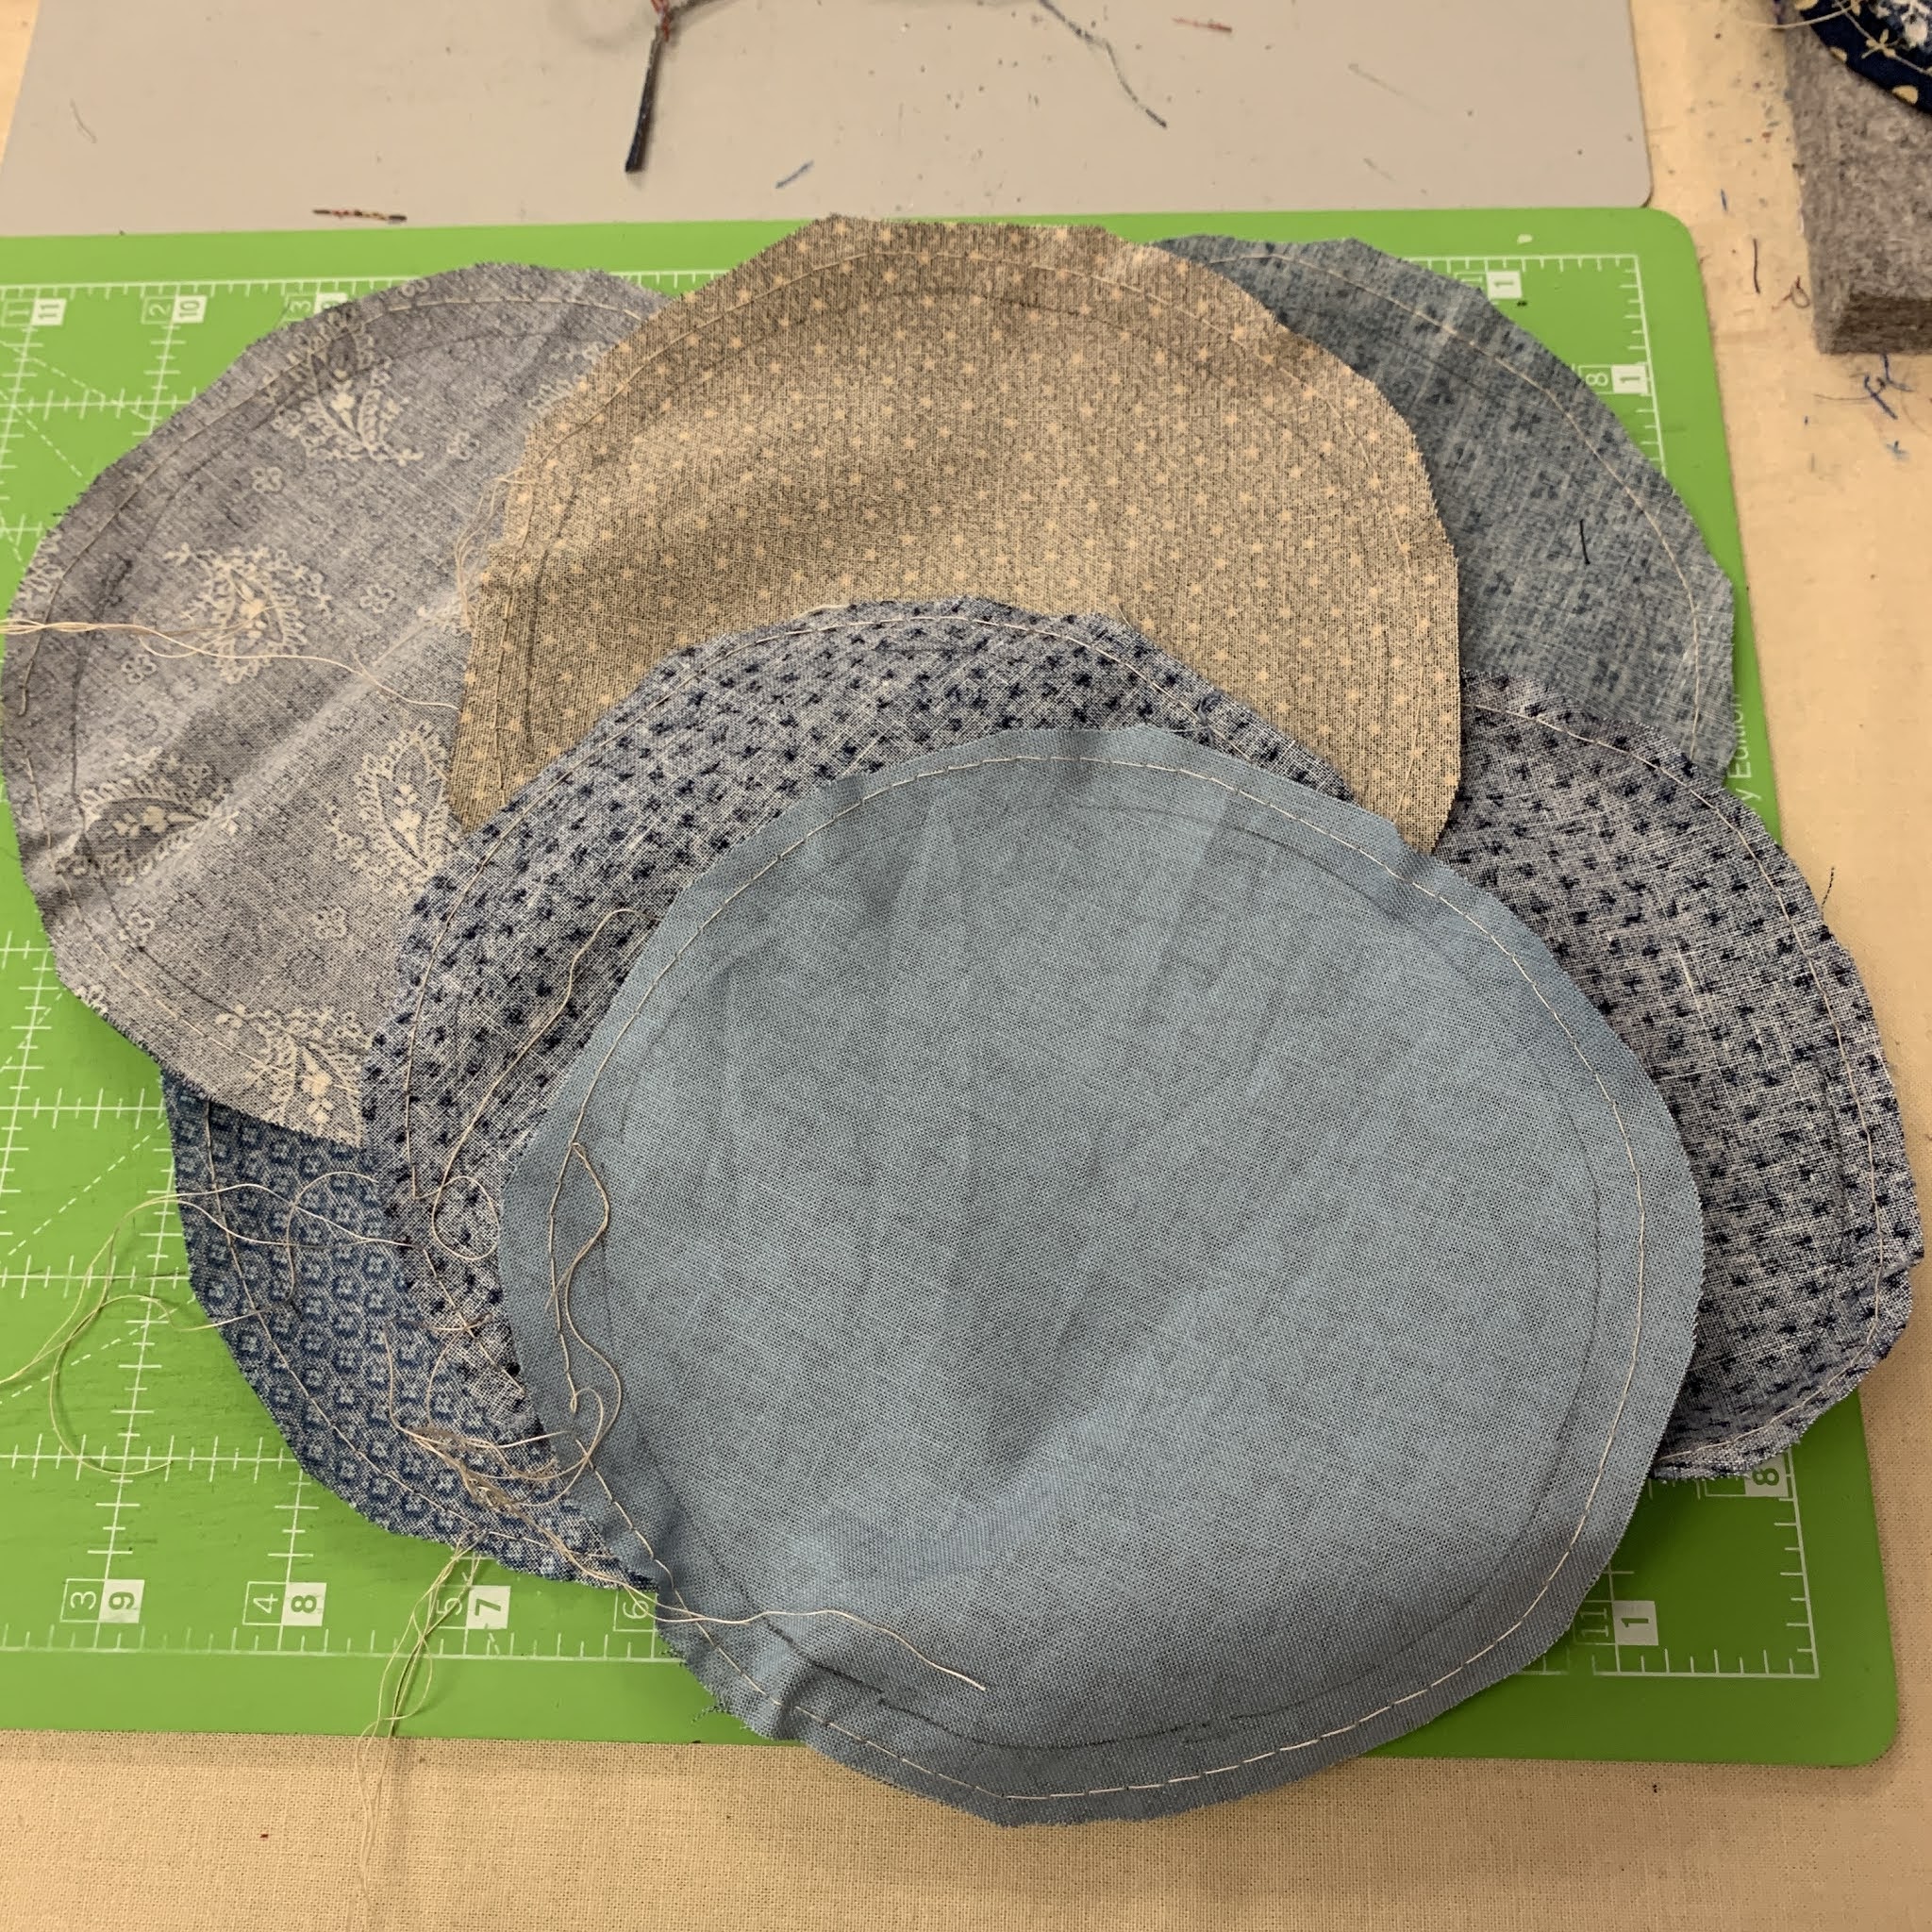
1. Cut out large squares, 3/4" larger than the finished circle. I used Templar, heat resistant template plastic, to cut a circle the finished size. Trace around the circle on the back side of fabric:


2. Trim excess fabric away, leaving about 3/8" seam allowance. Use a long stitch on the sewing machine to run gathering stitches in the seam allowance--be sure to leave long thread tails:


3. Pull the bobbin threads snugly around the template, press firmly:
4. I used a 50/50 liquid starch/water mixture. You can use spray starch or sizing straight from the can too. Wet the edges with starch. I found using a stencil brush better than just spraying--that put lots of liquid directly on the template which then put it on the sole of the iron: 


5. Allow the starch to dry then gently remove the template. Pull the threads snug again if they came loose, press one last time, on both sides, to be sure the circle is dry:

6. The star is made with a scrap fabric in the center, which will be completely covered. I used muslin:

7. Pin the circle on top of the star, sew in place. I hand applique' with Quilters' Select 80 wt. thread, practically invisible:

As this will be king size, I have 25 full star blocks, 12 half star blocks and 4 quarter corner blocks to make. Plus a LOT of flying geese sashing.

Stay tuned for more as this project progresses.

Let's quilt.

Barbara


Wednesday, July 1, 2020

AFTERNOON DELIGHT--Month 7

We are moving right along and this month there are only two applique' blocks to do. One of those is a variation of the "Twirly Ball" we did previously in Months 3 and 5. If you want a refresher on how I made the first one of those go to Afternoon Delight--Month 3

For those working on Double 9 Patch blocks, those continue this month too. I gave important cutting info about the Double 9 Patches when we released Month 6 early, in March, so if you haven't started them yet, be sure to take a look at that post: Double 9 Patches.  Remember, there are 64 Double 9 Patches in the quilt.


Both of the applique blocks this month feature circles. Recently, I learned about a new product, Applipops. They are metal disks that fit together, making it very easy to create round circles.

Take a look at their short video from the website to see the process: Applipops Video

I got 2 Pro Packs so I could try them out and used them with the 3 different size circles needed this month. 

UPDATE--Applipops has a discount for YOU--use BARBSFRIEND as a discount code to get 10% off your order. 

The process is very easy. The instructions say to use undiluted liquid starch and I should have. I had a 50/50 starch/water mix in a small spray bottle so used that. The edges would have been stuck down better with straight liquid starch.

First step: cut a hunk of fabric and place it between two disks:


 Trim to about a 1/4" seam allowance, less on very small circles. On the largest circle, I left too  much seam allowance so the edges have a few little puckers on the back.


If I were hand-appliqueing these, I could easily smooth out the little puckers:

Note I sprayed this red fabric on a washcloth as I just recently changed my big ironing board cover and knew the red might run--it clearly did:


The only down side I can see is you  have to wait for the metal disks to cool before handling them, and the starch to dry before removing  the disks. With two sets I can make two of each size at the same time. Since I didn't need a lot of circles, that was OK. If you need to make 20 of the same size, at the same time, it might take a while.

My usual method of making small circles is with Karen Buckley's Perfect Circles, sets of Mylar circles. That method requires basting around the template. If making a lot, that would take some time. On the Forum recently, someone posted she machine basted instead of hand basted and I thought that was brilliant! You can't go fast but it would still be faster than hand-basting. See Karen demo her process on Show 2007

Be sure to look at the Forum to see some of the fabrics being used by our members. Also, some people are choosing to change from an On-Point set to a Straight Set.  Forum--Show and Tell Your Blocks

This month's blocks on my sample quilt:
Block 23

Block 24
Next month there are two more applique' blocks and more Double 9 Patches.

Let's quilt,

Barbara