Showing posts with label machine applique. Show all posts

Friday, May 30, 2025

LAUREL RIDGE -- MONTH 6

Laurel Ridge is the 2025 Block of the Month quilt designed by Lynn Wilder exclusively for The Quilt Show.  Star Members have FREE access to the patterns starting January 1, 2025. Made in two colorways, the complete patterns are excellent. You will love making this quilt. Lynn supports the pattern instructions with Videos too. 

This month Applique returns--with the large spray of flowers and leaves. There are 8 of these blocks, and each is 5" x 7.5" FINISHED. 

NOTE: Half these blocks tilt LEFT and half tilt RIGHT--they are reverse mirror images of each other. Make 4 LEFTs and 4 RIGHTs. 

Watch Lynn's Video for all her great tips. She strongly recommends using starch/Best Press/Terial Magic, for the background piece. It stabilizes the block so it doesn't "shrink" as the applique is done.

I have chosen not to include any applique in my quilt. But I have written about Applique many times here on my blog. Needle Turn Hand Applique was my favorite method for years. Now I often do Turned Edge Machine Applique. Find my Tutorials here:

NEEDLE TURN HAND APPLIQUE:  Afternoon Delight


TURNED EDGE MACHINE APPLIQUE: Ruffled Roses,   WashAway Paper for Applique Motifs

Turned Edge vs. Raw Edge Machine Applique--and how to Stitch Them.

When working with patterns like these for applique, I like to print them on either wash-away paper or freezer paper. This avoids having to trace all those shapes by hand, just cut them out and you have templates for all the shapes. Quilters Select Print n Piece Fuse Lite works well, C&T Washaway Applique Sheets are similar. The washaway papers are left in and will dissolve once the finished QUILT is washed. The freezer paper has to be removed when the BLOCK is finished:


The usual problem with printing patterns like this is the shapes will be REVERSED--that's not an issue with these blocks--remember, we have 4 LEFTs and 4 RIGHTs. 

The best way to have applique stitches that don't show, whether by hand or by machine, is to use fine thread in a color that closely matches the motif being appliqued. My favorite is Quilters Select Pre-Wound bobbins, size 80 wt polyester thread:


Silk thread is lovely too--100 wt, fine as baby hair, but more expensive to gather a large number of colors. 

For Machine Applique, there are several stitches often used. Blanket stitch, Blind hem stitch, Feather stitch, Sewn-Out Zig Zag stitch, etc.. Play with your machine to see which stitches you have that appeal. 

Here is a GREAT VIDEO from Alex Anderson giving a lot of information on how she does machine applique: Alex Anderson Machine Applique  See LESSON 5 at this link. Take a look if you haven't done much machine applique. 

So, what am I doing instead of the applique? One 5" block with 1.25" added to each end makes a 5" x 7.5" block--this is FINISHED SIZE, the block shown below is 5.5" x 8" with seam allowance at the moment. Right now I am playing with the 8 extra Four Patch in a Star blocks I made in Month 1, but I have another idea so this may change: 

As I often say, it's your quilt, you get to decide. Make yours exactly as the pattern instructs or make some modifications to suit yourself. Your quilt will still be "INSPIRED BY LAUREL RIDGE", designed by Lynn Wilder for TheQuiltShow.com

Next month it's back to those Four Patch in a Star blocks, from Month 1, with different fabric placement for those using the Kits.

Let's quilt.

Barbara

Tuesday, January 31, 2023

HOMEWARD BOUND -- MONTH 2

 This quilt is the 2023 Block of the Month quilt for The Quilt Show. It was designed by Sarah Fielke exclusively for The Quilt Show and is only available at The Quilt Show. The best news is it's FREE for Star Members of The Quilt Show. Each month in 2023 a new part of the quilt is released for download to Star Members. 

Even if you are not making this quilt, these tips may be of interest on other projects.

RESOURCES TO HELP YOU: 

Watch BOTH videos Sarah provided for Month 2.

Watch the Show again to remind yourself of all the goodness to come.

Read the pattern carefully before beginning.

This blog is also intended to supplement the pattern and will often show what I did wrong to save you from the same mistake.

MAKING CIRCLES:

This month we start making circles, a lot of circles. Sarah calls this design Hollyhocks:

There are 116 circles in 5 different sizes--we make some this month and the rest in Month 3.

Sarah has a nifty way of making turned edge circles using cardboard templates and aluminum foil. You simply must watch the show--it's FREE for EVERYONE all of 2023--to see her amazing method: Show 3201  Those who bought the optional Accessory Kit have these templates for her method:


When making my test blocks, I didn't have the Accessory Kit so I made the circles with Karen K Buckley's Perfect Circles. I know how and they work great. Watch Karen show you how she does it: Show 2007

 I draw the circles on the wrong side of the fabric, using a pencil, and at night I cut them out, gather them using quilting thread, and slip the templar circle inside. A good dose of sizing, a hot, dry iron, and I leave them overnight to dry. The next day I make more:


PREPARING THE BACKGROUND: 

The four backgrounds are cut 10.5" according to the pattern. This is the exact size needed to sew into the quilt. I wished they were cut 11" as I spent a lot of time holding them while doing all the applique. The downside to this is you might not be able to cut FOUR squares 11" from your background fabric. There is enough to cut 3 from one 11" strip x Width Of Fabric (WOF) and one more from the next  strip. But I know people get nervous about "running out" of Kit fabrics so do what makes you comfortable.

If you cut the background 11", be sure you allow for that when tracing the stem placement lines and securing those stems to the background. This is cut 11" and I drew a 1/4" line around it to remind me that is the size the block needs to be trimmed to when all the applique is done. It will be 10" when sewn into the quilt:


Sarah has excellent instructions on tracing the stem placement lines in her video. She uses her metallic pen, you can use a pencil. The line will be covered by the stem: 


With the lightbox turned off you see how clearly you can see the placement lines: 

What NOT TO DO: When I cut the pattern on the diagonal line as explained in the video, I accidentally cut the most important part OFF--the little diagonal line on the first page that will show me where to align it with the second page. I simply used a pen to draw that line back on and I was back in business:


Because someone will ask, this is the inexpensive lightbox I bought two years ago to work on Garden Party Down Under. It came from Amazon, is very lightweight, works great, and it cost me $21.58. Last week it was priced at $15.98:


The next what NOT TO DO: I didn't realize the 10.5" square was the actual size I needed so I didn't place the stem all the way to the edge. When I realized that, I knew I needed to add a tiny bit more stem to each of the four blocks. I could do it the hard way--take some of the stem off, join more stem, re-sew the stem back in place. OR the easy way--lay a bit more stem in place and cover the seam with a leaf. 


Leaves are added in Month 3 and I will have something VERY IMPORTANT to say about those next month.

MACHINE APPLIQUE:

To sew the stems on the background I usually do machine applique. It's much faster than hand applique and usually a lot of the stem is covered with motifs anyway. I use a Blanket Stitch, #1329 on my Bernina 765. W 1.0 L 3.0:


I use thread that closely matches the stem on the top, and a neutral color thread, Quilters Select 80 wt in the bobbin. On the left I used white thread so you can see it, on  the right I used green that closely matches the stem, completely invisible. You can use monopoly if you like but I prefer colored thread: 


Alex Anderson has a great little class on how she does this, I learned it from her, so take a look at her video for more help: Machine Applique of Stems on Neutral Blooms

For hand applique, I like Quilters' Select Pre-Wound bobbins. It is fine, strong thread and I always have the color I need:


There is a trick to using fine thread for hand sewing successfully. Tie a tiny knot that secures the thread to the eye of the needle. This works great for silk thread, and this 80 wt. and any other fine thread you may want to use for hand sewing. Hard to describe in words, maybe this video in an earlier post will help explain it:


However you sew the stems and circles, enjoy the process. You have two entire months to get these four blocks done. 

My sample quilt is complete so far into Month 6. My background is different because I got the Kit two months after starting the test quilt. Most of the fabrics are the same as or very similar to the Kit fabrics. I had a jelly roll of the Tula Pink fabrics to work from:


Share your progress and ask questions on the Forum. When you share on social media, please use #thequiltshowBOM2023 and @thequiltshowsocial and @sarahfielke.

Let's quilt.

Barbara

Sunday, January 15, 2023

Prepping Handwork

 In a few days I will be teaching a two-day class with the Needle Chasers of Iuka, Mississippi, at their annual retreat. These are a great group of women and  I look forward to being with them again, for at least the third time. We will be working on Western Sun. Here is my "wild" version:

Wild Western Sun

And the more traditional fabric selection:

I still have a lot to do to get their substantial kits ready. But what I did first was prep some handwork for me to have for the evenings. This is an important quilt for me and it is taking some time. The circles will be prepped with Karen K Buckley Perfect Circle templates, then machine appliqued in place. I did try Sarah Fielke's aluminum foil technique for circles--I believe I will be faster with Perfect Circles.

First, I marked the circles on the background with a chalk pencil. Then I traced either the cutting line or the finished size line, depending on the size of the circles onto a variety of fabrics. I will decide which fabrics I want for each background and prepare them:


If time permits, I will do some simple embroidery stitches, as I did here on the first section of this "block" I made: 


There are lots of 1/4" bias stems already made--they are machine appliqued first to the background, then the circles will be machine appliqued. I used light green thread, except for the darkest stems. Blanket stitch, #1329 on my Bernina, W 1.0 L 3.0.  Here are two backgrounds ready to get circles: 


I am really tempted to use a decorative thread and some of the many decorative stitches I have on my Bernina 765 SE machine for appliqueing the circles. These great machines come with so many stitches and I only use 2-3. Machine stitching would be so much faster than hand embroidery.

The other project I had to get done was my top for "Aether", which I have named "Sunrise, Sunset". This will be a class offered locally February 4 and 25, 2023, at Southern Charm Quilting. The pattern is by Patty Murphy and is available at the store. I have some good ideas for quilting designs but that will have to wait until later this year:


LOCALS: There is a last minute OPENING for my 4th Joyful Journey Retreat at Red Rooster Retreat Center in Crane Hill, AL. It is March 1-5, 2023. We have a wonderful time and have become a close group. If you are interested, please contact me right away so I can send you all the particulars.

Here are photos from prior years to tempt you. Spend 5 days sewing, laughing, eating, loving time for yourself. Spend NO time cooking, cleaning, or working for someone else. It's all about YOU:


I have written about these events here:


Let's quilt.

Barbara 

Sunday, January 1, 2023

HOMEWARD BOUND -- MONTH 1

 The Quilt Show is happy to present HOMEWARD BOUND, designed by Sarah Fielke, as the 2023 Block of the Month quilt project. 


Even if you are not planning to make this quilt, I think you will find useful information in the monthly posts I write to help those who are working on it. 

The patterns are FREE to STAR MEMBERS of  The Quilt Show. Join now if you want to start right at the very beginning.  The Show featuring Sarah Fielke is FREE TO ALL to watch, even if you are not a member, so take a look at that show.

In Month 1, we make the small center cabin and the four star point units that surround the cabin.

IMPORTANT TIPS:

1. Watch any VIDEOS before beginning. Month 1 has two videos.

2. READ the pattern completely before beginning.

3. Follow the instructions carefully.

4. Ask questions on the FORUM if you need help.

The cabin is SMALL--4" finished, that means when sewn into the quilt. The cut sizes of the pieces are really small, some as small as 3/4". Those are the precise sizes for machine piecing with an accurate 1/4" seam allowance. 

Verify your units are the correct size as you sew them together. If the little units are not the right size they will not miraculously become the right size when you do the next step.  Pay close attention to the cabin/background sections. I found it helpful to remind myself which fabric was cabin, which background:


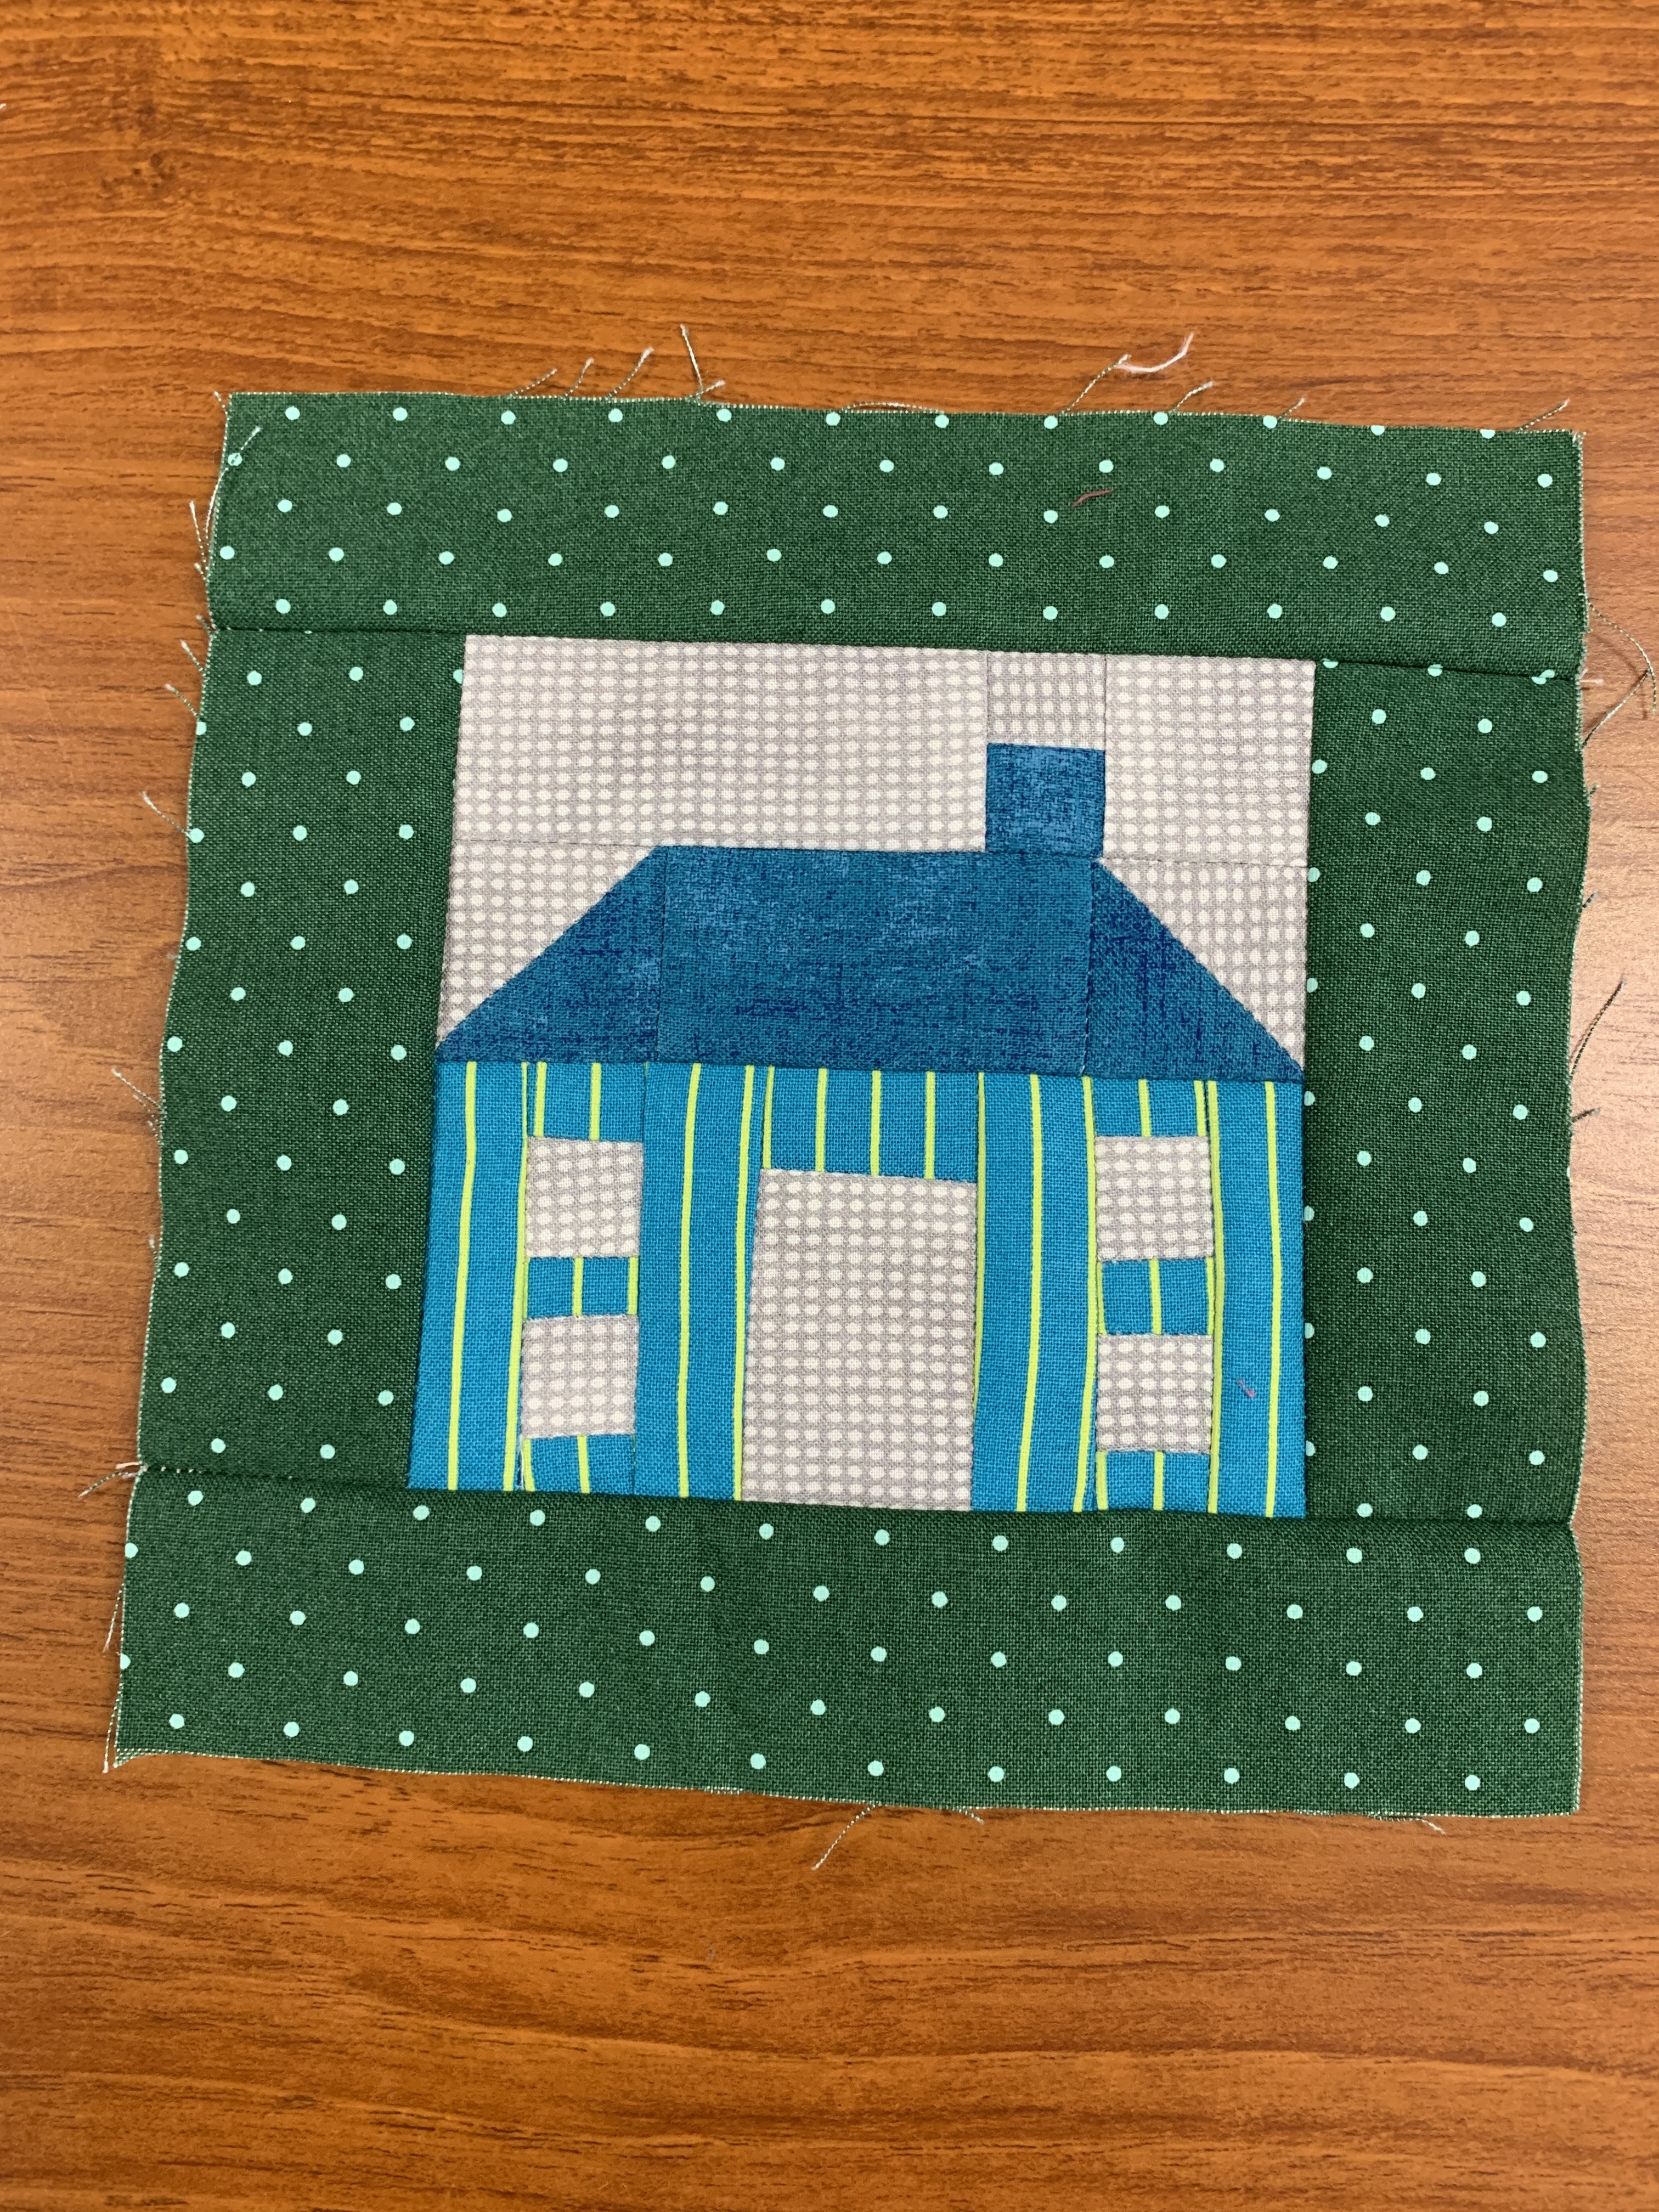
What NOT to DO. I didn't have the KIT when I began testing the pattern. I did have a jelly roll of a lot of the Tula Pink fabrics so I used those. When selecting cabin fabric I thought the stripe would work well. It didn't. I had to cut several pieces more than once to get the stripes in the correct direction. And the walls were still a bit "wonky":


So I made another one. I liked the fabrics better but the cabin is still "not to code": 


It occurred to me this little cabin can easily be paper pieced. The advantage to paper piecing is precision can often be achieved, especially with small pieces. The disadvantage is it takes more fabric and you need a paper pattern to stitch on. And you are sewing "upside down and backwards". 

There are many videos on paper piecing. I am  not going into details here. I am providing you a photo of my paper pieced pattern for this cabin so you can draw your own. You are only making one cabin this month so you only need one set of patterns. Simply use a ruler and a pencil to DRAW the pattern onto the paper of your choice. I like newsprint or tracing paper. Heavy copy paper is not the best choice.


The top section with the Chimney appears backwards--that is because in paper piecing the pattern is reversed since the fabric is on the back side of the paper pattern. If you draw the first section as it appears in the finished cabin, your finished chimney will be on the left side of the roof--not really a problem, just different. 

The first and second sections from the top are 1" x 4" finished each. Draw that size rectangle then add the 1/4" seam allowance all around to create the section. Use a pencil to draw lines as shown. I used the cut sizes of the pattern to determine what size each piece is. The roof section is simpler than the pieced version, one rectangle for the roof, two triangles of background for the sky

The bottom half of the cabin is made in 3 separate parts, the door in the center and two cabin parts on either side of the door. Again, I used the pattern sizes, minus seam allowance amounts, to know what size to draw the various shapes. The door is 1" w x 2" h and the cabin sections are 1.5" w x 2" h--those are finished measurements--add the seam allowance around each section as shown in the photo.

PAPER PIECING TIPS:

1. Reduce stitch length to about 1.5. Small enough it won't come undone when you remove the paper, not so small it perforates the paper completely.

2. Cut the fabric pieces with a 1/2" seam allowance rather than a 1/4". This allows for movement of the fabric when you sew. Trim the seam allowance to 1/4" AFTER the sewing. I use an Add-A-Quarter ruler to trim as I sew. 

3. Once each section is sewn to the paper pattern, trim to the exact size each section should be, including the seam allowance. For example, the first section, the chimney section, is trimmed to 4.5" w x 1.5" h.  This is when I remove the paper. It should come off easily if your stitch is small enough.

4. The paper serves to make the sections the right size. I don't need the paper on as I sew the various sections together. I find it much easier to join the sections as in regular piecing, without paper.

5. When your cabin is done, it should be 4.5" including seam allowance.

In the Month1 video Sarah explains how to fix it, if your cabin is a bit too small. Cut the surrounding border  fabrics wider than called for in the cutting instructions. Once the border is in place, you can trim your cabin/border unit to the required 6.5" square including seam allowances. 

My third and final small center cabin, paper pieced, better:


STEM APPLIQUE: 

The stems that are placed on the background of the star point units are straight so bias isn't required. If you prefer, you can cut them from straight grain fabric. Watch the second video for Month 1, Making Bias Stems, to see how Sarah uses a Hera marker to make very precise 1/4" finished Stems. The process would be the same if you cut straight grain stems. 

Sarah does all her applique by hand. I use the machine when it seems reasonable to me to do so. These long straight stems were a breeze to machine applique in place.  I used Alex Anderson's class on machine applique to stitch them: 

Machine Applique class   She talked about Monopoly thread but discusses other threads too. I used a green Quilters Select 60 wt thread that closely matched my green stem fabric. I used the same stitch and settings as Alex demoes.  You can see how the stitches disappear:

Leaves and Coneflowers are hand appliqued, stem is machine appliqued


STAR POINT SECTIONS:

There are two ways to make the Star Point sections. In the Month 1 VIDEO Sarah shows how to use her Half Square Triangle Ruler. Other brands of Half Square Triangle Rulers will work the same way. She cut a strip 3.5" wide, placed the strip with wrong sides together and used the ruler to cut the 8 triangles needed. 

In the written pattern instructions, Sarah describes how to cut squares, draw a diagonal line on the back side, place the square onto the Background unit, after sewing the stem in place, and sew on the diagonal line. Cut away the excess part of the square and background, as shown in the pattern.

Either method works. Why not try them both to see which you prefer.

STOP! This month you make the center Cabin with Border. And the four Star Point units. That's it. Don't sew the star points to the cabin. In Months 2 and 3 we will make bias stems and a lot of circles for the Hollyhock squares. In Month 4 we will join the Hollyhock squares to the Star Points and Cabin so we can applique the Coneflowers and their leaves in place.

Post your progress on the Forum and be sure to use a hashtag if you post on social media.

Let's quilt.

Barbara


Wednesday, September 21, 2022

Student Progress on Garden Party Down Under

 There is something special about a year-long class, a two-hour lecture/demo class. All sewing is done at home.  Each woman is working on the same project, at her own pace. Each quilt is so different. Everyone understands all the effort each  block takes. They may have started as strangers but the leave the year as friends. Some have made time to get together to sew outside of class too. I love that!

Here is the progress being made by the students making Garden Party Down Under, the Block of the Month quilt designed by Irene Blanck exclusively for Star Members of The Quilt Show.

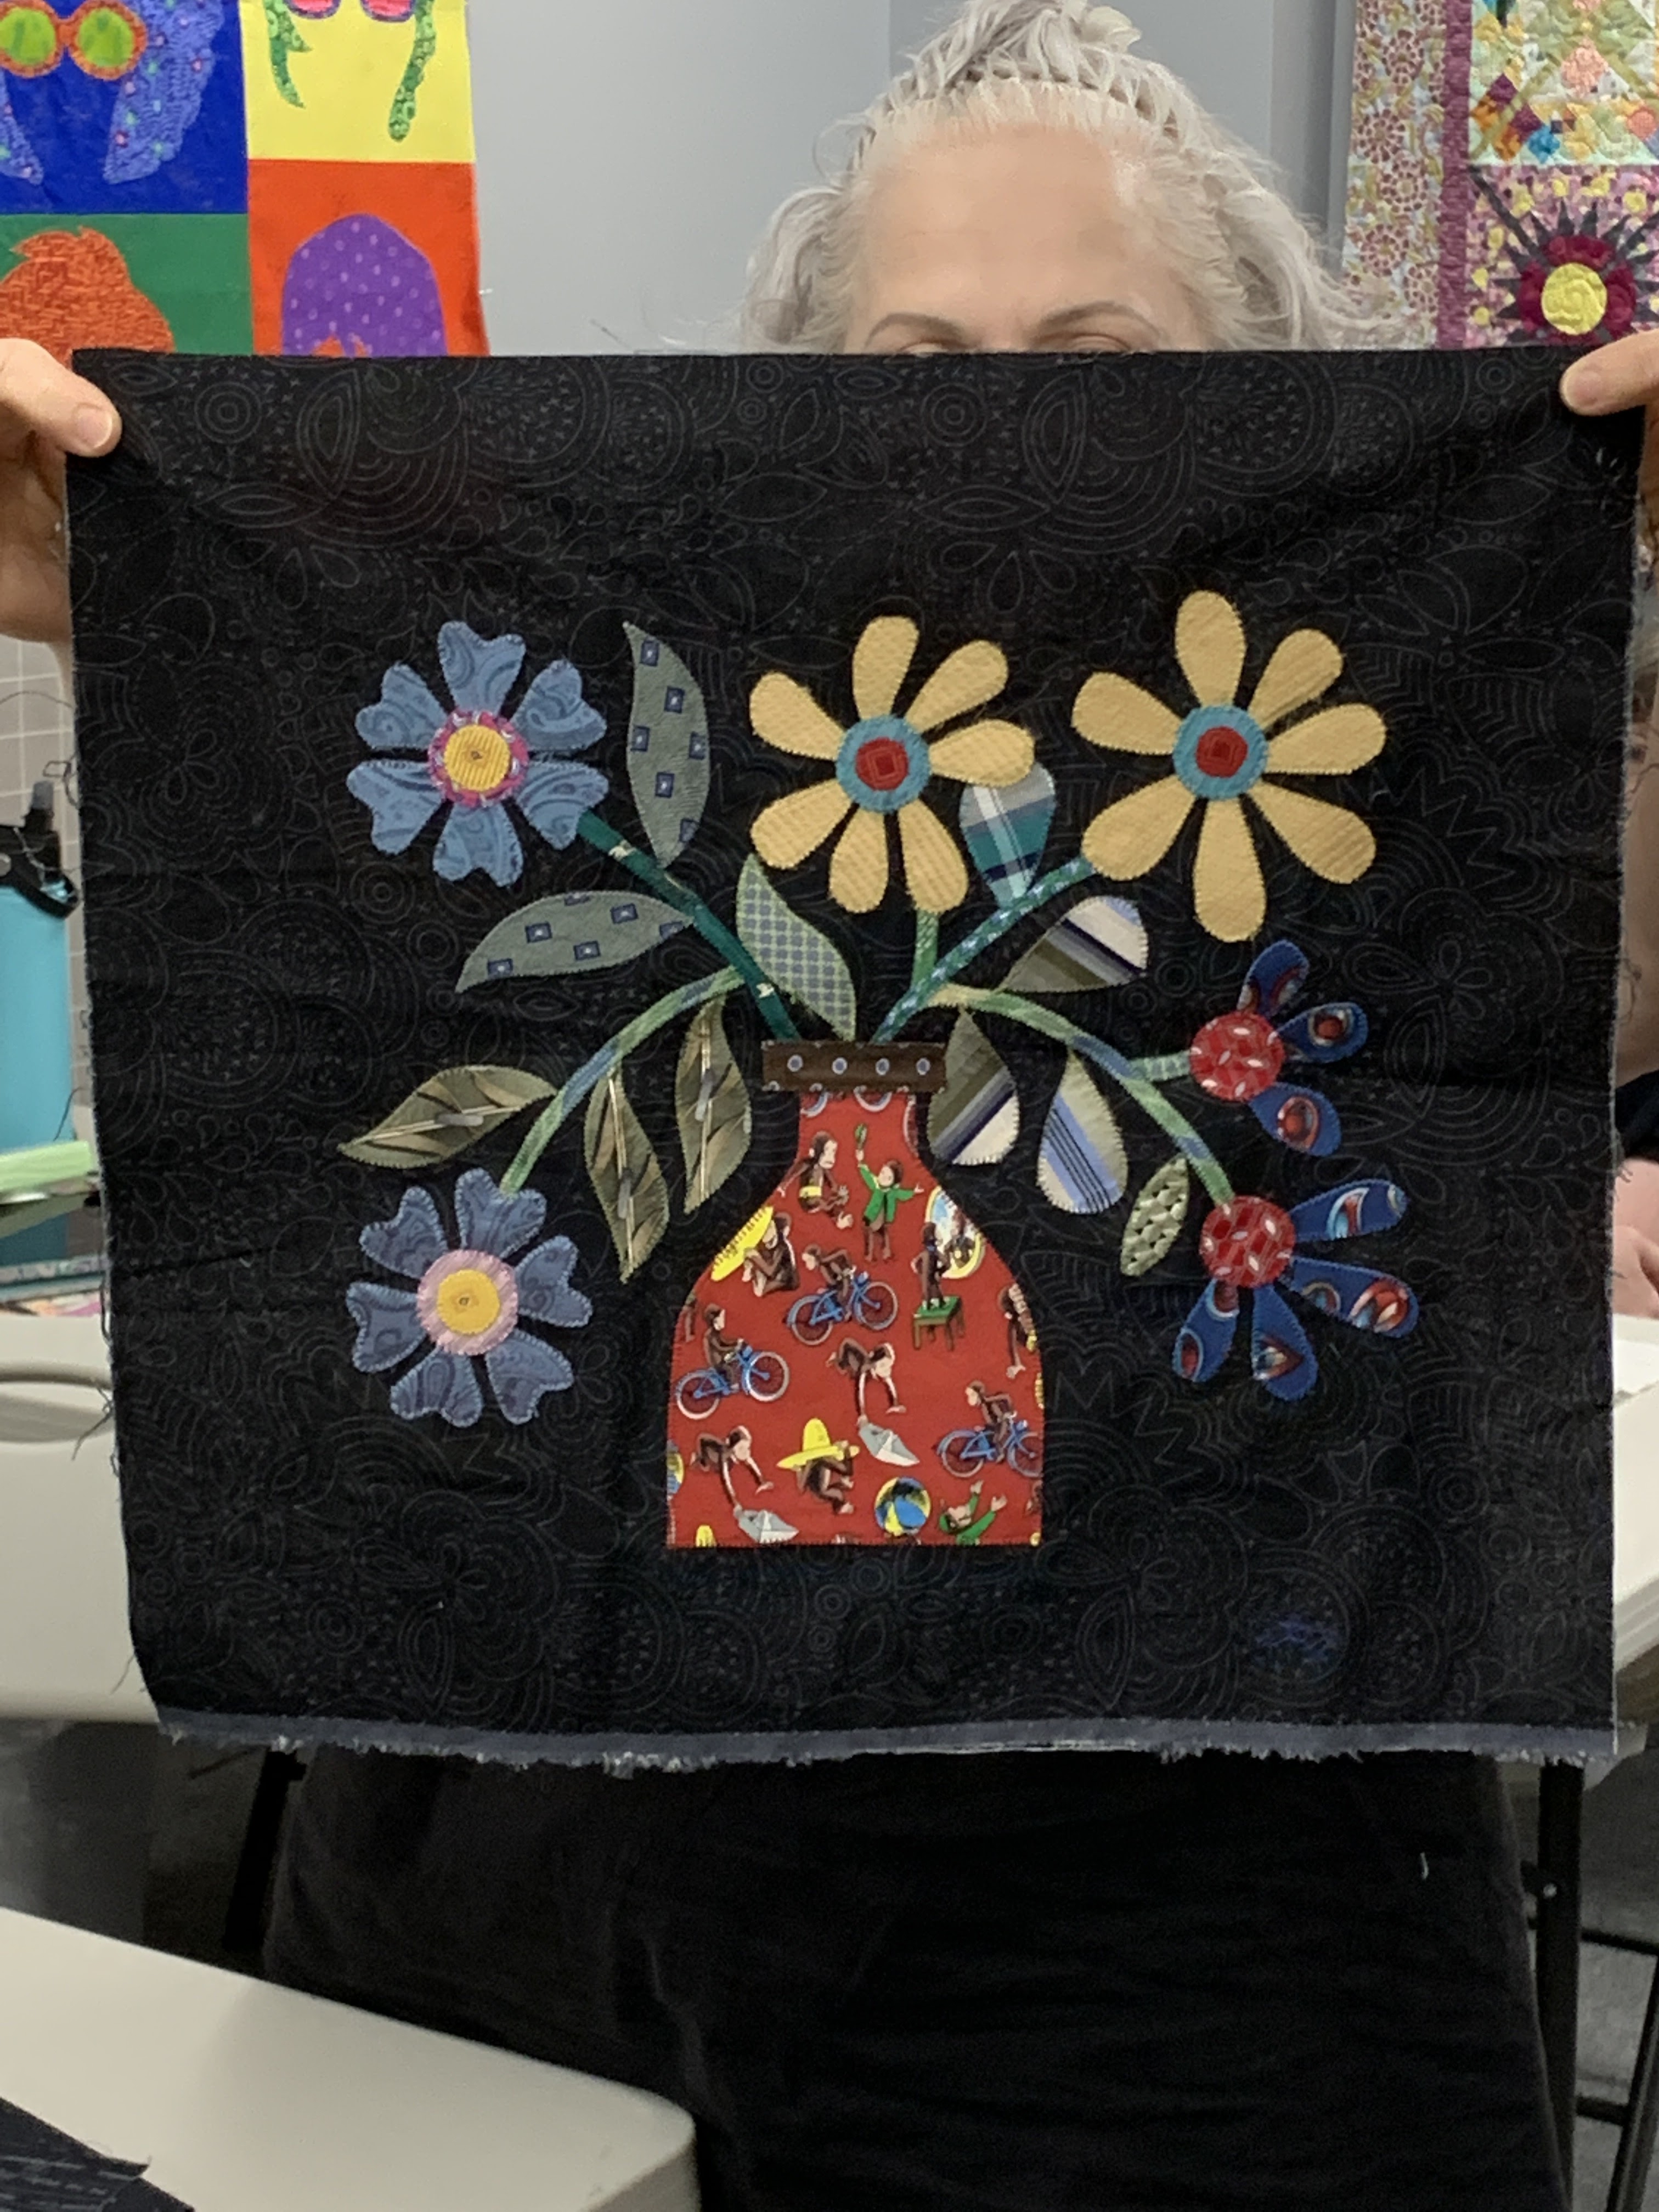
Mary-Louise is using men's silk ties for her shapes. Each fabric has to be stabilized with lightweight fusible. The dark backgrounds add so much depth! They are fabulous blocks:


M-L gave up on the tiny Dresdens--that silk did not want to play nicely. Instead, she is designing critters from her garden for the center of each pieced block:


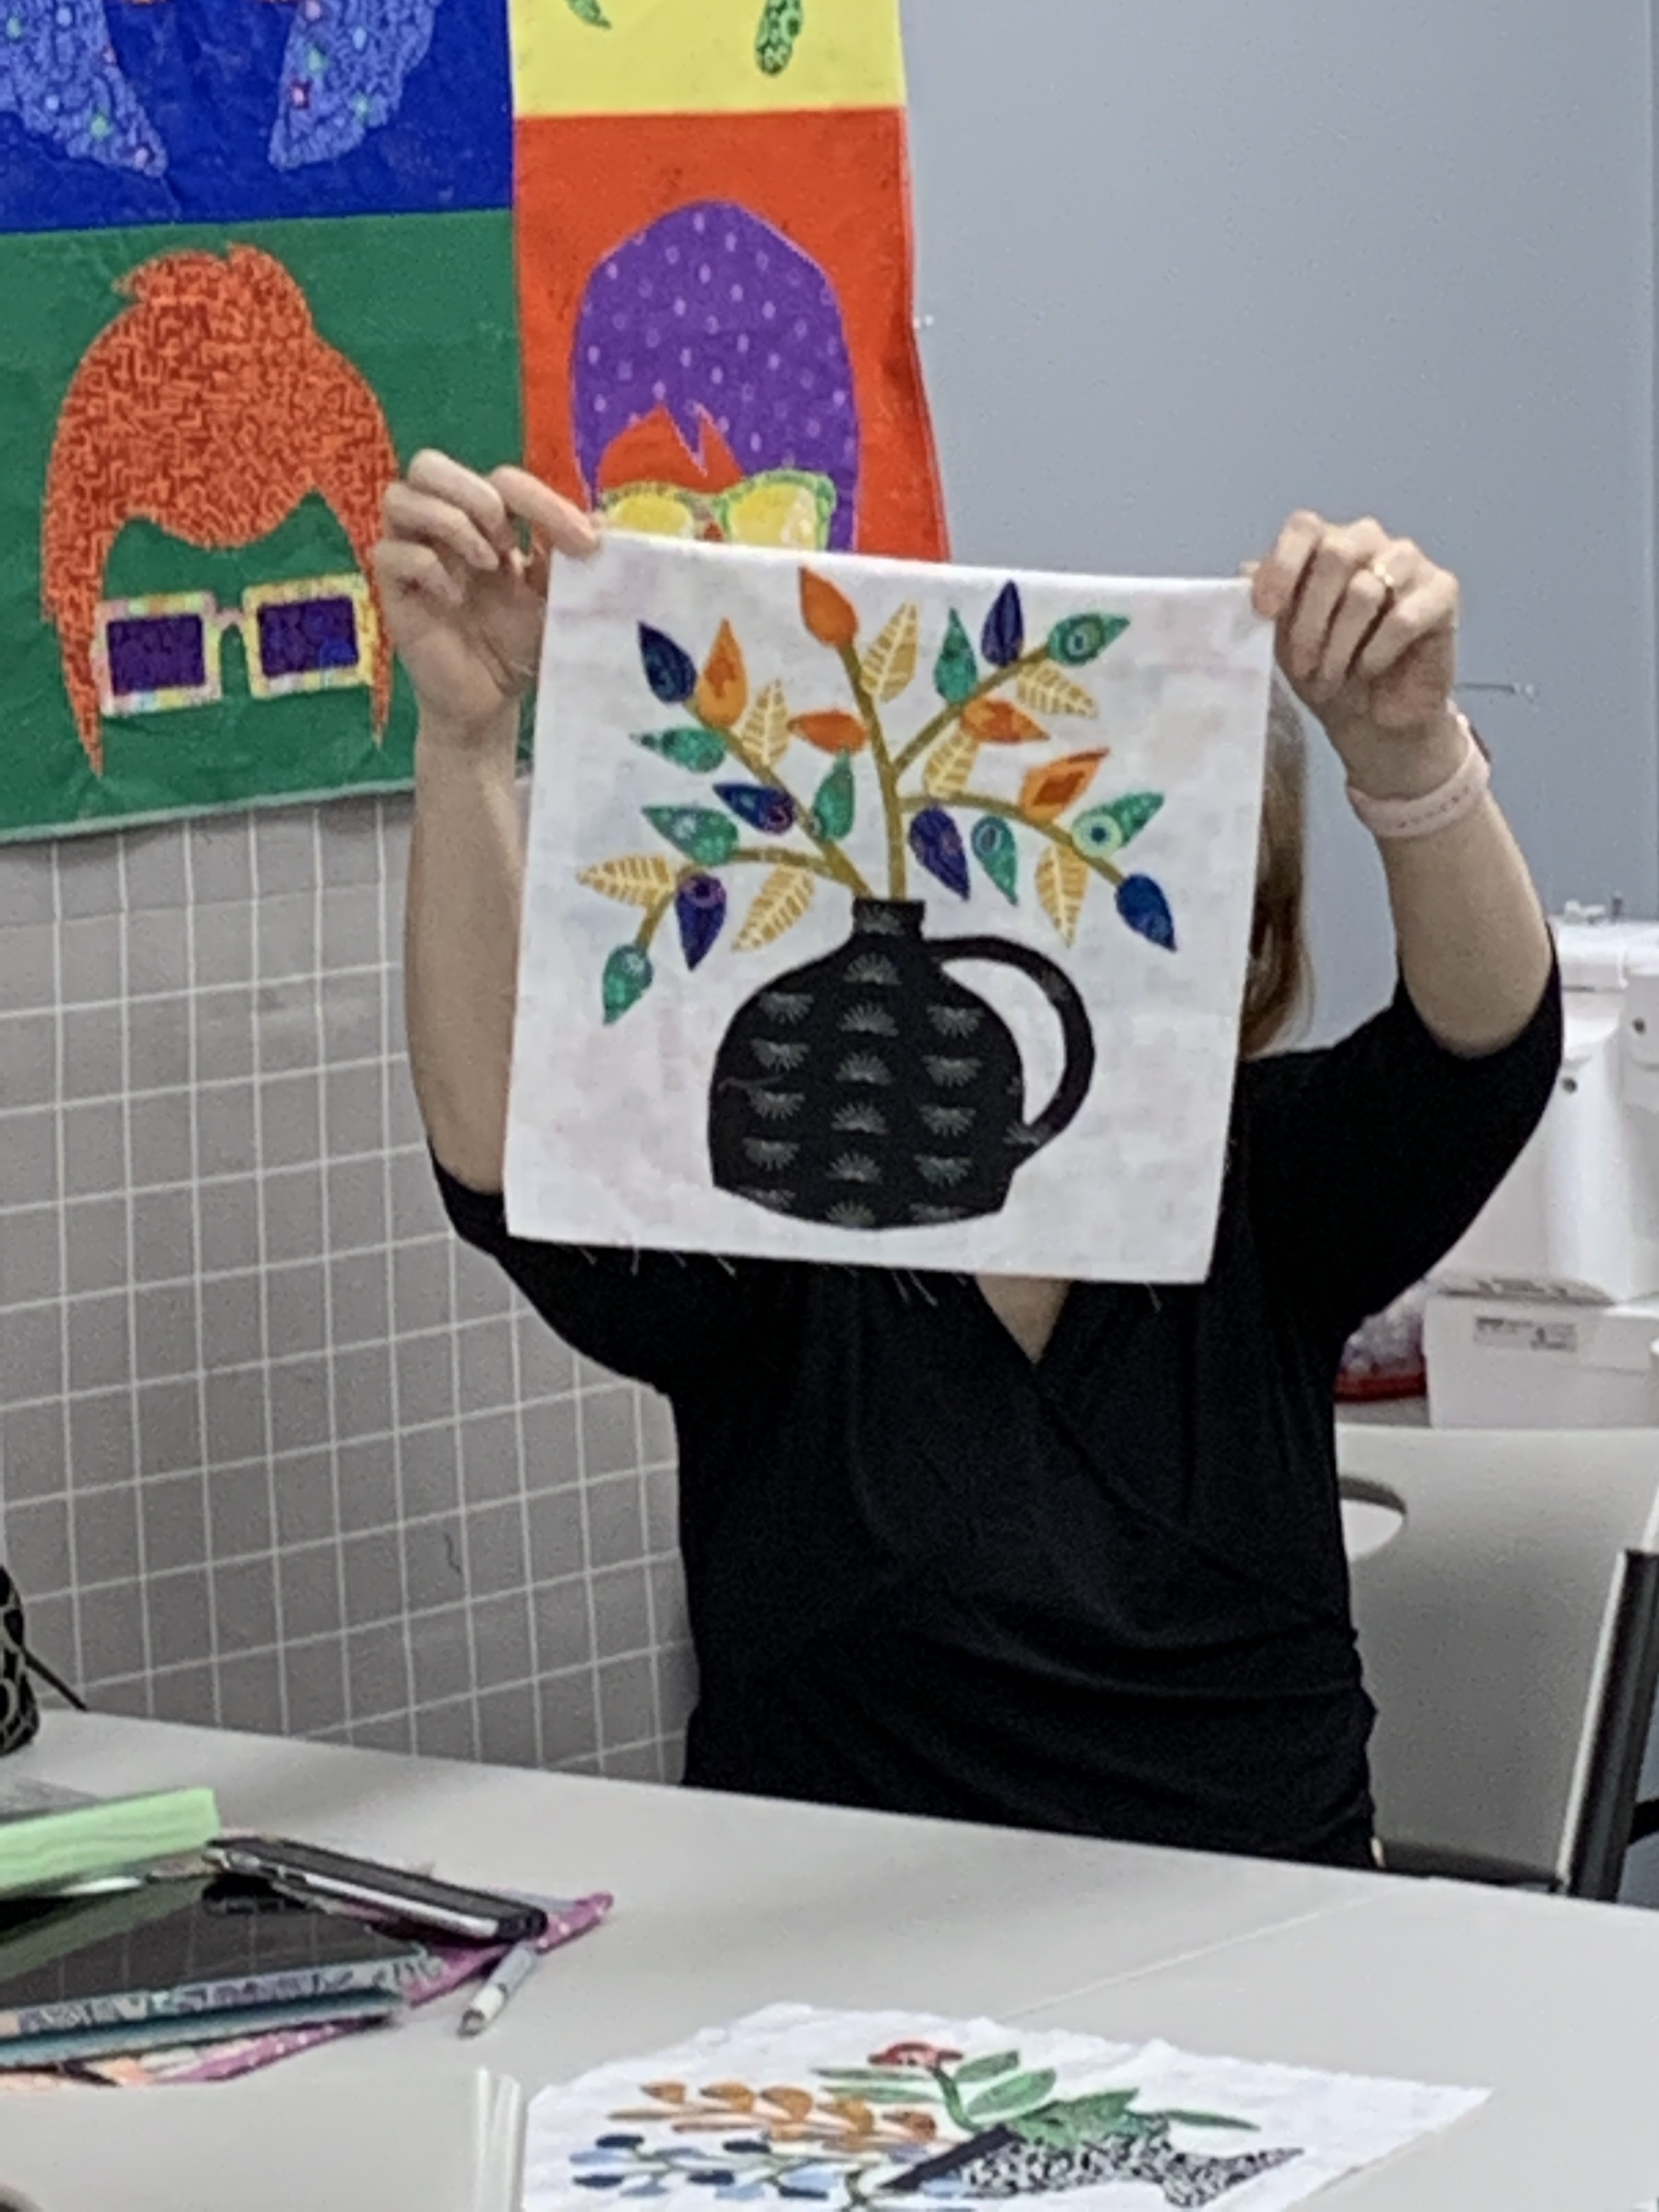
Cyndi is using her beautiful stash to make wonderful blocks: 


Victoria had an epiphany when she got the hang of paper piecing the Dogtooth borders. Her husband may not have been overly impressed, but we sure were. When you get something you have struggled to "get", it's a beautiful thing: 


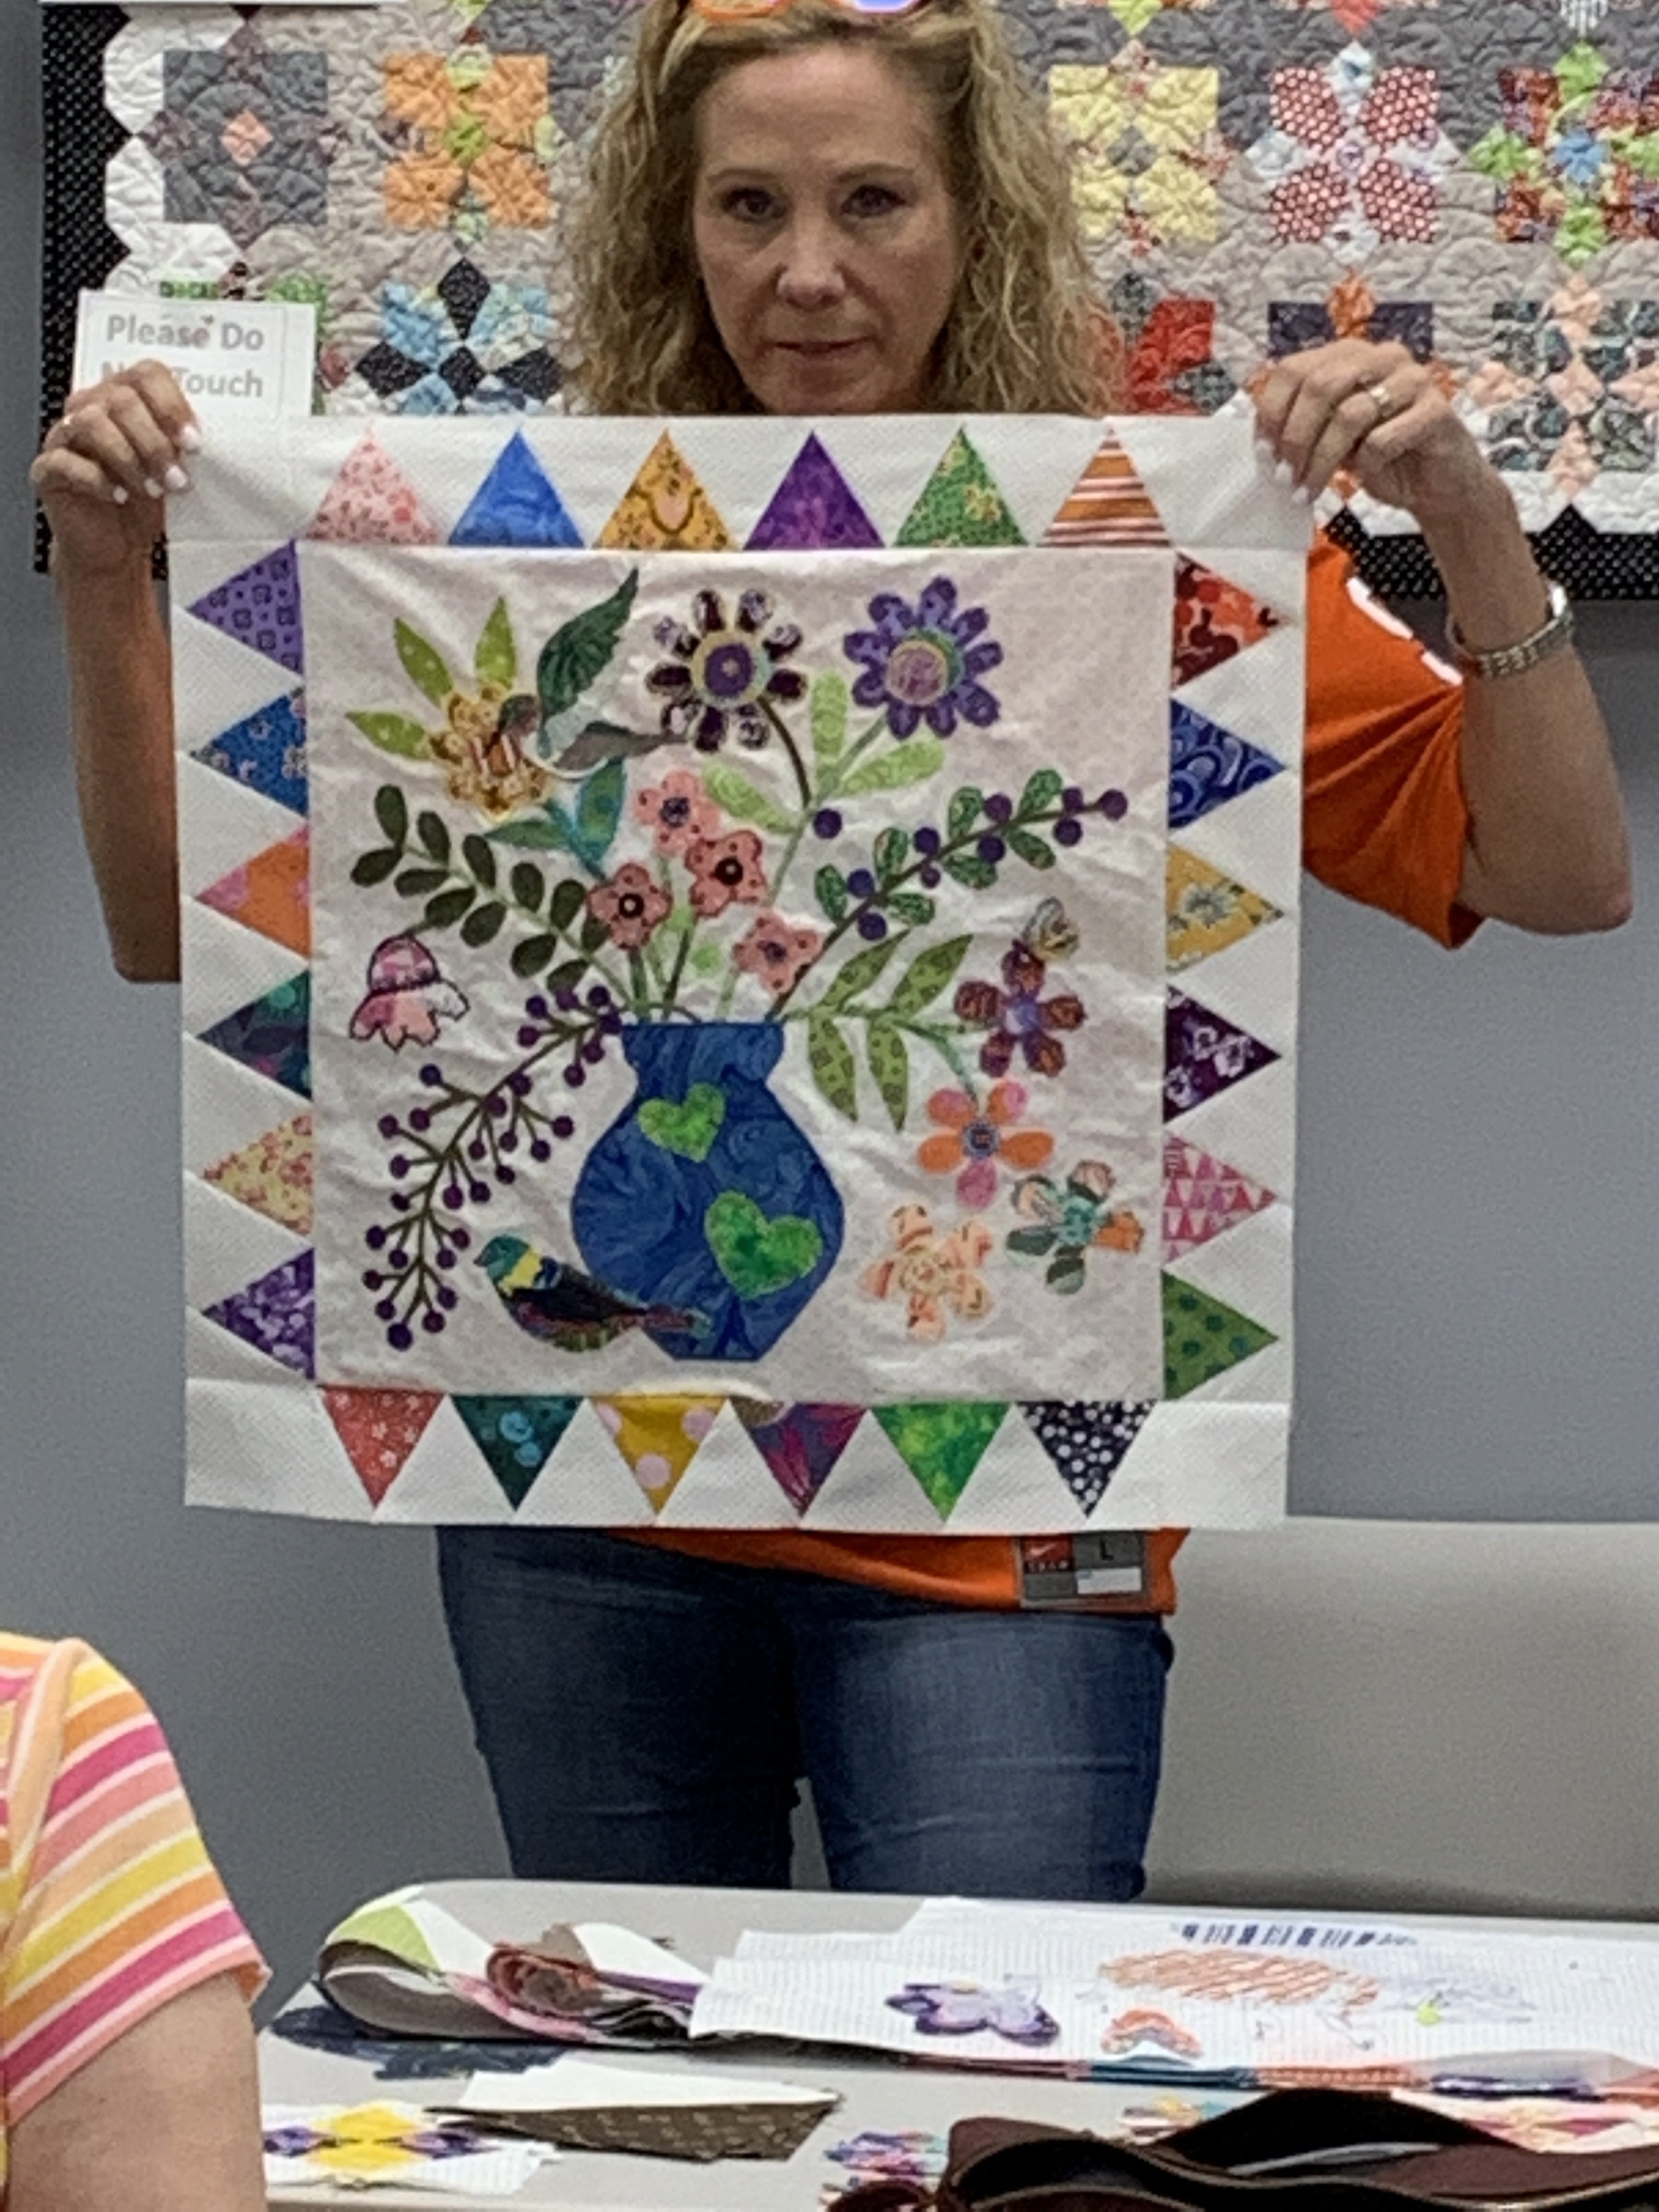
Claudia is enjoying the process--love her fabrics: 

Julie often wears clothing that match her block--I wonder if that's intentional?

Evelyn has missed a few classes but she is keeping up. This is a bright and happy quilt. She got a new sewing machine and is playing with many of the built-in stitches for her machine applique:

Phyllis has found the best applique technique for her--back-basting. Leila is doing this method and explained it in an early class. Phyllis tried it and was  hooked. Here is a block ready to stitch--the stems are machine appliqued because it's so easy. The green leaves on the right are hand appliqued in place. Everything else is back-basted and ready to go, making this a very portable project: 

Sally has ventured into wool applique with lots of embroidery stitches. She finds it slow but rewarding:

We had one other student in this class this time, but Fanny wouldn't let me take her photo--she had only brought her beautiful tiny Dresdens--her fabrics are wonderful. Next class I'll get to show more of her work.

Our time together is winding down. Most will not be making the 2023 Block of the Month quilt, they all feel the need to get a few of these previous quilts done in 2023. Although I will miss our time together, I will see most of them in other classes and places. 

They may all have started as strangers but they leave the year as friends. Some have made time to get together to sew outside of class too. I love that! Isn't that what the quilting community is all about?

Let's quilt,

Barbara