Saturday, January 27, 2018

Road to California--2018

Quilts hung in the Atrium at "Road" tell you exactly what show you are at. These quilts are from  the Long Beach Modern Quilt Guild--it's a special honor for a guild to be invited to hang their quilts in the Atrium:


Road to California is a big quilt show held annually in Ontario, CA. For those of us East of the Mississippi, this show is not one we are very familiar with, although it's been in business for more than 20 years. This show is to the West, what Paducah is to the East. More than 40,000 visitors come from all 50 states and several foreign countries. There is big prize money so the quilts entered in the judged show are top-notch. More than 230 vendors make shopping easy. Classes are taught for a week by 50 well-known, and a few not-so-well known teachers.

Here is a link to the Show Guide: 2018 Show Guide. I took very few photos. Here is the Best of Show, Fractal by Claudia Pfeil, of Germany, $10,000:


At Preview Wednesday night, I made a point of finding and photographing this quilt, made by my friend Sarah Ann Smith, of Maine. It won First Place, Naturescape, $1000, and Sarah was eager to see it hanging:


The other quilt I wanted to see up close was this stunner by the amazing Sherry Reynolds--we made a point of finding each other for a quick hug Wednesday at Preview, which was packed, even though it is only for the quilts, vendors are not open that night. Eternal Beauty won a Special Award, Outstanding Large Quilt, $5000:


Now for my story. When I booked airfare last Summer, it seemed reasonable to fly from Nashville to Phoenix to Ontario, 2 flights, not 3 if I flew from Huntsville, and "safe" winter cities. Who knew Nashville would have a snow/ice storm overnight before my flight:

Lights from inside appear to be outside but you get the idea. My husband dropped me off just after 6 a.m., we had stayed at a nearby hotel. He then endured a 4 hour treacherous drive home to increasing snow and ice, a trip that should have taken 2 hours.  Once we were de-iced, a step you don't want them to skip, we made it to Phoenix an hour late. Two hour layover made that no problem for me. I landed in Ontario in the early afternoon local time to this:


I was there to teach four full days of classes and my wonderful roommate, Pepper Cory, invited me to come in a day early. Good thing because Wednesday travel from AL,  TN, GA, MS, TX, you name any city in the South, and there were problems.  Wednesday I walked across the street from the hotel to the Ontario Convention Center and saw this, flowers in bloom in January:


CLASSES: My Thursday and Friday classes were full with 20 students each. Many teams, mother/daughter, sisters, friends who reconnect at this show every year--it really is a destination event for quilters.

Thursday Antique Rose Star by Machine:


Wow--what fun fabrics!

Thrilled to have the young Lacey in class--we must encourage younger quilters 
Stripes add interest
Student alternated tip/center units--wonderful!

Traditional, love the plaid
Friday Smitten--this class filled in 4 days.


 We start with an easy block:

Elegant fabrics

Love words on fabrics

Bright and clean colors

Second block with more pieces. Love the bright orange background

Second block has more pieces and steps. Great fabrics!

Traditional Fabrics work too
Merci with her Day of the Dead blocks--she kept pedal to the metal all day to get four large blocks done

Saturday and Sunday: Two-For-One. Funny story--I was surprised anyone would sign up for a two all-day class at a big show with a teacher they never heard of, but 15 people did. It is my most popular class and one I love to teach. At the show I was told by the show operator they had made a mistake--the cost was $155 but the first students were only charged the $80 one-day fee. They decided to make lemonade from lemons and announced this was TRULY a two-for-one, take two days for the price of one. The class was close to full and all was well. And we had fun:

Cindy with beautiful batiks

Mary and Lorna Pumphrey from Arkansas, great traditional colors

Yvette and Yvonne, or is it? They saved me with cough drops and Throat Coat
Diana with a fun selection of fabric

Julie from Houston, wonderful Fossil Fern Fabrics

Funny story: This student took her machine back to the hotel Saturday night to sew. The machine plug got stuck, firmly, in the lamp base, no one, including maintenance, could remove it. So she just brought the lamp to class Sunday, minus the shade and bulbs. Quilters are clever:


Lovely fabrics


Traditional fabrics work too

Beautiful Metallics that might become a one-block wallhanging or table topper
Teaching was wonderful--and the evaluations blew me away, really. Some were suitable for framing. In each class someone said I spoke too fast--I guess my Yankee comes out at times. I'll be more aware of that going forward.

Getting sick was terrible--Saturday morning I woke up coughing and got by with cough drops and Throat Coat tea from students. I did a 2 hour Roundabout presentation on Saturday night when I should have been resting my voice. Sunday more coughing. Managed to fly home Monday without too much coughing and saw my doctor Tuesday and Wednesday and Friday. Lots of meds, four shots, finally feeling better today, a full week later, though I am definitely not well enough to be around anyone--I postponed two classes this week already.

So long to Ontario, CA:

Ontario, CA airport

The best view of all:

My own Bed
Let's Quilt!

Barbara

Sunday, January 14, 2018

Archie, Squiggy, Little Monkey and Temperature

It's been a productive week. I made class samples after prepping for my trip to California. Here is Little Monkey, an easy quilt for a baby or child, and it uses lots of scraps:


Eventually, this quilt will have 24 blocks and two borders. This is as much as I could get done this week. It's a free pattern from Bonnie Hunter, find it on her Blog. The class will be March 8, 2018, from 1-4 p.m. at Barb's Sewing Center, Huntsville, AL. 256-539-2414.

There are new rulers, better referred to as templates, for free-motion quilting with rulers on a domestic or longarm machine. Designed by Angela Walters for Creative Grids, they have the magic grippy stuff on the outside edge of the bottom of these rulers, it holds the ruler firmly in place as you stitch around it with a ruler foot:


I used two of them, Archie and Squiggy, to create a Ruler Work sample for demo sessions I'll be doing at Barb's Sewing Center, February 16, 2018, 10 a.m. and 11:30 a.m. I'll be using the Bernina Q20 in the shop, showing several designs for ruler work. Instead of just "practice sandwiches" I am making placemats for my kitchen. The light side is just muslin, the dark side is a dark blue multi-print--that will be the side we eat on. I find I do better stitching if I know people will actually see how I stitched:


The other quilt project I started this year is a 2018 Temperature Quilt--Google it, it's a thing. It started in knitting and crocheting but I saw two quilts online that inspired me to make one. The idea is you assign a fabric to various temperature ranges and use the daily high (or low, I suppose) for the location you want to use and make a quilt with those fabrics, one piece for each day. Here is my first 2 weeks of 2018 for Huntsville, AL and the fabric chart I made:


The rectangles are cut 1.5" x 4.75", there are 7 in each row and there will be 52 rows. The quilt will be 29.75" x 52" before borders, a weird size. We'll see as the year goes on. You can do any size pieces you want. The other decision to make is do you use only one location, like where you live, or do you use the physical location you are at each day?  I'm sticking with Huntsville to keep it easy.

One of the fine women in the Sunday Sew and Sews class gave me a lovely gift she made for me:


The stitching is beautiful, she even used metallic thread to "stitch in the ditch". I hung it up immediately in a spot where I will see it every day. Thank you, Cindy! Those are the extras that make teaching quilting so rewarding. Students often become friends.

Time to pack my bags and get on the Road to California.

Let's quilt!

Barbara

Sunday, January 7, 2018

TEACHING--LET THE NEW YEAR BEGIN

It's probably no surprise that I love to teach quiltmaking. Today starts the 2018 Sunday Sew and Sews monthly class, where we will work on the Block of the Month from The Quilt Show:  The Patchwork Barn. Here are the excited students who are joining in:


While I've been teaching quilting for almost 30 years, mostly locally and regionally, once I retired from H&R Block in 2014 AND had my Red and White By the Numbers quilt front and center for the 40th anniversary of the International Quilt Festival in Houston, I began traveling more out of state to teach. 2018 finds me with 9 trips away from home, starting next week at Road to California, a big show on the West Coast, that has been in business for a long time. I am honored and excited to be among the 55 faculty members for this week-long Quilters Conference. And so pleased that both my one day classes are FULL and the two-day class only has room for a few more students--that amazes me! We are going to have a great time.

For almost 20 years my job at the Quilts Inc. shows has been Faculty Check-In. This has given me a great gift--I've developed both personal and professional relationships with the top quilt teachers in the world, most of whom are household names but all of whom are top-notch teachers. I thought I understood what they go through to get ready to teach at a big venue like Houston or Road. Not until I shipped two boxes of class supplies, totaling more than 35 pounds of patterns, templates, handouts and a few of my best quilts, did I really understand the terror that can come from a lost box. When FedEx notified me they could not deliver the boxes because the business was "closed" and I quickly found out the business was OPEN, and redelivery would be "attempted" four days later, due to Christmas, yes, that was a bit of panic-time. Fortunately, the boxes made it safely to their destination the day after Christmas and I learned a valuable lesson--ship EARLY, not the week before Christmas.

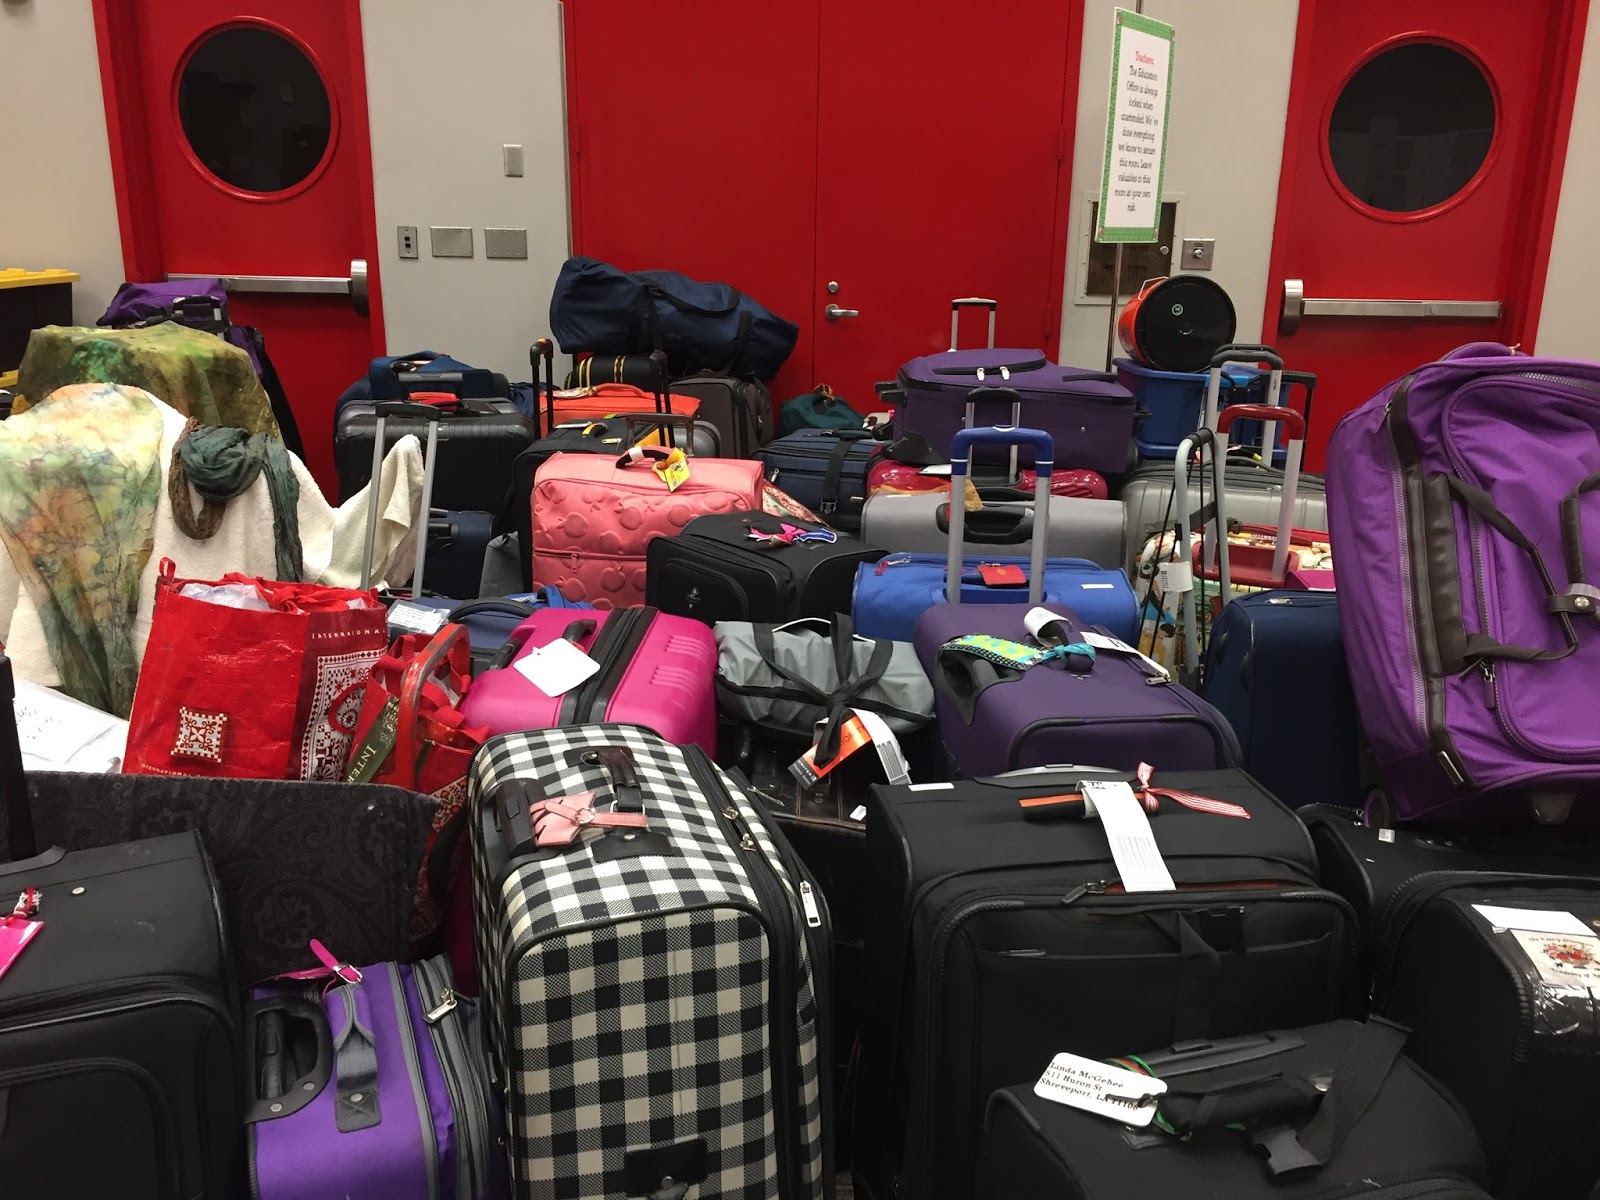
Here is what Faculty Freight looks like in Houston, and you can only see half of it here. This is BEFORE the faculty arrive, when I have it all neatly organized alphabetically:


This is AFTER, as the boxes start to be opened and used:


When I see a teacher entering the Education office for the first time, I have already checked my "freight list" so I can tell her/him, how many boxes have safely arrived for them. They are shipped to a show office and then transported to the Education office at these big shows--so just because the teacher knows the boxes made it to the place they were shipped, they aren't really "here" until you can lay your eyes and hands on them where you need them--at the show convention center.

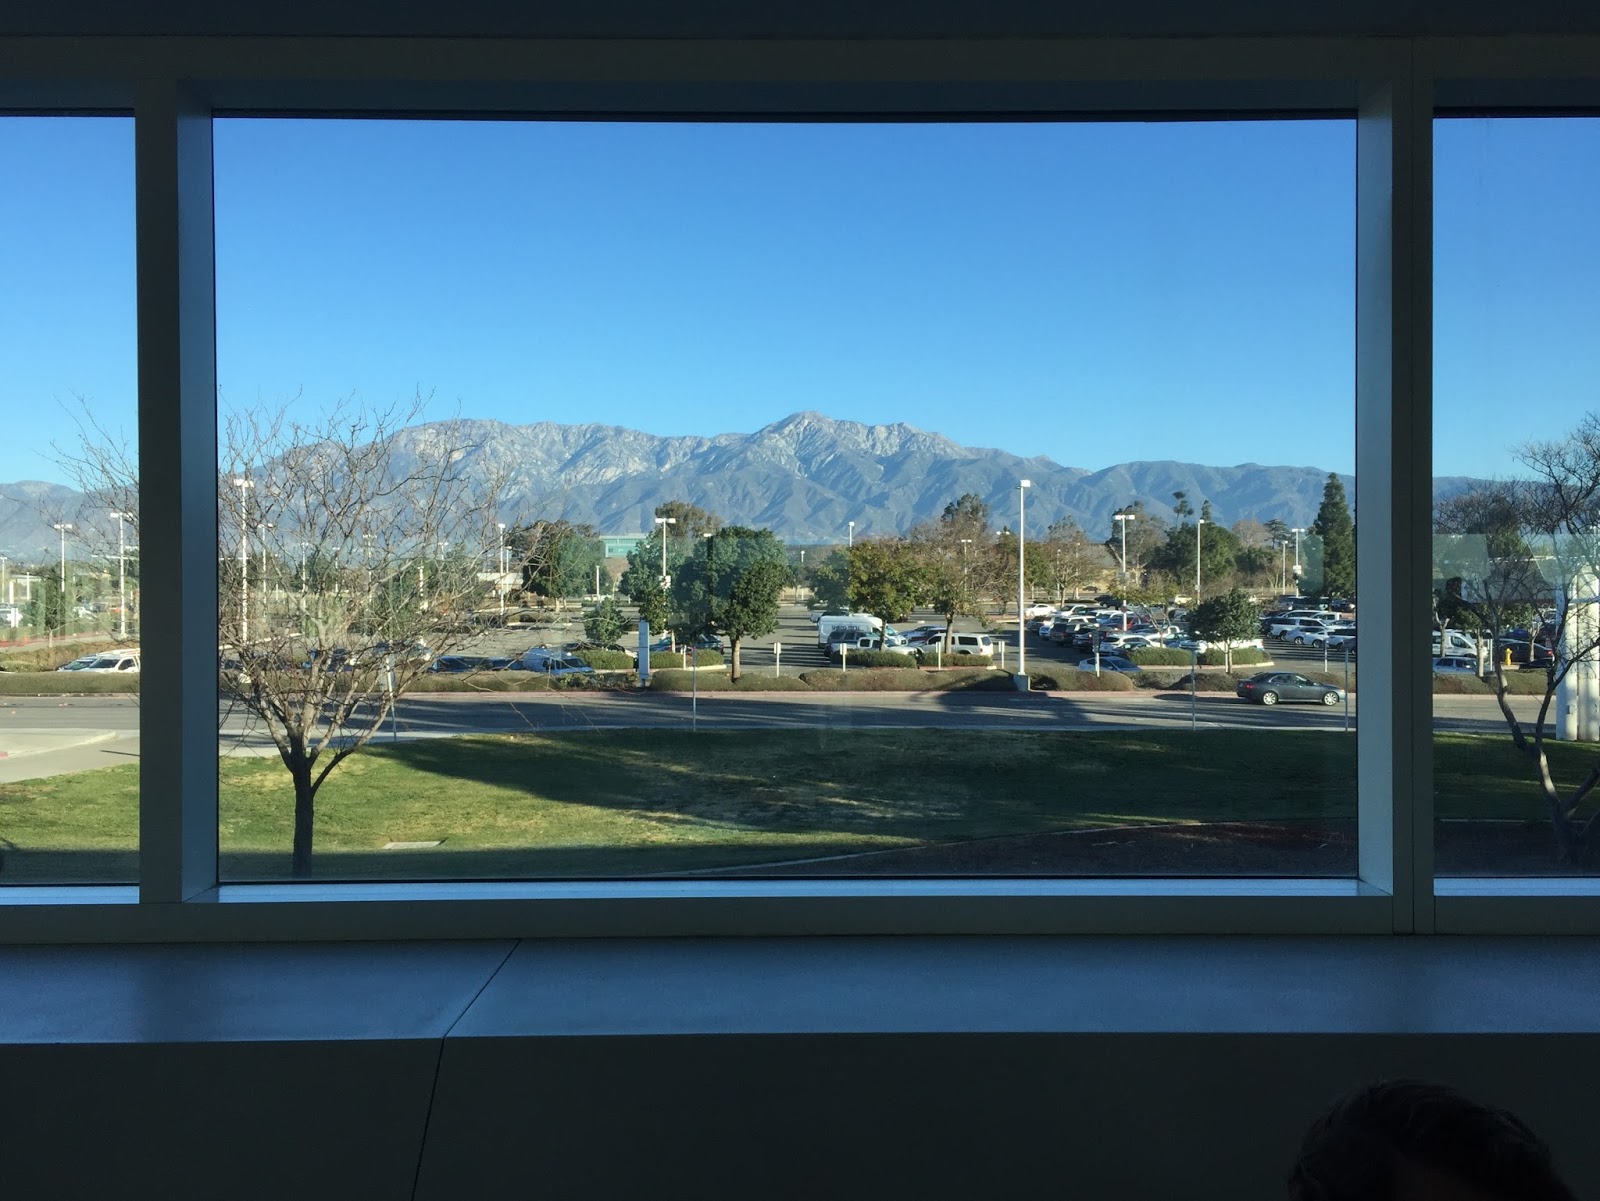
And before you think it must be glamorous to be a traveling professional quilt teacher, think about the "travel" part of that title:

Add weather issues for all of us who fly to these shows and you can imagine a bit of the excitement and stress. Of course, going to Southern California in the dead of winter isn't a bad gig...

This week I'll prep all 3 of my class materials, review everything I plan to teach and how I plan to teach it, get the remaining supplies, tools and quilt samples all together, figure out what to wear each day for a week when time is of the essence, and get really excited to meet the many new students who are in my classes. I am also doing the Roundabout, a two hour demo session--mine is on top tricks and tips to make great bindings.  I need to get those samples ready too. Look for a report when I get back.

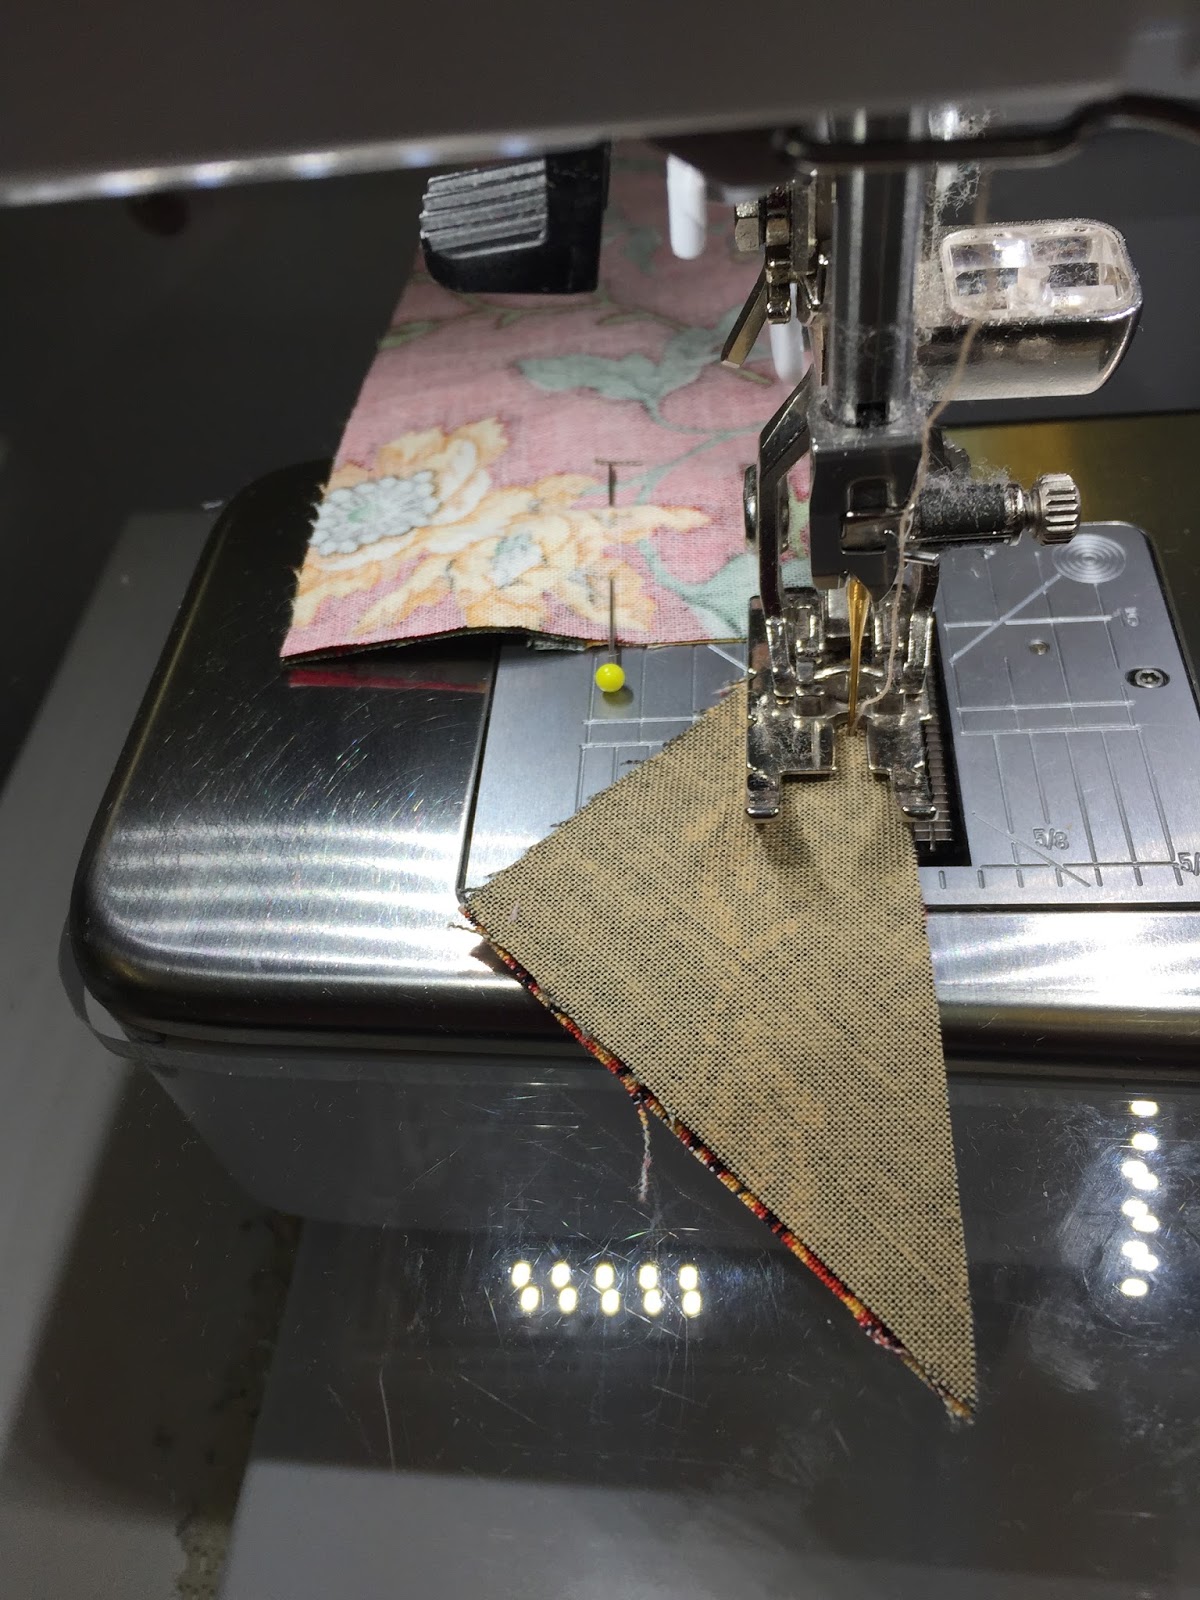
Also this week I will make two shop samples for upcoming classes, one on Ruler Work with a domestic sewing machine and one a small quilt. I want them done before I leave town for a week.

It's Stella time--my adorable two and a half year old grand-girl visited us for Christmas, for about two days, along with her mom and dad. Last Spring Lauren, my DIL, asked for "mother/daughter" aprons so for Christmas I made:


I was glad to see they fit--they are "cross-back" style, which means no buttons or ties and that head-hole on Stella's looked pretty small to me without being able to try it on her. She loves to help Mommy in the kitchen. And I did get her to sit still for a few minutes so she could show me her IPad:

I hope you have plans to make a quilt or two this year.

Let's Quilt!

Barbara

Monday, January 1, 2018

Month 1: The Patchwork Barn

This is the FREE Block of the Month pattern "Patchwork Barn", designed by Edyta Sitar exclusively for The Quilt Show. You must be a Star member of this world-wide quilt guild/show/internet community to receive the free patterns each month, beginning January 1, 2018. Join today and get started on this journey.

It's January 1, 2018 and the first month's pattern is now available. 


Blocks 1, 2, and 3

Previous instructions are here:


Introduction and Preparation

PRINTING NOTE:  I only printed the complete quilt in color for the front of my notebook and the first page of my patterns. The actual pattern instruction pages I printed in black/white. Each month the first page is the full color quilt pattern and the last page is a "For Notes" blank page--I did not print either of those pages. Instead, I selected a range of pages to print:  for example, 2-3. If you want to print it all each month, that's fine too. Be sure you have "actual size" selected when printing PDF patterns.

I won't be discussing the exact sizes for these blocks--that is all carefully laid out in the pattern. I'll provide tips to help you make the blocks as quickly and accurately as you can.  My motto is "I want the fastest method that gives me the result I want." What is fastest for me, may not be fastest for you--try a variety of methods to find out what works best for you.

The Basics:

There are 24 blocks, each will be made 3 times, and those instructions will fill months 1-8. Month 9 introduces the central barn block and the start of the appliques. Several people have asked me for an alternative central block and I'll talk more about that next month--I will provide a few alternatives if you prefer something different and of course, you can create your own center block to personalize your quilt, if you like. 

How to Succeed:

The 3 things that can go wrong in quilt block piecing is the:

CUTTING: are the pieces cut accurately?
PRESSING: is the block flat, without puckers or pleats?
SEWING:  is the 1/4" seam done so that the  pieces finish at the correct size?

Let's look at each of those 3 skills in detail.

1. The Cutting:  I have a complete tutorial on Perfect Piecing Like a Pro that provides lots of photos of careful cutting with your ruler and rotary cutter. Check that out if you struggle with your cutting.

The pattern provides the sizes to cut all the individual pieces for all 3 of the blocks you make from EACH pattern. That means we'll make 3 of Block 1, 3 of Block 2, 3 of Block 3, etc. I will be making each block from the same fabrics--the amounts given to cut 3 make that easy and with 72 blocks, I think the quilt will be busy enough without my adding more fabric choices to each block. Do as you like.

If you choose to cut out each individual piece then sew the blocks together piece by piece, just follow the pattern instructions to the letter. I added up the linear inches needed for each piece and then cut that size strip, so that I could strip-piece where helpful. For example, in Block 2, it was easy to cut strips of fabrics A, B, and C in the width shown in the pattern--I just added up how much of each fabric I needed for each strip. Then I sewed B and C together in one long strip:


I could have added strip A to the yellow but since it was a large floral I thought I might want to fussy cut it so I only made the B/C strip set.  Also, if I made the "strata" of all 5 fabrics, I would have alternated sewing from the top, then from the bottom, then from the top, etc. This helps prevent the "bends", where the strata bows almost into a curve. It was just easier for me to only strip-piece B and C. 

After pressing, which I'll discuss below, I cut the B/C strip set into 6 pieces, the size needed for 3 of these blocks. 

often use a skimpy seam allowance when working with small blocks, so the next step is very important. "Ruler Check Your Work": make sure each sewn unit is the correct size before going on. I always check from the center out. Here I have the ruler set on the center seam, at the mid-point of the width of the unit:


I trimmed the yellow side, then rotated the unit and trimmed the green side, removing just a smidgen of thread. Now the unit is exactly the correct size:


Remember, if the unit is not the right size NOW, it will not miraculously become the right size when you do the NEXT step.

Units cut and ready to sew:


2. The Pressing: I don't use steam in the iron. It is easy to distort these small pieces and can lead to "incontinence" problems with many irons. A spray bottle of water is handy when you need to remove a wrinkle, and the product "Flatter" is nice for getting crisp units. Same with Best Press or Sizing. Some people are sensitive to the scents in these products and some find their fabrics may "run" if not pre-washed. You get to decide whether to use steam or these products.

The first thing I do is set the seam--this means pressing the sewn seam flat on the reverse side:


Big Tip: the side you want to press toward, in this case the dark green, is facing wrong side up and the seam allowance is away from your body. Now, when you use the edge of the hot iron to open the fabrics, you are pressing away from your body with the hot iron and pressing easily toward the dark:

Press firmly and smoothly, do not wiggle and squiggle the iron across the seam. You want the seam as flat as you can make it. YES, you can press the seams OPEN if you prefer--that's why there is chocolate AND vanilla, you get to choose. I pressed toward the dark fabric most often.

After you press, when Ruler Checking Your Work as described above in Step 1 Cutting, if you find the strata is too small, check first for a pressing problem. If there is a pleat pressed in, it is very easy to fix now. 

Which way to press seam allowances? The pattern shows you the way Edyta recommends you press--follow the little arrows. For example, on Block 3, when sewing the rows together, she shows the top and bottom rows pressed into the center, the seams behind Fabric C, and the middle row has the seams pressed away from the center, again toward Fabric C. Once each row is sewn, the pattern shows the seams of the rows pressed in toward the center row. This makes for a flat block. Press seams open if you prefer. 

In Block 1 I changed the way the seams were pressed because I just love that cute little four-patch I get in the center when I twist the seams. So that the seams will "nest", meaning one goes up and one goes down, I pressed the seams differently than the diagram in the pattern. I look at the back of the rows when deciding which way to press. Be sure you watch Show 2201 to see how Edyta twists even more seams than I did. I'll try that next time. Whatever works:


Here is how you "twist" those seam intersections:


3. The Sewing: now it is time to construct the block. 

Many quilters agonize over the "scant 1/4" seam allowance" and how to find it on their machine. There is no such thing, there is only the seam allowance you need to use to get the pieces sewn together the correct size. Seam allowances are determined by the thickness of the fabrics, the weight of thread used, and finally, how wide you sewed the seam. Figure out what you need to do to get the seam that gives you the correct size pieces. Is it a line on the throat plate? Is it a 1/4" foot for your machine? Do you need to add a line on the bed of the machine to guide you in correctly? 

NO ONE WILL SEE YOUR SEAM ALLOWANCE: they will only see if your intersections intersect and your points are not "hidden". 

Often the problem starts at the very beginning of the seam--we look away or let go and the start of the seam is often a bit narrow. The same thing happens at the end, we let go to pick up the next piece, or our attention slips and, again, the very end can be a bit narrow. Somewhere in the middle, you had a perfect seam but the sewn unit does not have a straight seam all the way down. Fix that with a Leader/Ender.

The easiest way is to use a scrap of fabric folded in half--start sewing on that to lead you in to the seam at the right place. As you come to the end, use a second scrap, sew off of it, then cut the quilt pieces off the back of that scrap--the scrap stays in the machine. This is also called a "thread kitty" or a "starty/stoppy". It also saves gobs of thread--I watch students all the time sew one little seam, then pull out a foot or more of top and bobbin thread to remove the piece from the machine. Good thread isn't cheap, let's not waste it.

I go one step further and have small pieces ready to sew as my Leader/Ender. Right now, they are small triangles; in past years, I've used 1.5" cut squares, light and dark, then those pairs  became four-patches. This simply takes a few minutes of prep, cutting from fabrics used on current projects or carefully planned for the next quilt, you decide. Read more about this process here.

Here you can see Block 1 being sewn--at the beginning is a small triangle Leader/Ender and at the end is another pair of small triangles. I will reach around to snip the thread between the end of the block and that last triangle pair to remove the block from the machine:

Pinning is important to me, I do it wherever I want intersections to stay aligned. I put the pin IN FRONT OF THE INTERSECTION, not past it--I want the intersection kept in place before I get to it. I DO NOT sew over pins, I remove them just before I get to them. I sew fast and my machine is too valuable to mess it up by hitting a pin a break-neck speed. I also keep one pin on the outer left bottom edge, beyond where the presser foot will pass, to keep the ends nicely aligned as I sew off the block--I do not have to remove it as I finish sewing to the end:

See the bent pin at the bottom? I should throw that out. 


Block 2 doesn't have intersections so I used fewer pins but I still want it sewn straight:

One pin about an inch down from the top and the one off to the left at the bottom

Sewing off the end onto my triangle Leader/Ender
 Before adding the next B/C unit, I "Ruler Check" my work. The ruler line is place exactly where the red and yellow fabrics are joined, all the way down, so I can see if I need to trim any off the red fabric. It was perfect this time.
I recommend you "Ruler Check" your work for each seam until you find they are all perfect all the time. That will mean you have figured out the seam allowance you need to give you the level of perfection YOU desire. Some days I'm perfect every time, some days not so much.

Here is Block 3 after its' final "ruler check" and slight thread trim. The green arrows show the points that get double-checked, to be sure the block is square:


The reverse:


When you have all three sets of Blocks 1, 2 and 3 done, you are done until next month. My third block of each pattern will be made in the Sunday Sew and Sews class I'm teaching next week:

You may notice I changed the center square in the second Block 3--I liked the lighter cheddar better.

 I would love to hear if these tips are helpful to you--please comment below or on the Forum on The Quilt Show. And please share any tips you find that really help you be successful piecing your quilt blocks.

Future posts won't be this long. Careful cutting, pressing and sewing will apply to all the blocks. There will be some extra info, like when a block lends itself to paper-piecing, for instance. Stay tuned.

Let's Quilt!

Barbara