Sunday, January 28, 2024

PICK A PETAL -- MONTH 2

PICK A PETAL is the 2024 Block of the Month quilt designed by Jen Kingwell exclusively for The Quilt Show. It is FREE to Star Members, join today to take advantage of this great bonus. WATCH Jen's Show to see how she makes this quilt--it is FREE for EVERYONE all of 2024: Jen Kingwell Show 3401

It's Month 2 and we start making a simple block, the Improved or Glorified 9 Patch :

Jen's Block 1 from the sample quilt

Jen does mostly hand piecing. The acrylic template set makes this block easy to cut out for that purpose. I prefer to machine piece when it's easier and faster, as it is with this block:

My Block 1, machine pieced, hand appliqued

MY METHOD  should you wish to try it:

1. Make an uneven 9 Patch:
         Cut 1 center square 2.25" 
         Cut 4 rectangles 2.25" x 3.75" 
         Cut 4 squares 3.75" 
         Sew the 9 pieces into a 9 Patch:


2. PREFER TO HAND APPLIQUE?:   Add Crescents, Template H, to the four sides of the block. I did it by needle turn hand applique. After showing you my method I will show how to machine applique, if you prefer.
        
Use Template G to add the 3 Dots to the two sides and bottom corner of each of the large squares. I used a Micron pen but be aware it is permanent so you have to be sure to cover it when sewing:
 

3. I made a plastic template of Crescent shape H without the seam allowance on the top curve so I could easily draw the sewing line--I like to have a line for hand applique drawn lightlty with a mechanical pencil. I also added extra to the bottom edge so I can "trim to perfection" when the block is done:


4. I used Template H to draw the dots on the fabric Crescent, again, if using a permanent marker be careful:

5. I finger pressed the curved edge under 1/4", using the dots as a guide. Pinned in place I am ready to hand applique this first Crescent:


6. Once all 4 Crescents are sewn, carefully cut away the excess fabric under the Crescent, keeping a 1/4" seam allowance, repeat with the remaining 3 sides:


7. Press the block as flat as possible, use Flatter or Sizing or Starch or Best Press if you like. Spray, let it dry, press firmly with a DRY iron.

Using an 8.5" square ruler, CAREFULLY TRIM TO PERFECTION. Fiddle a bit to be sure you have the four outer corners accurately aligned with the diagonal line on the ruler and the opposite corners:

45 degree line from upper right to lower left

Get the 1/4" mark exactly at the finished corner

Before and After Trimming

PREFER TO MACHINE APPLIQUE?:   I recommend Print N Piece Fuse Lite by Quilters Select as a pattern and stabilizer. It mostly washes out when the quilt is finished, and does not add bulk or weight.

Place fusible side on the back side of the fabric, allow 1/4" seam allowance at the curve
 Press with a dry iron following package instructions

Cut out 4 Crescents including the seam allowance on the top curve. Use a fabric glue stick to turn the seam allowance over and glue in place. A  nice curve on the back will give you a nice curve on the front:

Quilters Select Fabric Glue Pen is the best I have found for this process

The Appliquik tool really helps turn that curved edge flat

Use your favorite machine stitch for the applique: Blanket, Zig Zag, Edgestitch, there are several on most machines, try a variety to find your favorite. Use the SEARCH BOX on The Quilt Show to find MANY shows that feature this technique:


If you don't want the stitches to show much:
 
    Use fine thread--I like Quilters Select 60 or 80 wt depending on the color I need.
    Match thread color to the applique as closely as possible.
   Try a few different size stitches to find what looks best.

So there you have it, an alternative method to make Block 1. It's your quilt, you get to decide.

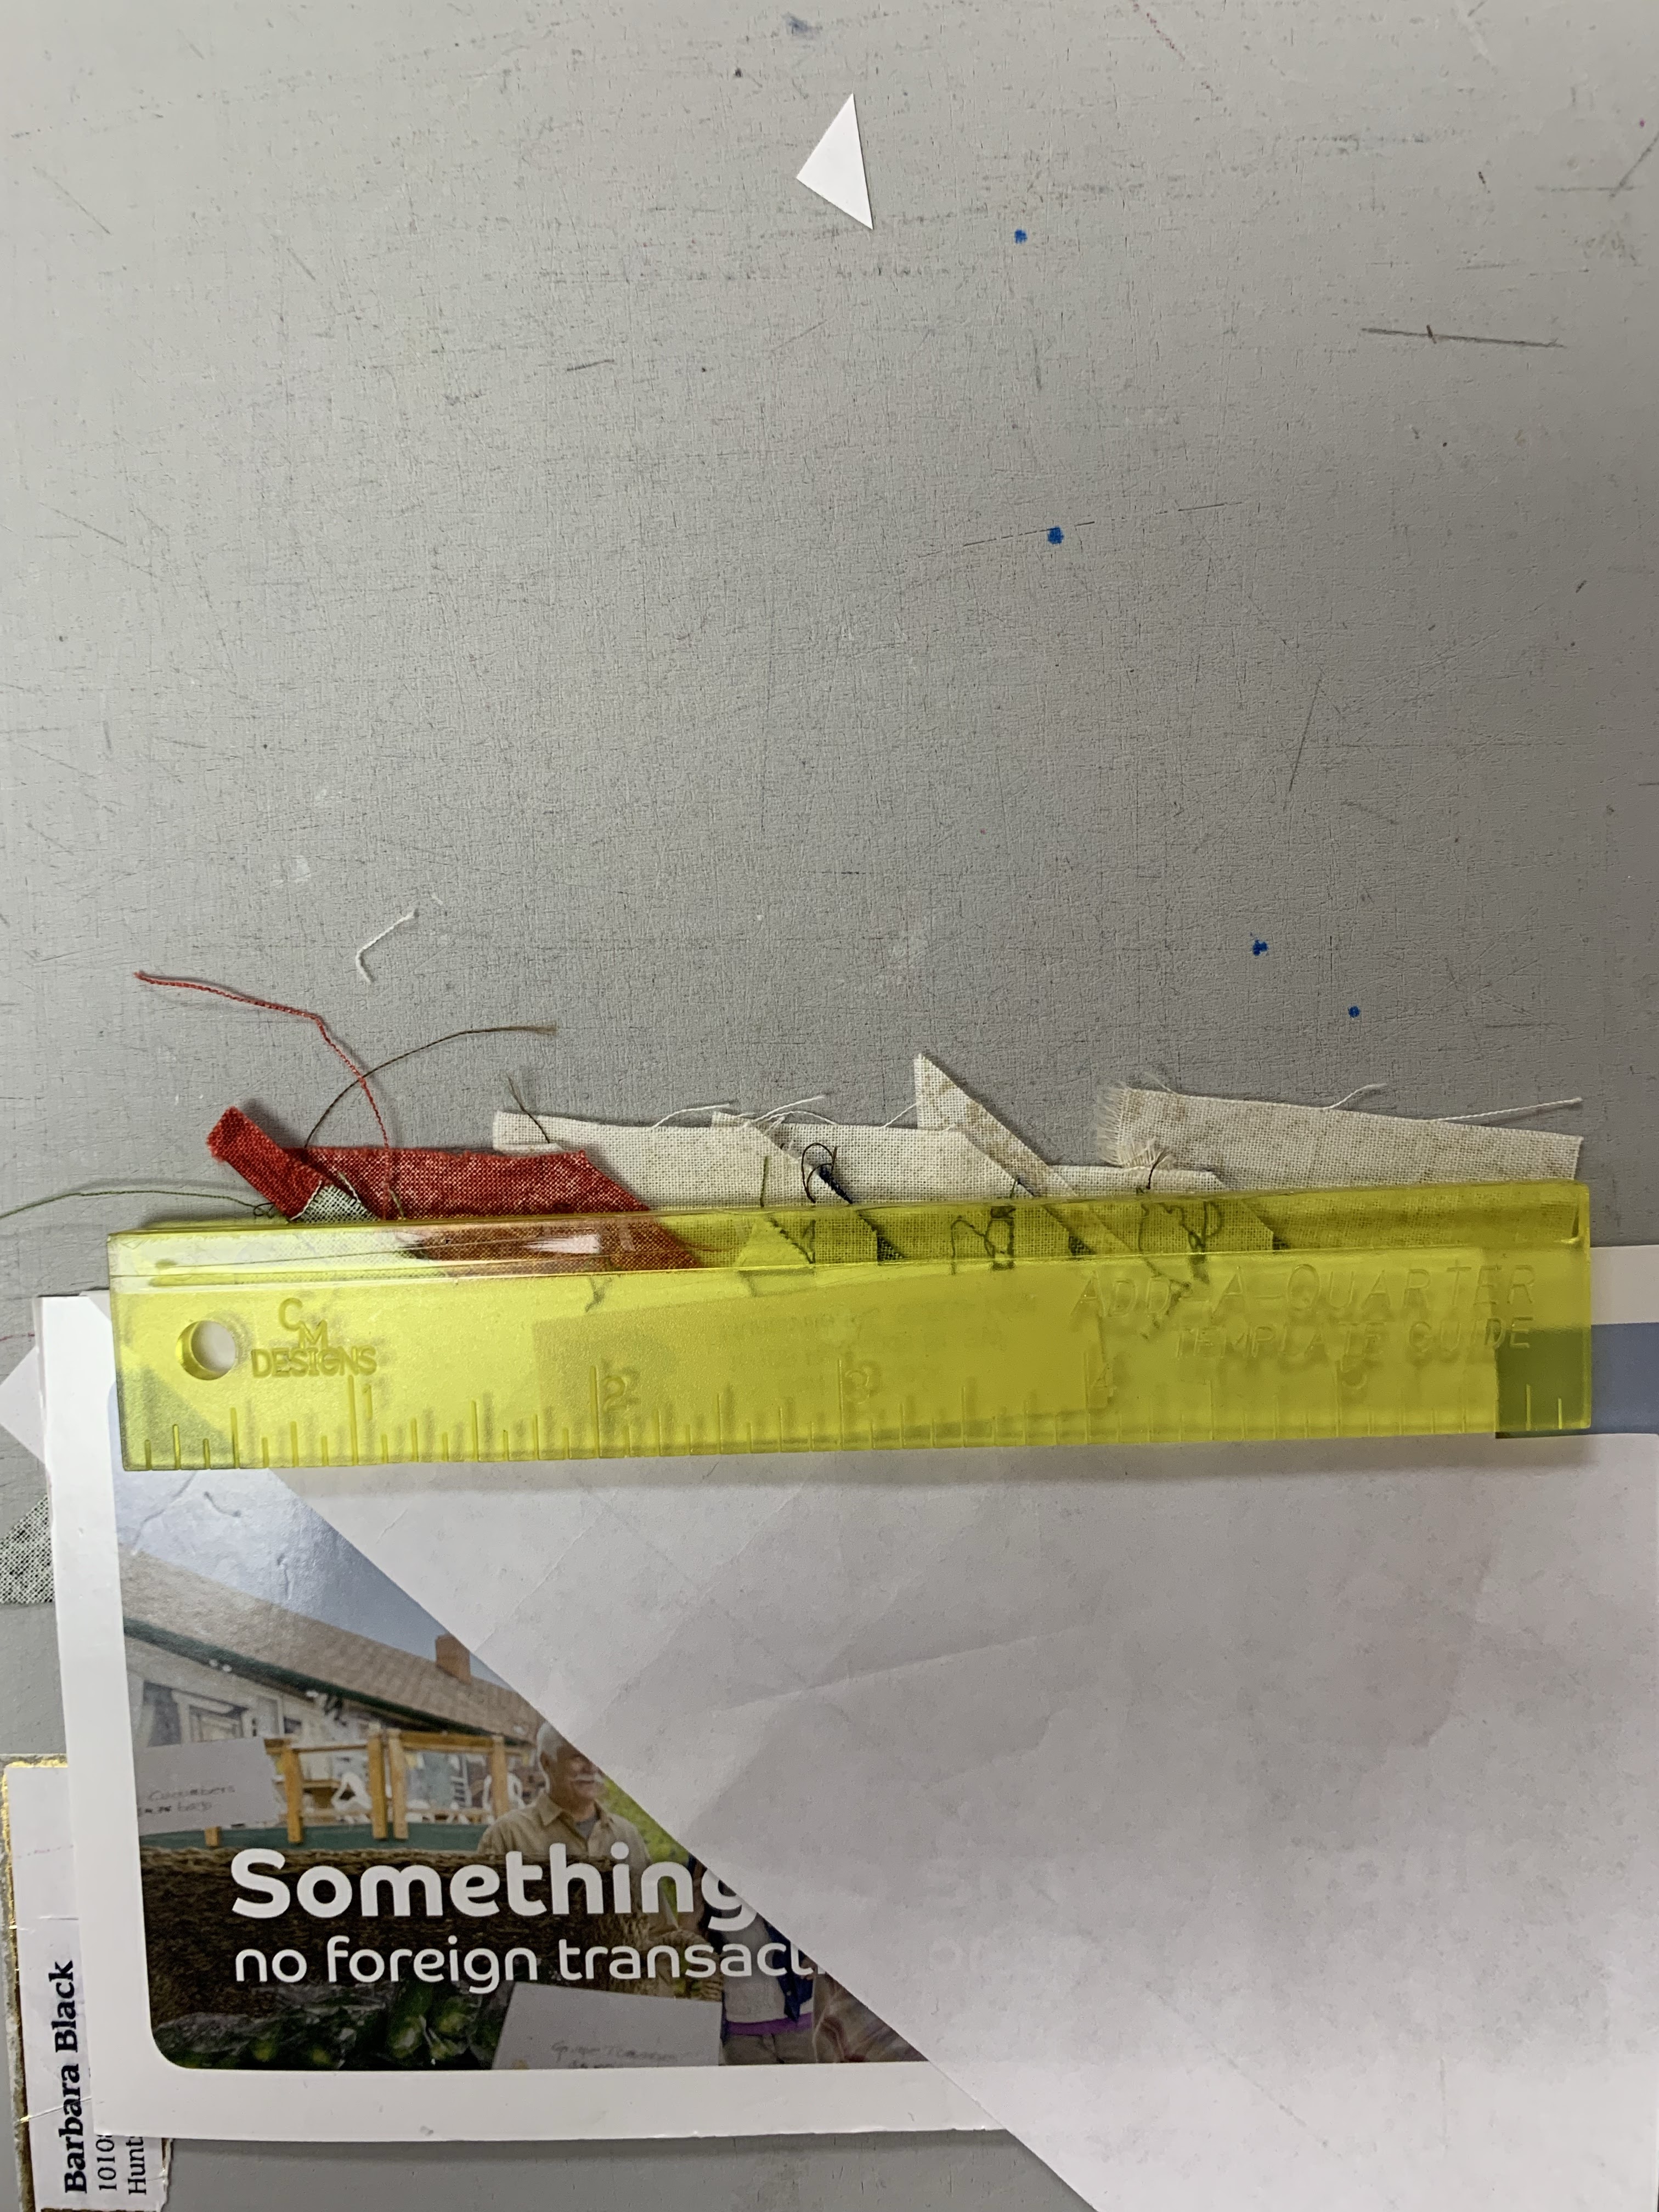
There are a total of 20 of these in the entire quilt. The machine piecing method I described here works great as Leaders/Enders. I made all 20 of the 9 Patches while making other things. Using many of the Kit fabrics, I simply cut out 80 each of the small and large rectangles, and 20 center squares. They sat beside my machine to be pieced over time.  

Then I cut 80 Crescents, Template H, again from many of the Kit fabrics. Now I am doing the hand applique in the evenings, while "watching" TV. No rush. And totally portable so they go with me on travel.

Don't agonize over which fabrics to use together--they ALL go. Look at Jen's quilt to get the idea, more fabric choice is better:


Next month we move on to Block 2--I have some interesting ideas about that one.

See me on the Facebook LIVE Friday February 2, 2024, noon central time. All the LIVE broadcasts are recorded so you can watch any time: LIVE BROADCASTS

Let's quilt.

Barbara


Sunday, January 21, 2024

My SPECIAL EXHIBIT — REVISITED

 As I apparently forgot to write a post this week, here is a look back at my one-woman show in Houston in 2021.


After not having a show in 2020 it was a joy to return and share my life’s passion with the world. Click the link to see the entire exhibit:

https://bbquiltmaker.blogspot.com/2021/11/houston-quilt-festival-2021-part-2.html

As my son Joshua Black Wilkins had a bucket list moment last night when he took the stage at the Ryman Auditorium in Nashville I was reminded of my own bucket list dreams.


Enjoy!

Let’s quilt.

Barbara 

Sunday, January 14, 2024

FEATHERED STARS PERFECTLY PAPER PIECED -- PART 1

The Sunday Sew & Sews are working on Feathered Star quilts in 2024. We met recently so I could give them basic instructions on the process of making a Feathered Star block with paper foundations.

My blocks in progress, started 12 years ago as my Diamond Jubilee quilt for my 60th birthday, I'm late...


The beauty of Sue's patterns is she eliminated the need for Y-seams--the star is made in three sections which are joined with straight lines: 

While making my own Feathered Stars, I kept thinking "I need to tell them that" or "They should know this" so I decided to use one blog post a month for a while to supplement the instructions. 

If you want to play along, we are using one of two Sue Garman patterns. Each makes a 15" FS, one with two Feathers on each arm and one with 3 Feathers. Find the patterns here: Washington Medallion two feathers so larger pieces OR Feathered Star Heaven three feathers so pieces are smaller.  Sue has excellent instructions, I have learned tips/tricks since I have made a LOT of Feathered Stars.

Before you begin, l recommend you read my TUTORIAL on foundation paper piecing. It uses another Star block design from Sue Garman but the information is the same. Thread, stitch length, pattern printing, all are very important for paper piecing. Pieces are cut oversized to make it easier to cover the shape. Do not use steam in the iron when working with paper--we don't want to make pulp. Read that TUTORIAL for all that information. 

The great thing about paper piecing is the accuracy you can get. I have made Feathered Stars with regular machine piecing, using Marsha McCloskey's wonderful book, but find I am more accurate and prefer to paper piece this block. And with paper you can write the fabric colors on the pattern so you don't get confused:


The pattern has numbers that is the order in which each piece is sewn, starting with 1. Placement of the first piece gets you started correctly. Remember to put the "butt" side of the fabric to the "butt" side of the paper. 

Placement of the colored feather is tricky, it goes as shown here on the upper left. The white feather goes like a Half Square Triangle, as shown here on the lower right. Once you get the hang of it, it makes sense:


If you are new to paper piecing, I recommend you start with a PIN before you sew to be sure you have placed the fabric correctly on the paper, much easier to re-pin and try again than to pick out tiny stitches. The angles can throw you off--I made two of these correctly and two wrong:

The process is SEW, FLIP, PRESS, TRIM, SEW:

After sewing on a piece, FLIP it over the sewn line, PRESS with a dry iron, TRIM with an Add-A-Quarter Ruler, then SEW the next piece on. Ask yourself "What did I just add and what comes next?" Follow the numbers on the pattern:
Postcard is placed on the next line to be SEWN, adding fabric 3


Fold back the paper over the postcard, put the Add-A-Quarter ruler over the paper and postcard and TRIM exactly 1/4" beyond the sewing line
                                                                    

Because I sew at least 1/4 beyond the finished line I may have to separate the stitches from the paper 

This shows the different placement of the navy blue feather--again, using a PIN to check yourself is smart before sewing:


What could possibly GO WRONG?  Because we are sewing on the paper line, the fabric is UNDER the paper. Occasionally, the fabric moves once it is on the sewing machine and you get a tuck or the fabric isn't correctly in place. Use your trusty stitch ripper to carefully remove those stitches and re-sew. I try to remember to look under the  paper BEFORE sewing to be sure all is flat but sometimes things happen:


And the process is  a little MESSY:


Once each section is done, I trim it exactly 1/4" away from the Finished line. I don't worry about the seam allowance line, it is more important to have the outside edge exactly 1/4" larger than the finished size:

Before and after trimming 

1/4" line on ruler is placed exactly on the Finished line, trim 1/4" away from the sewing line

Both units trimmed


A few of the sections are a little tricky. After adding the diamond tips and feathers, we have to add the large green triangle to that row of feathers: 


Fold the finished line, the SEWING line, over onto the cardboard:

TRIM with the Add-A-Quarter ruler to get the perfect 1/4" seam allowance to add the Green triangle:

Before sewing the Green Triangle be sure it is placed correctly, pin to check if necessary:

Green triangle ready to be sewn: 

Two units done, one not yet trimmed and one trimmed: 

I leave all the paper on each unit UNTIL I am ready to complete the block. At that point the paper has done it's job, given you perfectly accurate units. I find it much too difficult to join the units with the paper still on AND then you have to dig out all the seam allowance pieces of paper too. 

Here is how the block is starting to come together, remember the paper is still in place on the back of each of these units:


That's plenty of information for this month. If you are joining us, work on the sections/units and next month I will show you how to sew the block together--I have TIPS!

The Sunday Sew & Sews, with one who joined us on Facetime from Florida. This is  going to be a fun year:


Let's quilt,

Barbara


Sunday, January 7, 2024

UPCOMING LOCAL CLASSES

 Winter is upon us and it's the time of year for local quilt shop classes. I have been working on samples and handouts and all is now ready.

In Chronological Order:

1. Southern Super Star Saturday February 3, 2024 Patches & Stitches call or go by to register. This is my perfect "giveaway quilt", easy to make, not real expensive to "quilt by checkbook", easy to personalize favorite colors:

Southern Super Star, about 75" square


2. Quiltmaking 101 Friday February 9, 16, 23, 2024 Patches & Stitches. I have taught beginners at Patches for 35 years, This is the latest pattern I am using. We no longer do it all by hand! Learn all you need to know from someone who knows how to teach and inspire her students:

A simple border and only 6 fabrics

A more complex border and more fabrics

3. On the Lily Pond Wednesday February 21, 2024 Southern Charm Quilting call, go by or register online. A replica of an antique quilt I own, this will teach you a lot about quilt design and how to make one block easy, not hard:

On the Lily Pond

4. Antelope Canyon Dit Dot Evolution Tuesday March 19 and April 2, 2024 Southern Charm Quilting, call, go by or register online. I love this pattern and it is even better made with Dit Dots fabric. Not hard to sew but easy to get confused. Let me teach you how to stay organized and be successful. A complete Kit is available so you don't have to agonize over fabric selection:

Antelope Canyon Dit Dot Evolutions 74" square

5. FULL CIRCLE SPECIAL EVENT with BARBARA BLACK May 6-10, 2024, Southern Charm Quilting call, go by, or register online. This 5 day workshop will teach you far more than you expect. Learn skills that will carry over into all your future quiltmaking. I am teaching this Workshop nationally and it is a huge success. Don't miss this last chance to take an all-encompassing Workshop locally.

See this Blog post about the happy students who took this Workshop in September 2023: FULL CLASS FOR FULL CIRCLE


FULL CIRCLE 91" square


So there you have it. I hope to see you in classes here in my hometown. Soon I am back out on the road teaching all over the country and on the high seas. Take a class with me while you can.

Let's quilt.

Barbara