Tuesday, August 31, 2021

COLOR MY WORLD--MONTH 9-- TALL BUILDINGS # 4

We've come to the last of the Tall Buildings--# 4 is here and it is the tallest. 


These 8 Tall Buildings # 4 will go on either side of the 4 Skyscrapers, Left on the left, Right on the right.

These are big and there is lots of sewing. The seam allowance that joins the lower portion of each Tall Building is very important, so the Shadow fits properly.

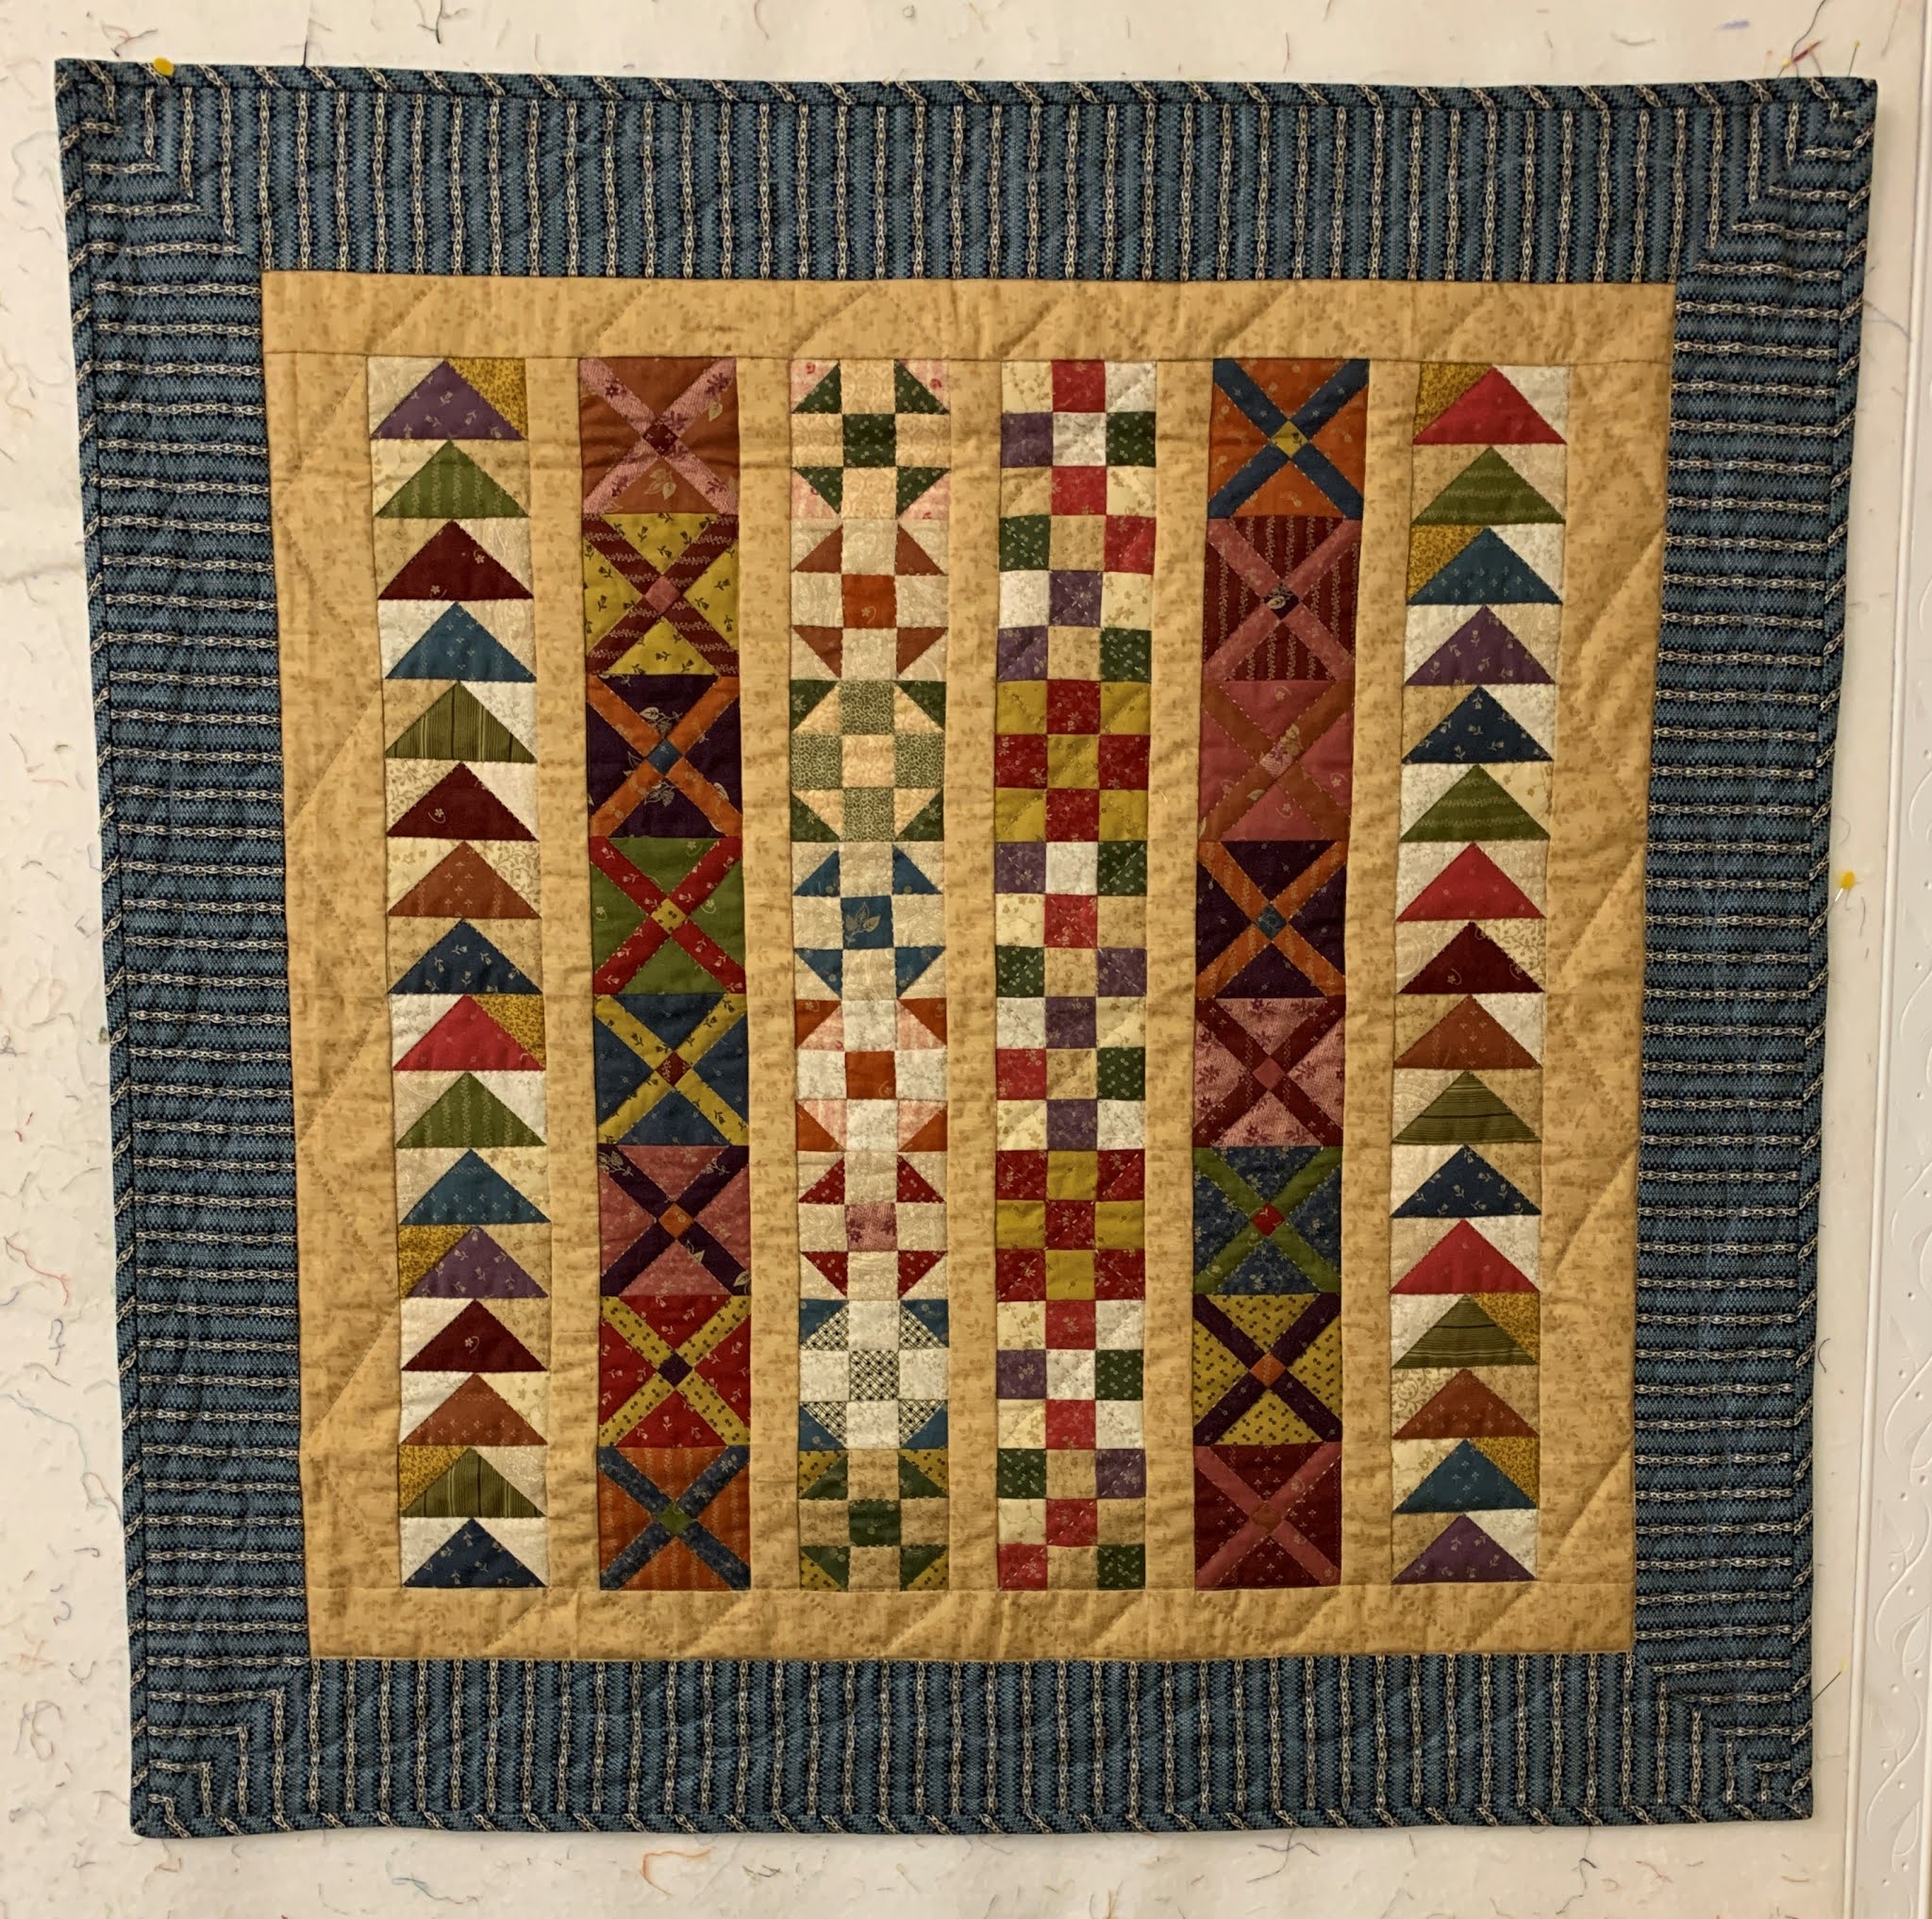
My friend Pam is doing a great job sewing each month ahead so I have pieces for my demos. Here they are finished: 


Here is the Right Side, ready to be sewn together. There are 6 small sections that need to be joined so the Shadow can be sewn on the right side. If those 5 seam allowances are off a few threads EACH seam, the shadow will be too short or too long:


I know the question that is sure to come--What SIZE is this supposed to be? Measuring the paper patterns, they are about 17.75" Finished--that is when sewn into the quilt. With seam allowances, they are about 18.25" on the LONG side when UNfinished.  The top angle is steep so the seam allowance to the very top  will be longer than the usual .5" 

The numbers are "about" because these are  hand-drawn patterns and there is a little variation. There is also variation due to each person's seam allowance, skill with precise paper piecing, even the thickness of the thread used. As long as they are close to that measurement, things will be fine.

I say each month--I never once tried to measure these units when making the quilt last summer. I had  accurate paper patterns, sewed accurately, and used 60 wt. and 80 wt. thread. It all fit together just fine.

TIPS FOR SEWING THE TALL BUILDINGS TOGETHER:

If you haven't started to join the Tall Buildings together yet, now that all 32 are done, it's time. On the Left side sew TB #1, #2, #3, and #4 from left to right.  On the Right side sew TB #4, #3, #2, and #1 from Left to Right.

IMPORTANT SEWING TIP: Be Sure to backstitch at both ends of the seams joining the Tall Buildings. They will ultimately be part of the outer ring that will be a complete circle. The Upper Road center circle will be joined to this outer ring. There is much  handling and pinning and time under the needle to make that final circular seam. Having secure seams at both ends will help A LOT. 

It is important to align the seam correctly. Because the outside edge is an angle, the top of TB #3 will stick out from the top of TB #4. 

You want the seam to be exactly 1/4" wide. If the two buildings aren't aligned correctly, you won't have an even edge across the top, where the border fabric will ultimately be sewn. This is how the outside seam should look: 


I pressed the seams open here. I think on mine I pressed the seams toward the Shadow--it's slightly easier to press and creates a real "ditch". As I knew I was quilting mine and would have lots of "stitch in the ditch" quilting, that was part of my thought process. Do whichever you prefer: 

Left Side, Back 

Left side, Front

You will know you are doing it correctly as you see the outer edge forming a straight line. This is the outer edge, where you will join a border during the quilt assembly--that comes in Month 12. 


It is fun to see the progress many of you are making. Please post your photos on the Forum, under the Topic Tall Buildings -- Show Your Progress Here  If you have trouble uploading photos, there is information to walk you through the process: Uploading Photos Step by Step

In Month 10 we will make the 4 Little Houses in the City--they sit at North, East, South and West.

Let's quilt.

Barbara

Sunday, August 29, 2021

Hummingbird Hollow is Finished

 Happy to have this one done and on the wall:


I got the fabrics for it from my friend Janet Noever's Estate Sale, after she passed away in 2020. She had the brilliant idea to make Afternoon Delight WITHOUT all the applique blocks. 

Afternoon Delight was the 2020 Block of the Month for The Quilt Show. Designed by the late Sue Garman, this pattern was on my bucket list for years. When it was selected for the Block of the Month,  I would finally get to make it. I had help--the Sunday Sew and Sews made the 40 applique blocks and a lot of the pieced blocks. Here is my finished quilt:

quilted by Lois Kindley

Janet liked the basic pattern design, but not applique. The fabric she found has hummingbirds in a floral design that fits the pattern nicely, with the addition of a 1" finished border around each motif. All the fabrics needed were stored neatly in a craft box--Janet loved her craft boxes! 

Just  a tiny sample of things sold at the sale--search Estate Sale to find several more posts about  this:

Denise was thrilled with her purchases

A drop in a very large bucket of project boxes sold--at least 400 were sold


Back to Janet's Afternoon Delight. I got the top made pretty quickly, then quilted it. Here are some detail shots of the quilting designs I came up with:


Shown from the back. After I looked at this photo, I saw the missing diagonal line in one block. Do you see it? I will go back and fix it when this comes off the wall next month: 


The label: 

Now it's time to start another quilt. And quilt a few of those waiting their turn under the needle. 

Let's quilt. 

Barbara


Wednesday, August 25, 2021

On the Road Again

 This week I head to Dallas to tape The Quilt Show with Alex Anderson and Ricky Tims. Even though it's my fourth time as the "Guest Artist", there are still butterflies. 

The show will air at the beginning of January as we start the 2022 Block of the Month. The quilt is wonderful, I LOVE my sample quilt made with my own fabrics and think a lot of people are going to love this one.

Here is a teaser--it's still Secret Sewing so I can't show you much:


This is the BACK--of course. When I showed this back fabric some weeks ago, there was a run on the fabric at The Quilt Show store. They got it back in and I see they have run out AGAIN. If you want it, let them know by clicking "Notify Me"--you will get an email when it is back in stock.  108" Quilt Backing 

It has nothing to do with the front of the quilt, it is just great fabric about friendship. Since 9 of my best friends helped me make the sample, it was perfect.

It takes a lot of time and effort to prepare for taping so that the show will look like it took no effort at all. Here are my 3 Segment bags, with everything I need for each Segment we will tape--showing how to prepare, create, and enjoy making this quilt pattern:

I have had four phone conversations with the producer, Shelly Heesacker, for a total of about five hours. She is superb at her job, really knows how to make the shows cohesive, interesting and FUN! She is a delight to work with and I am eager to see her again. 

Clothes are planned--what to wear for the taping is a major thing. Too flashy and all people see is what you're wearing. Too bland--that's no fun. Where will the mic go? No buttons, necklaces, scarves, etc, that can bump against the mic and cause problems. Everything is washed and ready to get packed. 

Here are the set decoration quilts I am taking: 


As I will be in Dallas less than 48 hours, this is my luggage--assuming everything fits. I never know until I start filling up that big purple suitcase. If I have to, I will add an additional smaller piece of luggage for my clothes. Quilts take up more room in luggage than you think:


The quilt is likely to be revealed in October, as usual, so I still won't be able to show it to you until then. It will be a challenge to take photos on the set I CAN show you when I get home.

Let's quilt.

Barbara

Sunday, August 22, 2021

Masks Again

 I thought I was done making masks. But with COVID cases rising and my state woefully under-vaccinated, my husband and I  have started masking up in public again. And avoiding the public as much as possible.

Those in the front are made with my favorite pattern. It is "3-D"--meaning it stands away from the mouth. I wrote about it some months ago, find that post 3-D Mask..

International Quilt Market and Festival announced this week that all attendees, exhibitors, faculty, and staff will be required to wear a mask at all times to attend. Depending on what happens in the next few months, proof of full vaccination and/or a proof of a negative COVID test MAY also be required.

This is so sad. We were so hopeful people would be eager to get the vaccine to protect themselves, those they love and their fellow countrymen (and women). To see grown adults screaming at school boards that their children should not be required to wear a mask is beyond my comprehension. Those kids are not protected. 

I wish my grandchildren could be protected by not coming into contact with any unvaccinated person but I cannot be sure of that. 

We will protect ourselves as best we can, and hope those dying in ICUs, who chose not to get vaccinated and are now begging everyone else to not make the same mistake, will have a beneficial effect on those who have not yet done all they can to get us past this pandemic.

While this is only slightly about quilting, in that I used my precious quilt fabric to make something I wish I didn't need, if you disagree, I encourage you to just move on by. We won't change each other's minds. Arguments are not welcome. 

This is my blog, about my life and my thoughts and my journal of what is happening in my world. 

And now, let's quilt.

Barbara

Wednesday, August 18, 2021

Hummingbird Hollow

 This quilt is the brainchild of my friend, Janet Noever, who passed away suddenly from a stroke in February 2020. One of the original Sunday Sew and Sews, Janet had a tremendous love of quiltmaking and an amazing stash of works in progress. Her Estate Sale is one for the record books. I have written about her and that sale before--use the Search box in the upper left to find those posts.

I got this--she came up with a simple way to make Afternoon Delight. Instead of many applique blocks, she found this fabric with large  hummingbird floral motifs that fit nicely in place of  applique blocks. Cut 7.5", and adding a 1" finished border to each motif made it fit with 9" finished Double 9 patch blocks. She had all the fabrics gathered in a big tote box and I was eager to make her vision come to be.


Now I am quilting it. Lots of ruler work, stitch in the ditch and scalloped borders with feathers. 

First pass, diagonal lines across the quilt top, in both directions:


It was clear that was not enough support quilting before any fancy work. I added stitch in the ditch, on all vertical and horizontal lines and around the yellow sashing on each floral motif. Much better. Then I added pumpkin seeds to the solid blocks in the Double 9 patches: 


In the floral motifs I first did a simple curved line in the corners and then swirls in the center of the flowers. I didn't care for that, you can't really see the stitching on the busy print so I revamped that idea to sort of continue the pumpkin seed idea. See how nothing quilted in those flowers will show:


Here is the back, showing both the rejected design on the floral motif (left side) and the revised one (right side). I am leaving the rejected design until September when I am giving a Ruler Work/Free Motion Quilting Demo class at a local shop. So students can see why the first choice isn't always the best and sometimes you have to change directions: 


Next up is the borders. First, I used variegated thread on the solid narrow inner border for a leaf vine I use a lot. It's one I am very comfortable with so it is easy to accomplish. I also love variegated thread BUT it is hard to use successfully. Since the narrow inner border is made from many solid colors, I thought it actually worked pretty well here: 

I have just begun the outer border on the print fabric. I changed back to the cream thread used in the body of the quilt and have gotten the two scalloped lines done all around the border. Next I will use straight lines on the outside of the scallop and feathers on the inside.

I watch lots of videos from great quilters. Natalia Bonner of Piece n Quilt is one of the best--her work speaks to me and it's the kind of quilting I want to do. 

Let's quilt. 

Sunday, August 15, 2021

Sunday Stacks

 The wonderful Linda Collins from Australia started posting a photo on Instagram and Facebook each Sunday she calls "Sunday Stacks". As you would expect--a stack of quilts, usually with a theme or reason for being cuddled together.

Today, I have two Sunday Stacks. The first is quilts basted and ready to be quilted.

The large one on the bottom is the king-size Western Sun, 110" x 110"--I have to clear the decks when I start to quilt this one. Western Sun

Next up is Hummingbird Hollow, a variation of Afternoon Delight--it is about half quilted but had to be put away so I could work on more pressing projects. Hummingbird Hollow

On top of that is 9 Patchalong 2.0--Natalia Bonner has a free sew-along starting in September, I learn so much from her, and this is a simple 9 Patch quilt to be used for that project. 9 Patchalong 2.0

Next up is a simple top I made from a charm pack--I had forgotten I made it. The plan is to really play with a variety of quilting designs to increase my skill. 

Finally, the Kool Kaleidoscope is all set and ready for quilting--this too, will get lots of interesting designs in the various colors/sizes of fabric. Kool Kaleidoscope


This other Sunday Stack features the quilts I am taking to Dallas with me later this month for taping The Quilt Show. Since the majority of my larger quilts are in Houston for my Special Exhibit, I had to dig deep to find pieces that will complement the program: 


One thing I do that really helps me in the finishing process, is to prepare the binding and sleeve for each top as I get the top made. Sometimes it is years before the top gets quilted and having the binding all set means I don't accidently use that fabric for something else OR forget where I put it. Once the top is done, I know what size binding I need so can prepare it. The fabrics are still out on the table so I won't have to dig them out later. With the binding made, the fabrics can be safely put back in the closet.

Once I have a backing selected, I prepare the sleeve right then too. Yes, I put a sleeve on every quilt I make, from small wallhangimgs  to king-size bed quilts. I am not the person up late the night before the quilts are due for exhibition still sewing the required sleeve in  place--my sleeve is part of the finishing process for every quilt. 

Bagged and labeled, bindings and sleeves usually: 


See posts/Tutorials I have written on the finishing process here:


Quilt Labels--I also make a permanent label for each quilt, and if wool batt is used, I say "air dry only"

Let's quilt.

Barbara

Wednesday, August 11, 2021

Round Robin Quilts

 The Sunday Sew & Sews are doing a Round Robin project right now. Eight quilters are in two groups of four. Each made her own center block, 12"-16" or so. She put it in a tote bag, along with several fabrics of hers that work well with her center. Each month, the totes are passed on the the next person in the group to add a border. After three people have added borders to the center, the quilt will be returned to the owner to do with as she pleases. 

It's a good way to use colors/fabrics you may not  use often. Adding a bit of your fabric creates a link between these quilter friends. It is also a good way to learn to design your own quilt, practice using "Floater Borders" to make pieced borders fit a center, and to stretch your wings as you learn to improvise when you are limited by fabrics available--no running to the shop to buy something to use.

Here are a few of the quilts in progress:

Brenda's center, two borders done

Terri's center, one border done

Jodie's center, one border done


Donna’s center, two borders done 

Gather a group of friends to collaborate. It's fun and educational. There are books about this process and you can set many or few rules. Here is a post I wrote when we started this project: Round Robins--How to Organize One

Let's quilt.

Barbara 


Sunday, August 8, 2021

Kool Kaleidoscope is Fun

 Ricky Tims conducted a free four-session class on his Kool Kaleidoscope pattern. It was so much fun to make. You simply don't know what you'll get--just sew a bunch of fabric stratas, cut the pieces out from the templates you draw and sew it together.

I got the center done quickly then waited for his instructions on making the borders. I had a plan, didn't execute it very well, so spent hours fixing what I did wrong. But, all is well now, the top is done and I'll have fun quilting it in September or so. It's 50" square: 


Here is what I thought I wanted to do with the borders, use the "focus" fabric. Didn't like that when I put the fabrics on the wall:


Another OOPS: when I laid out all the wedges on the design wall, it looked right. I sewed the top half together, no problem. When I started the lower half, I discovered I had the entire bottom half laid out backwards. It's easy to do, you don't see the mistakes up close, but I didn't even see it in photos. No worries, just change all the pieces around and all was good. Here is what it looked like WRONG:


This free class was provided courtesy of The Quilt Show. It is still available free on The Quilt Show. Ricky's instructions are clear and easy for most to understand. You don't have to be Star Member to benefit from this class.  There is so much available on The Quilt Show, even for Basic Members. To benefit the most from ALL the classes and shows, become a Star Member. So much value for the money.

I have a ZOOM Lecture to give Tuesday night for the Ninigret Quilters of Rhode Island. I was supposed to fly there Tuesday, lecture that night, teach a workshop Wednesday, and fly home Thursday. With the increase in COVID infections, breakthrough infections for vaccinated people, asking people to mask and keep social distance again, the decision was made to convert my Lecture to ZOOM.

I am OK with that--better safe than sorry. I must be healthy two weeks from now when I fly to Dallas to tape The Quilt Show again. The guild will see the same PowerPoint on the same screen--I'll just be pushing the buttons in  my studio instead of in their meeting location. And I really hope to get there for a workshop in the future, when travel is less daunting than it is today.

Let's quilt.

Barbara


Wednesday, August 4, 2021

Local Classes

 That time of year, when new class schedules are posted for my local quilt shops.

 If you want classes to be available to you, sign up. Classes that don't fill are frustrating for the teacher, the shop and the couple people who really were looking forward to it. Don't assume you can take it "next time" because there may not be a "next time". 

For my local friends, here is what I am teaching.

At Sweet Home Quilting and Supplies:

Southern Super Star--make a bed size quilt fast! My go-to quilt for gifts. November 13, 10-4


Scrappy Trips--use up those scraps. This is easy and fun and fast. October 2, 1-4 Only 3 hours!

Sample shown made by Bonnie Hunter--pattern is free on her blog

Learn to Quilt--Fast and Fun: for the true beginner. Learn best tips and tricks so quilting is fun with this very simple design.
September 11, 10-4 AND September 18, 1-4  9 hours of class time:


At Patches & Stitches:

Charming Sampler--my original design, learn several blocks with great tips and tricks, and learn how to enlarge each block.  September 24, 9-4:


Quiltmaking 101--the BEST class for those just learning AND  those who really want to improve skills. Learn more than you can imagine over 5 weeks. The class to get you  hooked:


Stars on Point--another original quilt, based on antiques. A wonderful way to showcase great fabrics. October 9, 9-4

At Barb's Sewing Center--celebrating their 20th anniversary this year!

Free Motion and Ruler Work--a demo class on all the wonderful ways you can quilt your own quilts on the Bernina Q20 Sit Down Longarm machine. These same techniques can be accomplished on a domestic machine with the right tools. Seating is limited so sign up now. September 17, 10 am


I hope to see you in class!. 

Let's quilt.

Barbara