Wednesday, September 30, 2020

AFTERNOON DELIGHT--Month 10

 If you are still here, working on Afternoon Delight, it's time for 2 more applique blocks and, maybe, more Double 9 Patch blocks, if you didn't rush through all 64 of them. 

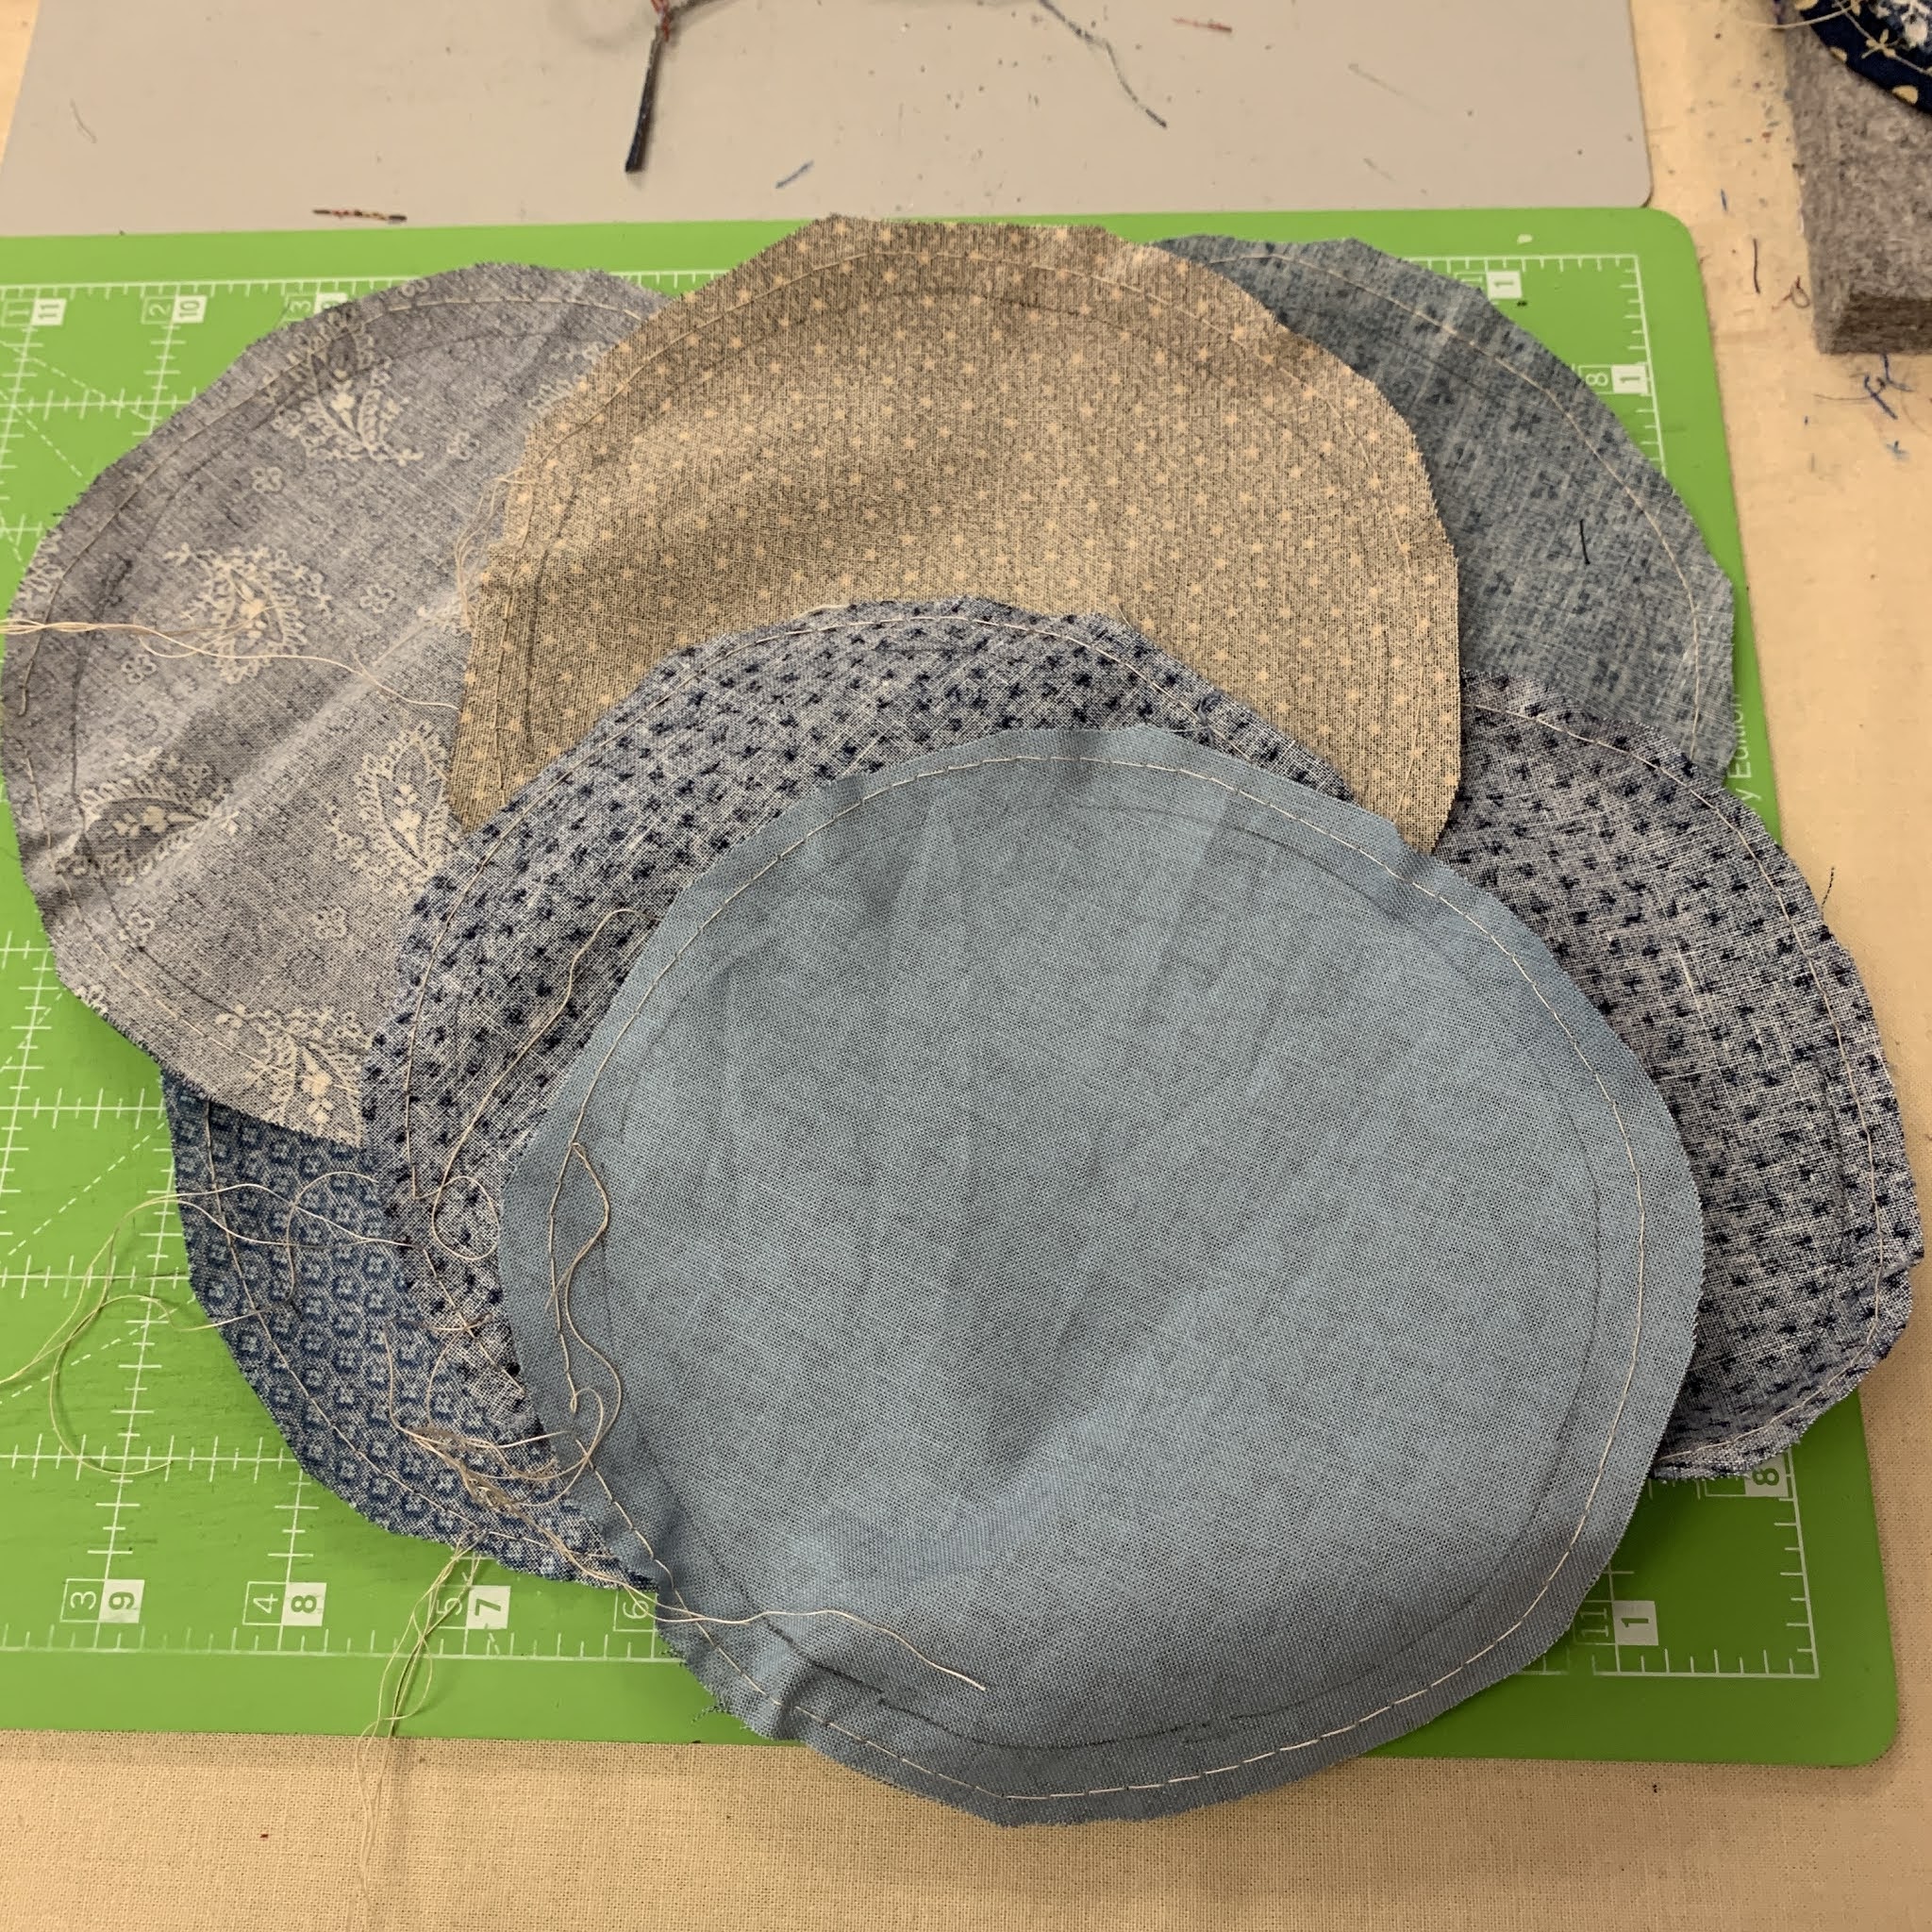
One of these applique blocks is really pretty easy, the other one, not so much. Can you tell which is which? Here are mine from the Sample quilt made last year with help from the Sunday Sew and Sews.

Block 29: Take this one slow. Carefully cut out all those petals and take care as you put it in place on the background. Sue even says you can substitute a different circle around the center heart if this just looks too difficult:


Block 30:  Sue says you can applique the buds on top of the bud stems, as was done here, OR reverse applique the buds under the bud stems. Either way will look just fine: 

We will soon be unveiling the 2021 Block of the Month quilt, designed by Australian Designer, Wendy Williams. I made the quilt from the same Kit fabrics we will be offering with a small change to the fabric choice I made for the very center. It is an exciting design, that many people are going to LOVE! About as different from this year as can be. And we use a new-to-me technique I love. How about a teaser?

If you haven't renewed your membership, now is the time. The super special "Stay at Home" price will not be there forever--6 months for $19.95 or 12 months for $39.95. They will add your subscription to the end of your current term, no need to wait until your subscription runs out.  Renew Now

AND NOW IS THE TIME TO REMIND EVERYONE---the patterns for Afternoon Delight are ONLY AVAILABLE FREE until December 31, 2020. After that The Quilt Show no longer has the right to provide them--that right reverts to the designer--so you will have to buy them after this year ends. Print them now if  you ever think you will want to make this quilt. Hard drives crash and then you lose them all, we cannot provide them to anyone after December 31, 2020 for ANY reason. 

Be sure to post photos of your work on the Forum--everyone loves to see what you are doing: Afternoon Delight Forum 

Let's quilt.

Barbara

Sunday, September 27, 2020

Big Circles

 My current project, Western Sun, has BIG circles. I thought you might like to see how I am making them.

See the first post I wrote about this project here: Western Sun

1. Cut out large squares, 3/4" larger than the finished circle. I used Templar, heat resistant template plastic, to cut a circle the finished size. Trace around the circle on the back side of fabric:


2. Trim excess fabric away, leaving about 3/8" seam allowance. Use a long stitch on the sewing machine to run gathering stitches in the seam allowance--be sure to leave long thread tails:


3. Pull the bobbin threads snugly around the template, press firmly:
4. I used a 50/50 liquid starch/water mixture. You can use spray starch or sizing straight from the can too. Wet the edges with starch. I found using a stencil brush better than just spraying--that put lots of liquid directly on the template which then put it on the sole of the iron: 


5. Allow the starch to dry then gently remove the template. Pull the threads snug again if they came loose, press one last time, on both sides, to be sure the circle is dry:

6. The star is made with a scrap fabric in the center, which will be completely covered. I used muslin:

7. Pin the circle on top of the star, sew in place. I hand applique' with Quilters' Select 80 wt. thread, practically invisible:

As this will be king size, I have 25 full star blocks, 12 half star blocks and 4 quarter corner blocks to make. Plus a LOT of flying geese sashing.

Stay tuned for more as this project progresses.

Let's quilt.

Barbara


Wednesday, September 23, 2020

Western Sun

 This week I started a new quilt, one I have wanted to  make for a few years. 

Here is the first block:

A few years back I saw a photo of this quilt in a Facebook group I participate in. It raised a lot of discussion, especially about the dimensions and how it was assembled. Ultimately, someone posted that this particular quilt had been published in the book Butternut and Blue by Barbara Brackman. I tracked down a copy of this now out-of-print book and began to think about making it "someday". 

As the time is now right, I have begun. After making the first test block to be sure the cutting instructions were accurate, I spent almost 8 hours one day cutting out lots of pieces. I love scrappy quilts and find it best to have lots of options for the various units ready to go as I start making blocks:


The book has three options for making the Sawtooth Star with the large circle in the middle:

1. Templates are provided to piece the entire thing, all those curved seams are pieced, by hand or machine. Most would find that challenging.

2. You can make an 8 pointed star (Lemoyne star), applique' a circle on the center and cut the star away from the back--all that hard work where 8 diamonds come together would be trash! 

3. OR there is the Easy Sew Method which I thought was brilliant. 

Make a basic Sawtooth Star, using a scrap fabric in the center. I used muslin. Prepare a circle with the template provided, then applique' it in place on the star--the center fabric is completely hidden--it serves as a "placeholder", basically. The applique' can be hand or machine done. I turned the circle edges over a template I made, gathered the edges and used a starch mixture to secure them. At night I am hand appliquéing them as I "watch" tv with my husband.


Here are 4 prepared and ready for the applique':


The layout is complex, using flying geese throughout. Eager to see how mine will look, I made one section of flying geese sashing to get the feel for it. This is another great opportunity to teach the freezer paper folded method of paper piecing:


Then I thought "What If?" I replaced the cornerstones, which are supposed to be two flying geese, with a square of a beautiful cheddar fabric? Here is that option:

The decision hasn't been made yet but I am liking the cheddar cornerstones. And the overall quilt would be less busy as they give the eye a place to rest. Time will tell. As this will be king size for our bed, it's going to take quite some time. 

UPDATE: Someone thought you might like to see Barbara Brackman's blog about this--I had seen this before--written April 15, 2017. I was planning to keep the overall look a surprise, but Google can find you anything, so here it is for your viewing pleasure now:


A group of friends will be making this together with me in 2021. It has so many great tips to share. I am excited at all the things I can show them, that will make the process easier. Eventually, when the sample is done and we all begin to travel again, I will be eager to see which guild selects this as their "workshop" choice. 

But first, next up is a 45" square sample made in contemporary bright colors--maybe a Kaffe Fasset-type large floral for the center circles. It will look really different from this 1800's reproduction version. Stay tuned!

Let's quilt.

Barbara


Sunday, September 20, 2020

Keeping Busy

 Recently, a non-quilting friend was surprised I was still busy making things since the "Secret Sewing" was finished and the taping of The Quilt Show was behind me. 

I am a "maker", that's what I do. There are far more quilt projects to be made than I can possibly get done in my lifetime so I just keep going. If you are a quilter, you get it. If you are not, you never will.

With the COVID shutdown of so much in the last 6 months, I had 3 ongoing local quilt classes that did not get all the sessions in. This week I have been working to see how to remedy that. Two of them will meet at my house for a couple hours, masks required, and the other one will meet at the local shop where it was scheduled--they have a large classroom but we are still limiting attendance to 6 people, masks required. For those students who do not want to meet in person, I will make special arrangements to connect with them privately.

Here is my sample from Sylvia's Bridal Sampler, it's 42" square. I was asked to teach this as a 6 month lecture/demo class where all the sewing is done at home. That has been a very popular class style for me with local students who want to make a project that will take a long time, like a Block of the Month quilt. I broke the classes down into techniques: precision piecing, paper piecing, applique', etc.

My instructions are comprehensive, helping students avoid pitfalls and learn how to be successful as they progress through the project. These classes often create friendships as students learn about each other too. I start a Facebook private group where they can share photos and ask questions as they come up, instead of waiting for the next months' class session.

I am eager to see how the students in all 3 of the classes have progressed though I know some put them away to work on other things, or lost interest, or even finished their quilt and have moved on.

Natalia Bonner's 9 PatchALong is really fun and I am enjoying that--9 videos of block designs using her rulers over 5 weeks, free on YouTube, a new block each Tuesday and Thursday. She has a Facebook group and people post their progress there if they like. She often offers a panel you can buy so you don't even have to piece a quilt top if you don't want. I dug out my Amish solids bins and created a simple top--the blocks are 12". I wish I had made the sashing/border wider--mine are only 1.5" finished.

Here's where I am so far, with 3 more designs to come:


Next up I am starting a new quilt, with 1800's reproduction fabrics that I am eager to get to. And I have two more large quilts to quilt and bind in the next month so I am plenty busy.

What are you making?

Let's quilt.

Barbara


Wednesday, September 16, 2020

Ruler Work

 Since getting my Bernina Q20 sit down longarm quilting machine 5 years ago, I have enjoyed learning to use rulers for quilting. More accurately called "templates" than "rulers", they allow you to create straight lines and nice curves and a whole host of designs. 

My most recent finish is the Afternoon Delight in Red, White and Blue, I made from the demo blocks I used to write my various blog posts about this 2020 Block of the Month quilt from The Quilt Show. It's about 48" x 66":


Curved crosshatching is one of my favorite designs so I put that in the perimeter triangles. I added some curves to the outer borders and filled in with "wishbone" or "figure 8" designs:


What I didn't do was carefully plan the corners. I just let them fall where they wanted to so all 4 are different. I always quilt at least one heart somewhere in a border of every quilt I make, see it in the first photo:


Books and YouTube videos have taught me a lot and I spend some time with each quilt figuring out what I want to quilt in each section. Natalia Bonner's website and YouTube videos have been especially helpful with this one. I have also learned a lot from Angela Walters.

The first thing I do with most quilts is stitch in the ditch across the quilt, stabilizing all the sections. As I do that I remove some of the safety pins I use for basting. Then I work on the various blocks, trying to keep the amount of quilting somewhat the same throughout. If you have some areas densely quilted and some with little quilting, you will get ripples and waves. This quilt needs to be washed and blocked still--that will make the borders less wavy. 

The white squares got "pumpkin seed" designs, with rulers, and the tiny red and blue squares got a simple diagonal line, using my favorite ruler, the Line Tamer. The narrow blue border got a free motion swirly curvy spiral:


For the applique blocks, I did free motion quilting around each shape--thought it might need more but decided to stop:

Threads could be an entire post so I'll just tell you I used Bottom Line in the bobbin, to match the back fabric. The white for stitch in the ditch and echo quilting around the appliques is Microquilter 100 wt. The red and blue is Quilters Select 60 wt. The Bernina Q20 makes it a snap to change thread sizes and make any adjustments to tension as needed. It is a great machine. 

I have a lot of rulers--most of us go overboard buying them when we get the bug to quilt with rulers. But the ones I use most are these:

The top two curves are from a set by The Quilted Pineapple--Linda Hrcka's company. They work great for curved cross hatching. The white stuff is grippy on the bottom and the painters tape is set where I want to line up the ruler on the quilt block. 

The middle one is my most favorite and I use it on every quilt: the Line Tamer,  from Four Paws Quilting. The channel in the middle holds the ruler foot securely and I can sew straight lines FAST! And Straight! The bottom two are my newest from piecenquilt.com--Natalia Bonner's site. These are the Mini 4-N-1 and Mini Inside Out Quilting Rulers. They also come in a larger size but this size worked great for me and this quilt.

Natalia currently has a 9 PatchALong using these two Mini rulers: find the info on her site or her Facebook group for this 5 week project. Tuesday and Thursday she offers a new design and I am learning a lot and developing favorite designs I will want to use again.  This sewalong is free--many of the quilters who offer great products for sale provide free classes/sewalongs to help us all learn. A lot of time and effort goes into these and I am thankful they exist. 

My 9 PatchALong so far, the blocks are 12" 9 patches--I wish I had made the sashing wider--mine is 1.5" so I didn't have to piece a back but 2.5" would have looked better. Same with the border:


As this is a practice piece, it's good enough. It will become a baby quilt some day. As I got to the end of a cone of thread, I started having tension issues so that gave me the opportunity to figure that out too. Always learning something!

I have written about Ruler Work and the Q20 several times before. Just use the search box in the uppr left to find them--Ruler Work--the Basics is comprehensive.

Have you used rulers/templates for your quilting? Do you want to?

Let's quilt.

Barbara


Sunday, September 13, 2020

Teaching New Quilters

 For more than 30 years I have taught beginning quilters the basics of quiltmaking. More than 1500 students have come through these classes. 

Some learn this is not the sport for them. Some get head-over-heels addicted and eagerly say "What's Next?!" And some of these folks, mostly women, become lifelong friends.

Choosing a project for the beginner is not easy. The quilt has to be interesting and inviting. It must teach some basic principles but not be too hard. And it must be able to be completed during the length of the class by most students. 

My newest class is being offered at a brand new quilt store in my local area. Sweet Home Quilting and Supplies. Owned by Robin Price, a student who became one of those lifelong special friends. Robin is an INNOVA dealer and will offer longarm services as well as rent time for people to quilt their own quilts in her store. Classes for projects, including some that use wool, will be offered, along with exciting new fabrics and quilting supplies. 

I wanted a Basic project, that can  be completed in 3 weekly classes, 3 hours each. Keep it simple! 

Twelve 9 Patch blocks will be taught by my favorite "sew first" method in the first session.  Simple sashing and borders follow in session 2. Finally, during the 3rd session we will discuss quilting, by domestic or longarm machine or even by hand. A binding demo tutorial will be discussed in the last class but must students won't remember that info  nor need it until the quilt is actually quilted.

A great follow-up to this Basic class is my much more comprehensive Quiltmaking 101 class taught at another local shop Patches & Stitches. When classes resume there, hopefully in January 2021, this 5 week class moves on to Half Square and Quarter Square triangles and lots more detail for precise piecing:


For many years this was the Quiltmaking 101 Sample--and it got lots of new quilters hooked. It is based on the Glad Creations pattern, Mix and Match Stars. It was a real stretch for most students to complete this top in 5 weeks but most did: 


Before that I had another favorite beginning quilt project. These 6" blocks were fast for students to make and they had a wide variety of blocks to choose from, making each quilt unique to the maker. It came from the book Blocks and Quilts Everywhere, by Debbie Caffrey, out of print now. 

There were a few other beginning class quilts over the last 30 years but I don't have photos of them and must have given them away because I can't find them either. 

The original class featured a sampler quilt many beginning quilters made in the 1980-1990's. It is from the book Teach Yourself to Quilt by Leisure Arts. My quilt is long gone, no idea what happened to it, but Ricky Tims made this in the early 1990's and had it on set a few weeks ago when he taped The Quilt Show. So here is Ricky's first quilt, the Sampler on the right:


If you took this class with me, oh, a hundred years ago, I would LOVE to see a photo of your finished quilt!

Do you still have your first quilt? Do you still like it? What did it teach you?

Some things change, colors and fabric styles go in and out of fashion, but the passion for quiltmaking lives on. We know that making quilts is just one of those things we MUST do, for lots of reasons. I love bringing more excited quilters into our Tribe.

Let's quilt.

Barbara

Wednesday, September 9, 2020

Charity Quilts and the Joy of Giving

 Sunday was the day the Sunday Sew and Sews presented Janet's daughter, Nancy, with the 52 Charity quilts Janet had begun. Janet passed away suddenly in February 2020, from a stroke, and this project needed to be adopted.

I have written about this several times:  A Quilters Legacy is the comprehensive post about this project. The Sunday Sew and Sews took on completing all of the quilt tops--quilting and binding them all. It was our way to honor Janet as our friend, and pass on the good wishes in these quilts she so wanted to share. 

Of course, it's the time of COVID so we met at my  home wearing masks. Do you recognize anyone?


How about now? That's better. Masks off for the photo: 


It is hard to see the scope of all the quilts here--52 in various sizes. Some are perfect for NICU donations, some for hospitalized children and a few are large enough to make good donations to the local Veteran's home.  A few more shots of the big pile:


Janet designed this very simple quilt specifically for her donation quilts--so easy to make, simple to finish and the perfect size for a young child. She called it the "Sawtooth Star Baby Quilt". This one is "fancied up" a bit with Seminole piecing borders, a technique Janet was very fond of. This quilt is 35" square:


Here is one I finished, from the giveaway Janet did for the Sunday Sew and Sews last summer. I wrote about that here: What Did I Keep?


Nancy has the huge task of settling Janet's estate. She is not a quilter but she appreciates the passion for and love of quilting her mother had in abundance. And she appreciates the work that was put forth to bring Janet's donation project to completion. Totally unexpected, Nancy came loaded with Thank You bags that she shared with everyone, including the two who couldn't make it. Inside were 6 Baby Bites cakes and a gift card to Starbucks. Nancy handing out the goodies:


Next week the quilts will be presented to Madison/Huntsville Hospital for distribution to patients there. We know these quilts will bring joy to those who receive them and we are all happy to celebrate the life of our friend Janet in this way. 

You learned it a long time ago: "Tis better to give than to receive". Completing this project brought joy to us as well. Do something kind for someone today. It matters. 

And wash  your hands.

Let's quilt,

Barbara

Sunday, September 6, 2020

LOCAL QUILT CLASSES--ARE YOU READY?

 For all my LOCAL folks, here are some great new classes I am offering at a brand new shop in Madison, AL.  Masks are required currently and there is plenty of space that each student will be "socially distant" from other students.

 Sweet Home Quilting and Supplies is a new shop and will have it's GRAND OPENING Saturday September 12, 2020, 10-4–MASKS REQUIRED please. Located at 893 Capshaw Rd NW, Madison, AL 35757, it is owned and run by the delightful Robin Price. Robin and  her staff are eager to welcome you. She is an INNOVA dealer and offers every level of machine quilting for your tops as well as offering rental time on her machine so you can quilt your own! 

Classes are the best way to learn in a store--come join us as  you learn new skill:

IT'S A PUZZLE


Saturday September 26, 2020  9-3:30 pm

 Make adorable 4” blocks, half dark, half light, then spend the afternoon arranging them in a fun design layout. It looks much harder than it is. Great scrap buster. Learn many tips for speedy piecing and improve your accuracy with this antique reproduction.

Class Fee:  $50


COBBLESTONES: 


Saturday October 10, 2020  9-3:30 pm

Based on an antique quilt that is saved almost daily on my Pinterest board, I knew I needed to make it for a class.

Intended for the Confident Beginner, this project will test your accuracy skills. Learn Freezer Paper piecing and how to “oversize and custom cut”. Tips and tricks for all aspects of quilt making will be taught. Make it as large or small as you like.

Class Fee:  $55

 LEARN TO QUILT--FAST AND FUN! So new the sample isn't done yet:

Monday October 5, 12, and 19, 2020  5:30--8:30 pm

 Learn to piece a simple quilt top fast--it’s so easy! Barbara will teach you lots of tricks for precise piecing as you learn the basics.  Make your top then quilt it yourself on your domestic machine OR rent time on the longarm and learn how to quilt really fast too.  So many tips will be taught, you will be a great quilter faster than you thought possible.

Class Fee:  $75         

COMING IN 2021--COLOR MY WORLD--the Block of the Month quilt from www.thequiltshow.com

This monthly lecture/demo class will walk you through the beautiful quilt designed by Wendy Williams, www.flyingfishkits.com of Australia. Wendy designed it exclusively for The Quilt Show, a subscription based quilting website.

 You must be a Star Member of www.thequiltshow.com to access the patterns, FREE all of 2021.  Each month the patterns are released on the first day of the month, beginning January 1, 2021.

 I made the quilt--still a SECRET at this time--and will show you all the tips and tricks you need to be successful at this innovative and exciting design.

 These Lecture/Demo classes have been wildly popular for long-term projects like this quilt. Sew in the comfort of your home--no need to drag your machine to class. Bring your questions!

When: the first Saturday of each month all of 2021, 10-noon, except July

What to bring: Your printed patterns, your fabrics, a notebook, pen/pencil, camera.

Class Fee:  $130, includes 22 hours of class instruction time

SPACE IS LIMITED TO 20--this class is sure to fill up.

 The quilt will be revealed for all the world to see in October 2020.

I hope you find something here that interests you. We are ready and eager to get back into the classroom for hands on learning so I look forward to seeing you soon!

Let's quilt.

Barbara


Wednesday, September 2, 2020

Quilting and More Quilting

 I am in the middle of a quilting frenzy. Not in a bad way. 

Now that the "secret sewing" is done, and the taping of The Quilt Show is behind me, I have started lots of basting and quilting of tops that are ready to be finished.

Just a taste:

A NEW class to be taught locally at a NEW shop September 26, It's a Puzzle:


Another NEW class, to be taught October 10, Cobblestones: 


The back of Cobblestones: 


Yesterday, I started this--Afternoon Delight--Small Sample, made with demo blocks from the blog. So far I have stitched in the ditch with Microquilter thread, stitched around all of the Shoo Fly blocks, and echo quilted two of the applique blocks. Next up is a switch to red thread to quilt diagonal lines through the Double 9 Patch blocks:

Every time I baste a quilt, I prepare a small test sandwich with the same fabrics, top and bottom, and the same batting, so I can test thread color and tension before quilting the actual quilt: 

A good tip: use a busy, printed back if you don't want every wobble or oops to show: 

Yesterday I made this 9 patch top, nine 12" blocks, to use for Natalia Bonner's "9 PatchALong" using her mini 4-in-1 tools---I have both of them and want to learn to use them better. The sashing here is 1.5" finished, I wish I had made it 2" finished. She is quilting a printed panel you can buy--I have a sinful amount of fabric so dug into my Amish solids boxes. The Patch-A-Long is free and will run for 5 weeks, twice a week, Tuesday and Thursday--find it on YouTube, or her website or Facebook page: 


More basting, Stars and Stripes, a Quilt of Valor:

The next to be basted, Patriotic Pineapple, another Quilt of Valor:


And the next to be basted after that, "Janet's Happy Village", a top by my friend Janet. I will use this fantastic fabric I also got from Janet--it was the perfect size for the back of this quilt so I changed my original plan to make the village smaller:


One other finish, a donation quilt, one of the 50 of Janet's project quilts that the Sunday Sew and Sews are finishing for her. This Sunday we will present the 50 completed quilts to Janet's daughter and she will get them to the organizations which will receive them:


I still find it a little sad that I have no airplane rides booked currently, but that will change in the future, lots of contracts are being written for future travel. In the meantime, I keep happily busy in my studio.

Let's quilt,

Barbara