Sunday, June 28, 2020

Time for Free-Motion Quilting

The other day I did my least favorite thing in the quiltmaking process: I basted a quilt for free-motion quilting:

Here it is, all folded up--it's 70" square and this is the back. No, I can't show you the front yet...

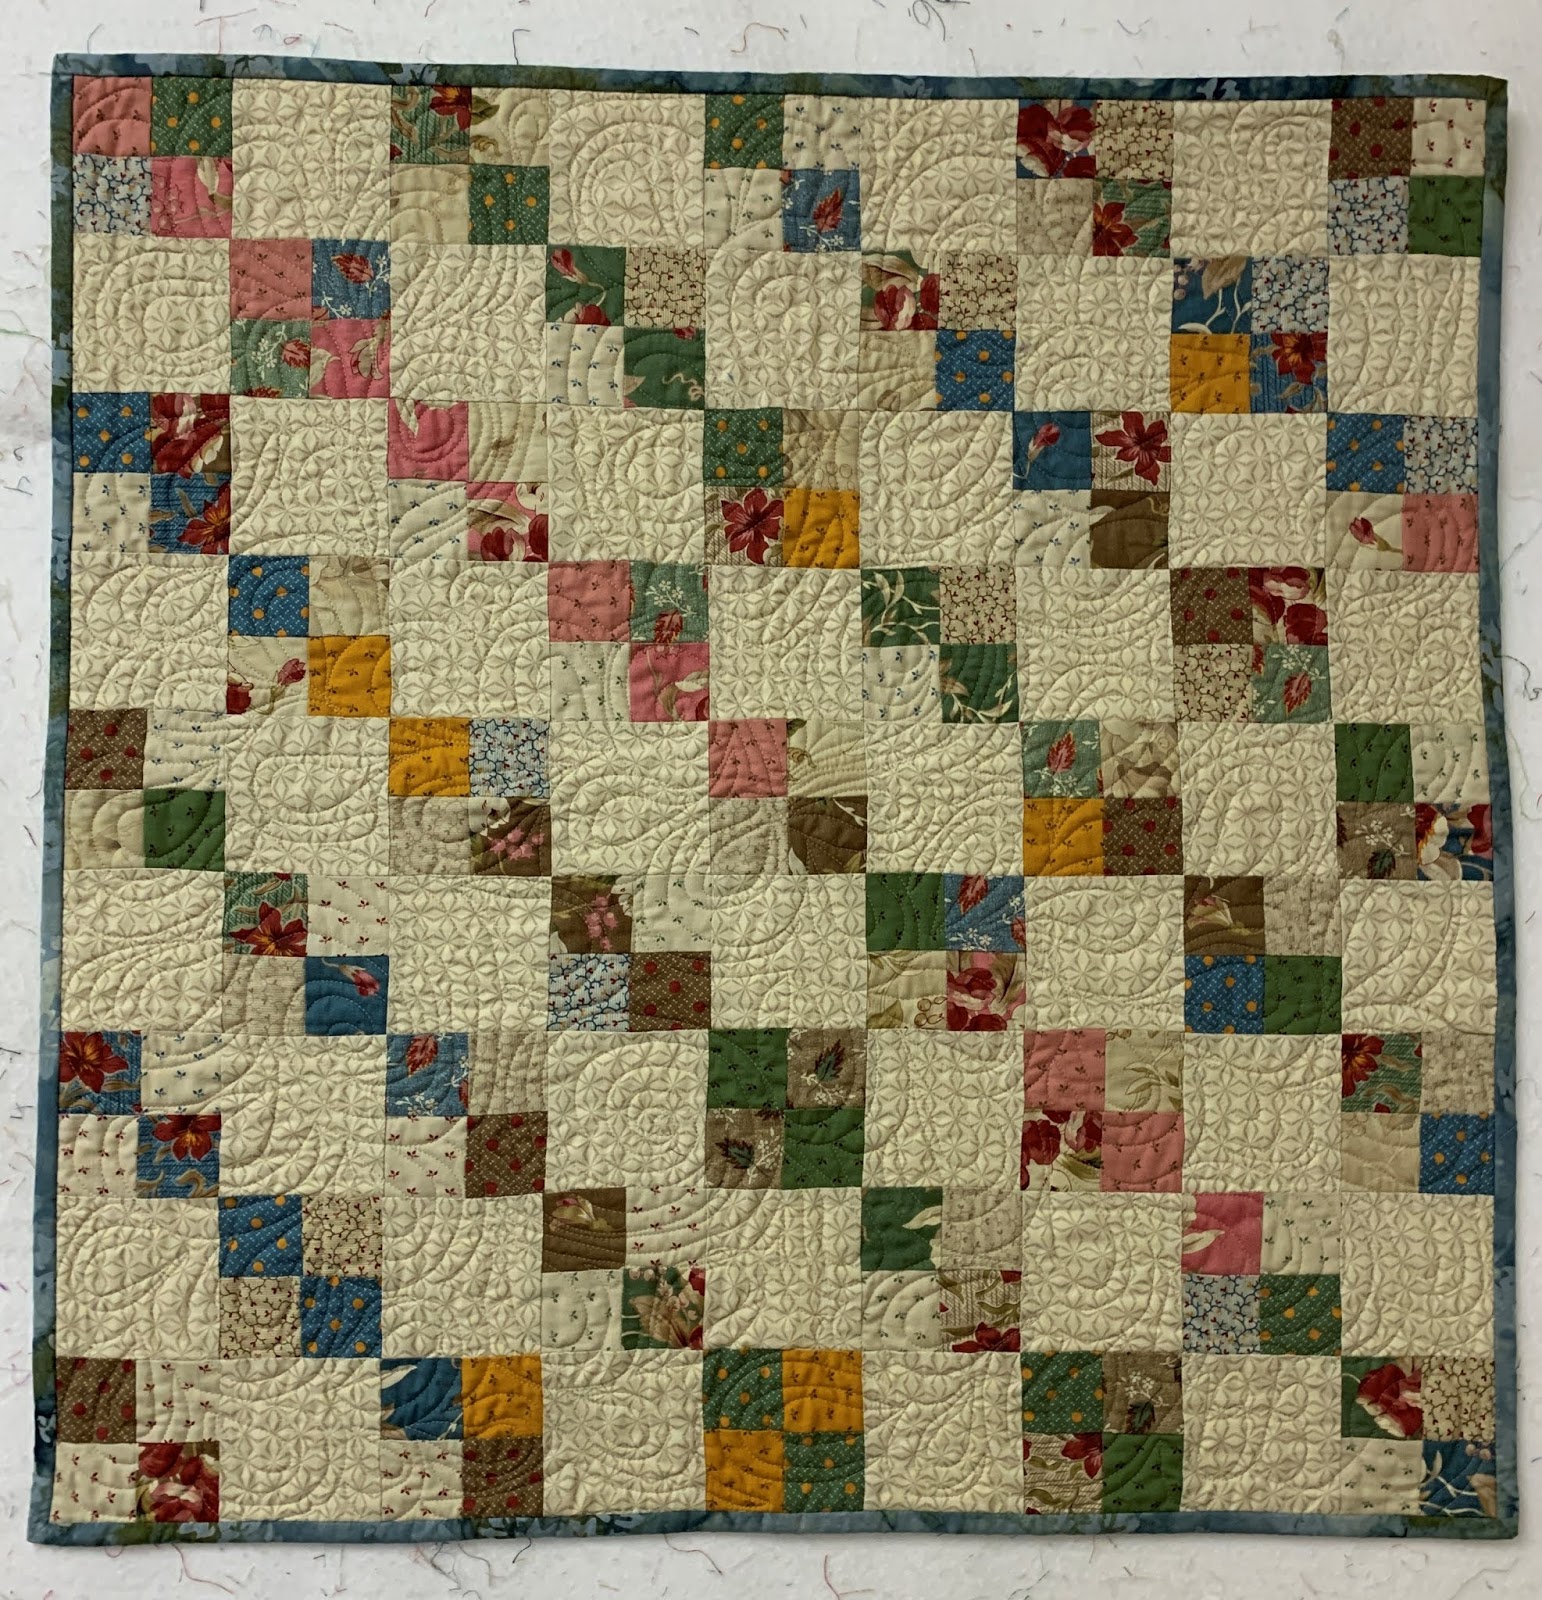
I have a detailed Tutorial on how I pin-baste for machine quilting. The quilt in the Tutorial is larger than this one. For this one, I used my dining room table, laying out the back, batt and quilt top centered on the table. I taped and clamped the back down, then pin-basted the center of the quilt. NOTE: I don't close the pins until the entire quilt is pin-basted. Once the center section was pinned, I un-taped and un-clamped the quilt, slid it over to one side, and re-taped and re-clamped the back. I put pins in that side, then did the same on the opposite side.

Once all the pins were in place, I carefully turned the entire thing over to check for pleats or puckers.  There are always a few near the outside edges. It is a simple matter to remove the offending pins, flatten out the 3 layers again, and re-pin. When it is completely flat, no puckers or pleats, I turn it over and close all the pins.

This process took about 2.5 hours. I should  have been playing music because I just don't find this task fun. Necessary but not fun.

UPDATE: There is a fantastic video in the Classroom of The Quilt Show, featuring Cindy Needham and her table method for pin-basting:  Pin Basting with Cindy Needham. I sure wish I had seen this BEFORE I basted this one. What a great way to be sure the back is flat and square! Just another reason every quilter should be a member of The Quilt Show--with the current "Staying at Home Special" of $19.95 for 6 months or $39.95 for a year, I truly believe this is the best bang for your quilting buck. Join Now!

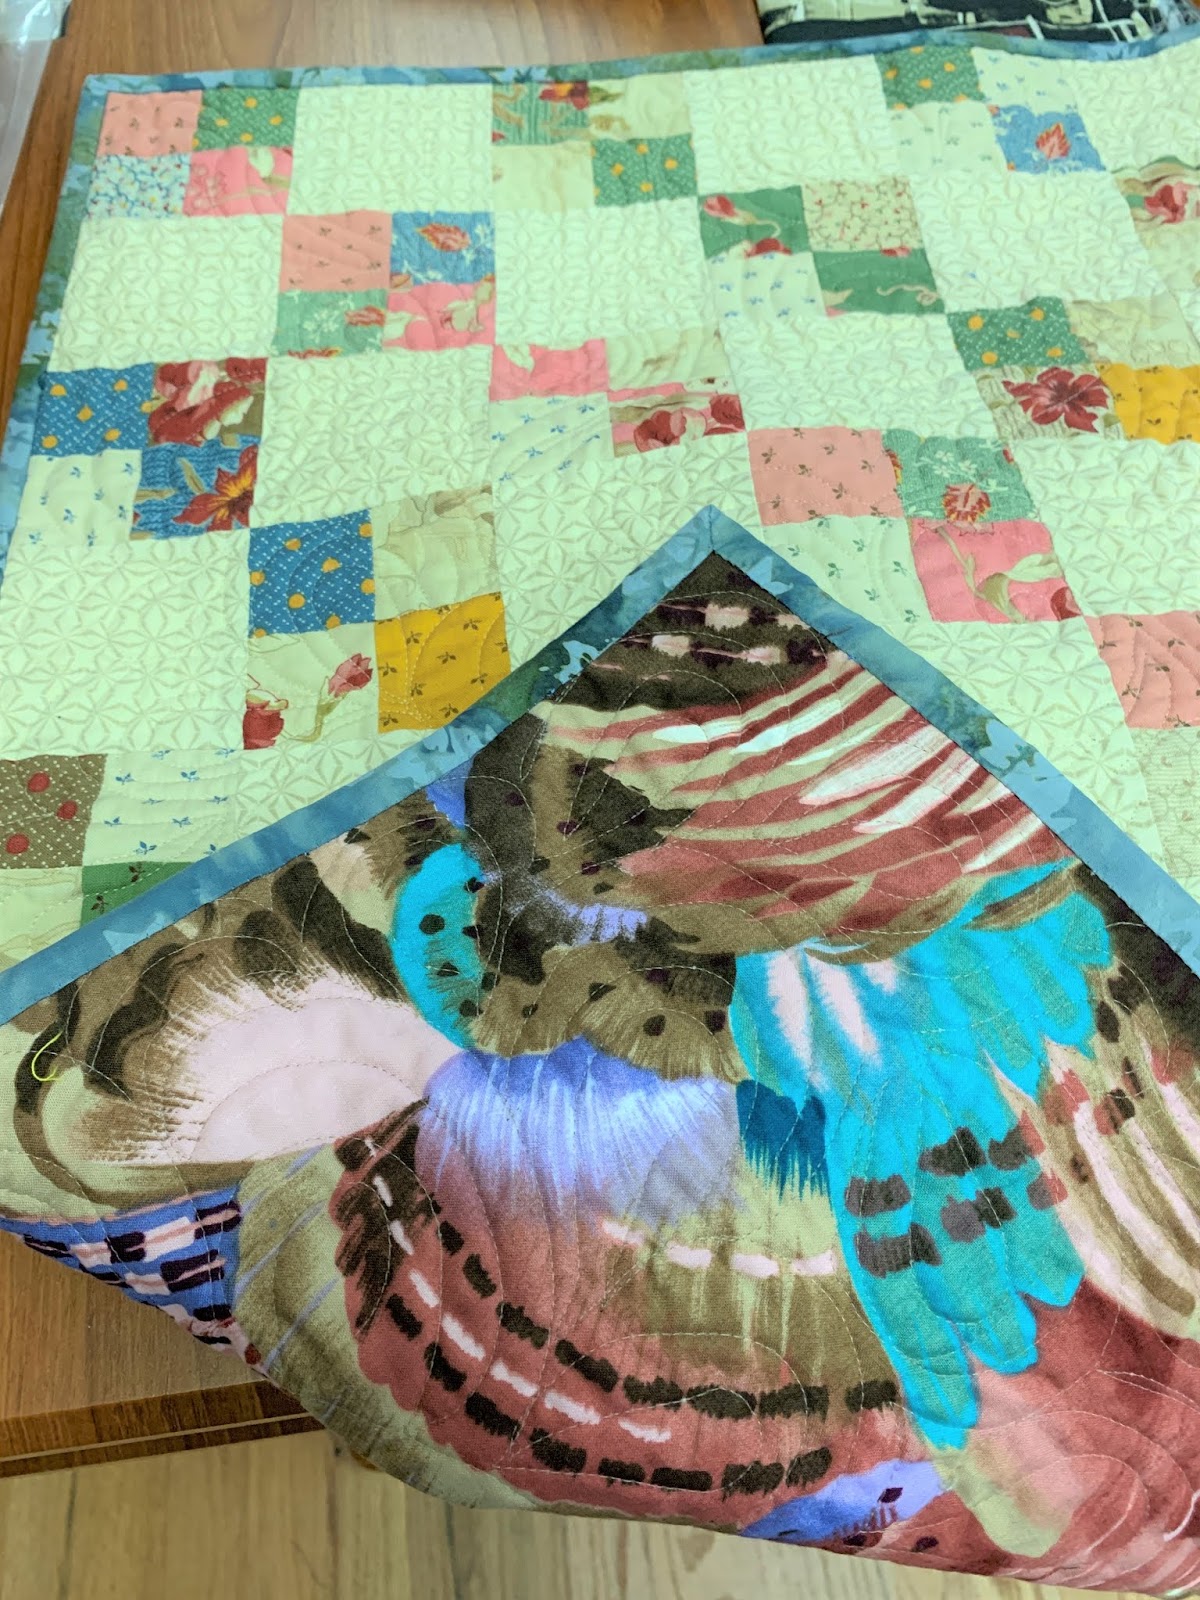
Next I made a "test" quilt sandwich from several of the fabrics in the top, the same batt and back:

This will be used to test a variety of threads, their colors, and set the tension for each. It is also used to warm up before tackling the quilt each day. The batt is Pellon Wool Blend, soft, with some loft, that will give dimension to the quilting. I have several ideas for quilting designs I am eager to try on this.

Before I jump into quilting this one, I will finish the quilting on my Foothills Quilt, which I began quilting in April. I wrote about that HERE. It will be good practice to get loosened up for the quilting on the "mystery" project:


 Fortunately, I kept a sketch of the quilting design, along with the rulers used for those designs, handy, until I could get back to the Foothills quilt:

Another thing I do as soon as I baste a quilt, is cut the extra back fabric for the Sleeve I attach to every quilt I make.  The fabric is cut to approximate size and I put a note on it that says "Sleeve" so I don't accidentally use it for some other purpose. Since I know what the binding fabric will be, I have also made that already--it is saved with the sleeve--in a safe place. And that place is noted in my Journal, on the page that lists "Where Did I Put?"

I will be glad to have Foothills quilted and be ready to get to work quilting the mystery, soon.

What is your least favorite part of the quiltmaking process?

Let's quilt,

Barbara

Wednesday, June 24, 2020

Mariner's Compass Background

In the last post, I showed how I made a Mariner's Compass circle using Freezer Paper foundations. Check that out  HERE--Freezer Paper Piecing

Now it is time to add the background to complete the block:


There are several ways this can be done. As usual, I look for the "fastest method that gives me the result I want".

1. APPLIQUE: I could have turned under the edge of the Mariner's Compass 1/4", either pressed or basted it, and then appliqued it to a square of background, either by hand or by machine. I was fairly certain that would take me a lot of time to prepare and it was not likely I would get a nice, smooth, round circular shape.

2. PIECING: Much more to my liking. My steps:

I found  a Mariner's Compass pattern in Electric Quilt 8,  quilt design software I have used for many years, and printed out the background curve for a 14" Mariner's Compass block.  I could have drawn a 14" circle, using a yardstick compass, but having the software made it easy:


I copied the template onto Freezer paper, leaving as much extra beyond the finished outside  line as I could. I can always trim the background smaller when I decide what comes next.

The background was cut into a square about 20" and folded in quarters. I pressed the freezer paper template so the outside edges were exactly on the left and bottom side folds and about 2.5" extra was on both the top and right sides--the outer edges of the square.

Had I thought it through in advance, I could have placed the FINISHED EDGE of the freezer paper  template on the folds and that would  have created a complete circle, with no seams necessary.

Instead, I cut it like this, and knew instantly I would have to add those seams. Oh, well:


The four quarter circles ready to be seamed to make the complete circle:


Using the pattern template that was used to piece the actual Mariner's compass, I made registration marks at the place the background circle would join points of the Compass:


I spent a bit of time pinning the background circle to the Compass--the Compass is on the bottom for machine piecing. There is a pin at each place the Compass point meets the circle--those pencil marks--and a pin in between all the other pins to easily keep the edges aligned. You can use fewer pins and work to keep the edges aligned with your fingers or a stiletto as you sew--the extra pins really help me:


Once sewn, I turned it over to see if any seam allowances got twisted on the bottom--sometimes that happens despite your best efforts. I only had one so I quickly fixed it--un-sew a few stitches with my trusty stitch ripper, and resew those few stitches. All good to go.

I pressed the background away from the Mariner's Compass, and declared this block Done:


I am not sure what will come next for this block--I have another big project that has to get done first. But someday it will get done and be a gift for a sailor.

Let's quilt.

Barbara

Sunday, June 21, 2020

Freezer Paper Foundation Piecing

Learning a new technique is interesting. Having the time to explore a new technique is priceless.

I have been a fan of "paper piecing" for years--where you sew through paper patterns, using a tiny stitch, then remove the paper when done  and sew the units together to make a block. In teaching this, I find that quilters either love it or hate it.

Center of a gift for a sailor

The plus side of paper piecing is ACCURACY. With complex patterns like Mariner's Compass, you can get sharp points fairly easily.

The down side to paper piecing is REMOVING THE PAPER, and those tiny stitches are challenging to remove when we make a mistake--and we ALL make a mistake, from time to time.

I am learning to Foundation Piece on Freezer Paper patterns. The exact same method as regular paper piecing, except the pattern is printed on the matte side of Freezer paper and you DO NOT sew through the paper.

I have known about this method for years but never tried it--I was perfectly content with "regular" paper piecing.

Here are the basics--I will have a detailed Tutorial when time permits. I am enjoying learning this so thought you might like to see it too.

As usual, the fabrics are cut into over-sized pieces or chunks.


The first fabric is pressed to the waxy side of the freezer paper, securely. The second fabric is placed on top of the first fabric, right sides together, using the standard 1/4" seam allowance:


Sewing with a regular length stitch, just beside the fold of freezer paper:


See how the stitches are just along the paper, not through it: 

 As pieces are added, they are pressed over, onto the freezer paper--the waxy side. The excess is trimmed 1/4" away from the line--using one of my favorite tools, the Add-A-Quarter ruler:


Each fabric is added in turn until the paper is covered with all the fabrics needed. When the pattern is completely stitched, you carefully remove the unit from the Freezer Paper--and the paper is ready to be used again! A real bonus if doing a block with many of the same units. I used the two paper patterns to make the 8 units needed, 4 of each. So I only had to print 1 sheet of Freezer paper to get ALL the patterns needed for this 14" block:


The 8 units are sewn into four sections of two units each. Here are 4 units sewn into 2 quarters, then joined to make a half block:


 Two halves, ready to be joined into a circle:

The best tip I give quilters when making blocks with places where many seams come together, like Lemoyne Stars and this Mariner's Compass, is to machine baste that center first. I turn the stitch length up, to 5.0 here from my usual 2.0. I baste stitch about an inch on either side of the center:


I open it and take a peek--if I am happy with it, I turn the stitch length back to normal and sew the entire seam, stitching right over the basting stitches. If I think I can do better, it is a snap to pull out those basting stitches and try again. I was satisfied with this:


Here is the back of the Compass:

On Wednesday, I'll show you a few ways to create a background for this Compass.

Let's quilt.

Barbara

Wednesday, June 17, 2020

Design Wall Time

As I will soon need the whole design wall for a big project, I decided to finish the Sawtooth Stars top that was taking up more than half the wall:


Once I study this photo a bit, I will decide which blocks to move or rotate. This can become a never-ending task so better not to over-think it too much. I see a couple I will rearrange...

There may or may not be added borders--that is a decision for months from now when the big project is done.

Glad to have this one to this stage. I will dedicate today to finishing it so I can "clear the board" and put up the big project, which I cannot show you, but it is fun and you will like it.

I  feel like I am way behind compared to lots of friends who are finishing old projects left and right and jumping into new projects--so much is available on the Internet right now.   The secret sewing has consumed me the last month and will for the next two months then I can jump back into quilting several tops that will get done later this year. Having 9 jobs that have cancelled or been postponed from April to August has kept me home, and I am enjoying that just fine. Still waiting to hear about two more big jobs for later this year.

What are you working on? Are you feeling accomplished with projects completed or overwhelmed with so much time?

Let's quilt.

Barbara


Sunday, June 14, 2020

Masks, Decks, Stella and a Winner!

Still making masks--it looks like we will be wearing them for a while. My sons said the two I made them recently were too tight--I used loops made from t-shirts. So when I was able to find elastic at my local quilt shop, I made a few new ones and retro-fitted their others:


My husband is a hardworking man who would rather do it himself. We are having our old deck replaced so he decided to take out the old deck himself so all the contractor has to do is build the new one. I know he is not 30 years old anymore, so I called in reinforcements--our two sons came to help with the labor. Here they are at the end of a long day, but the work is almost all done. The screws are all out  of those boards, they will just be lifted off when the workers arrive to build the new deck. As usual, it took much more effort than anticipated:


Andy, the youngest, brought Stella for me to play with. She is a delightful child, happy and funny and smart. It is very hard to get her to pose--she delights in making "goofy faces" rather than "good faces" so a bit of prompting finally got this., the new 5 year old:

She and her brother Sam are coming for a sleepover soon--so no sewing for me. It takes at least two full grown adults to keep up with a 5 and almost 2 year old. But we love seeing them and having them visit.

Drumroll Please!  The Giveaway winner, chosen by Random Number Generator from 66 comments is Kim W! An email has been sent, Kim, get me your mailing address and I'll send your package on the way:

I looked back to find out when I made this quilt--it was in 2017. I received the four-patches from someone who posted on a Facebook group that she made them from a charm pack but didn't like them and just wanted to give them away. I saw that post almost as soon as she wrote it and said "I'll take them". I put them into this doll-size quilt and had fun practicing free-motion quilting on it.

All the comments were interesting and  touching. Quilting ties so many of us together, making it a smaller world in some ways. Many find it a link to their past and a foot into the future.

By the way, the first 5 people selected did not have an email connected to their profile so were not able to be selected. Lucky for Kim!

Let's quilt,

Barbara

Wednesday, June 10, 2020

Time for a Giveaway!

To celebrate making it to over 2800 followers, let's have a giveaway!

A little quilt, a few goodies, and a few surprises not shown here.

To be included, post a Comment on this post--What Does Quilting Mean to You? What are you working on currently? OR  How does Quilting help you get through life?

On Sunday June 14 I will announce the Winner, selected by Random Number Generator. BE SURE your email address is attached to your name--if you are a "No-Reply" person you won't win.

Thanks for all the support. I've been writing this blog since December 31, 2011. It's my diary, my quilting life, and my chance to teach what I know to those who want to know it too.

Let's quilt!

Barbara

Sunday, June 7, 2020

Sawtooth Stars

You would think that a 10 foot x 9 foot design wall would be big enough. But, no, when there is secret sewing in progress I wish the wall were twice that size.


This Sawtooth Stars quilt is just a leader/ender project for other sewing. It will be queen size when it's done.

And that step stool tried to kill me. Don't climb up on a step stool wearing flip flops. And don't be too close to the wall--you just might try to fall backwards...

No injuries but a warning to be more careful. Quilting can be dangerous.

UPDATE: The Giveaway Goal is up to 2796! Just a few more to go over my goal of 2800 followers. See this post for more information.  It's likely the Giveaway will be up with my next post...

Let's quilt.

Barbara

Wednesday, June 3, 2020

Giveaway Goal

As the recent recipient of a Blog Giveaway, I think this is a good time for a Giveaway Goal.

This blog has over 2700 followers, most by email, which you can't see--there are currently 1936 who follow it by email.

Let's get to 2800! Whether people choose to follow with Google, Bloglovin or another blog reader, or by email, it all counts and gets this content out to those who want it.

If you are a follower already, THANKS! I look forward to talking to you a couple times a week.

If you only read this from Facebook where I post a link each time a blog goes live, please follow the blog too.

It is easy to follow by email: just fill in the box over there on the right, and respond to the Confirmation email you will get. Each time I post, usually on Wednesday and Sundays, you will get an email with the direct link to the blog.

And share this with all your quilty friends--when we hit 2800 followers I will be giving away this little quilt and a few other goodies to go with it:

27" square

A fun back fabric

Free motion texture
A huge THANK YOU! to  Janet O--the Rogue Quilter, who has inspired me for years. Here is the terrific package of goodies I won on her blog:

Janet makes soap--they smell divine, Spearmint/Peppermint and Orange/Cinnamon in that little baggie. There is a scented candle, a lovely notebook, and a super Log Cabin Pincushion--I love it all.

The brand new book is THANKS TO Pam Buda  of Heartspun Quilts. Vintage Treasures: Little Quilts for Reproduction Fabrics  is right up my alley--there are several in year I will enjoy making. Pam has a Blog you might enjoy too.

So spread the word, let's get to 2800 followers, and someone can feel lucky too!

Let's quilt.

Barbara