Friday, March 31, 2023

HOMEWARD BOUND -- MONTH 4

 This quilt is the 2023 Block of the Month quilt for The Quilt Show. It was designed by Sarah Fielke exclusively for The Quilt Show and is only available at The Quilt Show. The best news is it's FREE for Star Members of The Quilt Show. Each month in 2023 a new part of the quilt is released for download to Star Members. 

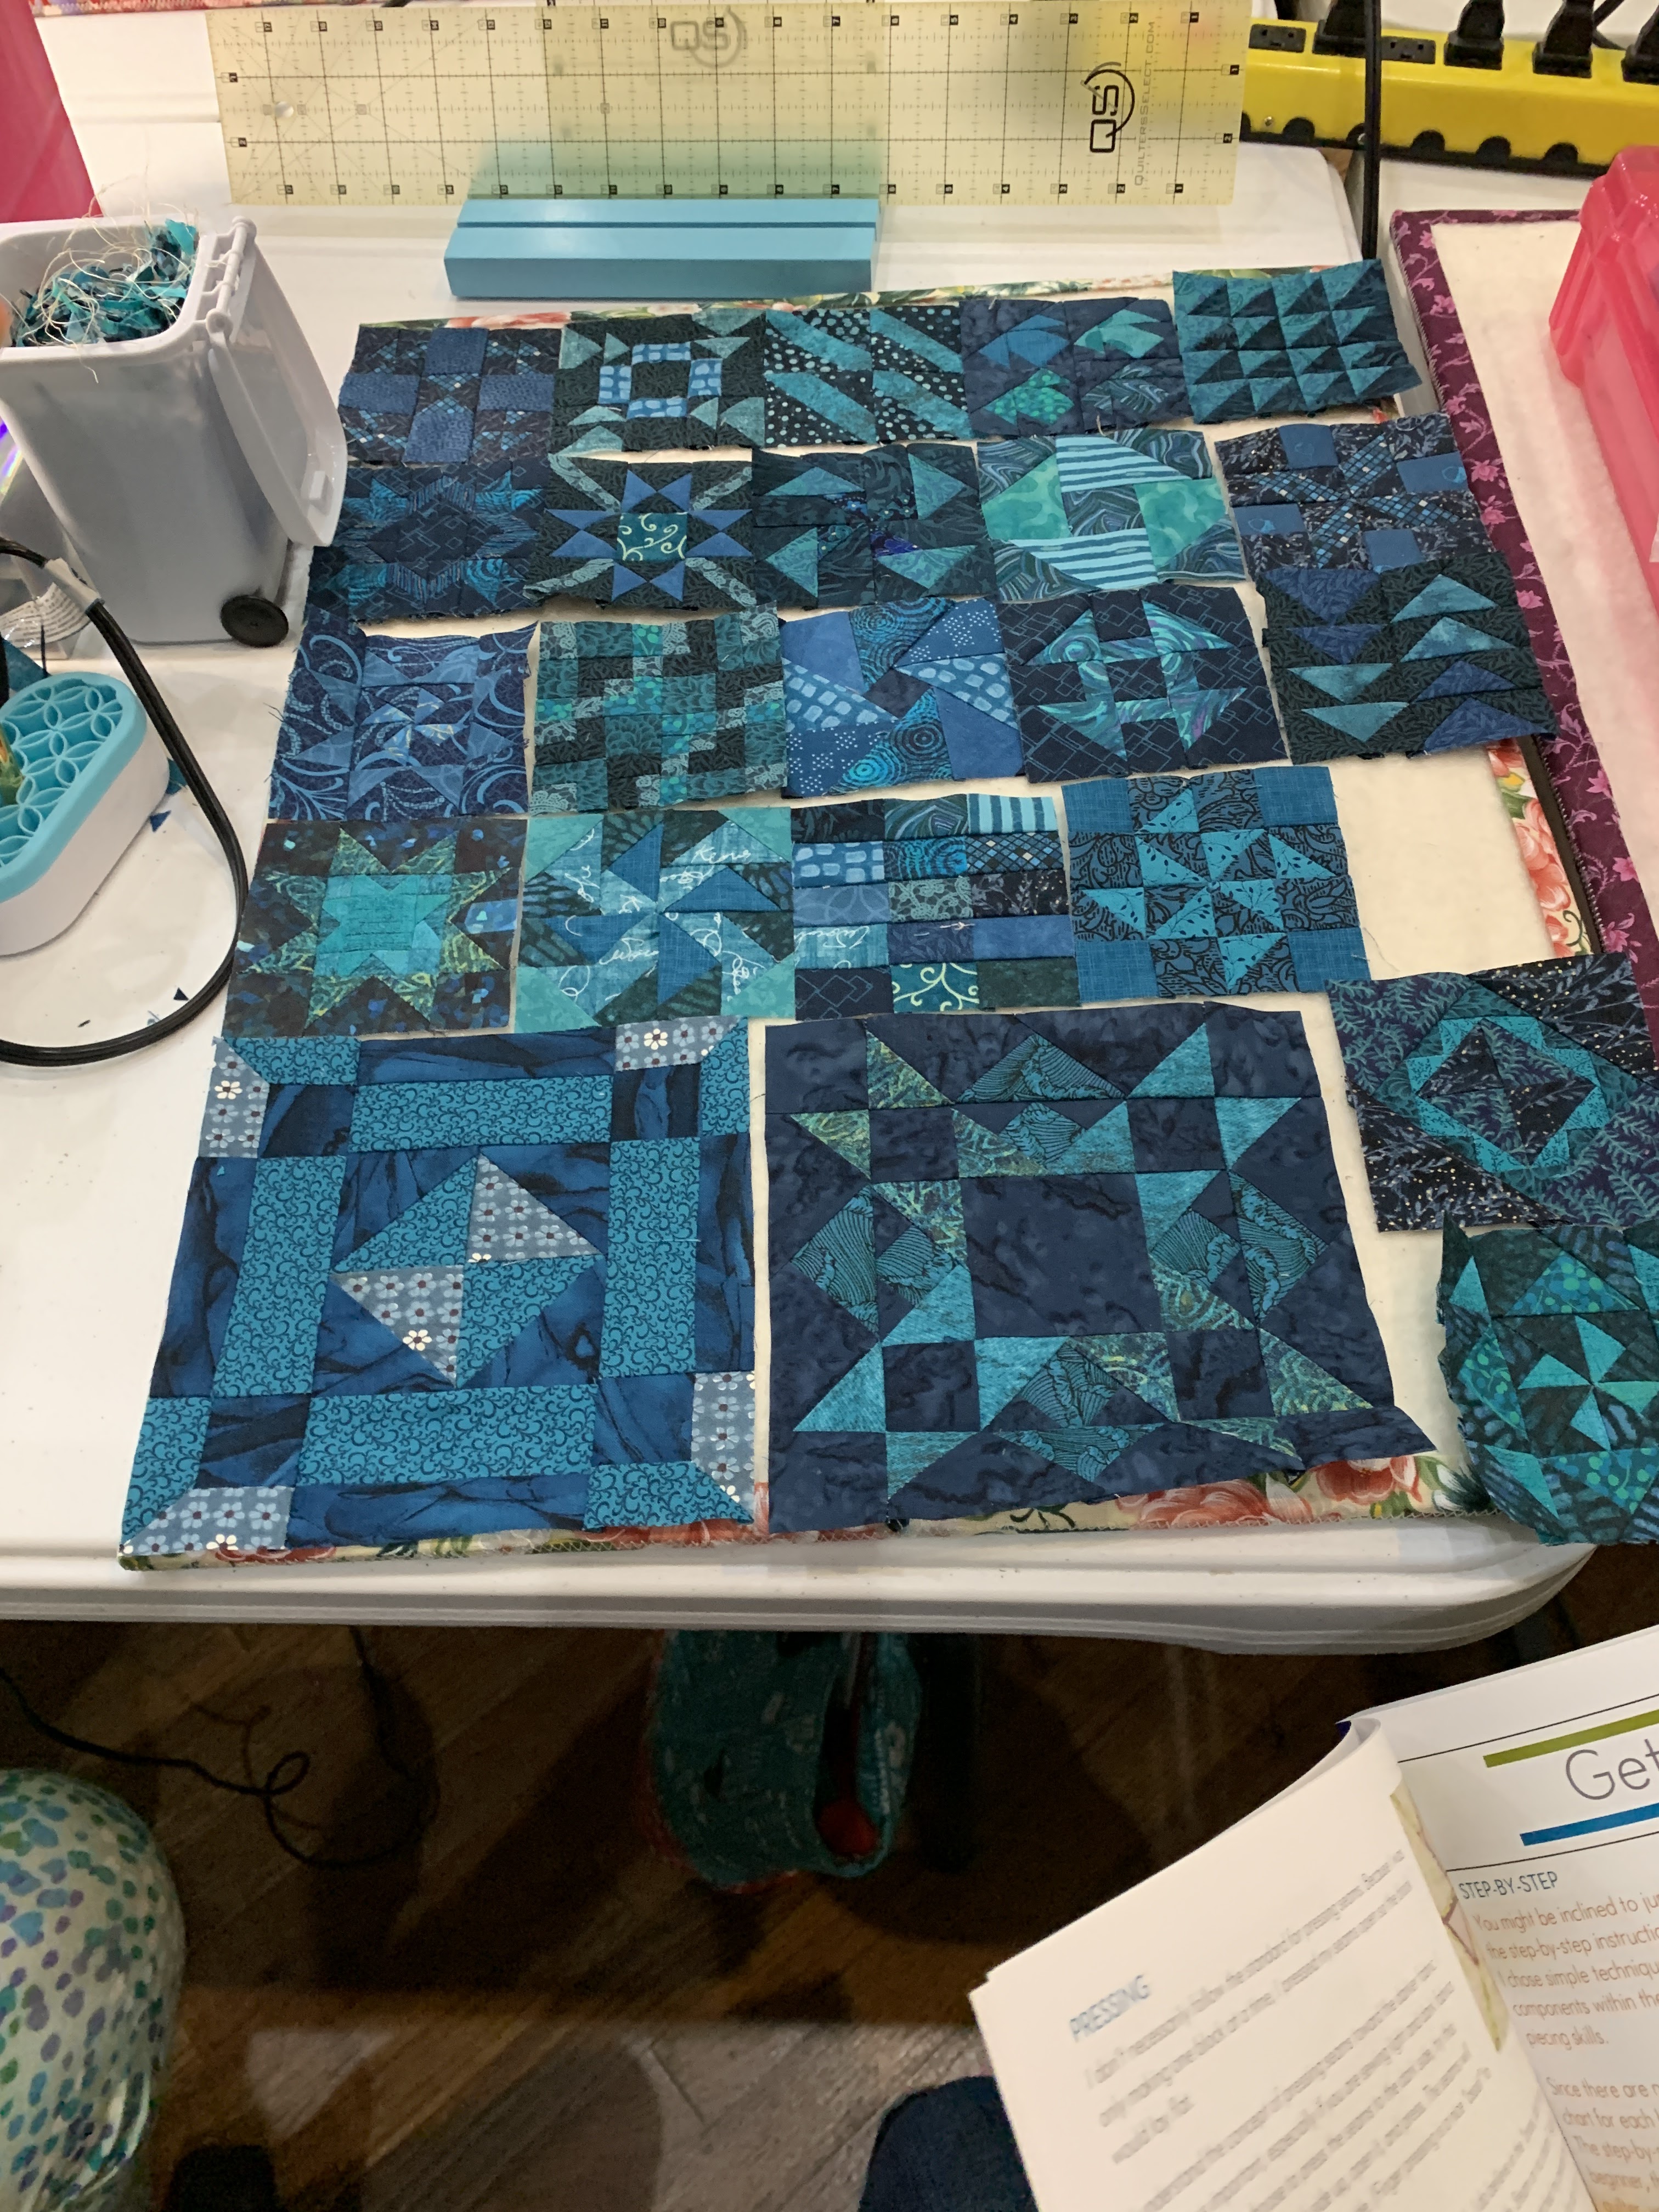
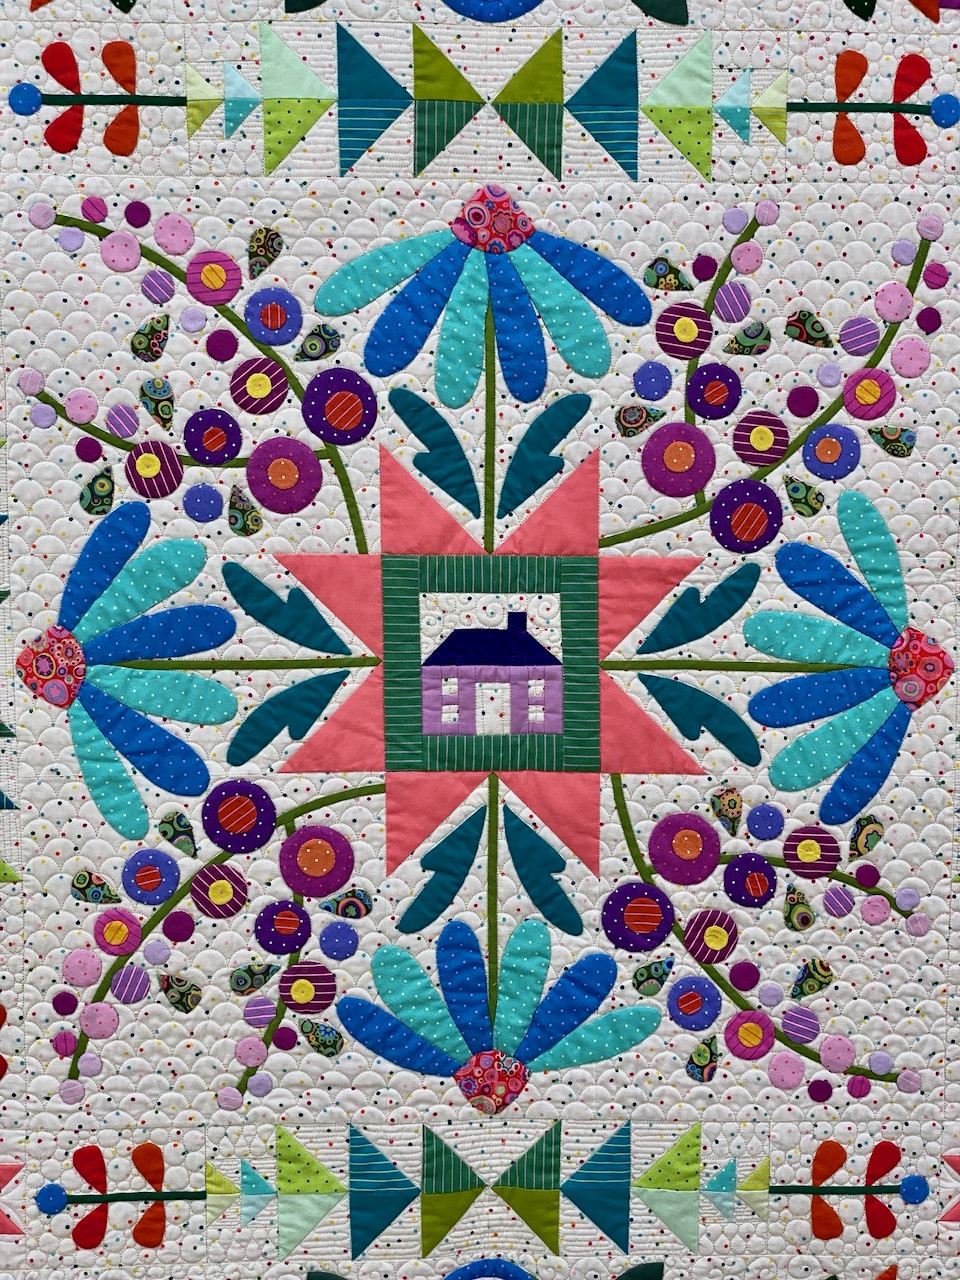
This month we will add the four coneflowers to the stems and join the entire center together. My completed center:


As usual, I strongly recommend you READ all the directions first. Then watch the Video for Month 4. 

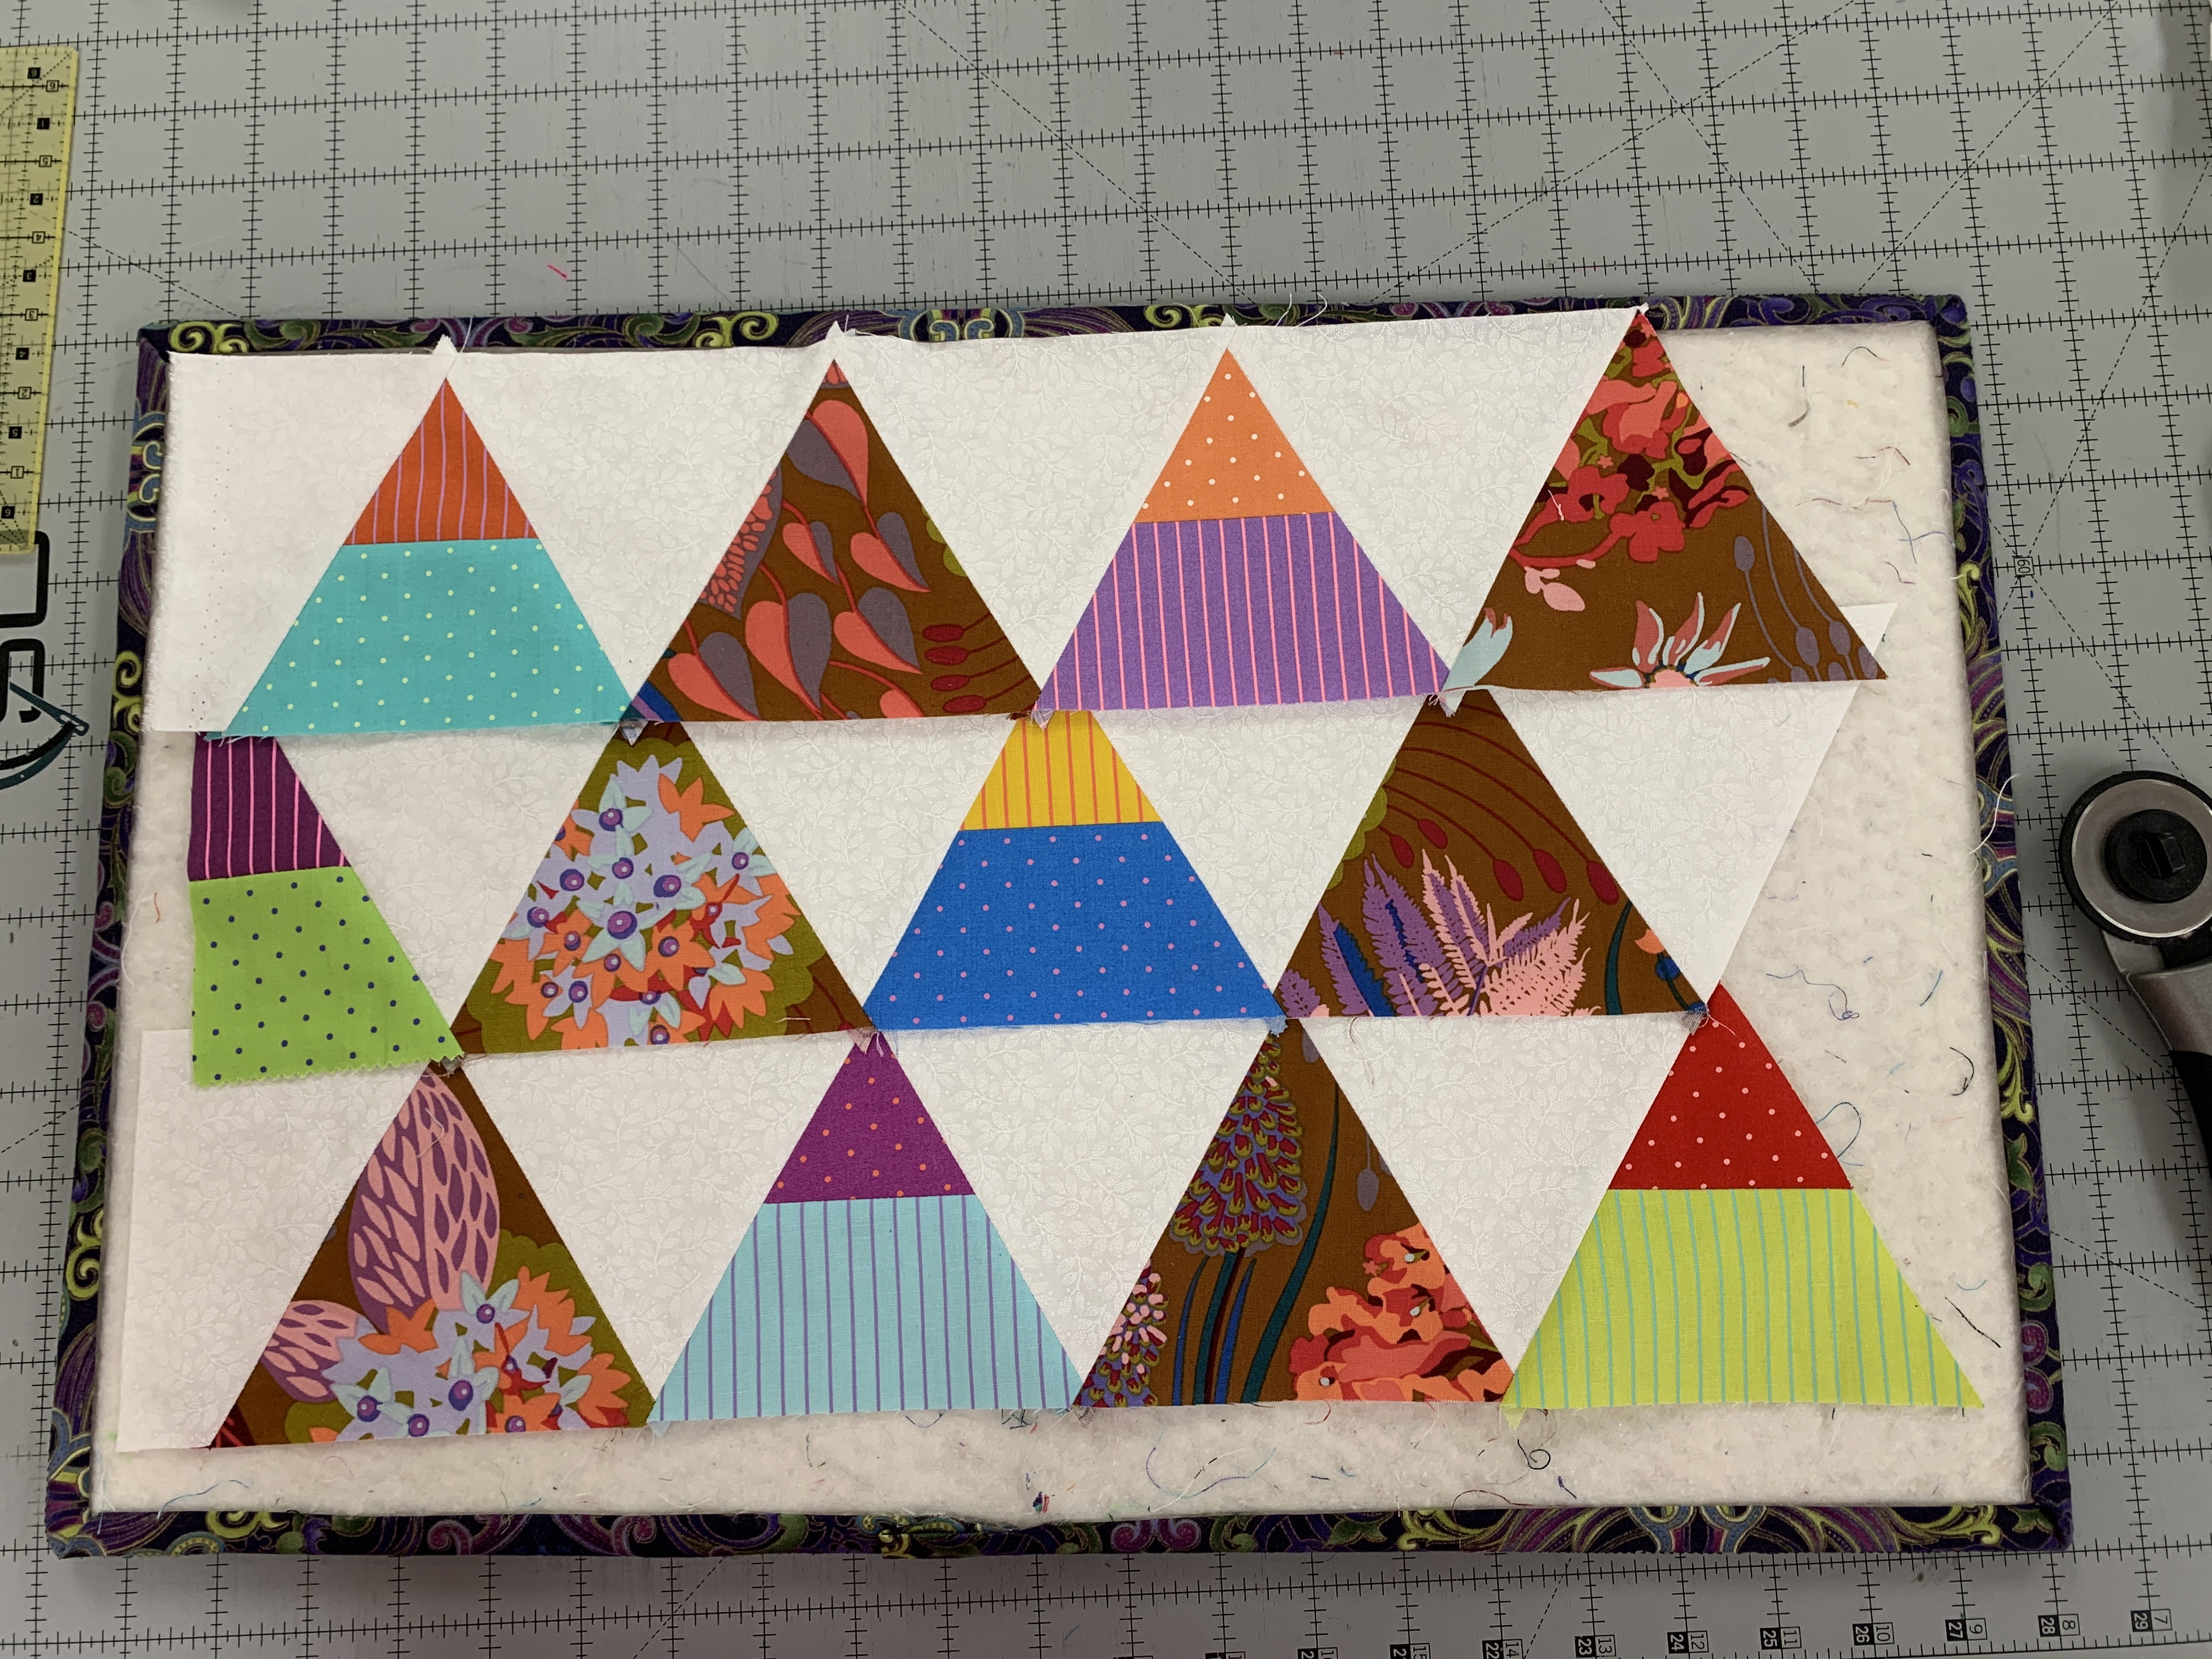
The 6 coneflower petals are made from templates, 3 are Right Side Up and 3 are Reverse Side Up. Here I see my templates are slightly large, that's OK, they still fit. However you make your templates, that is the size your petals will be. The two leaves are also made RSU and REV:


The directions say to stitch a Hollyhock block to "either side of a one of the Star Point blocks". Diagram 1 shows this clearly. This allows you to sew the Coneflowers on to two sections of the center without having the entire center in your hands. After two sections have the coneflowers in place, join the middle section and complete the last two Coneflowers.

BE SURE the Hollyhock blocks are going in the correct direction--it would be easy to get one turned around.

Sarah's Month 4 Video discusses  how to sew the sections together and then how to place the coneflower petals and cone at the top. I encourage you to watch it before you begin.

TIPS: 

Be sure to know which petals are RSU and which are REV--they look similar. I marked them as I drew them on the fabric so I could keep them straight. 

They also alternate fabrics--that can be tricky. It might help to write on your pattern which fabrics go in which position. Two of mine start with periwinkle, two start with the violet print. Sarah's are all the same. 

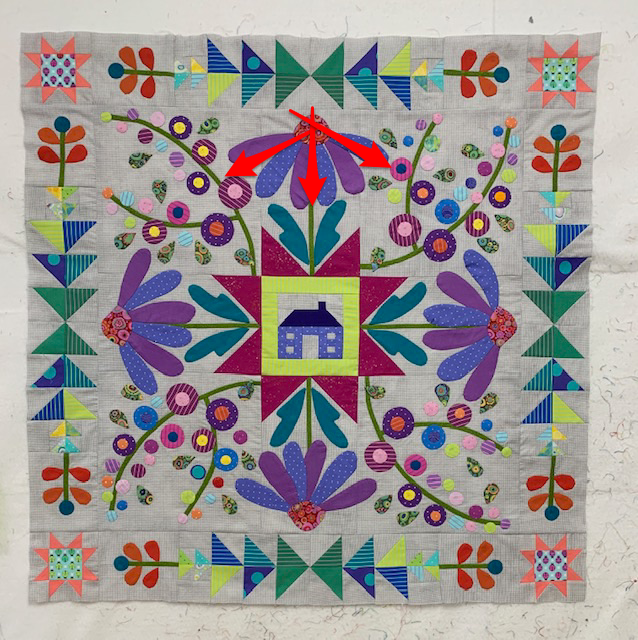
There is only about 1/2" from the top of the Cone to the raw edge of the Star Point blocks. I used an erasable marker to show me where the top of the Cone goes so I could then place all the Coneflower petals in the correct position:


Once the Coneflowers are complete, if you left off a few of the small leaves from Month 3, you now can see where to place them.

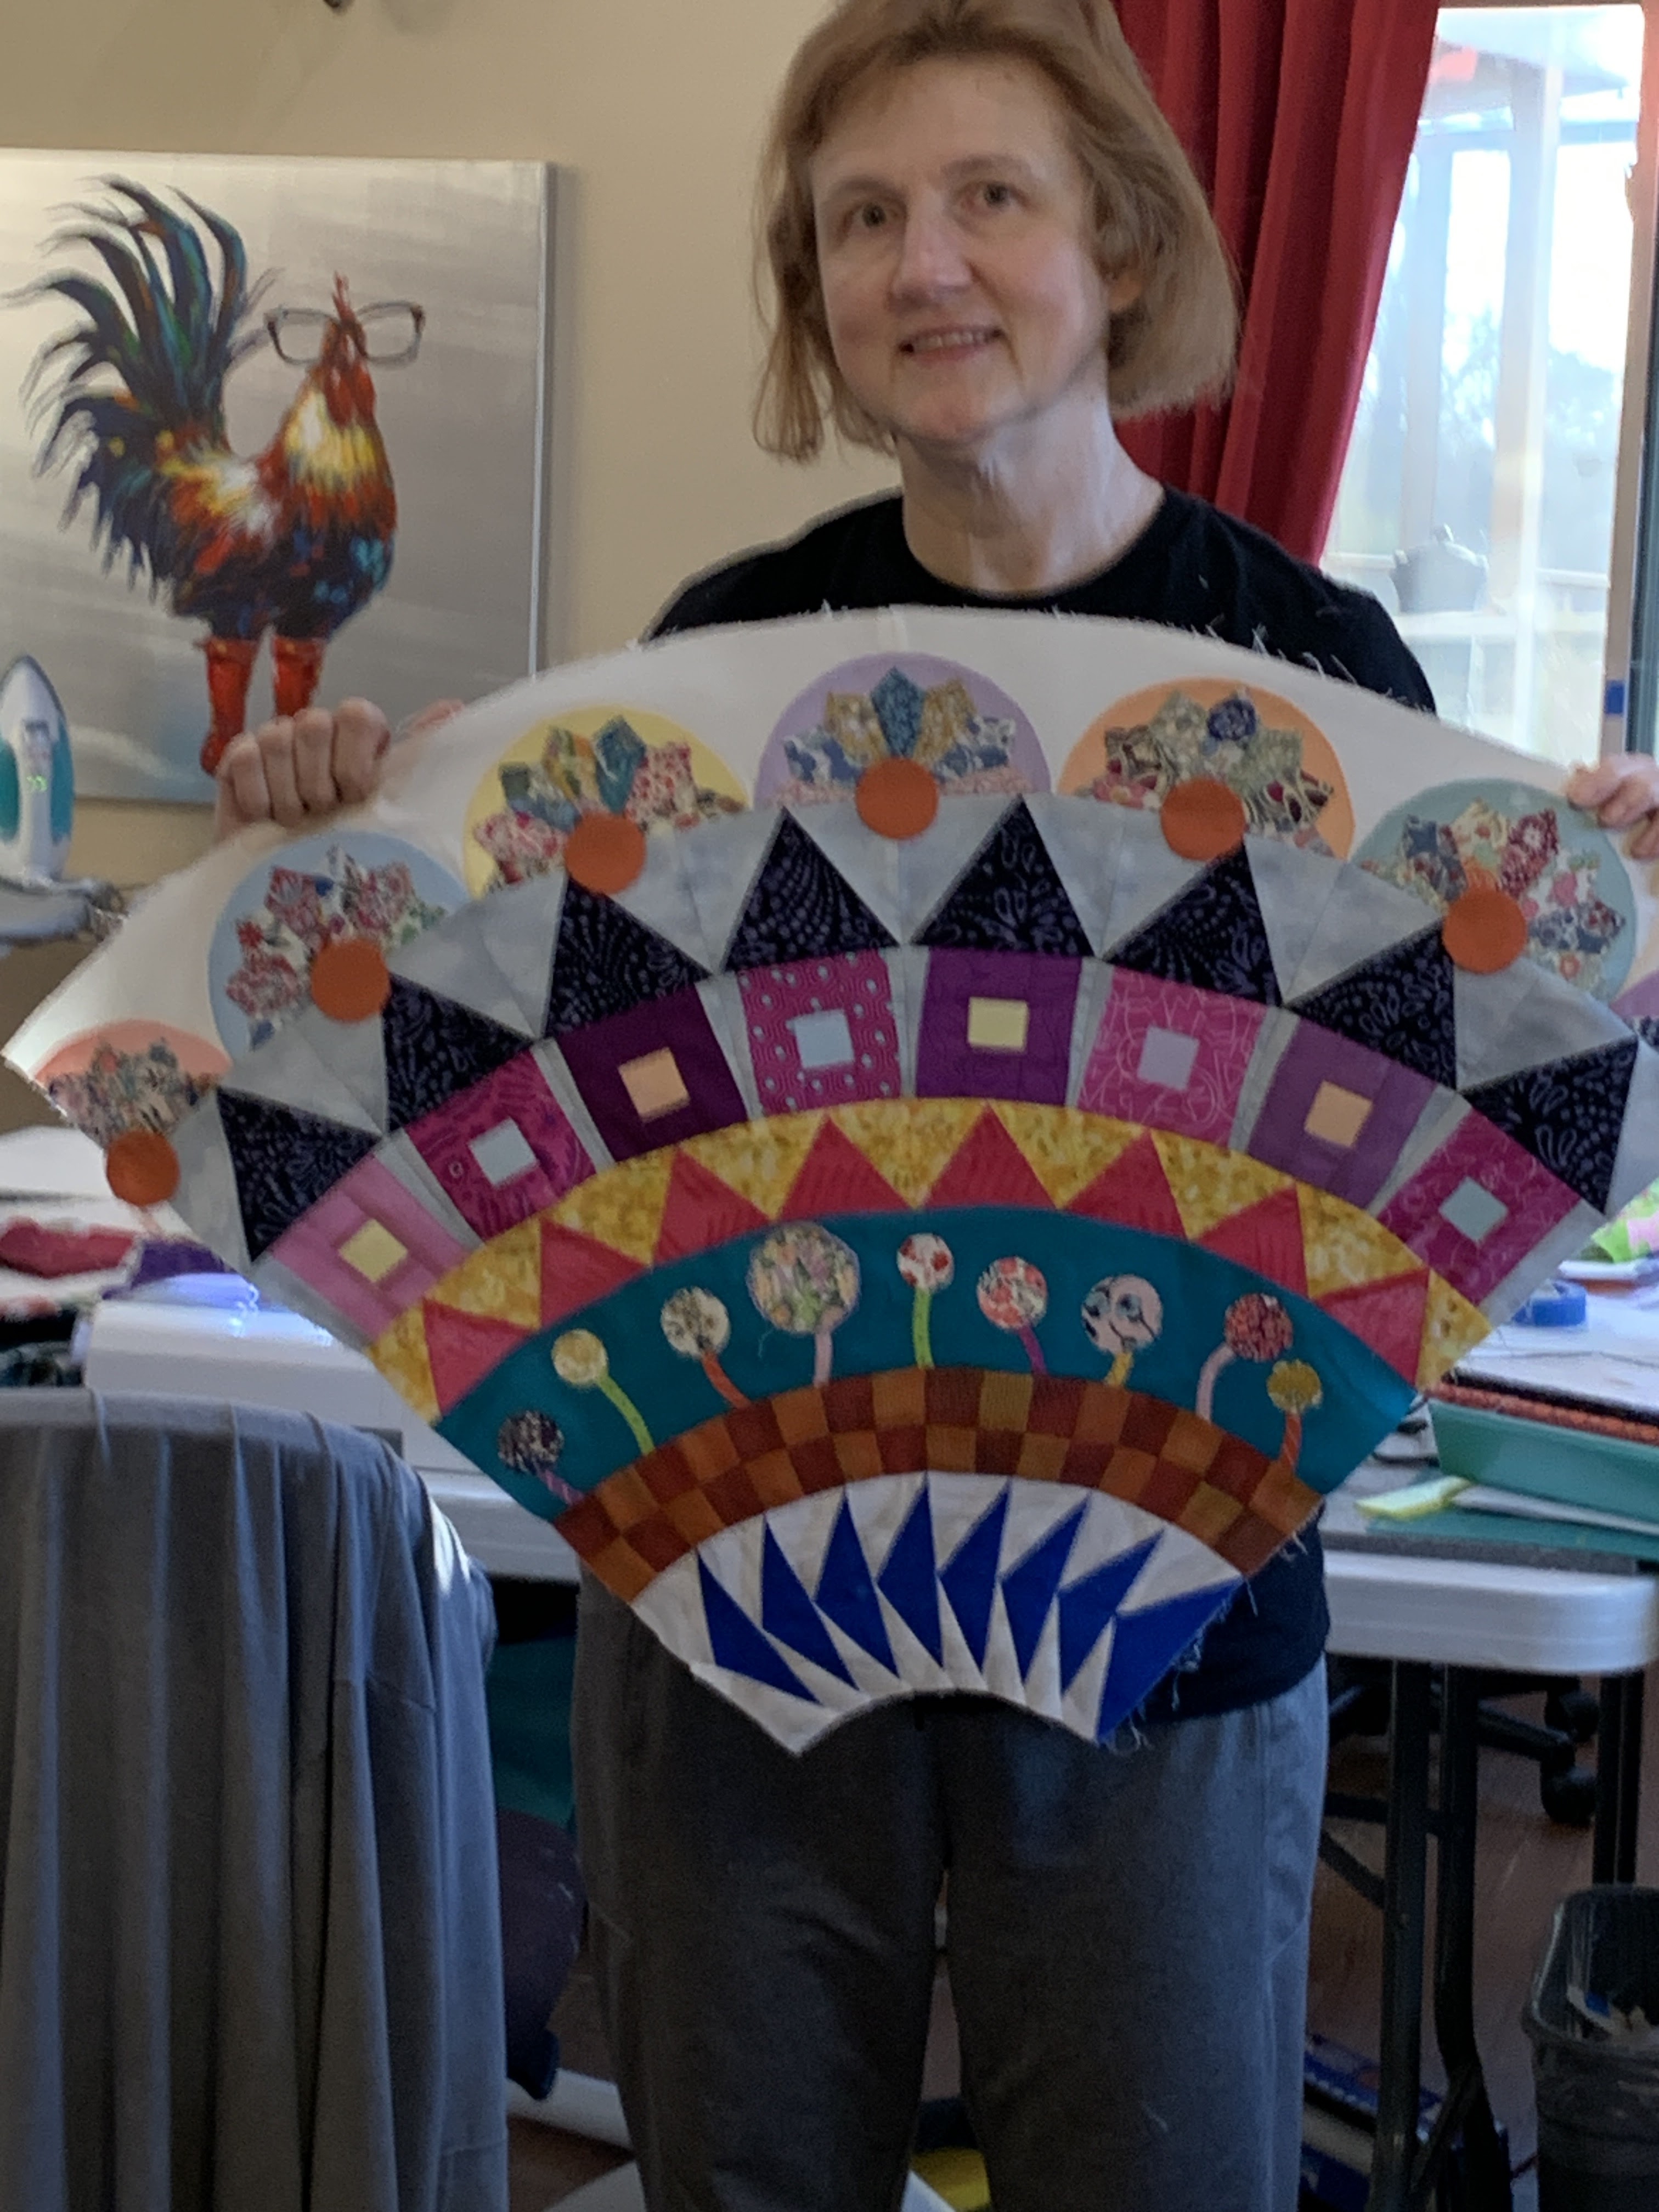
Here is Sarah's completed center:


Next month we will make the first PIECED border from Half Square Triangles. 

Let's quilt.

Barbara


Sunday, March 26, 2023

JOYFUL JOURNEY RETREAT #4 --The Wrap Up

 We had a wonderful Retreat at Red Rooster Retreat Center, in Crane Hill  AL. The weather was fine, until a storm took out the power for a day and a  half. But the whole house generator kept the sewing machines  humming, and the irons pressing, and all was well.

Just some photos to give you a taste of our 5 day sewing vacation:

We had 9 new people and 7 returning plus Kathy and me--a great group of women!

Major decluttering before I left--all of this went to good homes

My stuff to work on during retreat

Lots of good stuff to give away at Retreat--all of this is gone too


We assign table places and sleeping quarters so everyone has a good spot and makes new friends

Kathy is the Admin and takes care of all the details--she is also the queen of Retreat set up, her work space is awesome

Too cold to swim in March but a lovely view

Shelley was determined to get Homeward Bound farther along--116 circles

Victoria R brought her Two-For-One and I was so happy to see her working on it


Conna finished a project that took about 20 years to complete

Julie showed off her Western Sun--a great class I love to teach 

Pam made great progress on Cadence Court 

Cadence Court pattern

Amanda with her first finish of the week


Cyndi with her Garden Party Down Under just back from Patty Wilson the longarm quilter

Shelley with the Alabama quilt she made for her husband

Suzie with her perpetual Retreat project, 3 years and counting, no rush


The 365 blocks that will surround Suzie's compass middle--some of them have more than 50 pieces in 6" blocks--amazing!


Julie serenading us after dinner

Shelley and me and Garth--he gave me that T-shirt personally. "The Cat in the Hat"

As usual, the food was GREAT:


The only dessert I ate, Texas Sheet Cake, worth every calorie

I used this Retreat to "practice teach" an important class I will be teaching in California next March. I asked 6 students if they were willing to be my guinea pigs as I develop the class plan. They blew me away with what they accomplished and all the input and suggestions they made. I know they worked harder than they expected to. A huge THANK YOU to these women who stepped up to help me:

Design Boards all the Retreaters received as gifts came in handy

What they accomplished

Cyndi the rebel changed one round completely

Julie also designed a new round--making this in Pittsburgh Steeler colors


Two of my four Quadrants done, two more to go


Sue did great--she also changed one round

Kathy and I were determined to create a Retreat that is a safe atmosphere for learning and laughing. Where each woman feels accepted, cared for and welcomed into the group. This year was no exception. The loss of power was a mild inconvenience--no lights in the bedrooms or bathrooms for two nights. But there was laughing and singing, and a little crying as we told our life stories to each other. 

It is no wonder this group asked us to sign them up for next year already. Even though I won't be there--I will be teaching that week in California. They are just not allowed to give away my spot! Because I will be back with bells on in 2025. 

Please let me know if you want to be on the waiting list for 2024: March 6-10. Most will return but there are always a couple who cannot attend so we fill that spot from the waiting list. So far, I have two on the waitlist. Remember, this year we welcomed 9 new women.

One of the best things I have ever done was say to Kathy  5 years ago "I  have an idea..." The rest is history.

Let's quilt.

Barbara


Sunday, March 19, 2023

RED AND WHITE: THE WRAP UP REVISITED

 While I am traveling on a Cruise teaching job, I am sharing a couple of my favorite and most meaningful posts from the past.

This one was written more than 8 years ago. I wrote it mainly for myself, as a way to save and remember all the "feels" and memories of the Ruby Jubilee Celebration at International Quilt Festival in Houston, October 2014.

It occurs to me that many of those new to this blog don't know about this quilt and what it means to me and my "career" as a traveling quilt teacher. I often tell people, "If you want to know who I am, read just this one blog post and you'll know".

READ IT HERE

Having just read it again, it brings me to tears. My beloved friend, Judy Murrah, died in 2017, but not before she saw her prediction come true. 

I hope you will take the time to read this for the first time or to revisit it. It is probably my most "important" post. 

Let's quilt.

Barbara

Sunday, March 12, 2023

LESSONS WE CAN LEARN REVISITED

 While I am traveling on a Cruise teaching job, I am going to share a couple of my previous posts. They are some of my favorites, most meaningful, and posts I want more people to see.

The first was written 4 years ago and features a humble quilt with a HUGE lesson to teach:

Check out the story of this quilt and it's lessons here, I hope you will be moved as I was:

LESSSONS WE CAN LEARN

Let's quilt.

Barbara

Sunday, March 5, 2023

QUILTERS SELECT 60 DEGREE TRIANGLE RULER

Recently I was asked to make two videos for Quilters Select rulers: the 3n1 Half Square Combo Ruler and the 60 Degree Triangle ruler. They sent me the rulers and I got to work. I wrote about the very useful 3N1 Half Square Triangle Ruler     HERE

The QR code on the package makes it easy to find the instructions and projects on the Quilters Select website. Using a fun knob handle on these rulers helps preserve the original non-slip coating. Our hands naturally have oils, maybe hand cream, maybe sanitizer. It really helps to preserve the coating by using a handle.

Let's take a look at the 60 Degree Triangle Ruler:

Most quilters are very familiar with squares, 90 degree and 45 degree angles. 60 degree shapes seem to have a reputation for being "difficult".  With quality tools, they don't have to be. Here is just one possible layout/design, using 60 degree triangles:

The math to use this ruler for quick and accurate cutting of 60 degree triangles is simple: What is the finished height of the triangle you want, from center point to the base? Finished means when the shape is sewn into the block. Add 1/2" to that measurement and that is the size strip to cut.

I started with leftover jelly roll strips, those are 2 1/2" wide. I joined two on the long seam and pressed it open. I could have trimmed it to exactly 4 1/2" but decided to cut first, trim second. Next time I will trim the strip to exactly 4 1/2" FIRST:


Because of the pinked edges, I made sure each triangle was exactly 4 1/2" high by using the line on the ruler that allowed me to cut the bottom edge, now the triangle is 4 1/2":


If you like, you can use the blunted corners of the ruler to eliminate the point. This does make it a bit easier to align the triangles EXACTLY where they go. If you are new to 60 degree shapes, I recommend this:

But because the top point is automatically eliminated during the cutting, placement for sewing is very easy. I found I didn't need to take the time to clip off the other two points. Here the underneath point on the left is still there:


Now let's look at a 60 degree diamond. Again, the math is easy. What size diamond do you want, from top to bottom point? With these big Kaffe Fassett pritnts, I chose 8" finished. Add 1/2" to that--start with an 8 1/2" strip of fabric. 

Fold it in half, place the fold closest to you. Put the 4 1/4" line (half of 8 1/2")  on the fold of the fabric. Cut both sides, and like magic, you have an 8" finished 60 degree diamond:


Quilters Select website has instructions and diagrams and coloring pages, to help you in your design:

I cut a variety of diamonds from large prints, leftovers from an earlier project, AND white diamonds to use as "background". When I get a bit more time I will enjoy playing with all these on my design wall: 

Like any tool, it might take a few times using it to become fully comfortable with it. But this is a keeper in my studio. I encourage you to play with 60 degree shapes to see how easy they can be.

Find more information on the Quilters Select website: 60 Degree Triangle Ruler

Watch the videos HERE, they start at about 9 minutes in.

The Quilt Show Store has a special deal: buy both rulers and get a free Quilters Select Self-Erase Pen, another great tool. Watch for it here: The Quilt Show Store

Let's quilt.

Barbara


Wednesday, March 1, 2023

HOMEWARD BOUND -- MONTH 3

 This quilt is the 2023 Block of the Month quilt for The Quilt Show. It was designed by Sarah Fielke exclusively for The Quilt Show and is only available at The Quilt Show. The best news is it's FREE for Star Members of The Quilt Show. Each month in 2023 a new part of the quilt is released for download to Star Members. 

This month we continue with the 116 circles, in 5 different sizes, that make the Hollyhock blocks:


In Month 2 we got the circle sizes for all of them. The Fabric Requirements pages show all the fabrics used in each month. A lot of people making this quilt around the world have already added ALL the circles so all they have to do in Month 3 is add the small leaves in each of the four Hollyhock blocks.

BE SURE you watch the Month 3 Video before you begin. It is a great video on how to do beautiful needle turn hand applique. And several good tips for using pins and glue and thread.

A word of WARNING about those leaves! The pattern says to use photos of the quilt, like the one above, to see where to place the leaves. 

BEWARE: the Coneflower petals we will work on in Month 4 stick out farther into the Hollyhock blocks than you think. 

I thought I spaced the leaves out far enough but I didn't and had to remove and reposition 1 or 2 in each block when it was time to add the Coneflowers. 

To help you avoid the problem I will show you how far out those Coneflower petals go. This is my quilt, up through Month 5 with some of the stars from Month 6 in the corners.

From the top of the Coneflower to the outside petal edge at the Center, you need to allow at least 6"--that shouldn't be a problem because none of the small leaves go there

The petals on the left and right sides go out about 5 1/2" from the TOP of the Coneflower seed head. So don't put the small leaves anywhere near that area. Wait until the Coneflowers are in place to finish adding the few small leaves that go near the Coneflowers:


Sarah mentions waiting to place some of the small leaves until after the Coneflowers are added in the Block of the Month show: Homeward Bound Block of the Month  This show is FREE FOR ALL TO WATCH all this year so even if you aren't a Star Member, I encourage you to watch. There is a lot to learn in this one.

This is also a reminder to watch the show again if you are making this quilt. It is full of tips that you will use throughout the year and may have missed in January when you first watched.

Since there is not a lot of work to do this month, you could start making some of the 15 yards of 1/4 Bias for the stems used in Month 7. It will take about a half yard of fabric to make that much if you want it all the same. You DO NOT need to make 15 yards of continuous bias. Just cut the fabric as long as you can on the bias, and  make it. If you should need to join shorter pieces together, and you probably won't, you can do that as needed in Month 7. 

Detail of small stems: 


Detail of long stems:

Complete quilt:

It is not too late to start. Simply Join The Quilt Show and jump in. 

Let's quilt.

Barbara