Wednesday, October 28, 2020

How Many PINS?

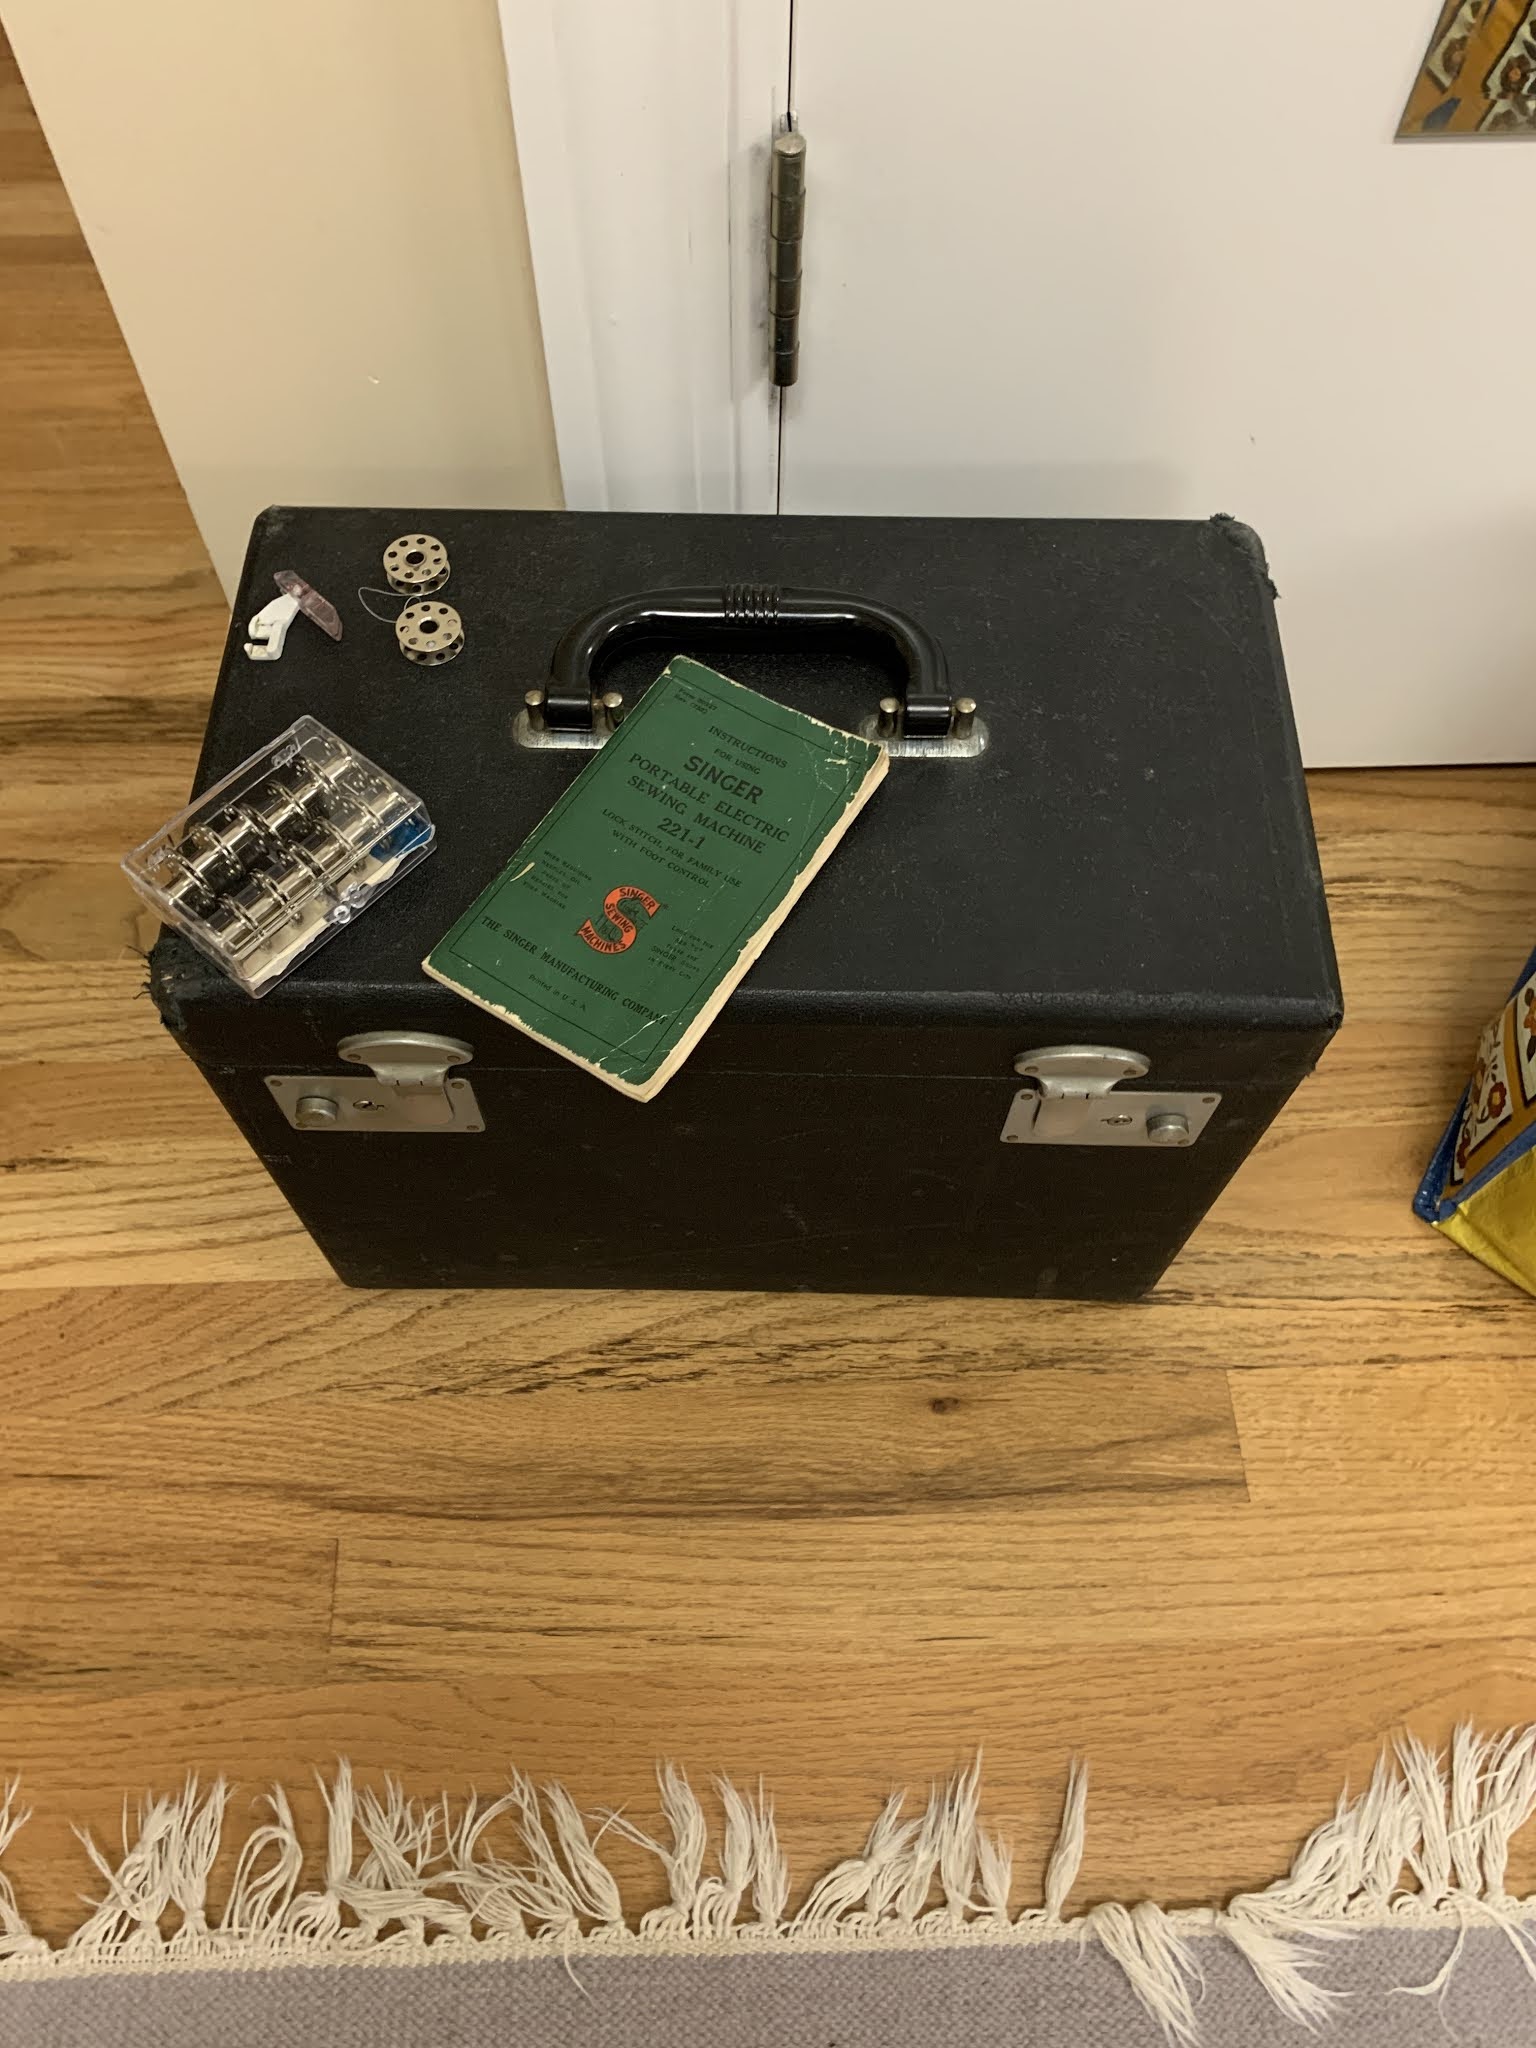
 How many PINS does one quilter need? Recently, I've been sorting through all the THINGS in my studio, the "out of sight, out of mind" stuff. And I found a LOT of pins. These are the ones I'm keeping. because, you know, I might NEED them someday:


And Pins need Pin  CUSHIONS. The terrific longarm quilter, Kelly Cline, makes these beautiful pin cushions and sells them. Usually, she would post a bunch of them on her Shopping Site, then tell everyone on Facebook about them and by the time I saw them, they were all gone. Last week I lucked out and saw her post that a few things had just been added to the Shop. I jumped on it immediately and got this beauty:


I love the heft of it--filled with crushed walnut shells. Beautifully  made, almost too pretty to use, but Kelly says they are meant to be used, so do! 

My husband was on a tear the other day to clean up the garage. While going through an old box of things I got from his mother's house, after she passed, I found these. The table scarf s folded so it would all fit in the photo--lots of fabric for making pin cushions myself. I have a book with instructions, so...:


I might already have a few pin cushions--most have been made for me as gifts. The purple chicken on the left is my primary one at my sewing machine---I bought a bunch of these years ago as gifts. The chicken on the right I made and had trouble with the directions. Poor chicken has her tail in the front, not the back:


All this led me to think about my favorite tools, those I use all the time and wouldn't want to be without. Like these. Heidi Profetty Tweezers, Appliquik Tweezers, Clover Stitch Ripper (I have several of these),  Fiskars Thread Snips, a Stiletto from By Annie. They sit at my machine and get lots of use, daily. 
The green thing came from the automotive section of a big box store--it's a telescoping magnet used for picking up screws that fall under the car while the car is being serviced. How often do you drop pins? I do it all the time. This tool is so great for finding them--it stretches out to at least 3 feet. I have found pins and needles in my comfy chair, where I do my hand sewing, and on the floor where I just couldn't see them. I love it! And it cost less than $5.00.

For hand sewing,  I am enjoying using Quilters Select 80 weight thread. It is great for applique, and sewing down bindings. It is fine and strong and just disappears for those applications:

There is a trick to using fine thread for hand sewing successfully. Tie a tiny knot that secures the thread to the eye of the needle. This works great for silk thread, and this 80 wt. and any other fine thread you may want to use for hand sewing. Hard to describe in words, maybe this video will help explain it:


In going through all the storage spaces in my studio I did find things to part with. A few folks have been over for small make-up classes and they have bought a few things or gotten goodies from the "Free to a good home" box: 

Books
  
Assorted Notions
Every few years I do a big sale here in my studio that is well attended and people look forward to it. This is not the time to invite 250 people into my house so the closet doors will remain closed for now. I expect the Sunday Sew and Sews will want some of this stuff at our next gathering. Then this stuff will go into a box in deep storage until a real sale can be held. 

I bet you have lots of stuff too. Many people are using this time at home to clear out excess stuff. Mostly, I am sewing. More of that to show next time.

Let's quilt.

Barbara


Sunday, October 25, 2020

Land Ahoy Nashville!

 So many plans were changed for 2020. This is the time I should be spending 13 days in Houston. We all are experiencing withdrawal symptoms as we miss the camaraderie of our friends and co-workers.

Let's look on the BRIGHT SIDE:  Stitchin Heaven has planned some great "Land Ahoy Cruises" for 2021 and I am teaching at the one in Nashville, TN, March 14-21, 2021. Take a Look, Land Ahoy Nashville!:


The theme for this week of fun, stitching, touring, eating, having a great time together is the History of the Civil War. Tours to historic places as well as great quilt shops will add to the two exciting quilt projects you will learn. And so much more.

It is not too early to make your plans now. For my local friends, it's only two hours drive up the road. For my farther afield friends, Nashville is a super town to visit and they have an excellent airport.

The class I am teaching is called Parlor Music, designed by Carol Hopkins of the Civil War Legacies books:


If you have followed my work, you know how I enjoy working with Civil War Reproduction fabrics. Western Sun is coming along beautifully. It is an homage to an old quilt I first saw online. It is half done at this point:


And it bears a bit of resemblance to two more of my favorite quilts, made to replicate a top I bought at a yard sale that has been dated to about 1875. Five Easy Pieces, the EASY version:

Pieces of the Past, Circa 1875, the NOT-so-easy version--but exactly like the original top. As a special treat, I will bring the very fragile top with me to share with the students--the fabrics in it are breathtaking:: 

Of course, I love Batiks and bright fabrics too, but some of my best quilts have come from Reproductions. How about Foothills:


I sure hope to see you in Nashville. Quilters are very eager to get back together and this might be just the perfect place for you!

Let's quilt.

Barbara

Wednesday, October 21, 2020

New Beginners

 Having taught beginners the basics of quiltmaking for more than 30 years. it is always fun when a class finishes and everyone is still in attendance. And they have quilts they like. And they say they learned a lot. My goal for EVERY student, in every class, is that they learn more than they expected to learn. Tips that will stay with them on their quilting journey.

Learn the Basics--Fast and Fun! I designed this class for the real beginner, but with interesting tips and tricks that the self-taught quilter would enjoy. This class had both of those kind of students. Ta-Da!:


Meet the class:

Diane, has been quilting for 3 years but wasn't satisfied with her results. She learned a lot of tricks and was thrilled with her piecing improvements. She made TWO Halloween quilts she will finish and donate to the NICU/Children's hospital:


Melissa has the outer border yet to add, life got in the way this week, and she has a beautiful quilt just right for a little girl:

Lou Ann is a friend of Melissa and she learned how to play with color, another great quilt for a young lady:

Marty is an enthusiastic new quilter and I see him really moving along in his quilting. He loved his fabrics and the process so much he is making 20 blocks, not 12, and found the grid fabric in the sashing to be a challenge to cut straight, one layer at a time, but well worth the effort. I look forward to seeing this quilt finished: 

I am always so happy to have a young student, we need to pass on our passion for quiltmaking to those coming up since none of us will live forever. Gina made this adorable quilt for her young daughter who told her when the blocks were made she didn't want it. Now that it is all together, young daughter has changed her tune and looks forward to Mom getting this finished for her:


Gina even "fussy cut" the cornerstones with motifs from the fabric--great job!:

Now, it is time for them to quilt, bind and LABEL these quilts. How about: "My First Quilt". Or  "In the time of COVID". Or "On My Way". Whatever they call their quilts, I just hope they keep going and make more. 

Let's quilt.

Barbara


Sunday, October 18, 2020

Class Finish!

 In early March 2020, I began a two-part class, Antique Rose Star By Machine, at a local quilt shop. The second session was scheduled for late March and that did not happen. It has taken until now to be able to offer that second session.

Three of the six students came and there was a lot to show and tell. One, Vicky, finished her queen-size top and is hand quilting it. She found a pattern called Interlocking Hexagons from Marti Michell that provided a good sashing option for these large Rose Star blocks:


Vicky's blocks show how fabric selection will effect the look of the blocks. Do you see Stars or Flowers?:


Donna is making this quilt as a graduation gift. She wanted to try several layouts to see the different looks and to see which will be the easiest. 

This option uses equilateral triangles between the blocks, which are still in half:


This option places the blocks edge to edge: 

With a Hexagon quilt, each layout will require either half-blocks or filler triangles or rectangles, or other odd shapes to fill out the outside edges--unless you want to have an outside edge that is all zig zags--none of us favored that option.

Ann was not able to make the first class but her friend did and gave her the handout. Ann cut her fabrics into the pieces required before this class. I walked her through the sewing process. In about two hours she was well on her way to her first block:


Every time I teach this very popular class, all I want to do is rush home and start making more of these blocks! I do have a very small one under construction, with blocks that will finish to 9.5" vs. the 18" blocks made with the 3" template. What a difference! I love the itty-bitty little blocks:


My class sample was made from a 2 3/8" template and it is still one of my favorite quilts. It features a sashing between all the blocks, half blocks on the two sides, and filler fabrics along the top and bottom. This one I hand quilted with Big Stitch:

I am glad these students were able to get back to their quilts and look forward to seeing their finished projects.  

I have a section of Antique Rose Star quilts on my Pinterest board, Designs for Quilts. Find it here: Antique Rose Star.  This old pattern has been around for many years but is seeing new life with today's fabrics and fast techniques. I look forward to teaching this class many more times. Guilds love it and a lot is accomplished in one all-day class.

Let's quilt.

Barbara

Wednesday, October 14, 2020

So Much Stuff

 The "abundance of riches" that is my quilt Studio has begun to overwhelm me, again, so I have begun to do a deep purge again. So far, all I've been able to do is sort through some of the furniture that is storage and I have found plenty of things I didn't know I had. And since I didn't miss it, it can go.

First, I started with a large container of Batik fabrics, mostly fat quarters and half yards. A friend who loves Batiks asked me to keep her in mind if I had any I was going to part with. 

A quick count showed it came to at least 40 yards, and it filled a large tote bag to the brim:


An email to her got a quick response: $200 SOLD!

I also knew it was time to sell one of the 3 Featherweights I  have. Not the one I had painted Ruby Red, to celebrate my Ruby Jubilee quilt, that one stays in the family and I hope Stella will want it some day. A 1951 in great condition was the choice. The Sunday Sew and Sews were offered it first by email, and in moments it had found a new home, $400 SOLD!


With those items taken care of, I just started going through every drawer, every shelf, every flat surface that accumulates STUFF and have filled a few boxes with discards that will go to students visiting this weekend and the Sunday Sew and Sews in November. 

The very best stuff will be available for my next "invitation only" sale, that will happen sometime before this year is over--if COVID permits.  First, I need time to sort the 20' x 9' x 3' deep closets. Having done that a few times before, I know how much time it will take. But I am always so glad when it's done. Stuff I don't need can go to others who will be happy to get it. 


Just seeing how much neater and cleaner this small table is, makes me happy. And every shelf on the bookcase has been cleaned up and sorted out:

I would much rather spend my time creating quilts and there are quite a few waiting to be quilted. But this task has to take priority now. 

Soon, there will be Facebook Live presentations to make, showing the 2021 Block of the Month quilt for The Quilt Show. That's what determined this space needs some "tidying up"--boy, is that putting it mildly. The closets can wait--no one can see into them at the moment.

So, while my design wall waits, I'll be cleaning up.

Let's quilt.

Barbara

Sunday, October 11, 2020

Decision Made

 Working on Western Sun, a pattern of an antique quilt that I have always loved, I was torn between staying true to the original design layout or using a cheddar cornerstone between the rows of Flying Geese sashing. I wrote about this recently here, and here.

A few people liked the cheddar cornerstone, and no one spoke in defense of the original so I went with the cheddar. Eager to get started sewing the top together, I first worked on a color layout design once all 25 of the full blocks were done.

To be able to see them all, I just put them on the design wall without space for the sashing. After snapping a photo to refer to, I was good to go. 


I made one corner block, a quarter block, for the upper left corner and made a few half blocks for the perimeter triangles so I could start. Let the assembly begin:


Scrap quilts are my favorite kind and I  have made many over the years. First, I pull fabrics for a "palette", then start cutting the required size pieces I need. As I worked on this, I knew I would need to cut more fabrics, but how much more?  Once I got this far, I could easily see and count blocks that were left to make and figure out how much to cut. 

Here is what is cut and on hand currently:

So, I "did the math" and about all I need to cut is the parts for the Flying Geese sashings. I need to cut 183 "geese", from 46 squares--they are Quarter Square Triangles. Then I need to cut 333 pairs of "wings" from squares--that's a lot of cutting. But I am happily using up some favorite fabrics that have lived here way too long. 

Using Electric Quilt 8 (EQ8) helps me so much when playing around with quilt design. The book this pattern is in, Butternut and Blue by Barbara Brackman and Karla Menaugh, has the quilt at 45" square, with only 5 full blocks. Mine is 110" square, if I add the border I think I will add, so it's a lot different.

Here is my sketch of the original design in EQ8--the sashing is ALL geese:


And the sketch with the cheddar cornerstones that I ultimately decided to use:


I don't try to match fabrics very carefully in EQ8 with my quilt designs because I use so many different fabrics and adding lots of them to the project file makes it really BIG. I just try to get the feel for what the quilt will look like overall. In this second one, I did work with color placement since all 25 of the full blocks were done and they all  had to go somewhere. 

Back to cutting out fabric and making the remaining 7 half blocks, 3 corner blocks and all those flying geese sashing units. I'll be in the Studio, if you need me...

Let's quilt,

Barbara


Wednesday, October 7, 2020

Teaching Beginning Quilters

 A brand new beginning quilting class started this week and I remember why I love teaching beginners so much. They want to learn. They are frustrated with parts of the process--the cutting, sewing and pressing. Each of those steps is important and each can be made easier to learn with the tips and tricks I have developed over the years.

This class is a simple 9 Patch quilt made in 3 sessions, 3 hours each. All 5 students successfully made 2 blocks in the first class--they said to tell you they are all smiling:

Each learned more than they thought they would--which is my primary goal for every class I teach. And each said they would be able to do a better job on the next 10 blocks they will make this week. I look forward to spending more time with these students in the next 2 sessions and hope to addict one of them, completely and totally, to quilting--another one of my teaching goals.

Let's take a tour of the new shop in my county: Sweet Home Quilting and Supplies.


Owner Robin Price is an amazing longarm quilter and was not content to just quilt for the public when she had a vision to offer INNOVA machines for sale and teach longarm skills to those who want to do their own quilting. It took a tremendous effort over the last year for her to make this dream a reality and the shop is now up and running. 

I liked Robin from the first day I met her as a student in my class Long Time Gone. Little did I know then that she would become a good friend and a member of the Sunday Sew and Sews, a group of 15 of us who meet monthly at my home for discussion on quilts and life. In that class Robin met Linda, who has become her first employee. Robin's husband, Chris, is a huge supporter of her dream, Robin in the middle, Linda on the right:


Robin wants to offer patterns and fabrics not readily available at the 3 other local shops. She also offers longarm services from simple edge to edge to incredible custom work. And longarm classes if you want to quilt your own quilts in her shop.

 Here are a few photos of this bright and welcoming shop:

The checkout desk, featuring an award-winning quilt made by Linda and quilted by Robin:

Class samples for the 3 classes I am teaching there this fall:
 
Blue Ribbon wining quilt made by another Sunday Sew and Sew, Brenda, also an employee now, and quilted by Robin:

Allison Glass patterns:

A large selection of wide backs in great colors and Laura Heine Collage patterns: 

Wendy Williams patterns, Flying Fish Kits:


Luscious wool fabrics and threads for those who love that and Cherrywood Fabrics: 

A prize winning Modern Quilt Robin quilted that was featured at QuiltCon 2019 and won First Place in Modern Quilts, at Heritage Quilters of Huntsville's Fanfare 2019:


Every quilt shop needs a notions wall:


New inventory is added every week. If you are anywhere in the neighborhood, I encourage you to stop in. This is the kind of shop where they want to know your name and will greet you with a friendly face, covered in a mask currently. And they ship if you see something you just have to have so Shop Online. Support local shops, if you expect them to survive!

Let's quilt.

Barbara