The Sunday Sew & Sews are working on Feathered Star quilts in 2024. We met recently so I could give them basic instructions on the process of making a Feathered Star block with paper foundations.
My blocks in progress, started 12 years ago as my Diamond Jubilee quilt for my 60th birthday, I'm late...
The beauty of Sue's patterns is she eliminated the need for Y-seams--the star is made in three sections which are joined with straight lines:
While making my own Feathered Stars, I kept thinking "I need to tell them that" or "They should know this" so I decided to use one blog post a month for a while to supplement the instructions.
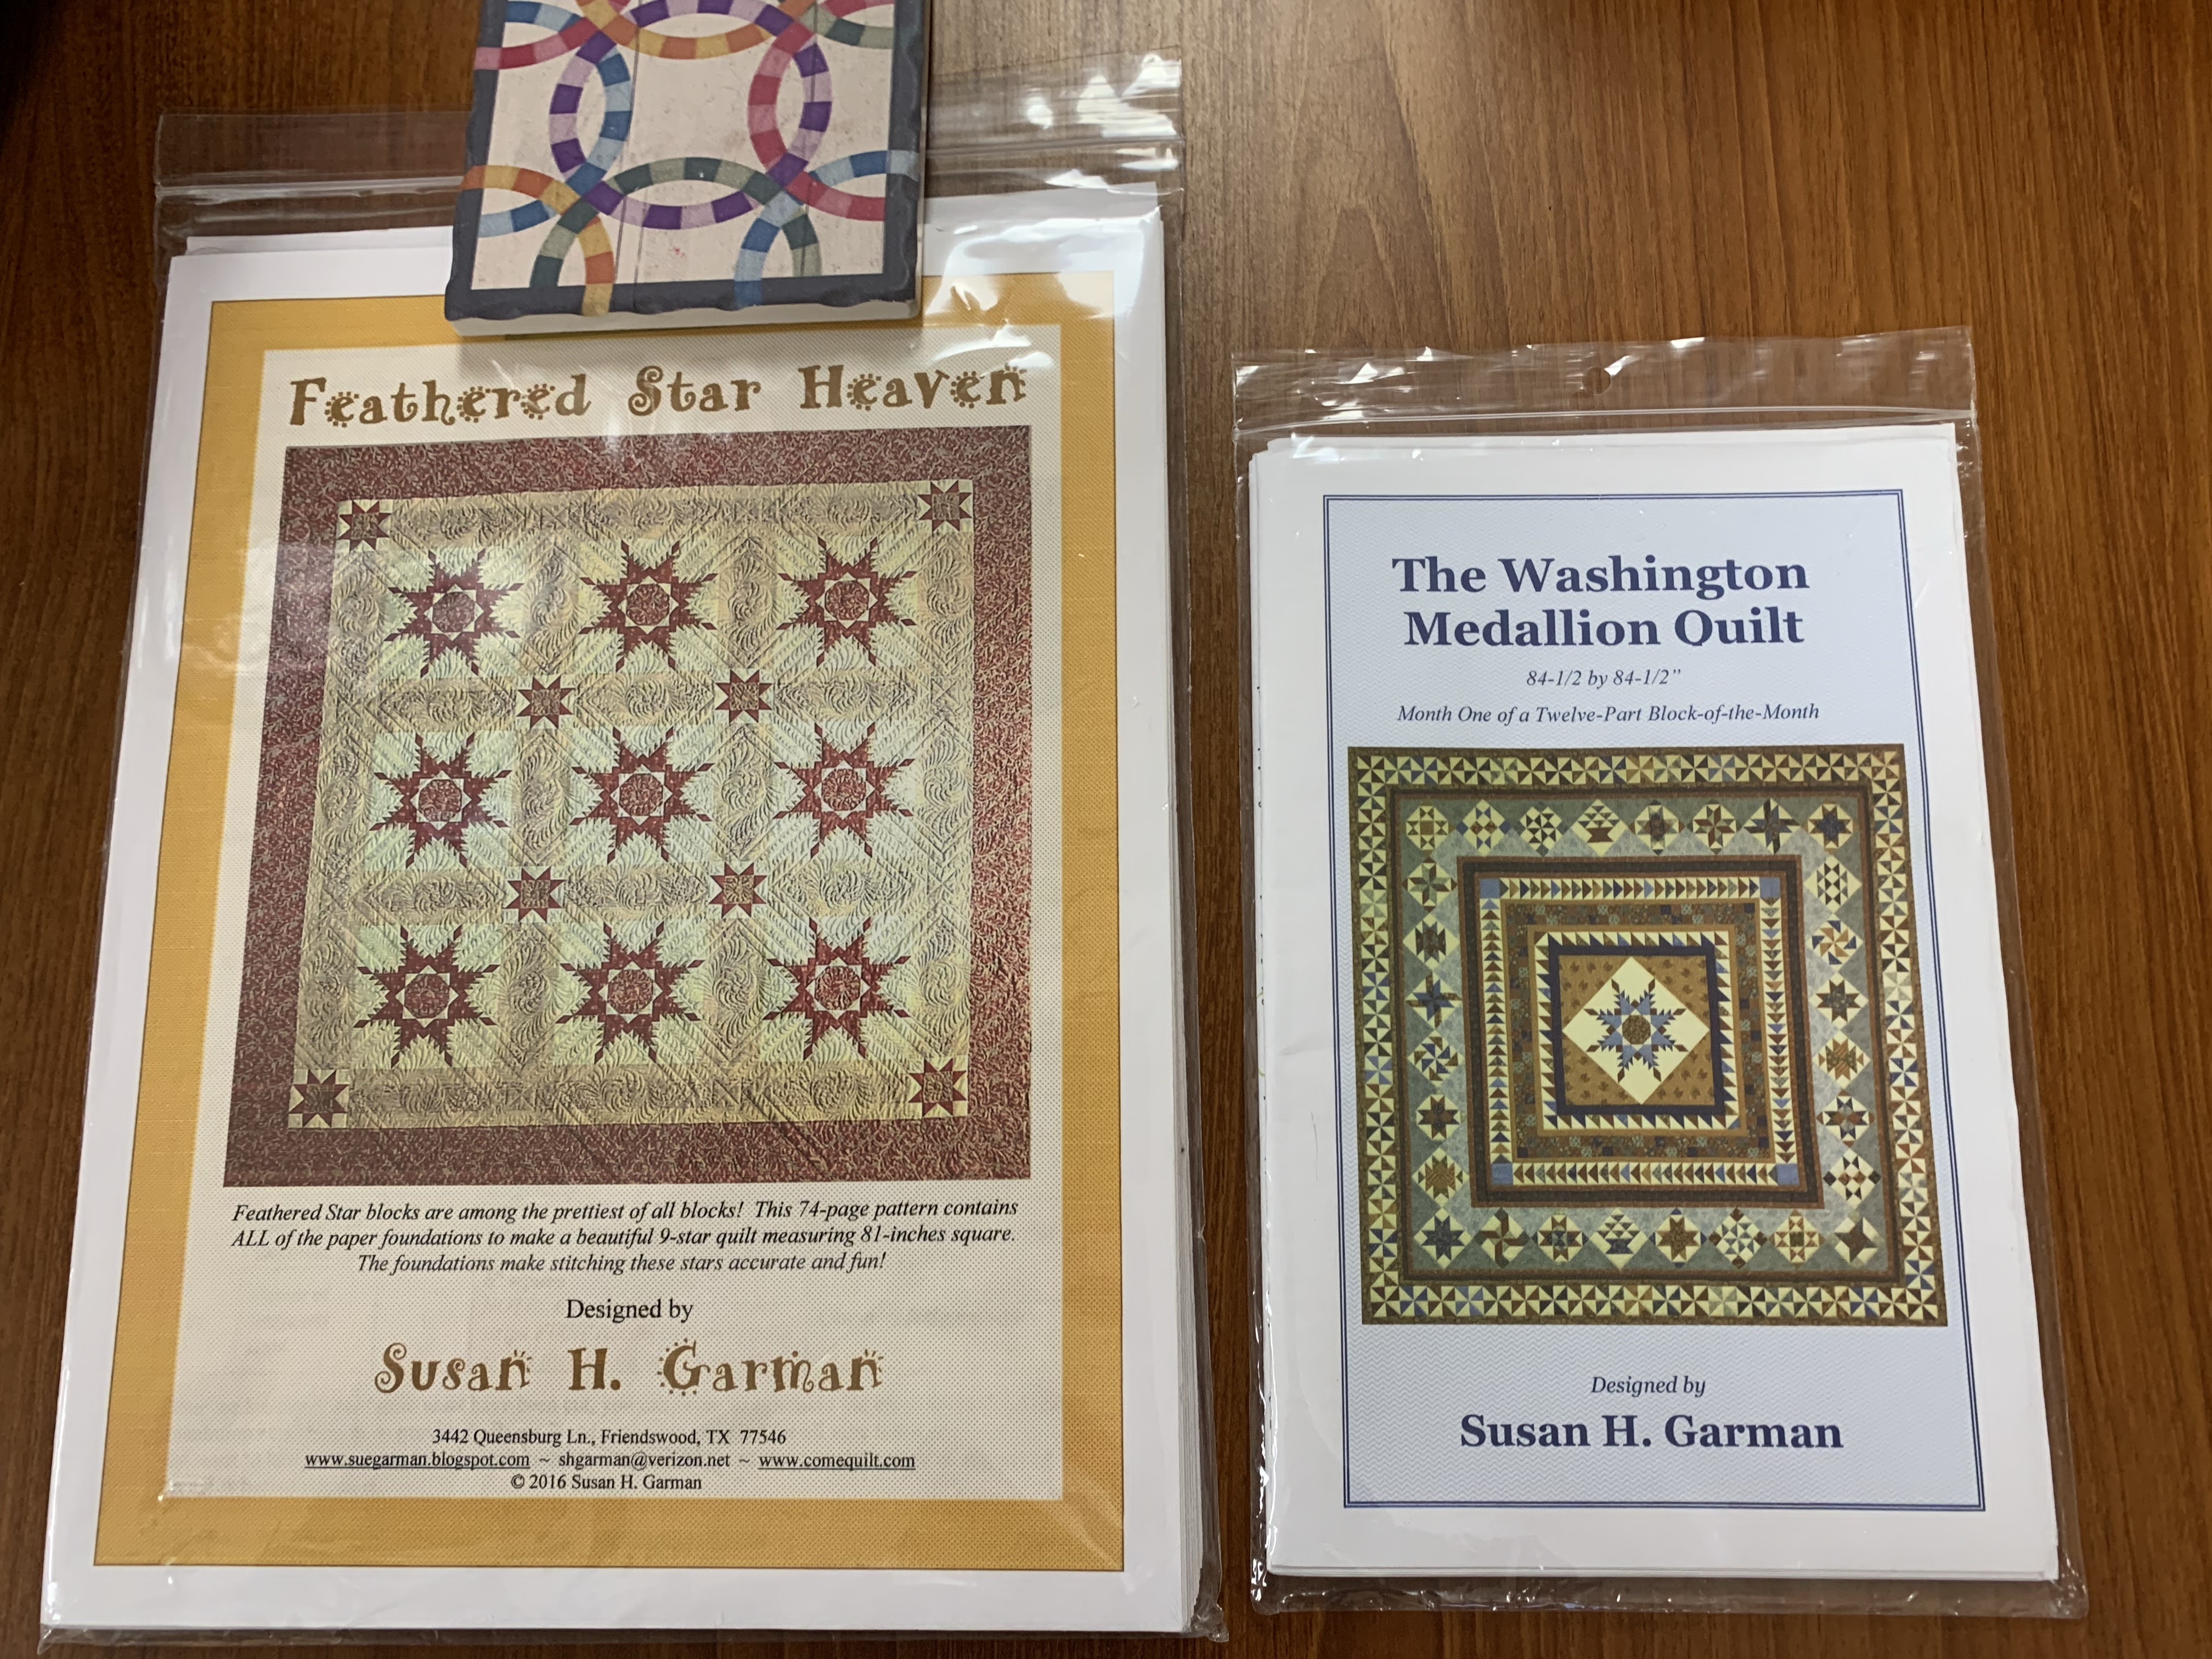
If you want to play along, we are using one of two Sue Garman patterns. Each makes a 15" FS, one with two Feathers on each arm and one with 3 Feathers. Find the patterns here: Washington Medallion two feathers so larger pieces OR Feathered Star Heaven three feathers so pieces are smaller. Sue has excellent instructions, I have learned tips/tricks since I have made a LOT of Feathered Stars.
Before you begin, l recommend you read my TUTORIAL on foundation paper piecing. It uses another Star block design from Sue Garman but the information is the same. Thread, stitch length, pattern printing, all are very important for paper piecing. Pieces are cut oversized to make it easier to cover the shape. Do not use steam in the iron when working with paper--we don't want to make pulp. Read that TUTORIAL for all that information.
The great thing about paper piecing is the accuracy you can get. I have made Feathered Stars with regular machine piecing, using Marsha McCloskey's wonderful book, but find I am more accurate and prefer to paper piece this block. And with paper you can write the fabric colors on the pattern so you don't get confused:
The pattern has numbers that is the order in which each piece is sewn, starting with 1. Placement of the first piece gets you started correctly. Remember to put the "butt" side of the fabric to the "butt" side of the paper.
Placement of the colored feather is tricky, it goes as shown here on the upper left. The white feather goes like a Half Square Triangle, as shown here on the lower right. Once you get the hang of it, it makes sense:
If you are new to paper piecing, I recommend you start with a PIN before you sew to be sure you have placed the fabric correctly on the paper, much easier to re-pin and try again than to pick out tiny stitches. The angles can throw you off--I made two of these correctly and two wrong:
The process is SEW, FLIP, PRESS, TRIM, SEW:
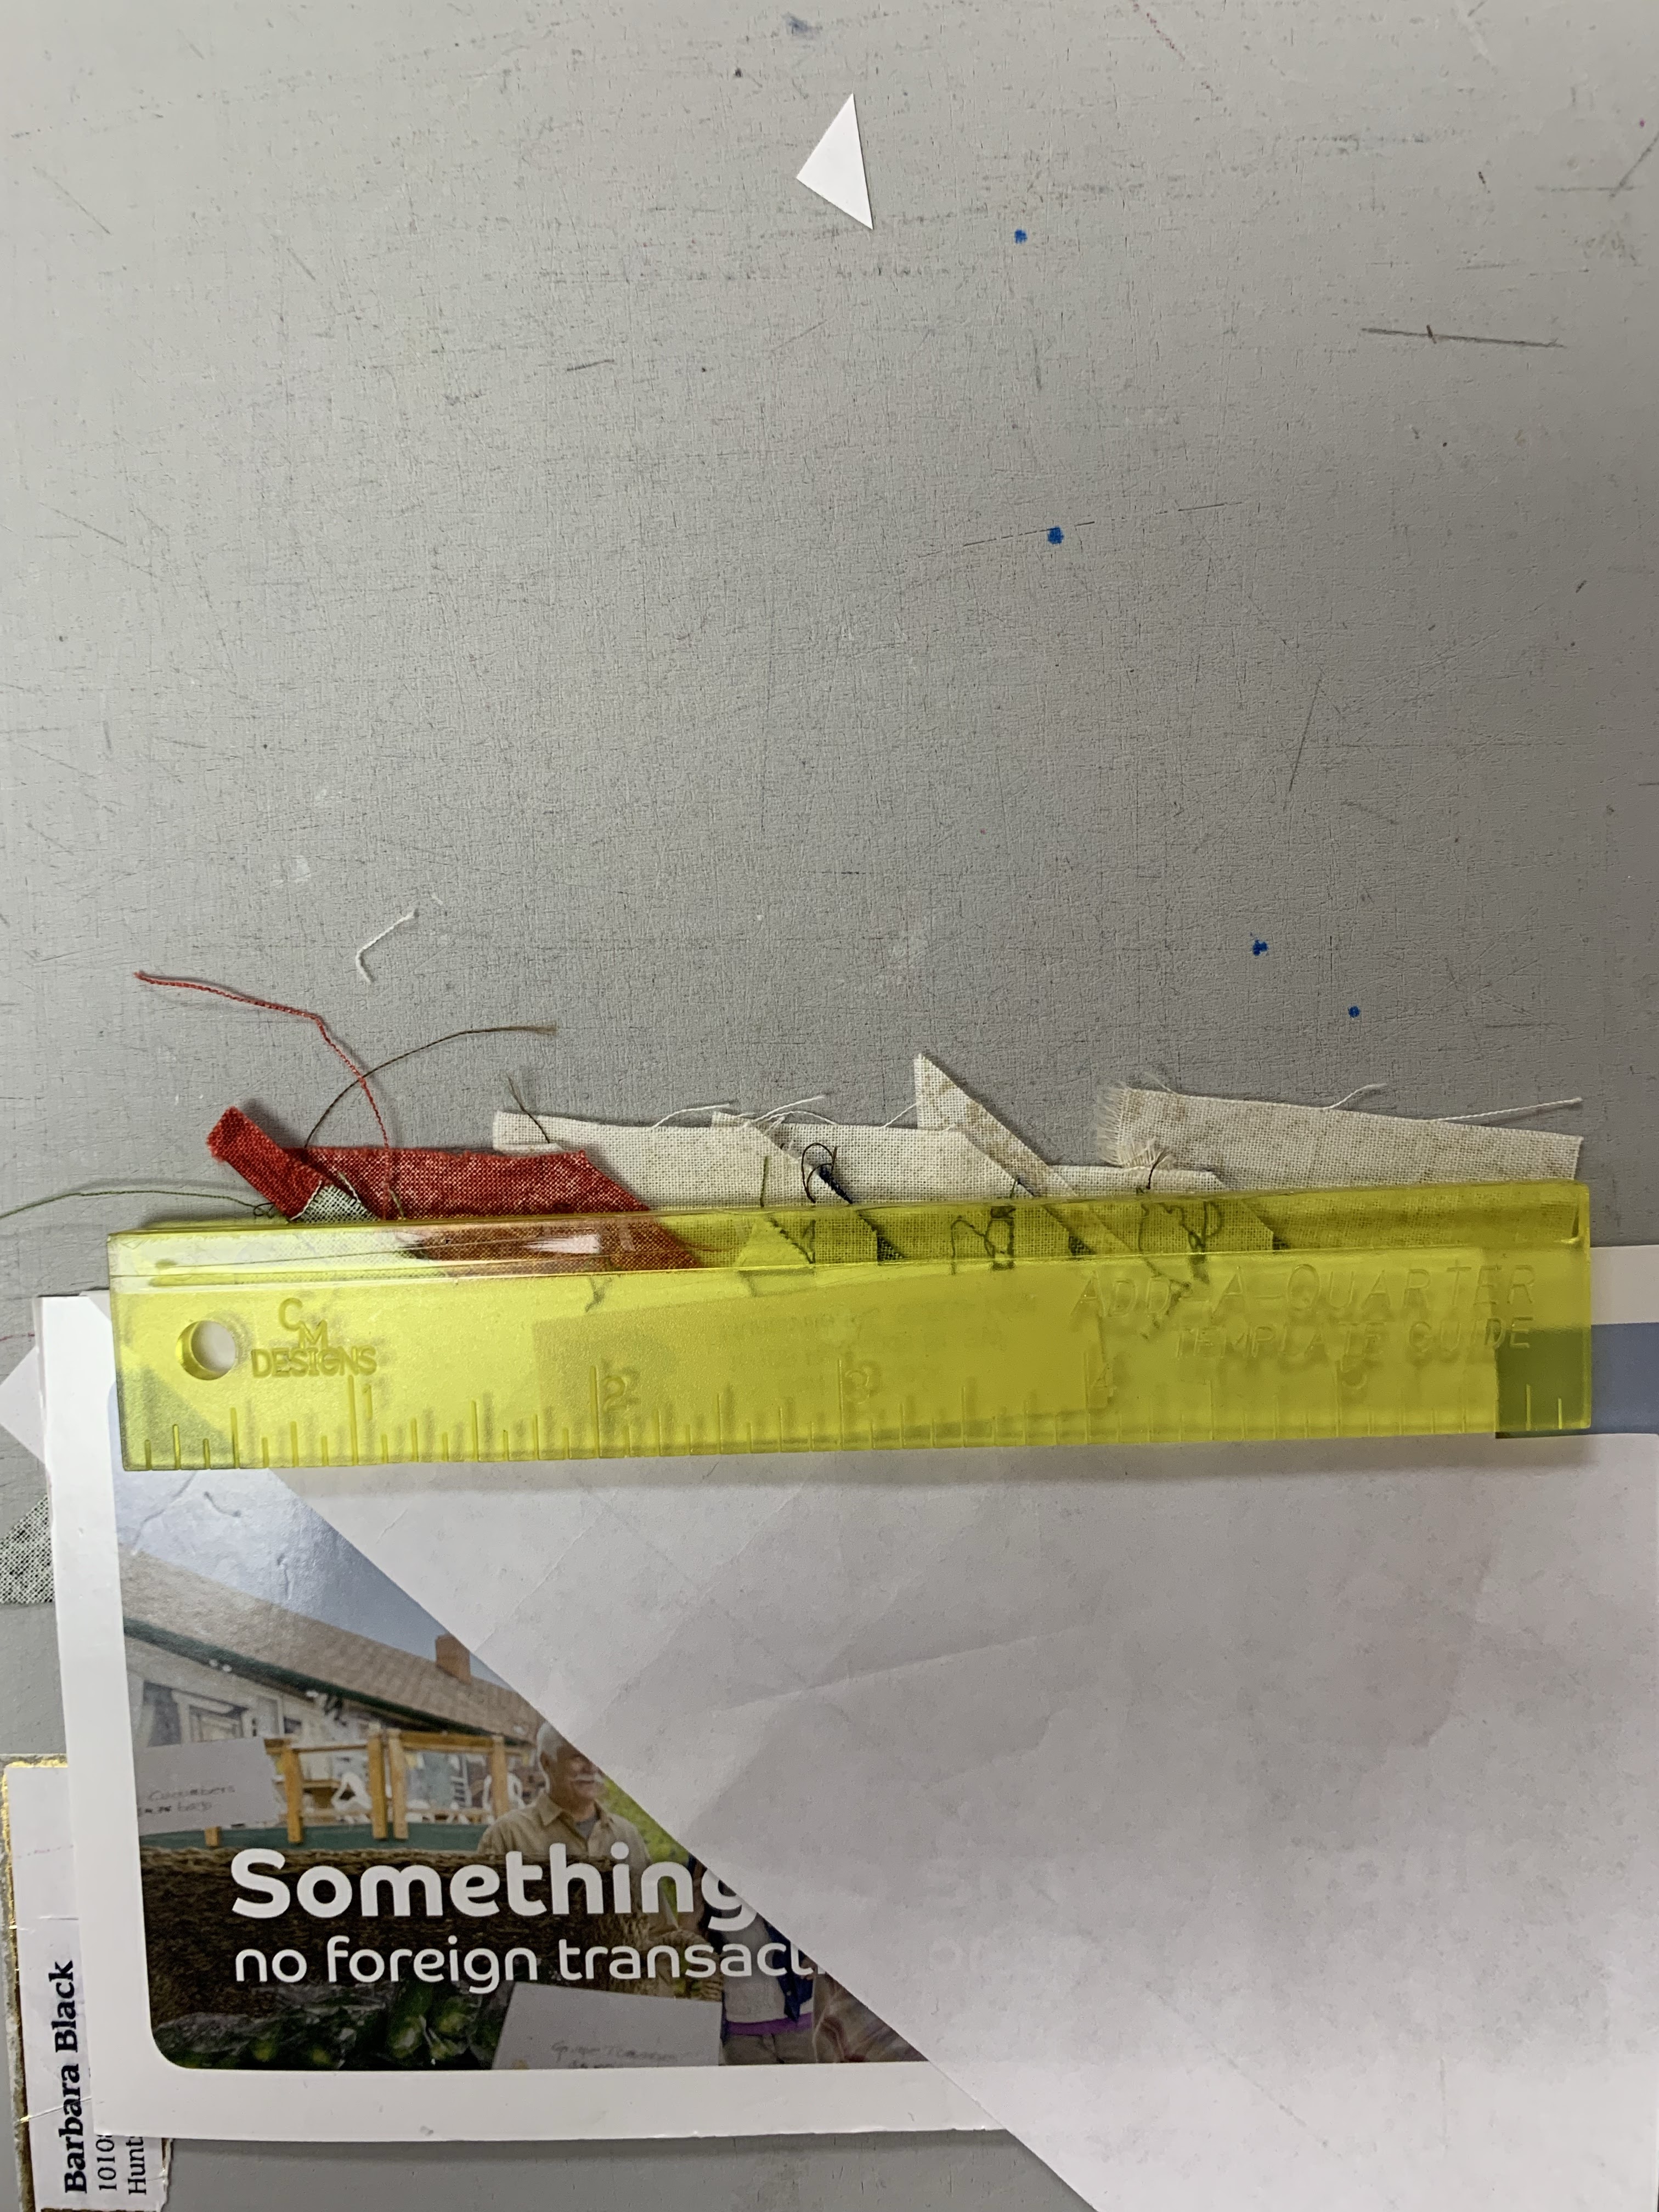
After sewing on a piece, FLIP it over the sewn line, PRESS with a dry iron, TRIM with an Add-A-Quarter Ruler, then SEW the next piece on. Ask yourself "What did I just add and what comes next?" Follow the numbers on the pattern:
 |
| Postcard is placed on the next line to be SEWN, adding fabric 3 |
 |
| Fold back the paper over the postcard, put the Add-A-Quarter ruler over the paper and postcard and TRIM exactly 1/4" beyond the sewing line |
 |
| Because I sew at least 1/4 beyond the finished line I may have to separate the stitches from the paper |
This shows the different placement of the navy blue feather--again, using a PIN to check yourself is smart before sewing:

What could possibly GO WRONG? Because we are sewing on the paper line, the fabric is UNDER the paper. Occasionally, the fabric moves once it is on the sewing machine and you get a tuck or the fabric isn't correctly in place. Use your trusty stitch ripper to carefully remove those stitches and re-sew. I try to remember to look under the paper BEFORE sewing to be sure all is flat but sometimes things happen:
And the process is a little MESSY:
Once each section is done, I trim it exactly 1/4" away from the Finished line. I don't worry about the seam allowance line, it is more important to have the outside edge exactly 1/4" larger than the finished size:
 |
| Before and after trimming |
 |
| 1/4" line on ruler is placed exactly on the Finished line, trim 1/4" away from the sewing line |
 |
Both units trimmed
|
A few of the sections are a little tricky. After adding the diamond tips and feathers, we have to add the large green triangle to that row of feathers:
Fold the finished line, the SEWING line, over onto the cardboard:
TRIM with the Add-A-Quarter ruler to get the perfect 1/4" seam allowance to add the Green triangle:
Before sewing the Green Triangle be sure it is placed correctly, pin to check if necessary:
Green triangle ready to be sewn:
Two units done, one not yet trimmed and one trimmed:
I leave all the paper on each unit UNTIL I am ready to complete the block. At that point the paper has done it's job, given you perfectly accurate units. I find it much too difficult to join the units with the paper still on AND then you have to dig out all the seam allowance pieces of paper too.
Here is how the block is starting to come together, remember the paper is still in place on the back of each of these units:
That's plenty of information for this month. If you are joining us, work on the sections/units and next month I will show you how to sew the block together--I have TIPS!
The Sunday Sew & Sews, with one who joined us on Facetime from Florida. This is going to be a fun year:
Let's quilt,
Barbara


.JPG)


I had no clue you could paper piece this pattern! It’s now on my shortlist. You just changed my life! (Miss Sue Garman’s quilts and patterns so much!)
ReplyDeleteGlad to be of service!
DeleteThank you so much for this, the block has been on my list forever and I just might try it now. In the photo of the three sections ready to sew, is the paper off or still in place?
ReplyDeleteI keep the paper on to lay out the block then remove the paper before sewing the various units together.
Delete