Showing posts with label Laurel Ridge. Show all posts

Sunday, November 2, 2025

LAUREL RIDGE -- MONTH 12

Laurel Ridge is the 2025 Block of the Month quilt designed by Lynn Wilder exclusively for The Quilt Show.  Star Members have FREE access to the patterns starting January 1, 2025. Made in two colorways, the complete patterns are excellent. You will love making this quilt. Lynn supports the pattern instructions with Videos too.  

We made it! It's time to ASSEMBLE your quilt top! 

Grandmother's Autumn colorway

Granddaughter's Spring colorway


VERY IMPORTANT CUTTING UPDATE: SPACER STRIPS  (A)  ARE CUT 3” x 10.5” 


The quilt is put together in a variety of sections. The directions are thorough and easy to follow. What could possibly go wrong??!!

It is very EASY to get something turned around, between the design wall/area and your sewing machine. Just ask me how I know. 

Here is what happened to me as I rushed to get my top assembled months ago:

What NOT TO DO!

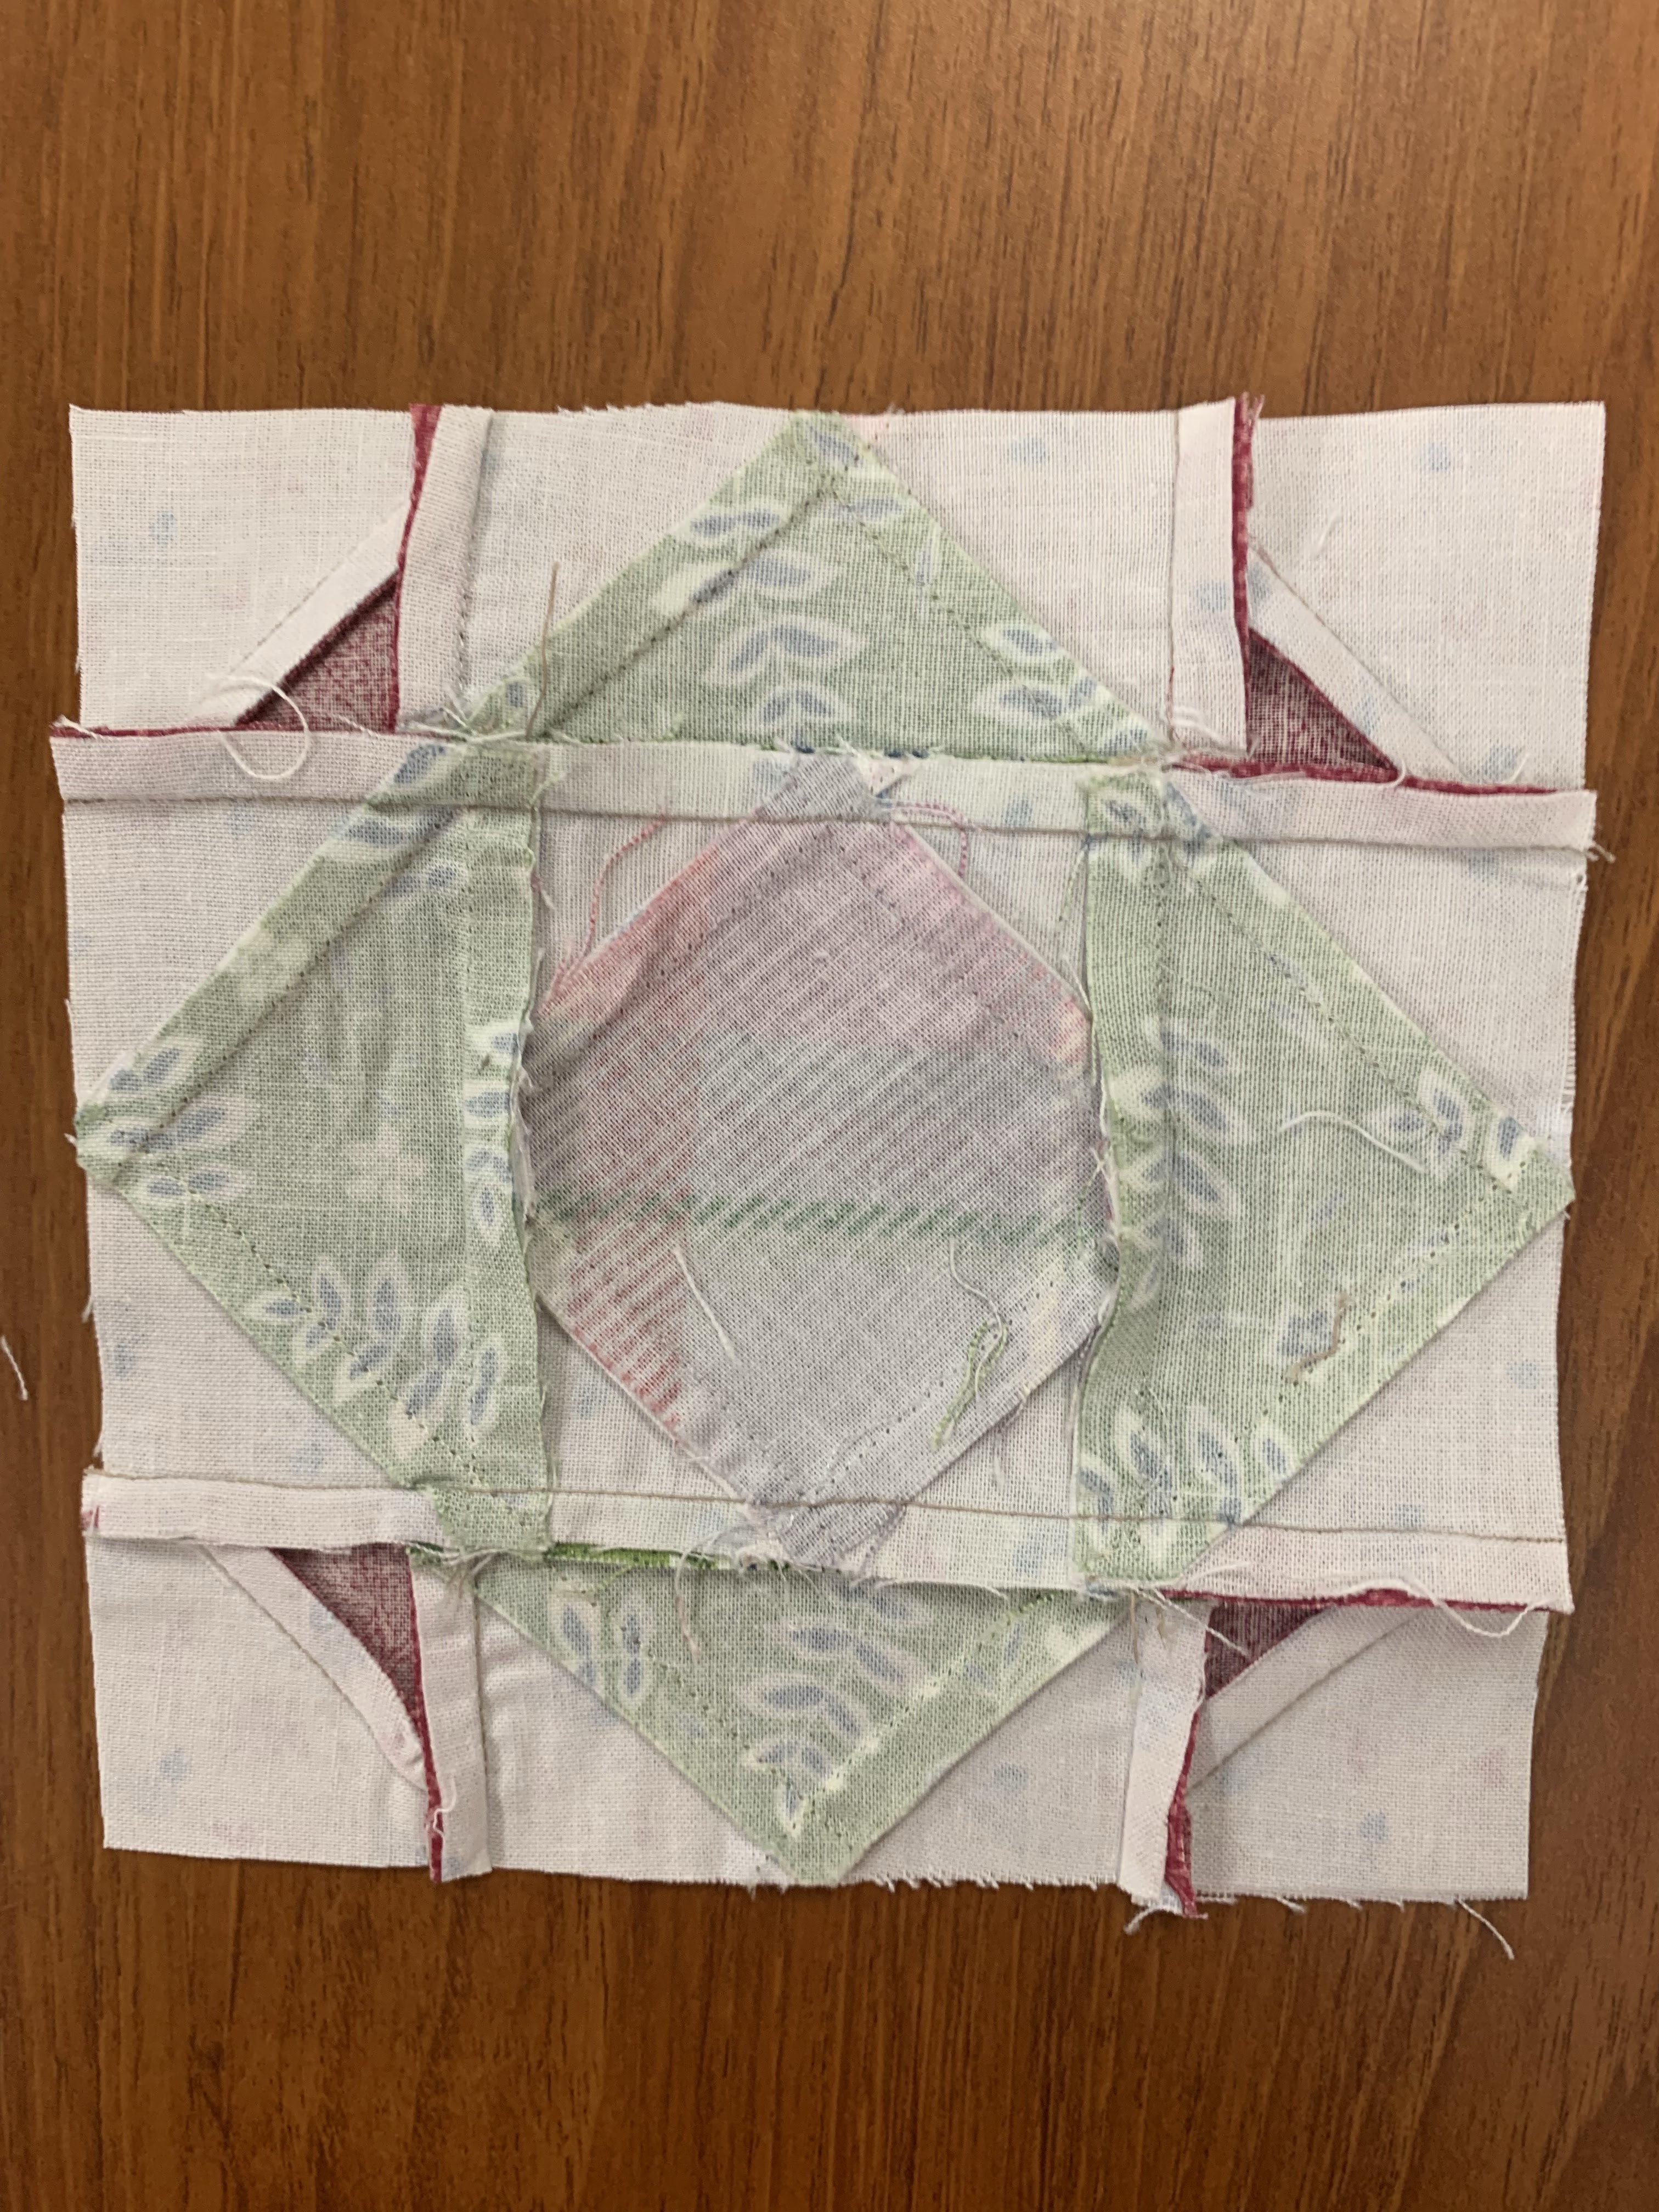
A friend pointed out I had turned the middle row section completely around, 180 degrees WRONG. She wasn't familiar with Laurel Ridge so she was trying to see the overall LAYOUT of the pattern. She spotted quickly what I couldn't see. Thanks, Nina!

I was willing to confess this to you on a LIVE broadcast, so that hopefully, you won't do what I did. Later that day Pat H. reached out to me with the sad news I had messed up 3 more blocks--those easy half square triangle blocks in the upper left section! Oh, no!! How did I DO THAT?!  Thanks, Pat!

It was EASY. There is a LOT of sewing here, lots of sections, taken off the wall, sewn together, put back on the wall. One simple misplaced block will require hours of work to fix. The big section took 2.5 hours to fix, the 3 small blocks took more than 3 hours to fix because they were in 3 different rows.

It is EASIER TO DO IT RIGHT, than to have to FIX IT. My TIPS:

1. Take it slow. 
2. If you're tired, stop.
3. Use photos to "see" what your eye can miss. 
4. Get another set of eyes to check you out BEFORE you assemble the various Sections.

In my own defense, I did not have the MONTH 12 ASSEMBLY INSTRUCTIONS until recently and my quilt was assembled in June. All I had to follow was the photo of the completed quilt, enlarged on my computer and IPad. 

Fortunately, my mistakes were brought to my attention while it was still a top. If they had been found after the quilting I would have had to say "It was a DESIGN DECISION". But I would have been very disappointed in myself.  

I added the borders with MITERED SEAMS, rather than straight seams. It allows me to make "border fabric" by sewing the inner border to the outer border BEFORE SEWING THE BORDERS to the quilt:

I tried to keep the floral fabric in the same orientation so I labeled them as I sewed

Once sewn  I carefully drew a 45 degree sewing line


I  had to piece the floral for needed length, it is not visible on the quilt

Mitered seam sewn and pressed open


I love the look of a mitered seam


You might not be surprised by now: I HAVE A TUTORIAL on mitered seam borders:

MITERED BORDERS  Lots of photos and detailed explanations


My remaining TIP is that you make a LABEL for this, and ALL YOUR QUILTS. It tells the who, what, why, when and where of this quilt. The designer and quilter, if not you, needs to be  recognized. See my Label Tutorial for more information:


It's time for my annual REMINDER: all the patterns for LAUREL RIDGE, both colorways, are ONLY AVAILABLE FREE TO STAR MEMBERS until December 31, 2025. After that date, all rights to the patterns return to the designer. No one on The Quilt Show, including Star Members, can give any of these patterns to anyone after the end of this year. That is copyright violation. We respect and protect our designers so we can continue to provide these valuable quilt projects FREE TO OUR MEMBERS. Any patterns you are missing you will have to buy from the designer.

If you haven't saved all the patterns, do it now. If you haven't started, but think you might "someday", save them now. There is an easy link available to save all of the patterns at once. The GOOD NEWS is my blogs remain available free as always, with no ads, pop-ups or anything for sale. Just me sharing what I know.

If you are not currently a STAR MEMBER, JOIN any time before December 31, 2025  and you will have full access to ALL the LAUREL RIDGE patterns as well as the INTRODUCTION to the 2026 BOM--it's so good!  

I hope you have enjoyed making LAUREL RIDGE. It may have taught you a lot, more than you know right now. 

See you in 2026 with the new BLOCK OF THE MONTH--it's another great one!

Let's quilt.

Barbara

Wednesday, October 29, 2025

LAUREL RIDGE -- MONTH 11

Laurel Ridge is the 2025 Block of the Month quilt designed by Lynn Wilder exclusively for The Quilt Show.  Star Members have FREE access to the patterns starting January 1, 2025. Made in two colorways, the complete patterns are excellent. You will love making this quilt. Lynn supports the pattern instructions with Videos too. 

Month 11 brings us to the rest of the block piecing. There are two parts to this month's pattern: the CENTER BLOCK  and the remaining 20 FOUR PATCH IN A STAR BLOCKS.  The pattens have now moved to PAGE 2 in the LAUREL RIDGE 2025 BOM Patterns listing, find them there.

The pattern instructions for the CENTER BLOCK are easy to follow. They are pages 1-9 in Month 11.  There are a few new techniques and some old favorites. Here are the centers, each is 20" finished, 20.5" with seam allowance:

Granddaughter's SPRING

Grandmother's AUTUMN

My center is completely different so I did not make it according to the pattern. I also added some additional fabrics to my quilt. As long as the fabrics look like they "belong" in the quilt, they are fine:


In addition to the CENTER BLOCK, there are 20 more FOUR PATCH IN A STAR Blocks to make. We have done these twice before this year. They are the last 4 pages in the pattern. 

Find my previous posts about them here:

MONTH 1

MONTH 7  I discuss my cutting changes for the Star Points that allow me to quickly and accurately draw the lines on the back of the small squares. 

You will find these easy to do at this point. Here is the Autumn version:


The two gold blocks in the lower right 


Once you have the CENTER BLOCK and FOUR PATCH IN A STAR blocks done, you are ready to assemble the quilt. That is MONTH 12, also released now. 

It's time for my annual REMINDER: all the patterns for LAUREL RIDGE, both colorways, are ONLY AVAILABLE FREE TO STAR MEMBERS until December 31, 2025. After that date, all rights to the patterns return to the designer. No one on The Quilt Show, including Star Members, can give any of these patterns to anyone after the end of this year. That is copyright violation. We respect and protect our designers so we can continue to provide these valuable quilt projects FREE TO OUR MEMBERS. Any patterns you are missing you will have to buy from the designer.

If you haven't saved all the patterns, do it now. If you haven't started, but think you might "someday", save them now. There will be an easy link available soon to save all of the patterns at once. The GOOD NEWS is my blogs remain available free as always, with no ads, pop-ups or anything for sale. Just me sharing what I know.

If you are not currently a STAR MEMBER, JOIN any time before December 31, 2025  and you will have full access to ALL the LAUREL RIDGE patterns as well as the INTRODUCTION to the 2026 BOM--it's so good!  

There are so many good lessons in this quilt, you may find yourself returning to them over time as you work on other projects. Each new skill you learn adds to your "toolbox" of magic tricks as a quiltmaker.

Let's quilt,

Barbara


Sunday, September 28, 2025

LAUREL RIDGE -- MONTH 10

Laurel Ridge is the 2025 Block of the Month quilt designed by Lynn Wilder exclusively for The Quilt Show.  Star Members have FREE access to the patterns starting January 1, 2025. Made in two colorways, the complete patterns are excellent. You will love making this quilt. Lynn supports the pattern instructions with Videos too. 

Moving right along to Month 10. Now we make the Plaid Star blocks. There are only 8 of those and they are easy.  By now, you have made this star many times. Having only one square of fabric for the center makes this the fastest star yet:                                                                                     


The only change I make to patterns that make "Four Flying Geese at Once" is to cut bigger squares, the equivalent of 4 smaller squares, to speed up the process of drawing the lines on the back of each square.

The Star Points are part of the Flying Geese units. Each block requires four Flying Geese units so making four at once is smart and efficient.

The pattern calls for 32 squares, each 2.25". Instead I cut 8 squares, 4.5". On the back of each of the 8 squares I draw diagonal lines in both directions. Now it is a simple matter to cut the 4.5" square in half, in both directions, think North/South and East/West. In less time than it takes me to describe this, you have the needed pencil lines drawn. I sew with a 1/4" presser foot so I only have to draw one line, sewing 1/4" away from the line.

(If you prefer to draw the sewing lines, it is still fast and easy to draw two lines on the larger square, 1/4" away from the center--that makes the lines 1/2" apart.)  

Then cut it into 4 smaller squares:

I used a Pigma pen so you can see it. My go-to is a mechanical pencil for fine lines

Cut apart from the center in both directions--now you have 4 squares, each 2.25" with the line drawn on each

See my post for making Flying Geese from way back in MONTH 1.  You will find my detailed instructions there. While I said back then I planned to enlarge the square to 4.75",  I found that was not necessary and stuck with 4.5" squares.

I also have a TUTORIAL on making Four Flying Geese at Once that has a chart for a variety of sizes. Find it HERE.

As always, I strongly recommend you watch Lynn's Video for Month 10. It is 7 minutes of good instruction and clear images of the process of making four flying geese at once. The measurements are oversized so you will "TRIM TO PERFECTION", making each unit 1.75" x 3", including seam allowances. They finish at 1.25" x 2.5" when sewn into the quilt. 

Good News! Next month, on November 1, BOTH Months 11 and 12 will be released so you can finish your quilt. My top is at the longarmer and I hope to have it to show you then.

Let's quilt.

Barbara

Friday, August 29, 2025

LAUREL RIDGE -- MONTH 9

Laurel Ridge is the 2025 Block of the Month quilt designed by Lynn Wilder exclusively for The Quilt Show.  Star Members have FREE access to the patterns starting January 1, 2025. Made in two colorways, the complete patterns are excellent. You will love making this quilt. Lynn supports the pattern instructions with Videos too. 

Month 9 brings us the Nine Patch Star Blocks. This block has the most pieces and will improve your piecing skills for sure. This is Lynn's block from the Autumn version of Laurel Ridge:


The measurements are accurate and will make somewhat quick work of making the small units needed for all 16 blocks.  I strongly encourage you to WATCH THE VIDEO for MONTH 9 before you begin.

When it comes to piecing those units into 5" finished blocks, accurate piecing is essential. I check myself with every seam. Here are my most of the pieces laid out for one block:


The remaining green/white quarter square triangles:


The only thing I did differently from the pattern instructions was in making those green/white quarter square triangles. First, we make 8 half square triangles at a time, using 5.5" squares of green and white. The instructions say to trim each of them to 2.25" square before doing the second sewing step.

One of my mottoes is "Don't the do the hard thing twice."  It isn't necessary to trim the half square triangles BEFORE the second sewing step. They can be trimmed AFTER the second sewing step. 

The unit in the top here I did trim BEFORE the second sewing step. They still need to be trimmed AFTER the second sewing step. The unit in the bottom I did not trim before, only after. I saved time by eliminating that first trimming:


The units ultimately get trimmed to 1.5" square--that's SMALL!  So I chose not to do the trimming more than once. That means there is more to trim away now but that's okay with me. I placed the 3/4" line at the center of the unit, being sure to keep the diagonal line straight. The unit needs to be exactly 1.5" square, so "Measure TWICE, cut ONCE":


NOTE: My top was completely done before I got this pattern. So I only made ONE of these blocks for my demo, using different leftover fabrics from my top. I pieced some fabrics to be the size needed rather than cut from yardage. That explains any unusual seams you may notice in my block. The pattern instructions are correct so you won't have any extra seams like I do. Remember, my block is only a "sample test block". 

As I made the center nine patch, I sewed individual squares together. After joining two squares I measured to be sure they are 2.5" including seam allowances, before adding the third square. Then I checked to be sure 3 of them measure 3.5" including seam allowances. 

Another of my sayings: "If they are not the right size now, they will not miraculously become the right size when you do the next step." Check each seam with these small pieces as you go.

I did the same as I joined the corner squares to the half square triangles. I checked to be sure they both measured exactly 2.5" before I joined them to the Green/white quarter square triangle:


The same is true when you make the two sides that join the center nine patch. Be sure they are exactly 3.5" when joined so they fit the center:


My advice with this block is take it SLOW.  Check each seam as you go. There are 16 of these blocks and you have all month. Use the BLOCK LAYOUT SHEET page 5, to be sure you have each unit turned as it should be. Ask me how I know that's important!

Next month we make easy stars: the Plaid Stars. There are only 8 of those so no need to rush Month 9. 

Let's quilt.

Barbara


Thursday, July 31, 2025

LAUREL RIDGE -- MONTH 8

 Laurel Ridge is the 2025 Block of the Month quilt designed by Lynn Wilder exclusively for The Quilt Show.  Star Members have FREE access to the patterns starting January 1, 2025. Made in two colorways, the complete patterns are excellent. You will love making this quilt. Lynn supports the pattern instructions with Videos too. 

This month we make the "Cat's Cradle" block, 32 of them. Making half square triangle blocks in units of 8 make these very fast and easy:

The only cutting change I made is my usual one: I upped the size of the pink triangles to 3.5" squares and the large background triangles I cut from 6" squares. I prefer to "trim to perfection".

This does mean I had to trim the pieced half of the block so the large background triangle fits correctly:

Using a Half Square Triangle ruler, I placed the 1/4" diagonal line on the center spot where the pink triangles cross the yellow triangle. The 5.5" line on the ruler is at the bottom of the triangle, and I can see that the HST square will be in 1/4" on both points--very important.

When sewing the large background triangle to the pieced half of the block, you want to "cross the X"--this will insure your middle is perfect:


With blocks as easy as these, I usually prepare all the pieces needed, following the excellent cutting instructions in the pattern. Then I work on these as "leader/ender" units while working on other projects. The pieces are made over time, then it is a simple matter to complete the blocks with the sewn parts. 

If I just want to make these 32 blocks immediately, I use a different ongoing project as my "leader/ender". My 3" Old Italian blocks are perfect for this task. See the instructions here: Summer Sew A Long:


Next month we move on to Nine Patch Stars, the blocks with the most pieces.

Let's quilt.

Barbara


Sunday, June 8, 2025

ALTERNATIVE BLOCKS FOR LAUREL RIDGE

 I was asked about the two alternative blocks I made for my Laurel Ridge quilt, the 2025 BOM quilt designed by Lynn Wilder exclusively for The Quilt Show

Any 5" blocks can be substituted for any 5" blocks in the quilt. I wanted a simple block to help me finish this project. And I wanted a more complex block to add interest.

The EASY BLOCK -- Five Patch Shoo Fly:  Brackman #1847


For a 5" finished block, there are 4 Half Square Triangles (HST) 2" finished, and 4 Rectangles 1" x 2" finished. And a center square 1" finished.  

Make HST as you like. I made two blocks at once by cutting a 6" square of background and the green fabric. Draw a diagonal line in both directions, then sew 1/4" on either side of the drawn lines. Cut apart into 8 sewn triangle pairs. Trim HST to 2.5" and you have 8 HST, 2.5" with seam allowance.

This is the same way we made HST for the Basket Blocks in Month 5: Month 5  These are two different sizes but the process is the same:


Cut 4 rectangles 1.5" x 2.5", and 1 center square 1.5". Sew the block together, in 3 rows, very easy. The block is 5.5" with seam allowances.

There are other ways to make HST. See my TUTORIAL here: Half Square Triangles

The MORE COMPLEX BLOCK -- Mosaic, Brackman #2123:


What I liked about this is the Flying Geese are the same size as those made in Month 1: 1.25" x 2.5" finished. See my blog about that here: Month 1

The HST corners are 1.25" finished. I made 8 of them at once from two 4.5" squares, one background, one dark pink. The process is the same as described above. 

The center square can be made a couple ways. I pieced it. The plaid square is cut 2.25". The background triangles that surround the plaid center are cut from 2 squares cut 2.25":


Sew two opposite triangles to the square, press toward the triangles. Add the remaining two opposite triangles, trim center block to 3" square. 

Now assemble the block in three rows. There are a lot of seam allowances on the back. Here is how I pressed mine. You might prefer to press seams open. I starched it and set two heavy clappers on the block to dry flat:


So there you have the two alternative 5" blocks I made. 

Next week I will show how I made four 10" Lone Star blocks, that take the place of sixteen 5" blocks:


Let's quilt.

Barbara


Sunday, April 20, 2025

CURRENT PROJECTS

This could be called "what am I doing?" After being gone much of March and early April I hit the ground running when I came home.

First, it was two Teeny Tiny Two For One quilts, made as gifts. Each time I teach Two For One, I want to come home and make another one. I don't need another bed quilt so I made Teeny Tiny ones:

Those squares are 1/2" finished

Mug Rugs, each about 11" square

I can honestly say I am "over" the urge for now. The squares are 1/2" finished. How long can these small things take to make? Far longer than I thought, especially when I occasionally sewed the wrong thing to the wrong thing. They are on their way to their new homes, all fabrics are returned to the closet and I am on to the next task.

The 2025 Block of the Month quilt for TheQuiltShow.com is Laurel Ridge, designed by Lynn Wilder. Not as far along as I should be by now, but it's getting there. I made a Feathered Star as a possible substitute middle block. The jury is still out on that, there is another large block I will make to see if I prefer it:

While working on these two projects, I have been sewing the adorable Old Italian blocks I showed a few weeks ago--they are the perfect Leader/Ender blocks. YES, there WILL BE A SUMMER SEW A LONG for you! I will provide instructions for this great block in 3 sizes, your choice, Here are a few of my 3" ones:


The other night I was able to attend my local guild, the Heritage Quilters of Huntsville. I don't get to attend very often due to my teaching travels but I wanted to be at this one. My friend, Dr. Jan Davis, an astronaut who has flown in space on 3 missions, including being the Payload Commander of her third flight in 1997, talked about her journey as a quilter and an astronaut. She has the distinction of being the first quilter in space. She gave a great talk, the large crowd was very enthusiastic:


Recently I got a new "techno toy". An Apple Watch. I have to be dragged kicking and screaming into new technology as it takes me a while to learn what's what. I don't like feeling that I don't know how to do things. But this was EASY! Everything syncs from my phone. I LOVE using it to track my outdoor daily walk, 2 hours, 8 miles/7 days a week. My husband has been urging me to get one for a few years. Honey, you were RIGHT:


Speaking of my husband, earlier this month we celebrated 49 years of marriage. In some ways it seems like time has flown and other ways it seems like a long journey together. I wonder what we will do for 50:


Today is Easter Sunday for us and we are happy to be celebrating with our son's family. There will be 10 of us at the table, including 3 children, who always make it a fun day. My contribution to the menu was easy, GUACAMOLE ATX and two Key Lime pies. The guac recipe I got from a great friend in Austin and I love it. Recipe linked above:


The Key Lime Pie recipe comes from the bottle of Nellie and Joe's Key West Lime Juice, easily found in the supermarket:


Happy Spring to everyone. Let's quilt.

Barbara

Friday, February 28, 2025

LAUREL RIDGE -- MONTH 3

Laurel Ridge is the 2025 Block of the Month quilt designed by Lynn Wilder exclusively for The Quilt Show.  Star Members have FREE access to the patterns starting January 1, 2025. Made in two colorways, the complete patterns are excellent. You will love making this quilt. Lynn supports the pattern instructions with Videos too. 

This month we make Half Square Triangles--BIG ONES! We make a lot, 48 total, but the designer's method for making 8 at once makes it fast and easy.

Here are mine. Note I changed the Spiceberry Pink fabric for a deep Green from my stash:

The pattern instructions are excellent and Lynn Wilder provides a Video too, so you will find this month fun to do.

I am a math person so love to have "formulas" for making several blocks at once. Half Square Triangles, 8 at a time? Right up my alley! 

The formula is so easy:

Finished size of the HST = 5". Multiple this by 2 = 10". 

Add 2" for the seam allowances = 12". 

Lynn recommends and I was very glad I did, adding an additional 1/2". 

Cut ONE 12.5" square of BOTH FABRICS. This will give you 8 HST, that FINISH AT 5"--meaning once sewn into the quilt. The HST unit when made has to be 5.5" including Seam Allowances.  This formula works for ANY SIZE HST you want to make 8 at a time.

FIRST STEP: Draw diagonal lines from corner to corner on BOTH DIAGONALS on the back of the lightest fabric. Place fabrics RIGHT SIDES TOGETHER, then sew 1/4" on BOTH SIDES OF THE LINE. If you don't use a 1/4" foot you can draw the sewing lines if you like:

SECOND STEP: Cut the large square into FOUR SMALL squares, by cutting North, South, East and West--or "make a cross" as Lynn says: 

Then it is a simple matter to press toward the darker fabric--the Floral or the Green in my case--and "trim to perfection", making the HST exactly 5.5" square:


Lynn has additional excellent Tutorials on lots of these kinds of tips in the Classroom at The Quilt Show: Easy Patchwork Math.  She has included a link to the Tutorial that applies to each month directly on the Pattern Instructions. I encourage you to take a look at those each month. Much of what she teaches in those lessons is exactly how I do the steps. 

Next month we move on to blocks that will take a good bit more time than these, the Checkerboard Blocks.

Remember you can Ask Questions and Share Your Progress on  THE FORUM.

Let's quilt.

Barbara


Friday, January 31, 2025

LAUREL RIDGE -- MONTH 2

Laurel Ridge is the 2025 Block of the Month quilt designed by Lynn Wilder exclusively for The Quilt Show.  Star Members have FREE access to the patterns starting January 1, 2025. Made in two colorways, the complete patterns are excellent. You will love making this quilt. Lynn supports the pattern instructions with Videos too. 

This month the pattern is for the 5" applique blocks. There are 4 sets of 3 applique blocks this month. Lynn has a Video for the applique and discussed applique in her show, #3601, FREE FOR ALL  to watch this entire year. Follow Lynn's excellent instructions for her applique designs. 

I chose not to include any applique in my quilt so I looked through Barbara Brackman's Encyclopedia of Pieced Quilt Patterns for ideas of what to substitute. 

BIG WARNING: if you are using either of the KITS,  my substitution Blocks and/or Fabrics were not part of the Kit calculations. I know there is a "little" extra fabric in each Kit, but there is NO GUARANTEE you will have enough Kit fabric with my changes. If this makes you nervous, just FOLLOW THE PATTERN INSTRUCTIONS with NO CHANGES. 

Here are 3 options I think will work. The first two I paper-pieced, the third is a regular pieced block.

Option 1: X Block 5", 3 in a row


One block 5" FINISHED: the yellow is an additional fabric I added

The pattern is drawn in EQ8 but it is very easy to draw with a pencil and paper. Each of the 4 squares are 2.5" FINISHED--draw a 3" square, this accounts for the seam allowance around the edges. The center white strip is symmetrical on the square and 7/8" wide FINISHED--OR whatever size you like. I wrote in the 4 colors I used for the triangles so I wouldn't get confused. Make 4 of the small squares, sew them together as a four-patch and the block is 5" FINISHED, 5.5" including seam allowance.


OPTION 2: Rolling Block 5", 3 in a row: I like the circular feel of this one

One block, 5" FINISHED: the yellow and dark green are additional fabrics I added

Again, my pattern is drawn in EQ8 but is very easy to draw on paper. Each unit is 2" FINISHED, the outer white triangles are 1.5" on the outside edge, the smaller inner white triangles are 1" on the outside edge. My colored strips are 1" FINISHED OR whatever size you like. The white sashing and green squares are 1" wide FINISHED. NOTE: the center strip is NOT centered symmetrically on the block:


OPTION 3: Another X Block, 3 in a row: I love the simplicity of this. NOT paper pieced:


I simply drew a 5" square on paper, made the center white strip 1" wide and symmetrical on the square; what is left are the 4 colored QST triangles. Cut a 5" square of four different fabrics, cut on both diagonals and there you have the quarter square triangles (QST) needed to make 4 blocks. There are a total of 12 blocks in the quilt:

At this moment I am leaning toward Option 3, the easiest and fastest. I won't decide until much later in the year when a lot more of the quilt is done. 

If you want to substitute a pieced block for the applique, ANY 5" block might work. Try a few to see what you like. You can always make a "test" block with extra fabrics from your stash to see if you like it before using your "official" Laurel Ridge fabrics. You DO have extra fabrics right?!

Later this year we will have the other applique block to make, 5" x 7.5" FINISHED. I have some ideas on what I plan to do there too. Stay tuned...

I have written about paper piecing with Freezer Paper several times. Find one HERE if you are new to using Freezer Paper for foundation.

I have also written about applique, both machine and hand, quite a few times. THIS ONE might be helpful for this month's applique if you are doing that. 

Share your progress on the FORUM we want to see what you are doing!

Next month we move on to a very easy block that will get us further along on the journey.

Let's quilt.

Barbara