
Part 1 Introduction
Part 2 The Shoo Fly
Part 3 The Old Italian Block
Part 4 Setting Your Quilt On-Point
Your quilt top is done, now it's time to finish your quilt. My traditional style, Red and Green version:

This was machine quilted, free-motion and ruler work. It has wool batt which provides a lovely loft and definition to the quilting designs. The binding was applied by machine, then hand-stitched down to the back.
My Bright sample:

This was machine quilted very simply, with straight lines done by ruler work. A cotton batt makes this flat and comfortable for a sleeping baby. It was completely machine bound, applied to the back, then machine-stitched down on the front.
BATTING AND BACK CHOICES:
My favorite cotton batt is Quilters Dream Request weight--it comes in natural and white, choose white when your background is white. It quilts easily by hand or machine, it drapes beautifully, looks great in a wallhanging, and is easily machine washed and dried.
My other favorite batt fiber is wool. This quilt has Fairfield Nature-Fil wool batting because the crib size I had on hand was exactly what i needed for this quilt. Wool makes the quilting designs prominent, is wonderful for sleeping in any climate, and makes the quilt very soft. The only drawback to wool is that it shouldn't be dried in a hot dryer. I always air-dry my quilts with wool batt so it is very important I have a label on the quilt with the batt information. More on that later.
I like my back to hide my free-motion quilting stitches, usually, because I'm not very good at that yet. A busy print will hide everything. Look for sale fabrics for the backs. It is not important to me that the fabric on the back is one from the front, just that it looks like it was part of the plan.
Cut the back and batting about 4" larger all around than your top. When having your quilt long-arm quilted, you should make the back and batting 8" larger all around so the quilter can load the quilt into the machine properly.
QUILTING DESIGNS:
This is one of those things that quilters seem to agonize over, myself included. I use a piece of plexiglass to try out design ideas:
 |
| A Dry Erase pen works great, glass has tape around the edges to avoid marking on the quilt top with the pen |
 |
| Another idea |
On my traditional quilt, first I stitched in the ditch all over--then I could remove the safety pins I used to baste the 3 layers together. Then I free-motion quilted two different designs in the two blocks. The simpler one is better--I marked it with a stencil and red chalk pencil The design on the Old Italian block is too busy in the middle. I could take it all out and re-do those 6 blocks but I won't. On the border, I used a curved ruler to stitch the spine for the feather, then free-motion quilted the feathers. That came out all right, though I have too much quilting on the spine as I backtracked while creating the feathers.

On the Bright quilt, I decided to keep it very simple, stitch in the ditch all over, then the middle of each row in both directions. On the border, I used a cable stencil and chalk powder, I should have taken more time to carefully plan those cables, some places have a wonky join. Not taking that out, either:

PREPARING THE BINDING:
Binding can be made from bias-cut fabric or cross-grain fabric. I did one of each. For the traditional quilt, I cut the border fabric into 2.5" strips. For the bright quilt, I used the border stripe, but cut it on the bias. I like how striped fabric looks as binding.
To determine how much binding you need, measure the perimeter of the quilt and add 12". The extra gives you enough fabric for the joins and the turn the corners. The traditional quilt is 32" x 40", making the perimeter 144" + 12" = 156. Divide that by 40" to get the number of strips you need=3.9, rounded up to 4 strips. The strips are cut cross-grain, meaning from selvage to selvage, about 41"-42". I cut mine 2.5" because I like that size binding, about 3/8" and I've done it enough to know that size fits my quilts.
For the bias strips, I cut a 45 degree bias cut about 24" long, then cut 2.5" strips in both directions until I had the amount of binding I needed. The bright quilt is 33.5" x 42" so I needed 163".
 |
| First cut and two strips cut to the left of the first cut |
 |
| Fabric folded up to allow one cut /strip. Ruler is placed at 7.5", then moved over to 5" and 2.5" to cut strips. |
 |
| One additional strip was needed |

 |
| Bias seam, pin if you need to, points stick out 3/8" on each end |
There is one more step now that will help me a lot at the end. At the beginning end of the binding, I cut a 90 degree angle and draw a pencil line on the wrong side, from the upper left to the lower right:

SEWING BINDING TO THE QUILT:
Trim the outer edges of the quilt square. I use a ruler and measure from the border over to the edge, being sure to trim the outer edge precisely the same all around the quilt. Here the 3.5" line on the ruler is placed on the inside edge of the border across the top and down the right side, giving me a perfectly square corner and borders that are exactly the same size, all the way around:

 |
| Binding pinned loosely in place to check corners |
Begin sewing the binding place well away from a corner, I start in the middle of the bottom edge of the quilt. Leave a 6" tail of binding for ease in joining the beginning and ending tails later. As I approach the first corner, I fold the binding up at a 45 degree angle and finger press. That shows me where to stop sewing at the corner:
 |
| Fold binding up and finger press |
 |
| Stop sewing at the crease you finger pressed , I back stitch a few stitches |
 |
| Fold the binding straight up, creating a 45 degree angle |
 |
| Fold the binding straight down, keeping the fold even with the top edge of the quilt |

To join the ends, remove the quilt from the machine and go to a flat surface where you have room to work. Lay the quilt out flat. Place the beginning end flat on the edge of the quilt. Take the remaining ending tail and lay it flat so that it meets the beginning tail:
 |
| Fold the ending tail back over on itself, so that there is just a tiny gap between the tails, no more than 1/8" |
 |
| Use a ruler to draw a line 2.5" from the fold, OR whatever measurement you cut the strips |
 |
| Carefully cut on the line |
 |
| Beginning tail on top of ending tail |
 |
| Sew on the pencil line |
 |
| Trim excess 1/4" away from seam, press seam open |
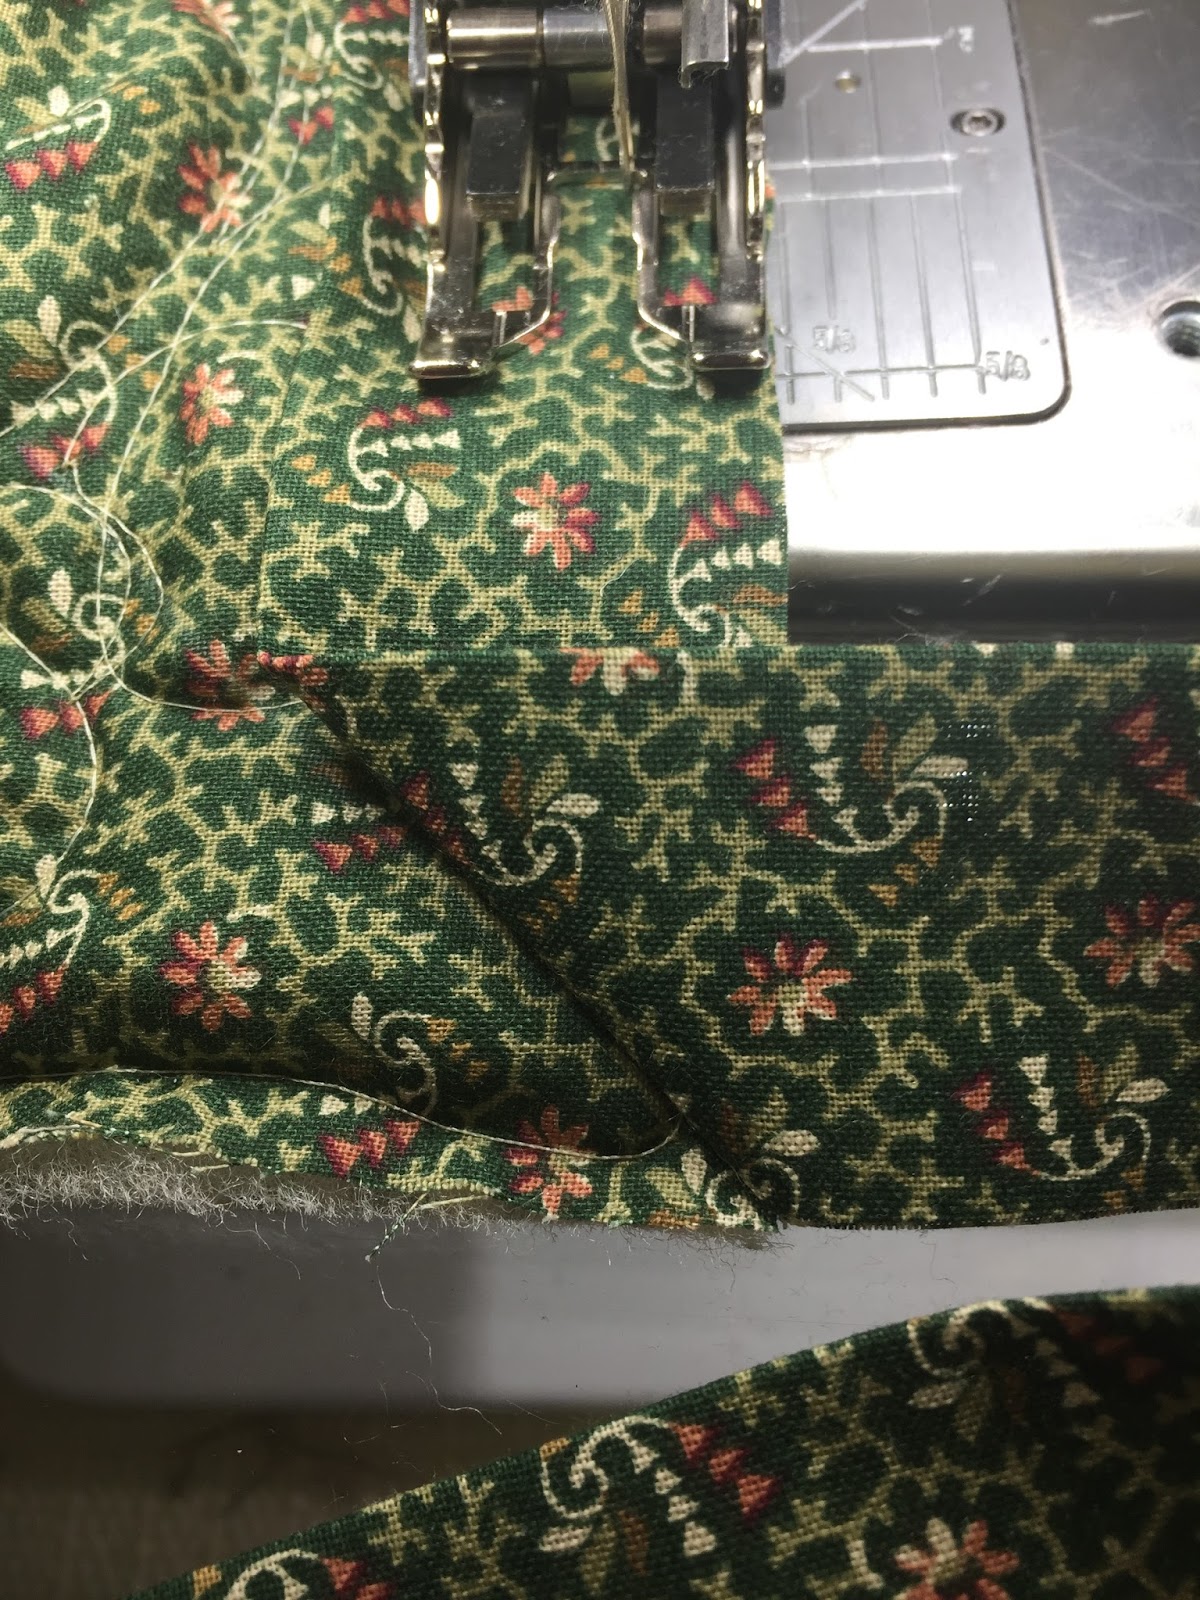
If you want to machine sew the binding in place, it is recommended you sew the binding on the BACK of the quilt. This will allow you to sew the binding in place on the front side of the quilt, being able to sew where you are going. I also discovered my machine-sewn binding would fit a bit better if I moved my needle position over only 3 clicks to the right, one less than with the hand-sewn binding. Live and learn.
To hand-sew, use thread that matches the binding. Sew with a blindstitch, catching the fold and the back of the quilt with small stitches. At the corners, fold one side in, then the other, to make a neat miter on a 45 degree angle:

Use Wonder Clips to hold the binding in place. One will do, two are helpful, three are more than enough:
 |
| Green thread disappears on the binding. |
 |
| Stitch close to the edge |
 |
| Front View |

 |
| Back View |
You're almost done. Make a label for your quilt. Name your quilt, if you like. Include the pattern sources if it's not your original design. Include your name, location, date, and anything else you want future generations to know. When I use wool batt, I always include that information. If the quilt is a gift, I include the name of the person it was made for and the reason, such as a graduation gift. The simplest method is to use a permanent pen to write this information on light colored fabric and attach the label to the quilt. If the back is light, you can write directly on the quilt. I use my computer and print out labels on fabric sheets prepared for printing, Printed Treasures or Electric Quilt Ink Jet fabric are favorites I have used successfully for years.
Here are the labels on the back of these quilts, after washing. I air-dried the wool batt quilt and machine dried the cotton batt quilt. The cotton quilt shrunk from 33.5" x 42" to 31.5" x 39". The wool batt quilt, air-dried, shrunk from 32" x 40.5" to 30.5" x 39". Both are soft and cuddly now:

I always have quilts that need labels. Here is the full page of labels I printed, ready to sew on other quilts now:

I also add a hanging sleeve to every quilt I make, incorporating the top edge into the binding itself. Then I only have to hand-sew the bottom edge of the sleeve by hand to the quilt back. For a quilt this size, I cut the sleeve 6.5", for a bed quilt or one I am entering in a show, I cut it 8.5". When folded in half the sleeve is about 4" wide, as required for most shows. It is easy to do now, during construction. Here you can see the backs of both quilts, with their hanging sleeves:

That's it, all done. Next Friday February 10, there will be a giveway for anyone who has their top done and posts on the Link-Up. Be sure to stop back to see what others have done.
I hope you learned a little something. What I learned is the next Sew-A-Long won't be a "teaching" one, it will be a "design" project, replicating one of my antique quilts, way in the future.
Let's Quilt!
Barbara
So beautiful Barbara. I must get to quilting my top now. Thank you so much for this fun QAL. Looking forward to the Link-Up to see all the beautiful quilt tops/completed quilts :)
ReplyDeleteThis post was super long and very thorough! I'm sure it will be terrific to refer back to when needed.
ReplyDeleteSo, you don't put a quilt with wool batting in the dryer? Why not?
Lori, the heat from the dryer can shrink the batting a LOT. You can put it in the dryer on "Air Only" but most will forget that part. So I simply don't put a wool batted quilt in the dryer. Always read and follow manufacturer's instructions, products change all the time.
DeleteI was wondering why I didn't hear from you. I'm glad I thought to check here. Thanks for the info.
DeleteSo much good instruction here, Barbara. I'll bet it is a great learning experience to take a class from you!
ReplyDeleteExcellent tutorial. I was looking for one for which I could pass on the link to my ladies in our church quilt group on how to bind a quilt. Right now they are bringing the back to the front and stitching it down. Thanks every so much.
ReplyDeleteThanks, Angie.
ReplyDelete