
Recently I was asked to make two videos for Quilters Select rulers: the 3n1 Half Square Combo Ruler and the 60 Degree Triangle ruler. They sent me the rulers and I got to work. I wrote about the very useful 3N1 Half Square Triangle Ruler HERE
The QR code on the package makes it easy to find the instructions and projects on the Quilters Select website. Using a fun knob handle on these rulers helps preserve the original non-slip coating. Our hands naturally have oils, maybe hand cream, maybe sanitizer. It really helps to preserve the coating by using a handle.
Let's take a look at the 60 Degree Triangle Ruler:
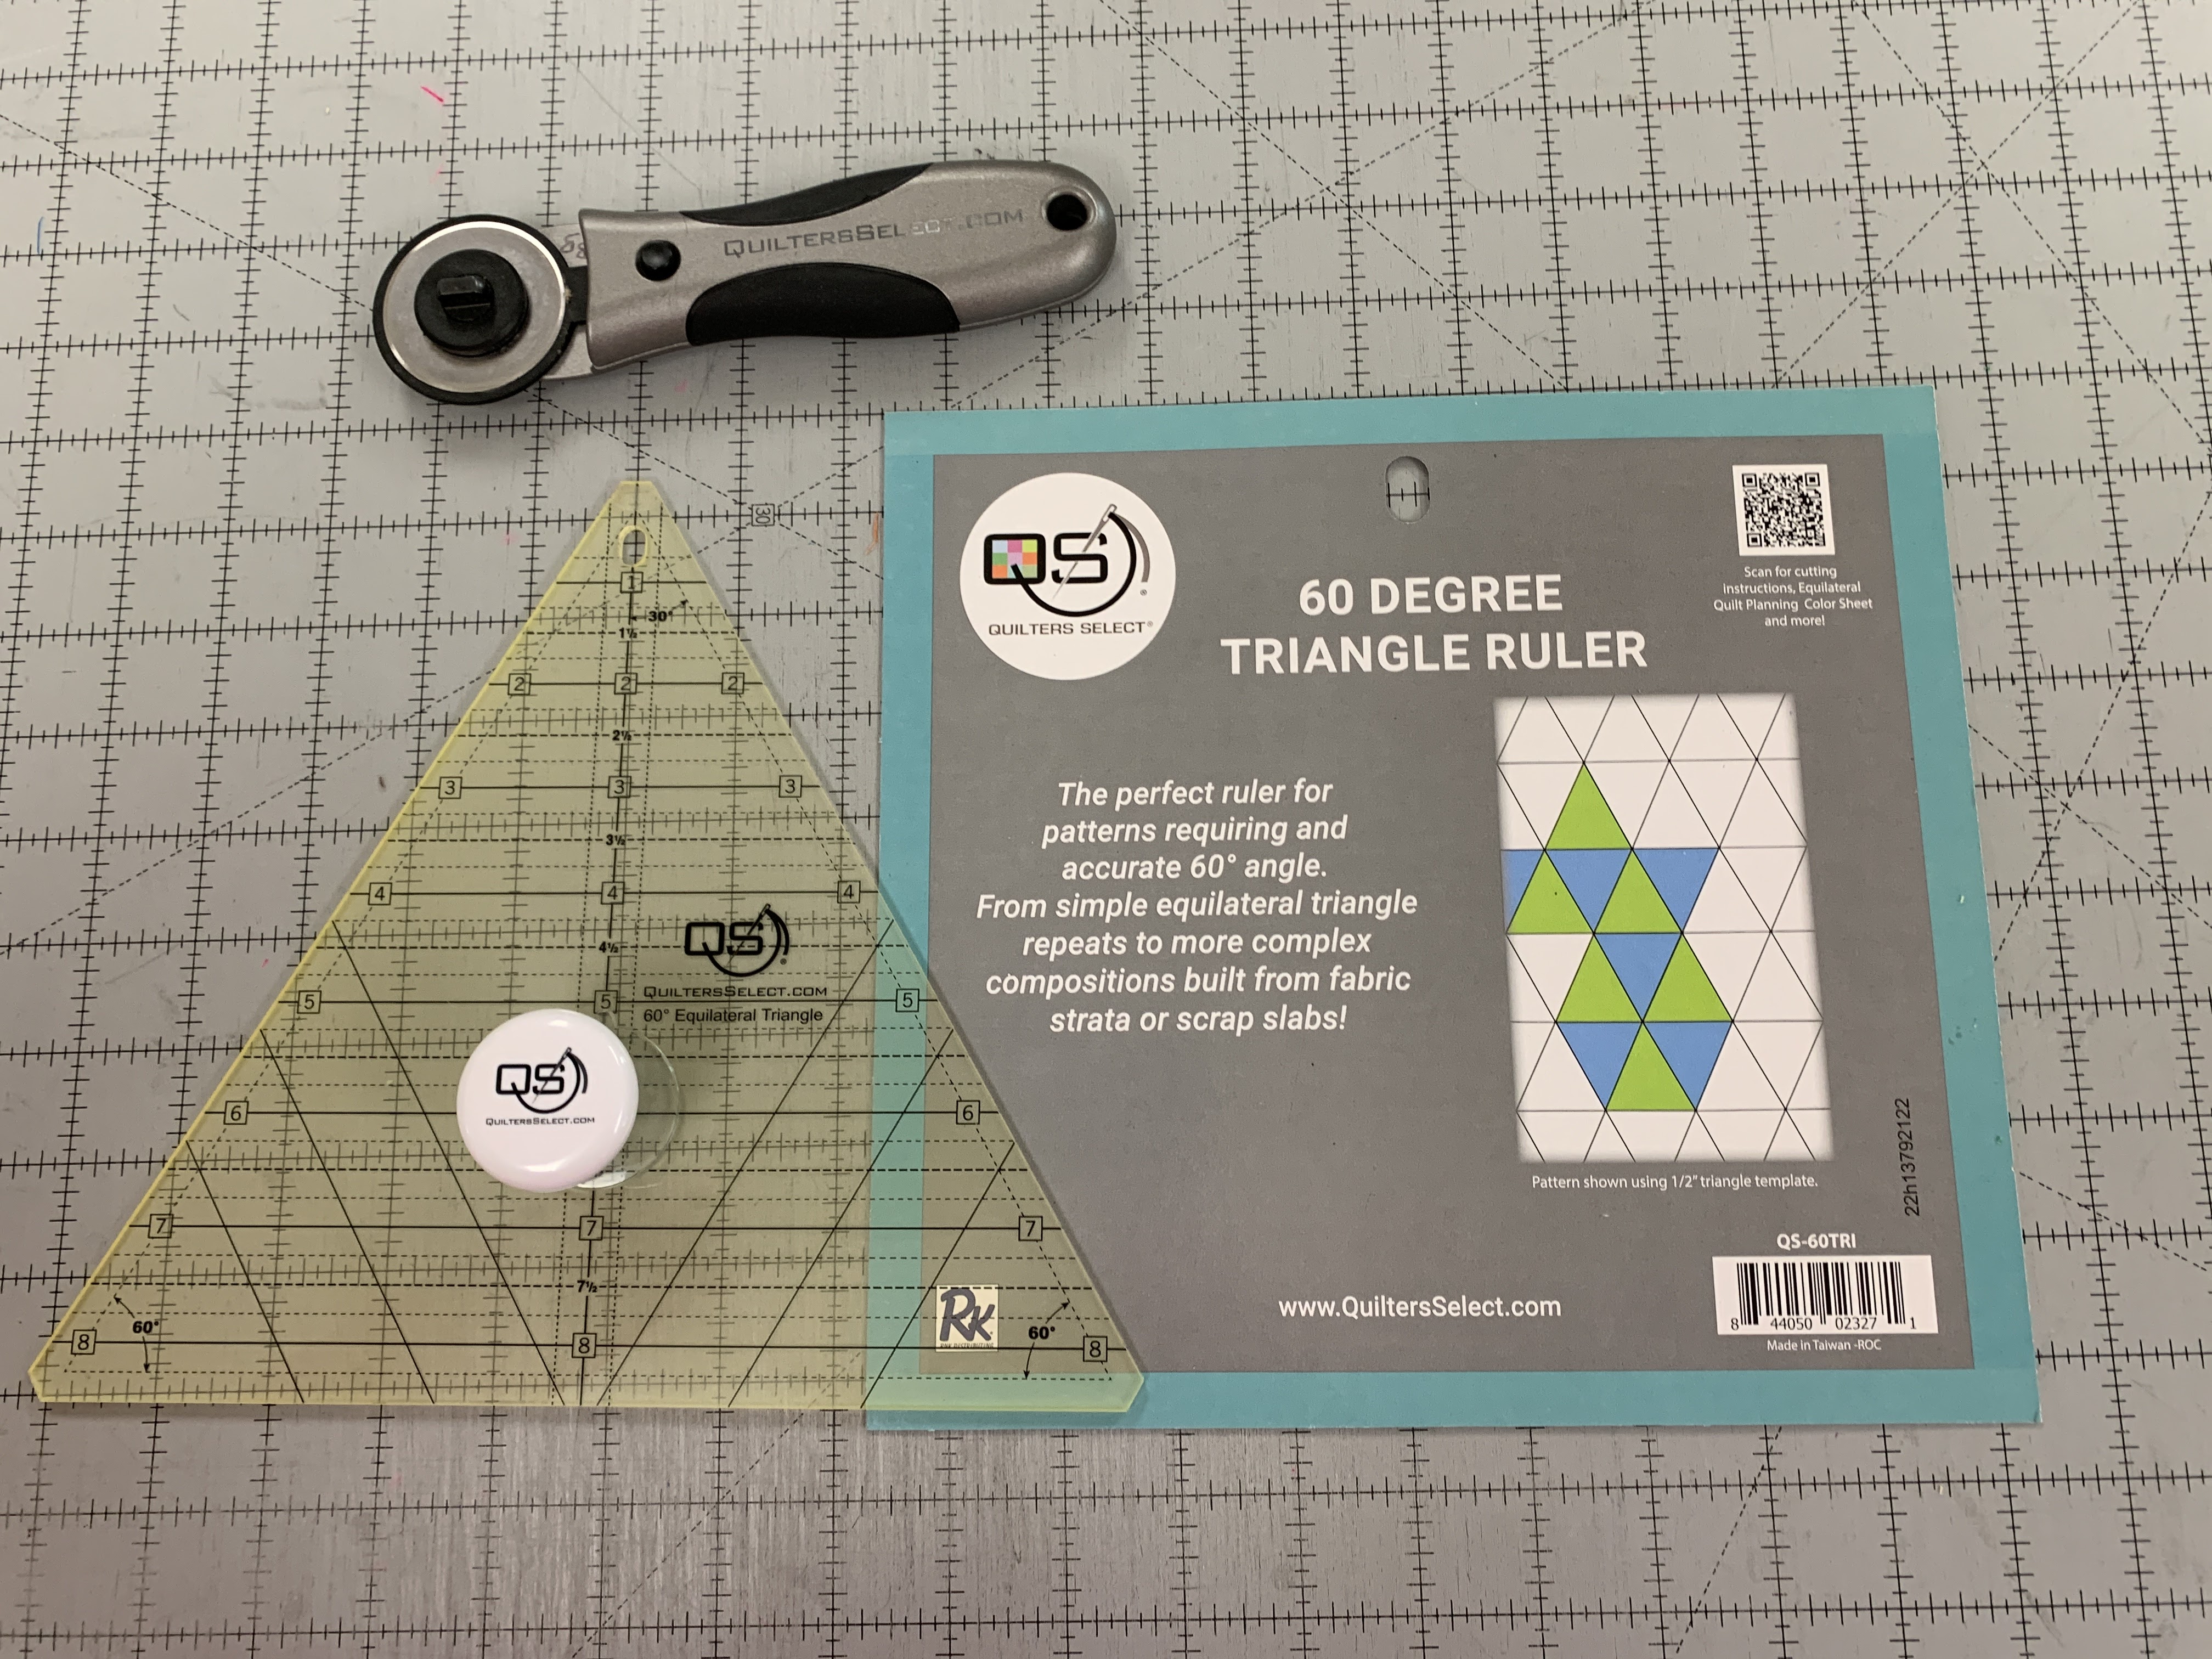
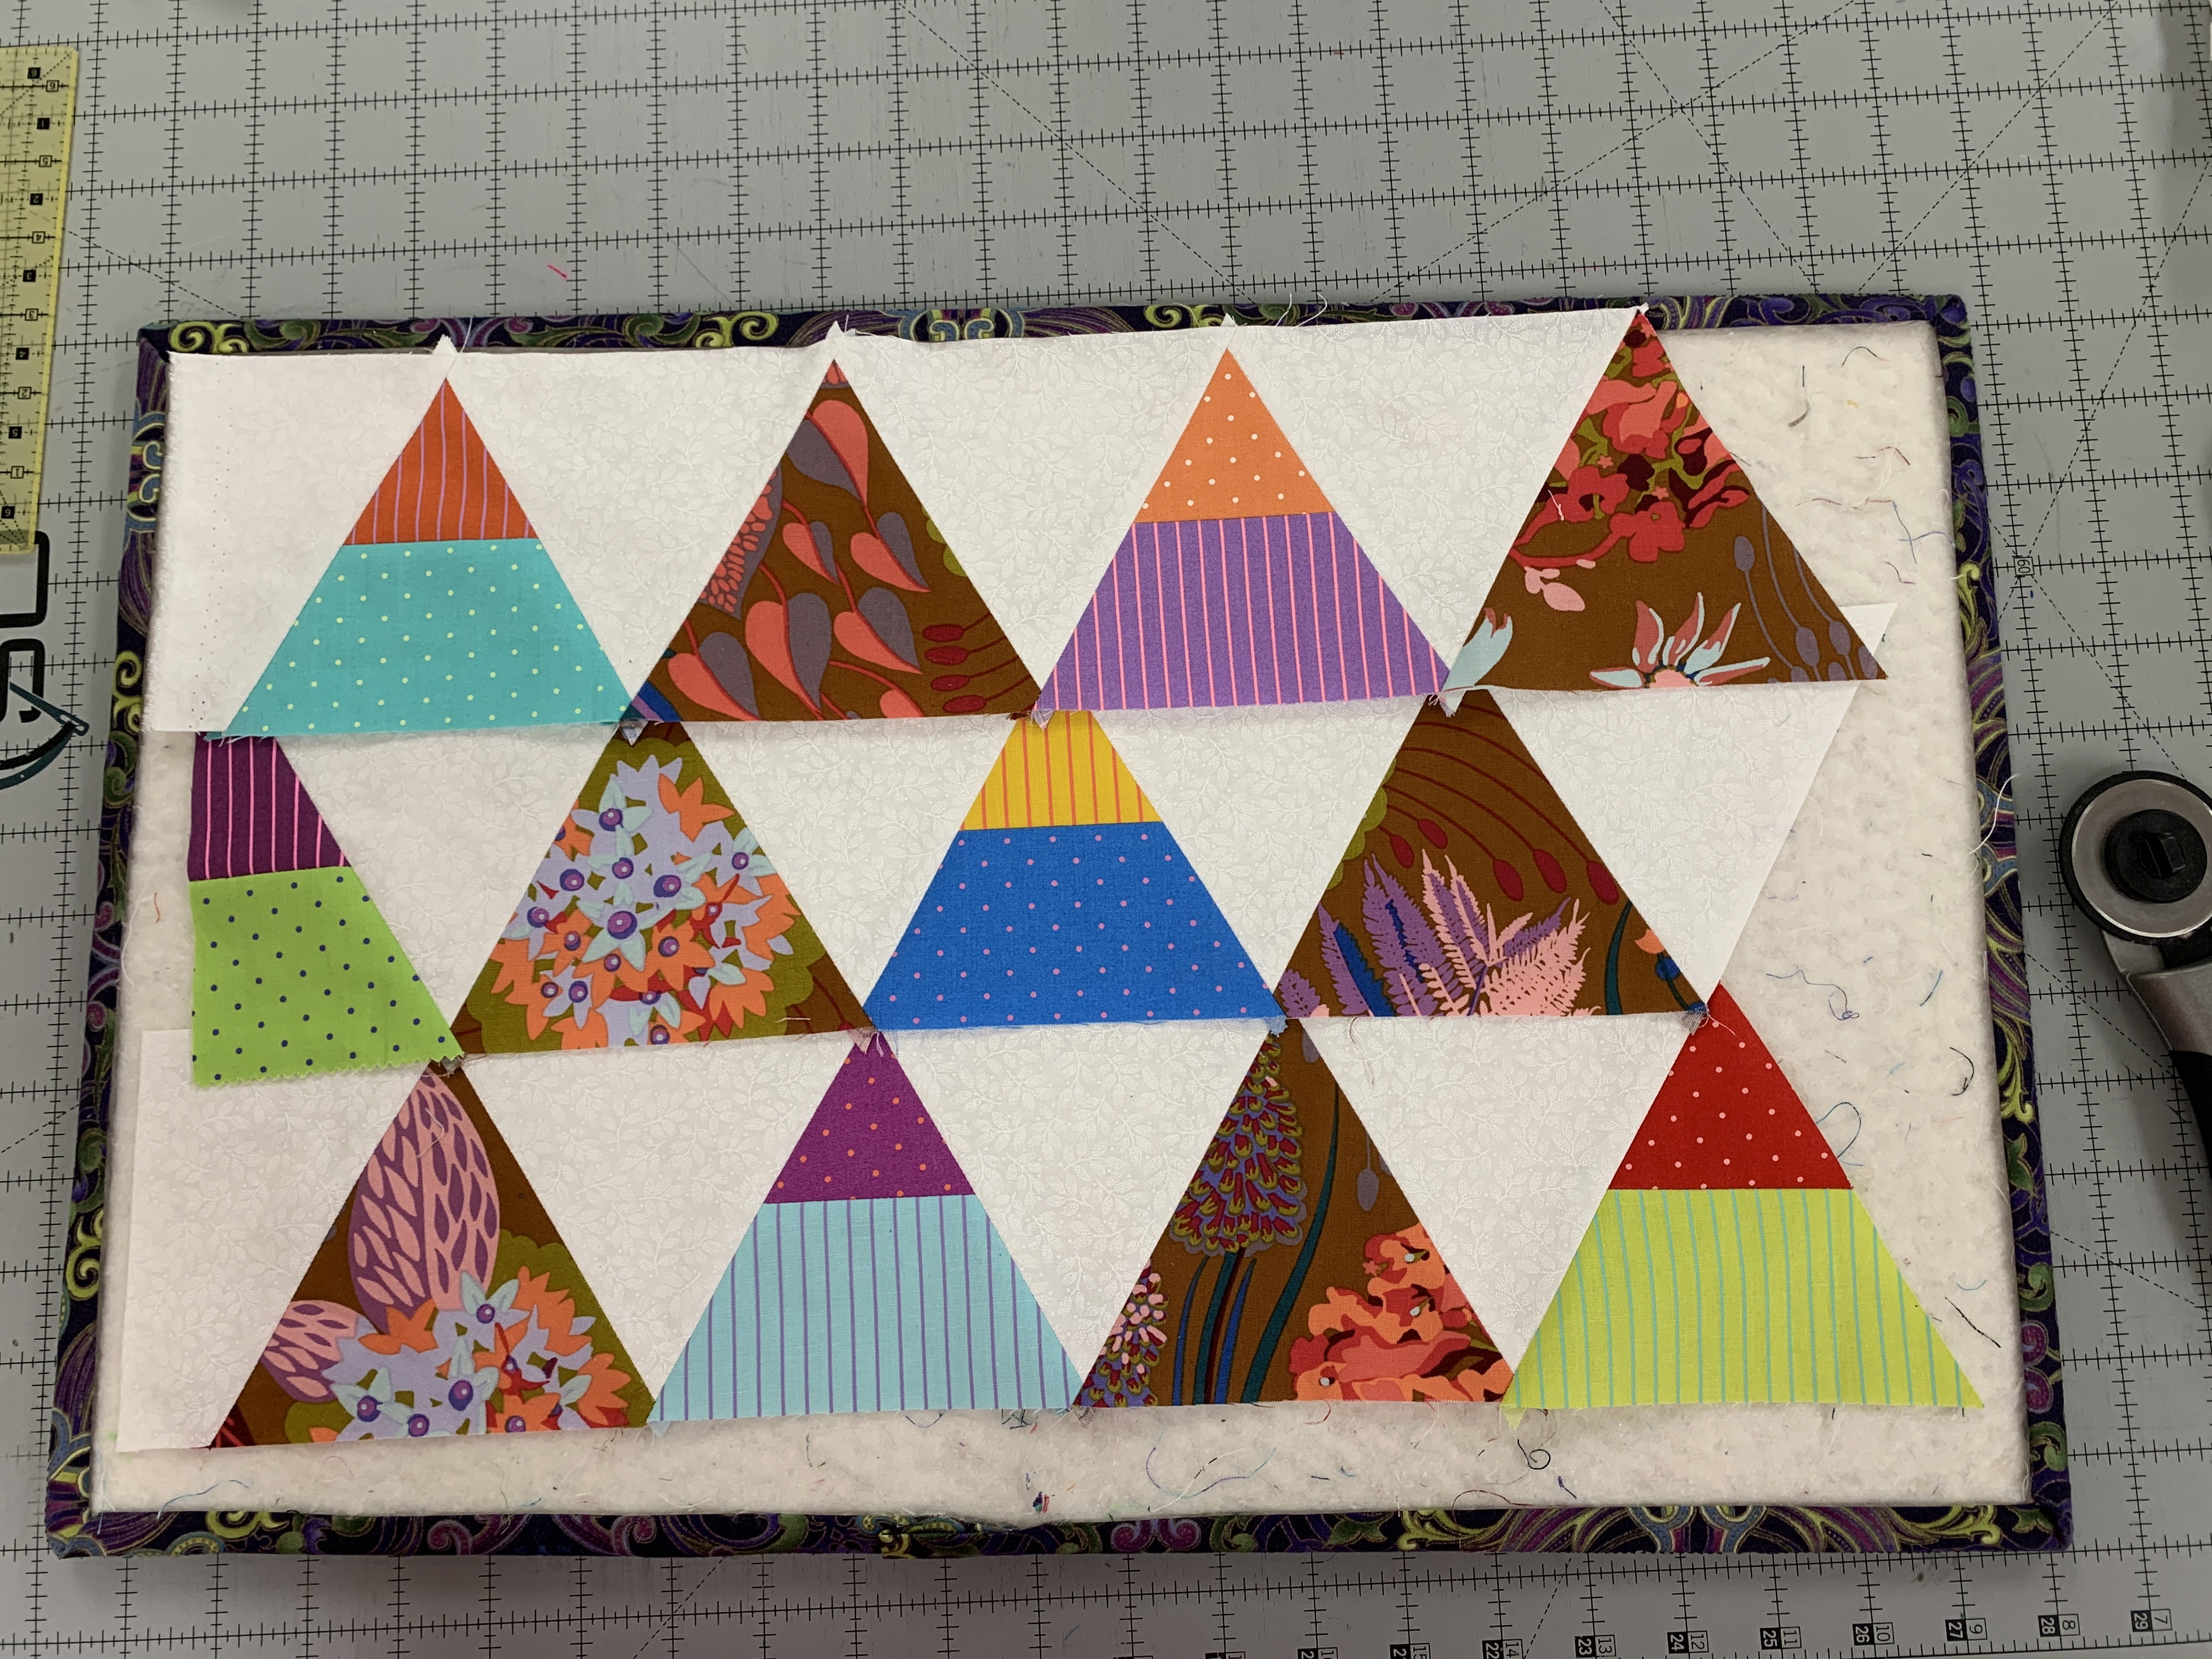
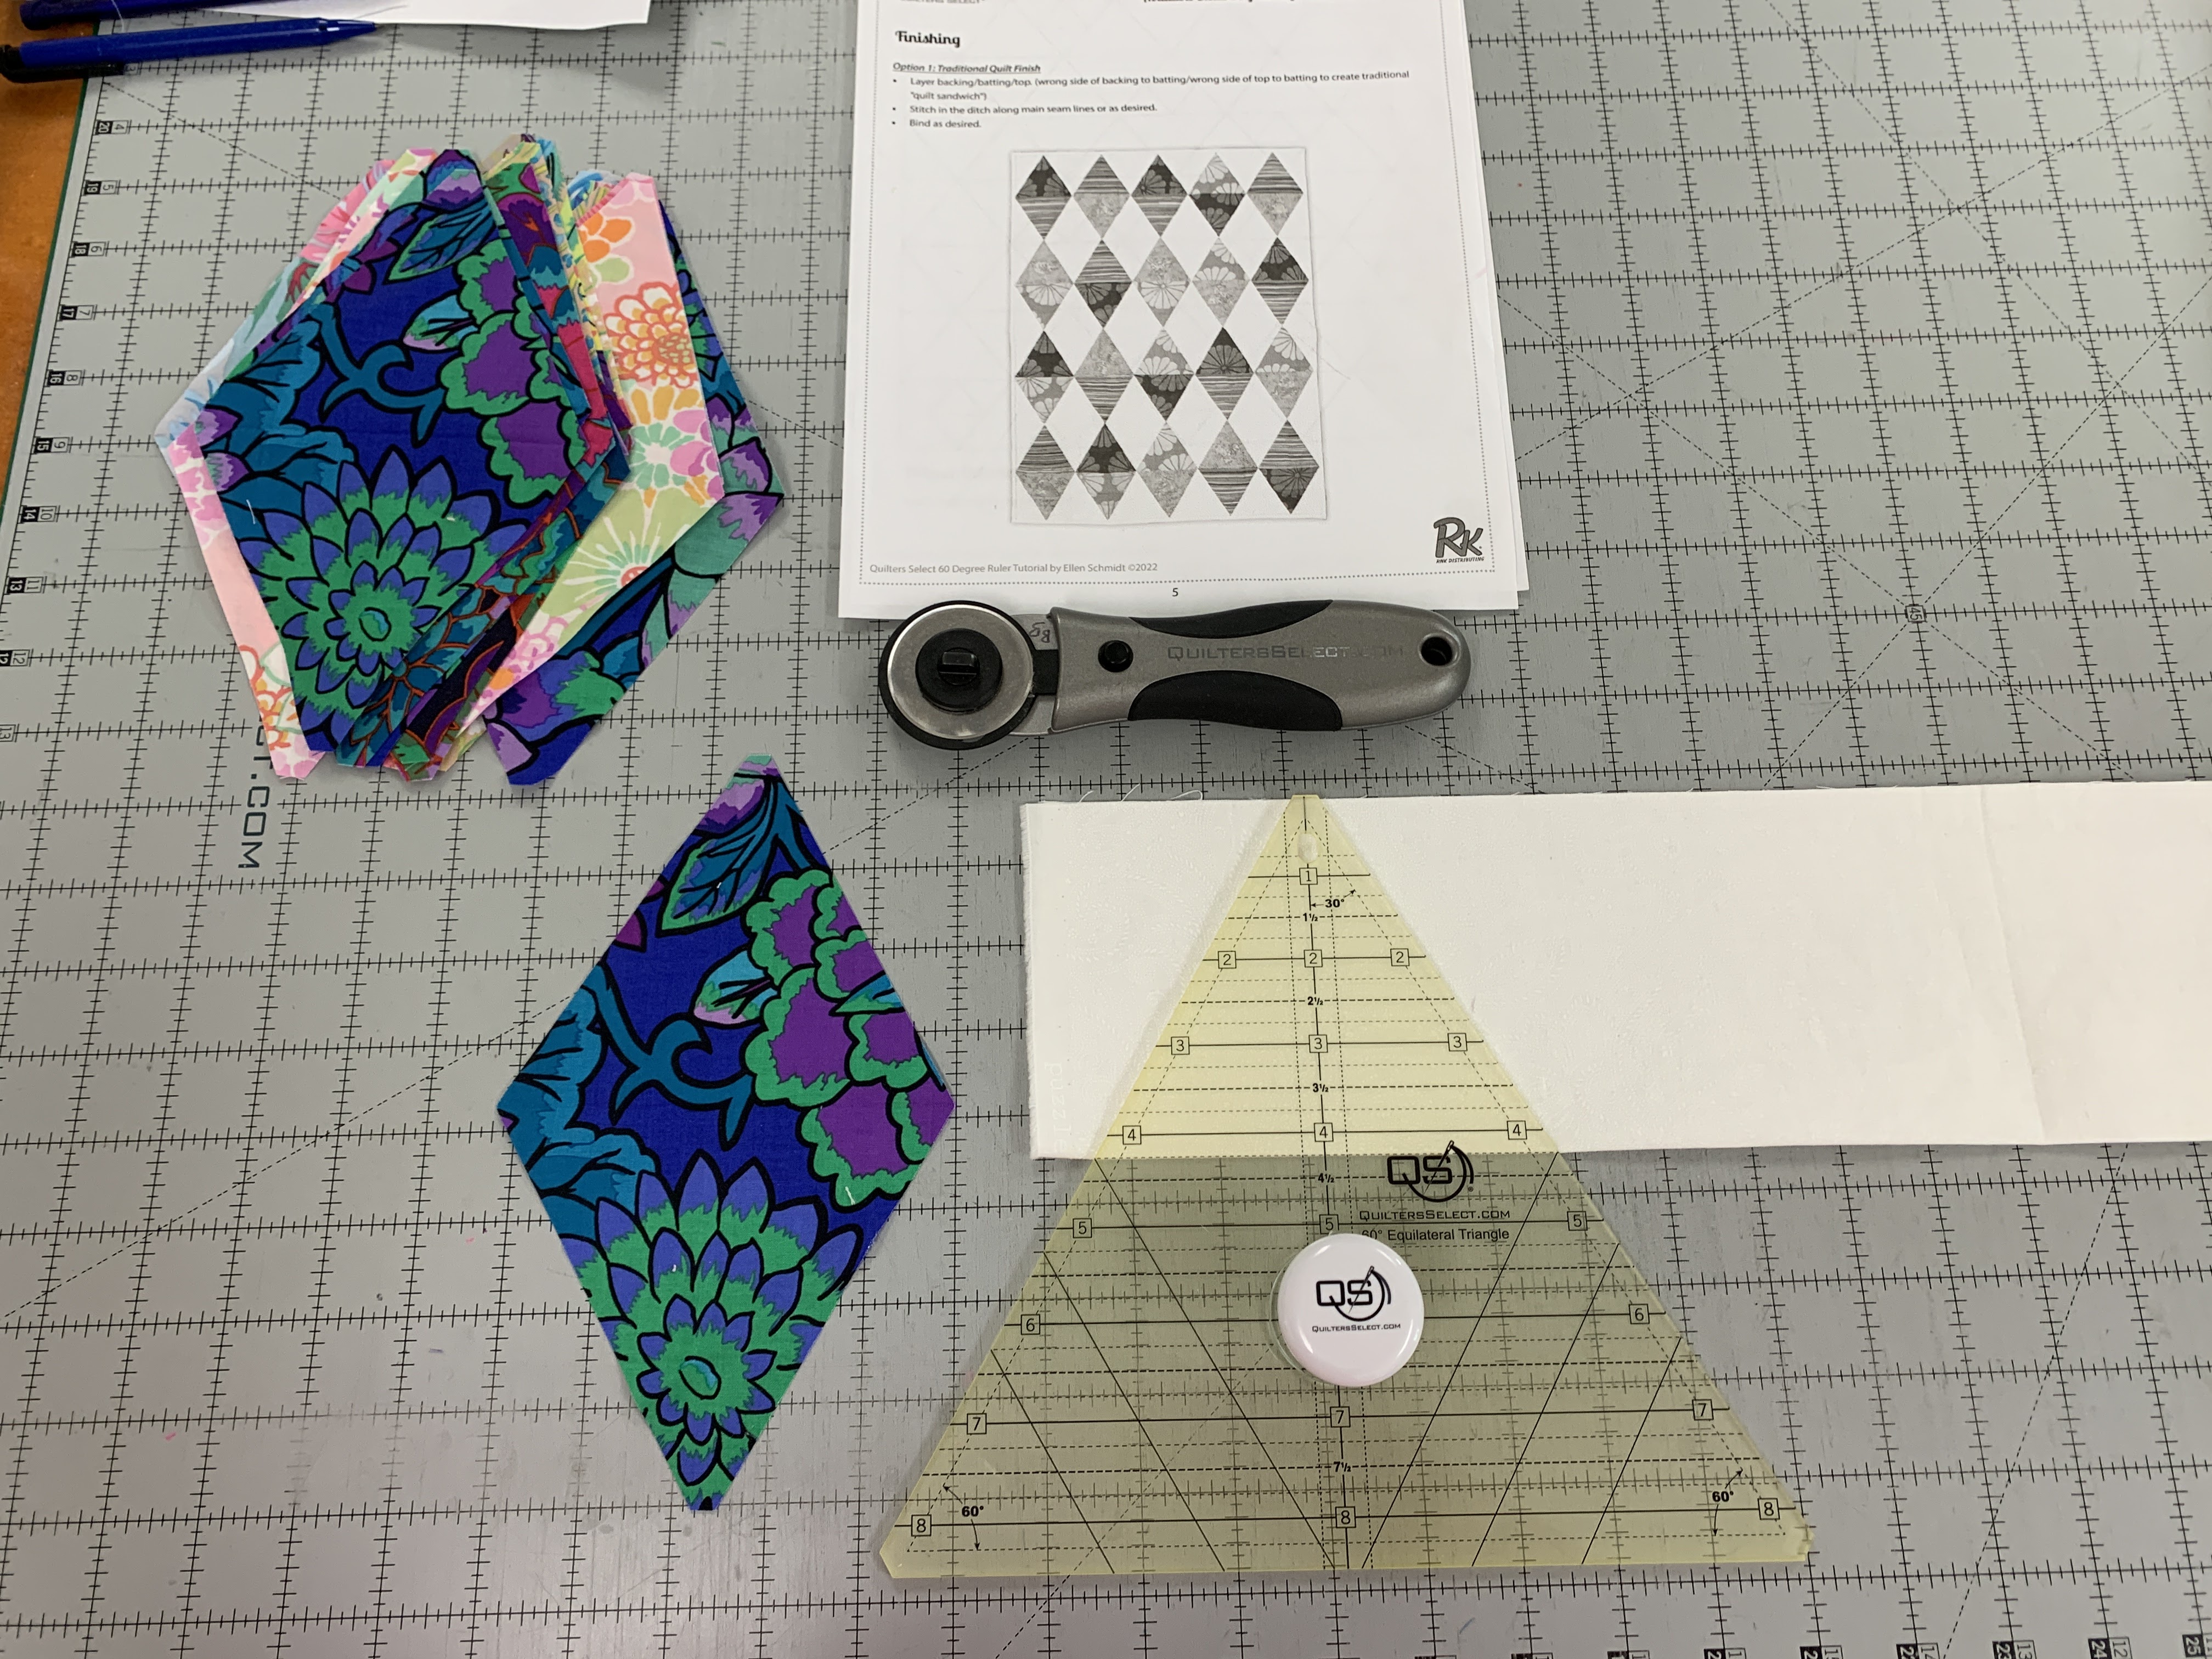
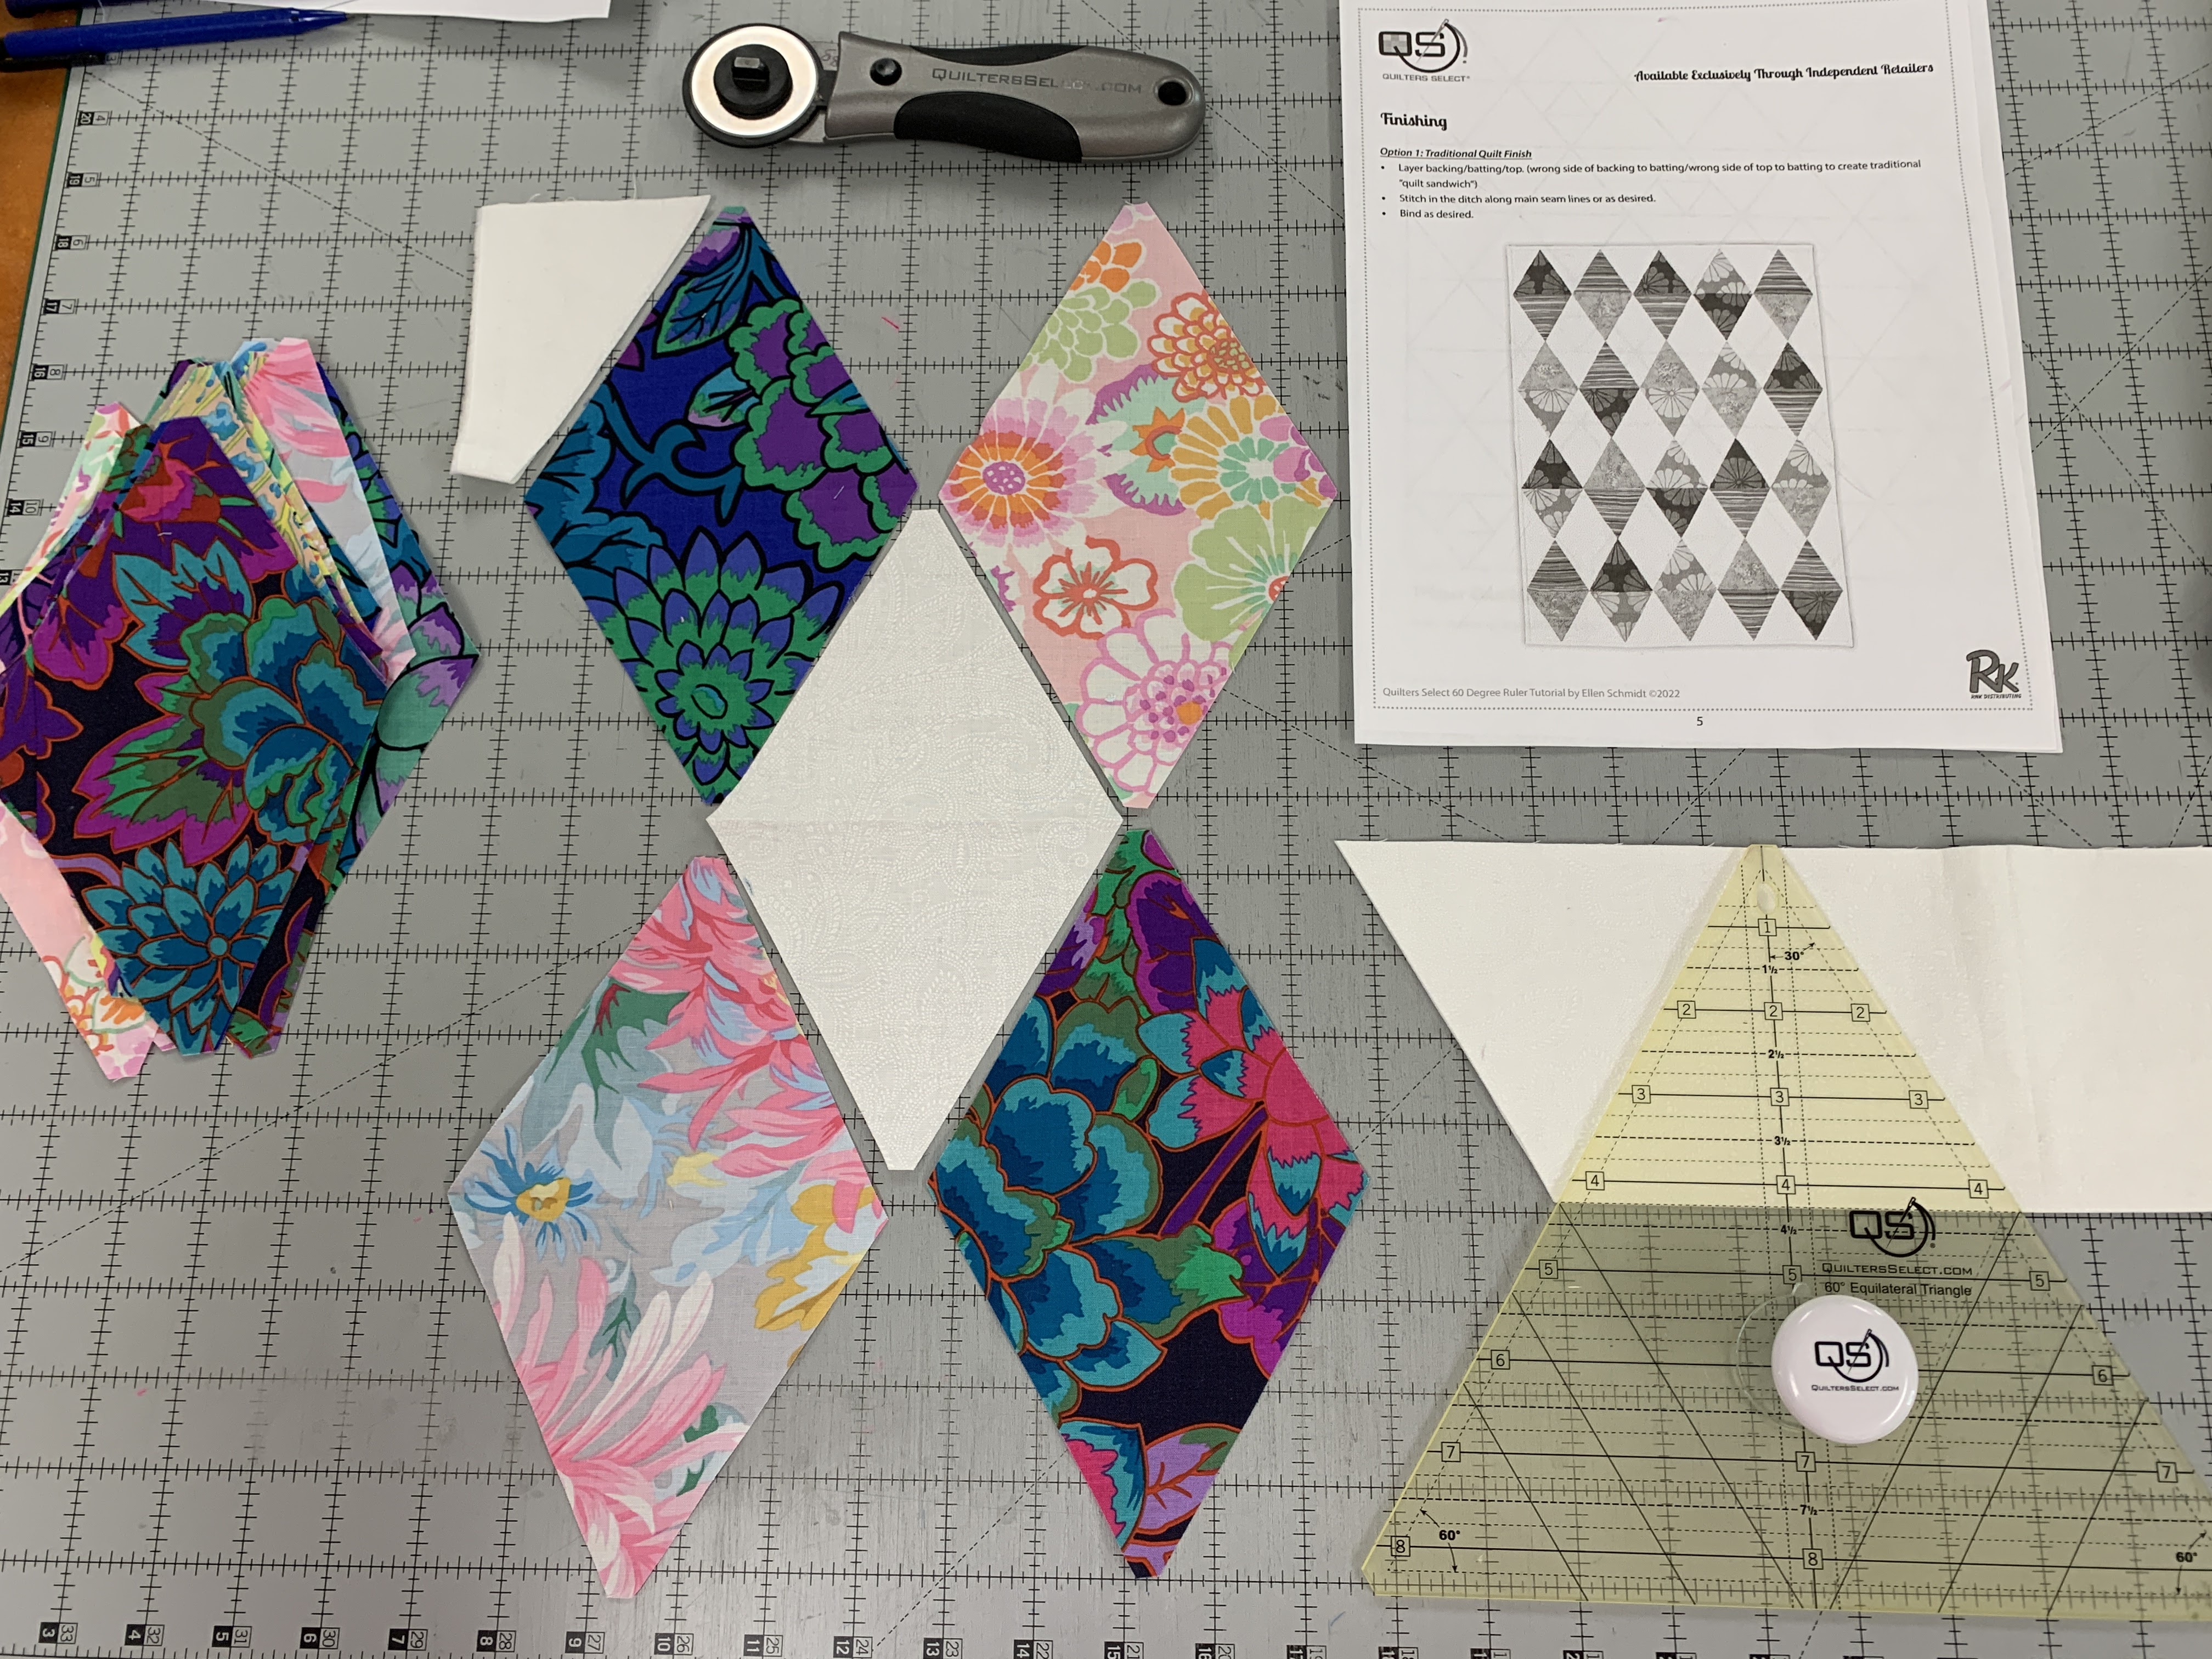
Most quilters are very familiar with squares, 90 degree and 45 degree angles. 60 degree shapes seem to have a reputation for being "difficult". With quality tools, they don't have to be. Here is just one possible layout/design, using 60 degree triangles:
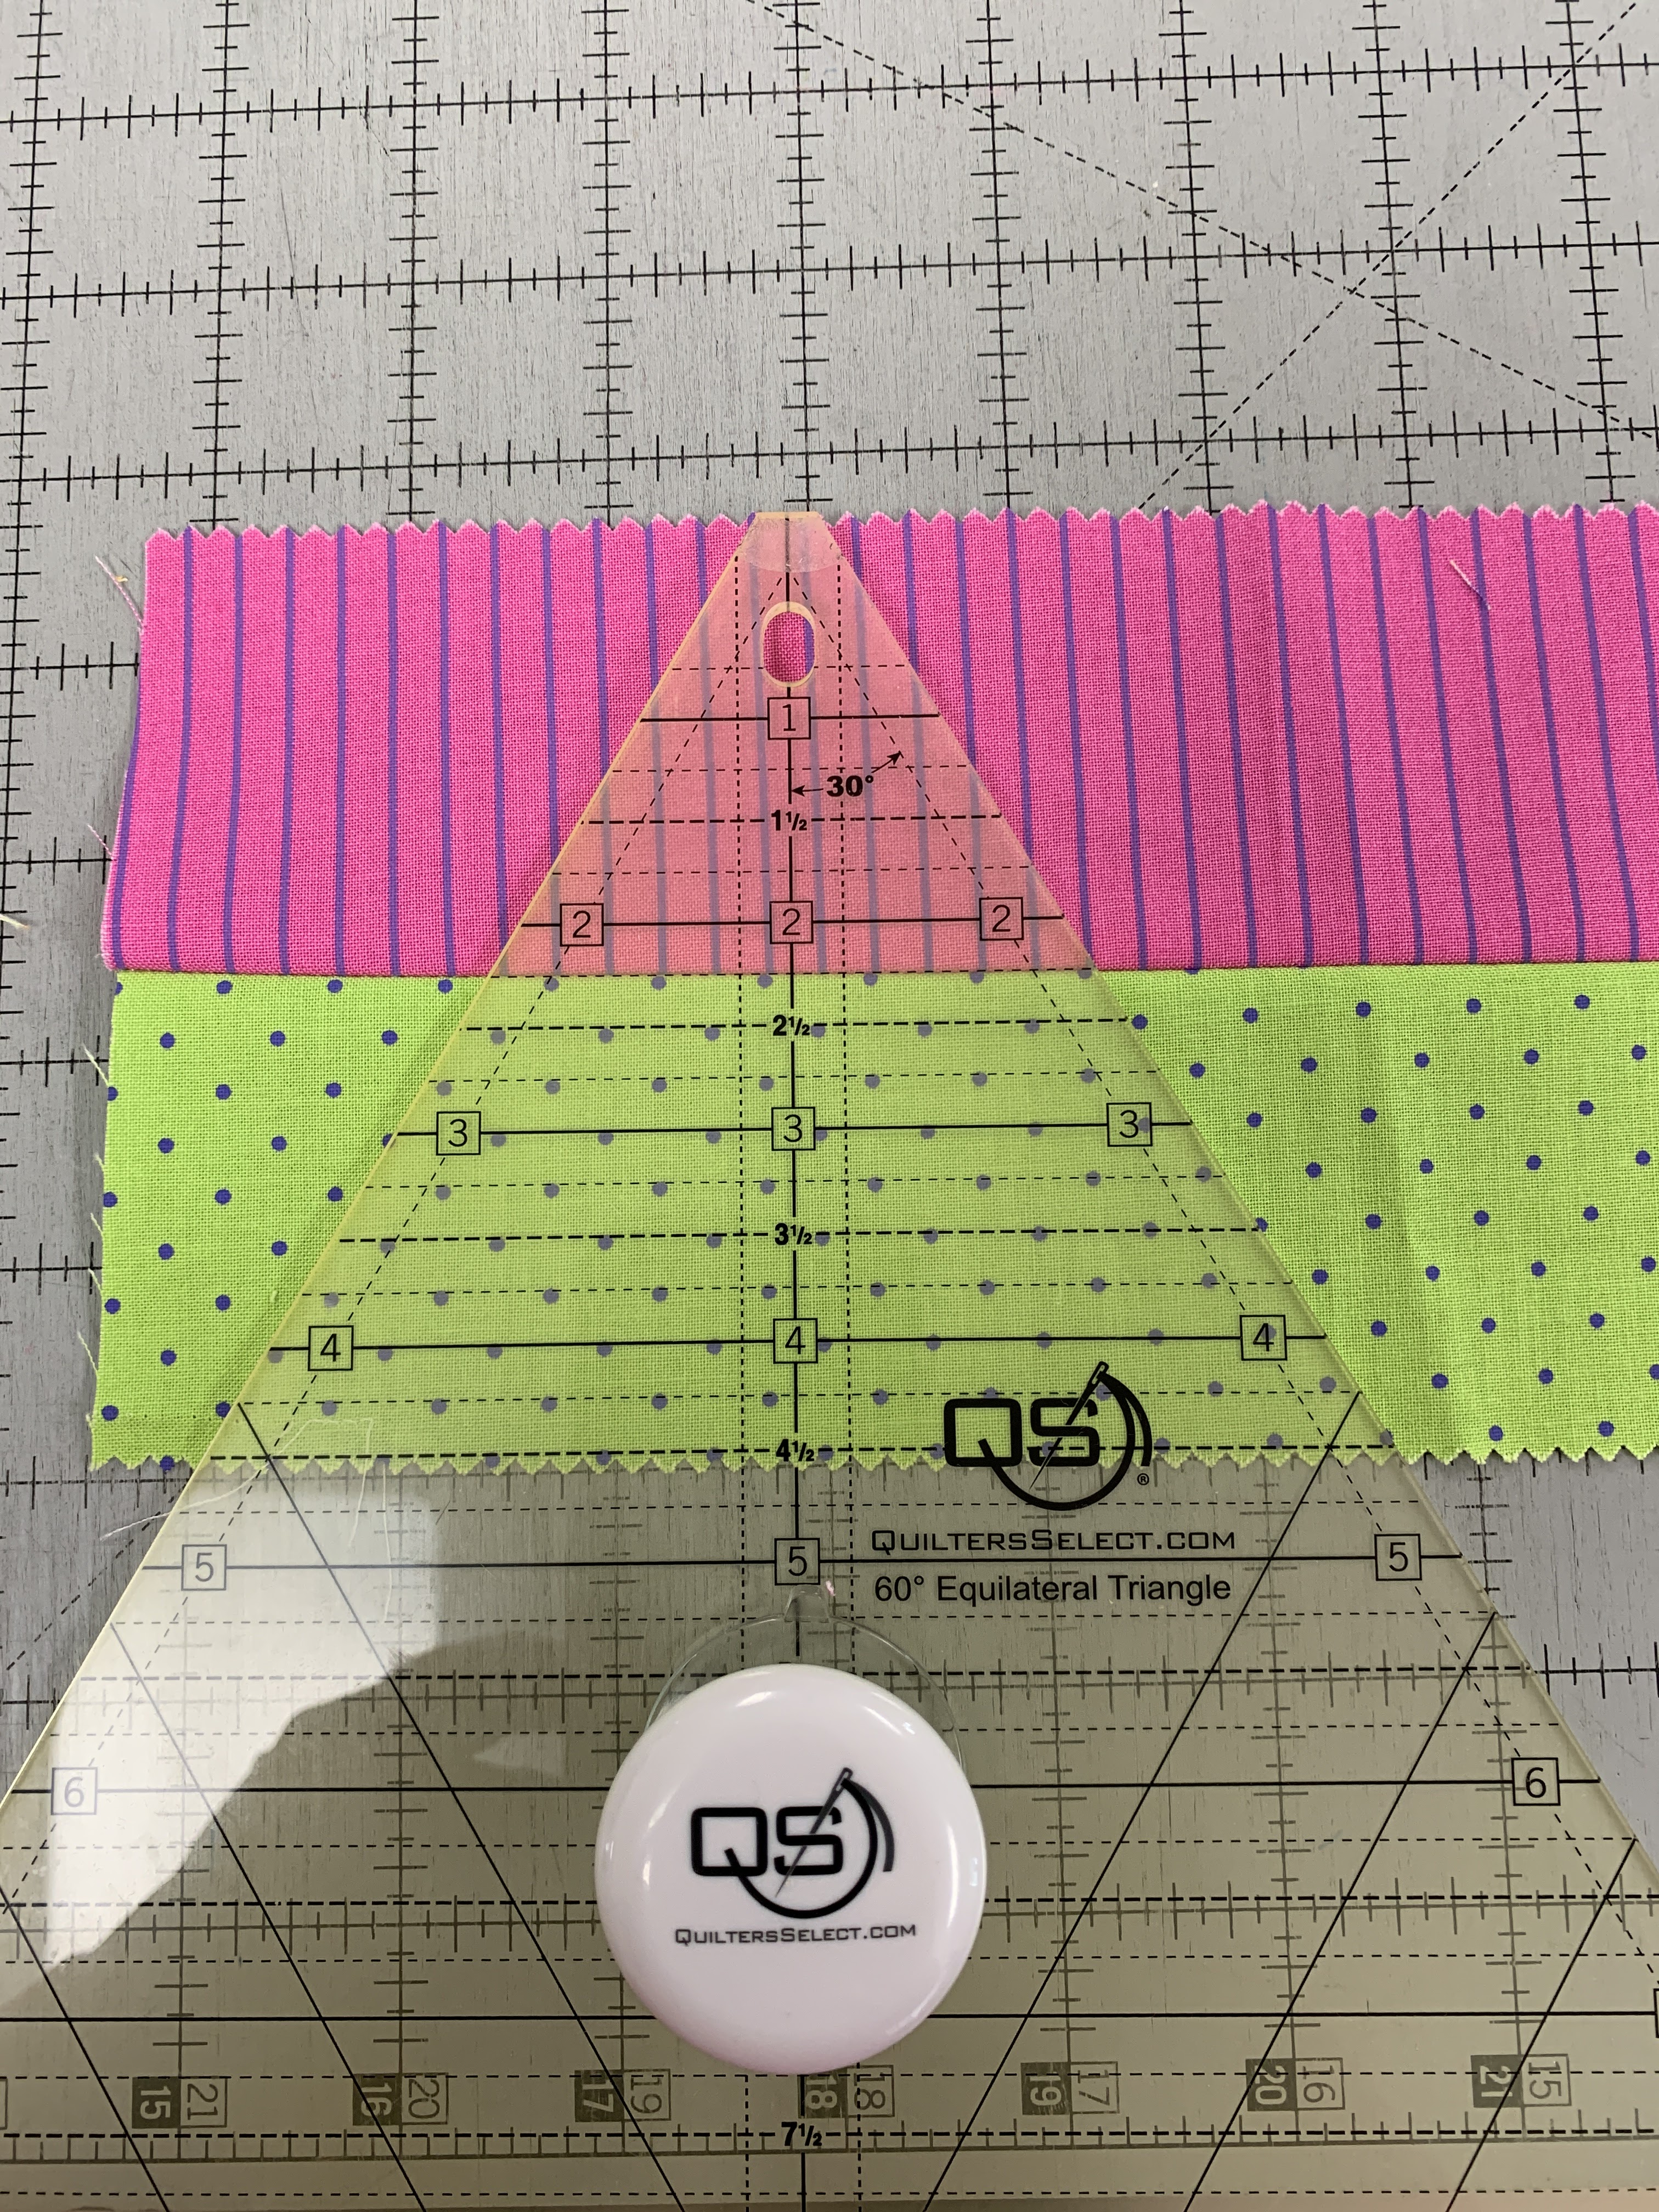
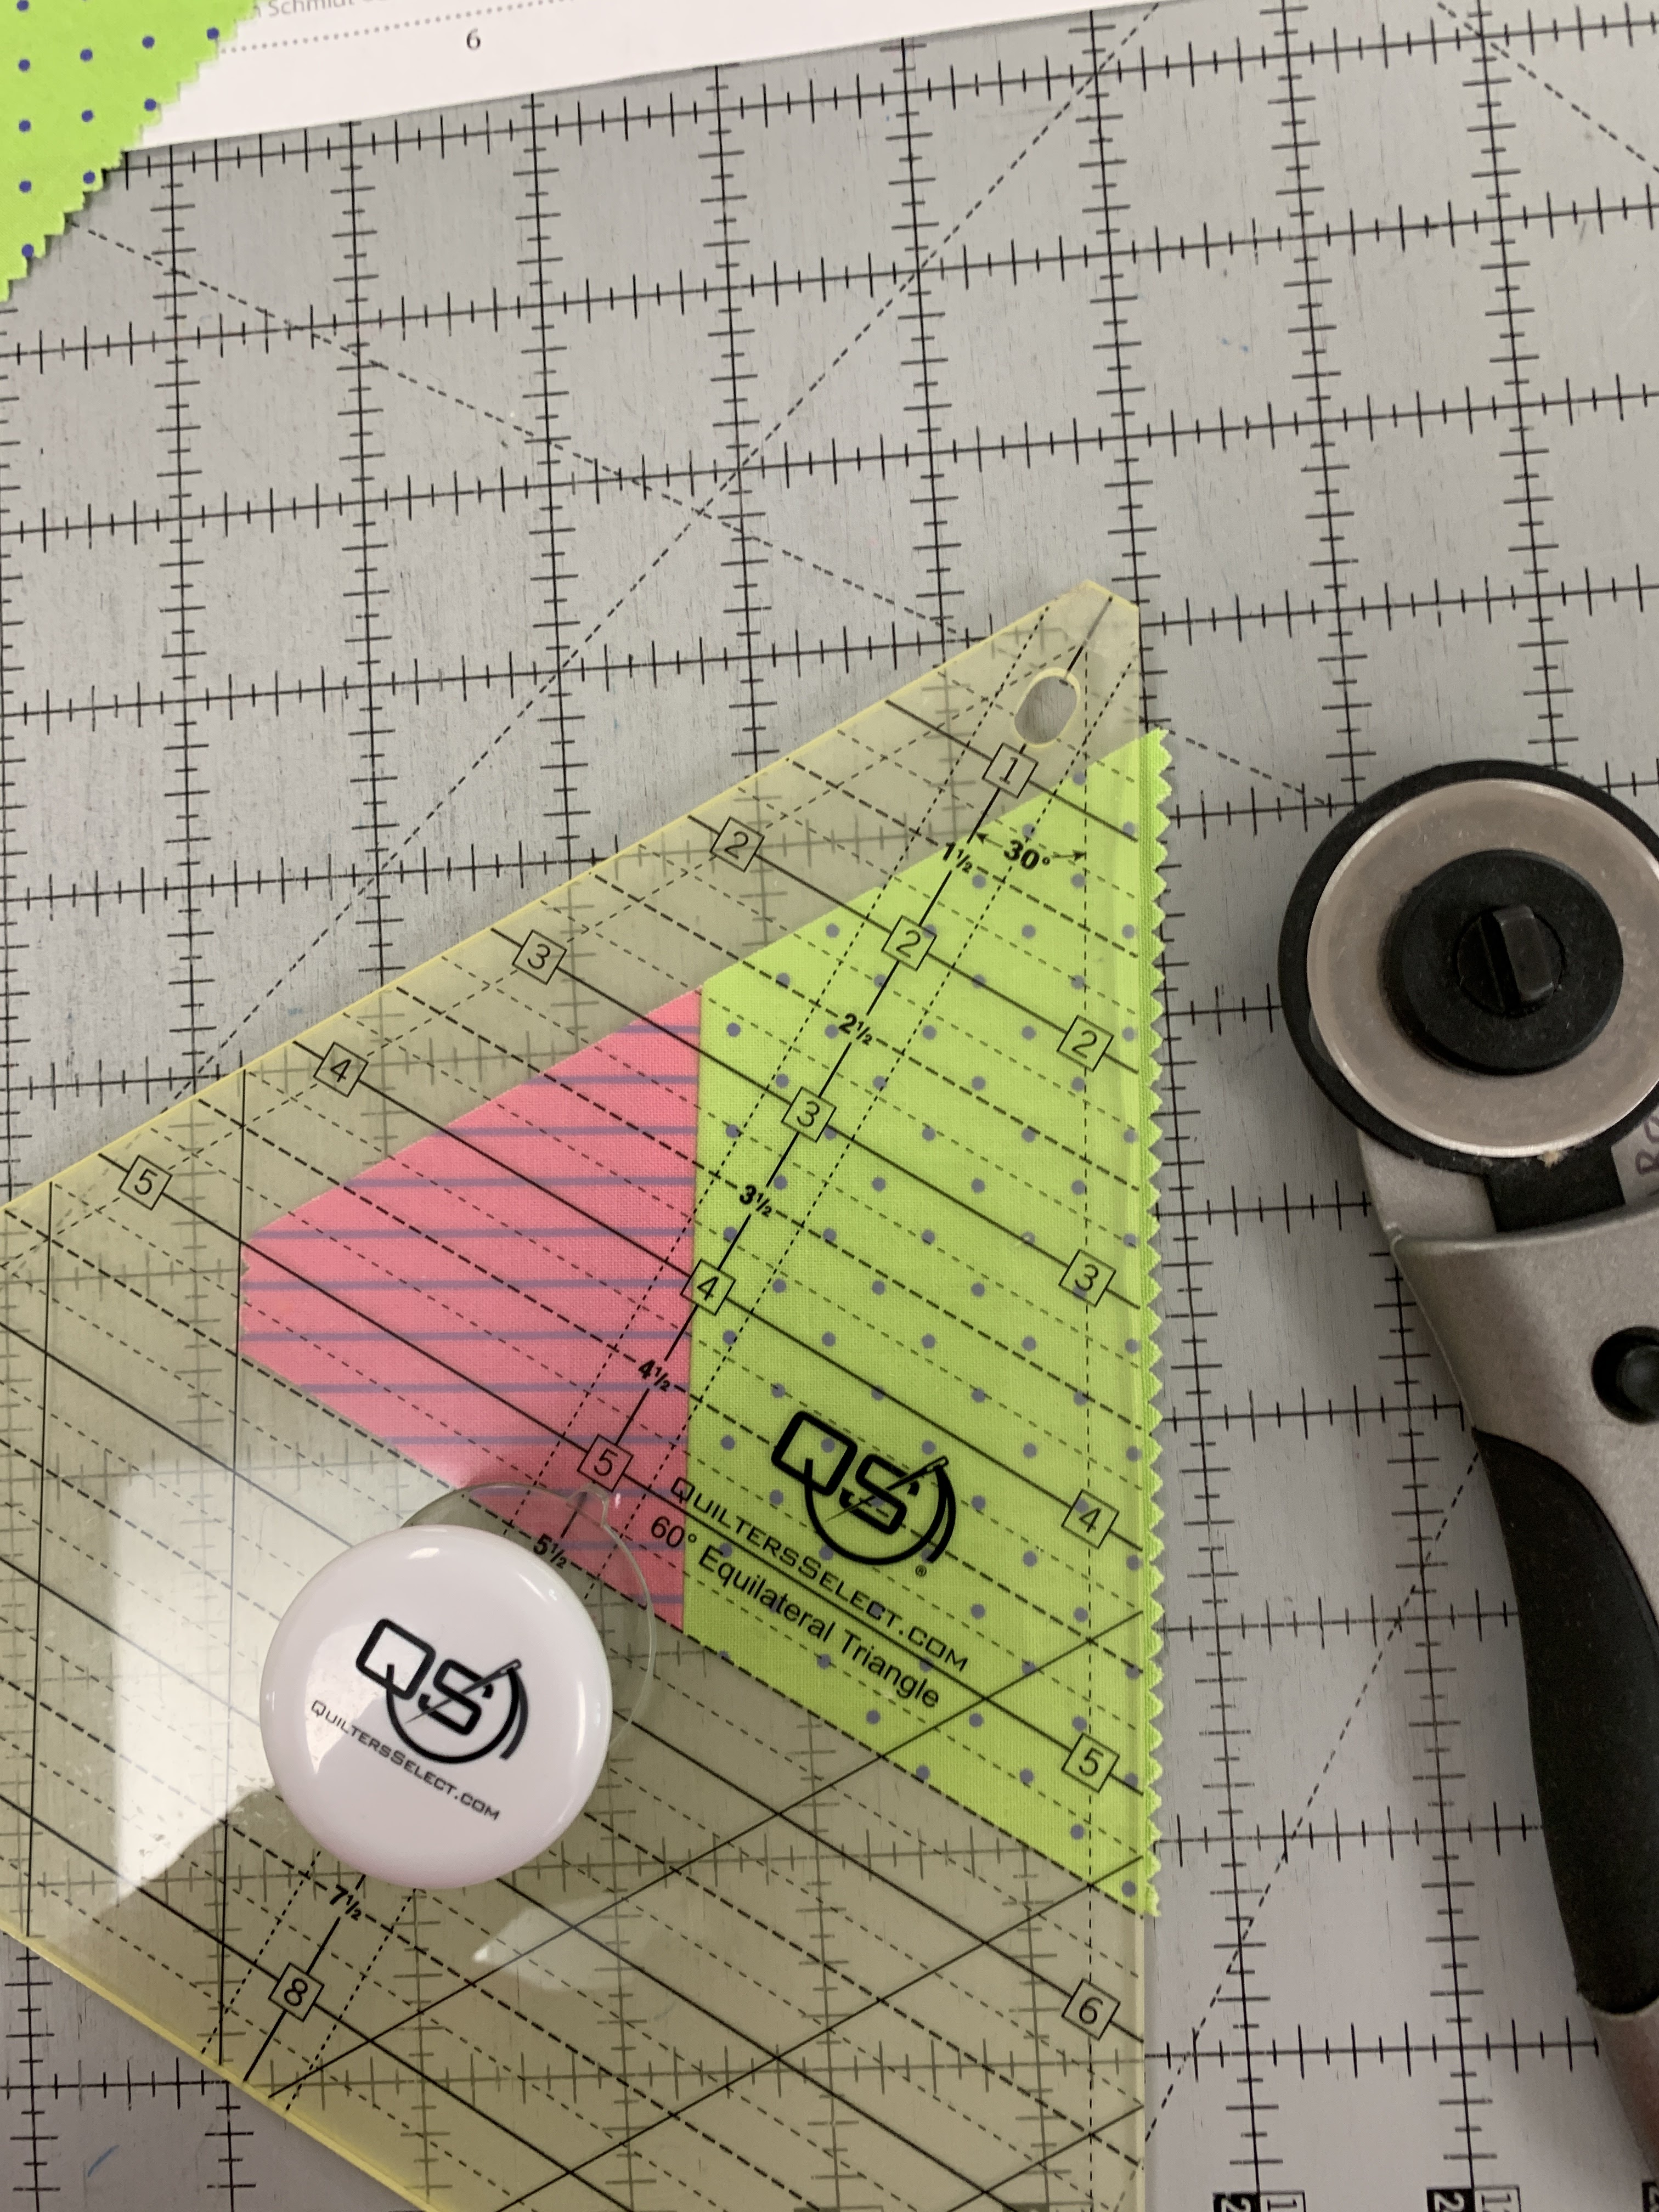
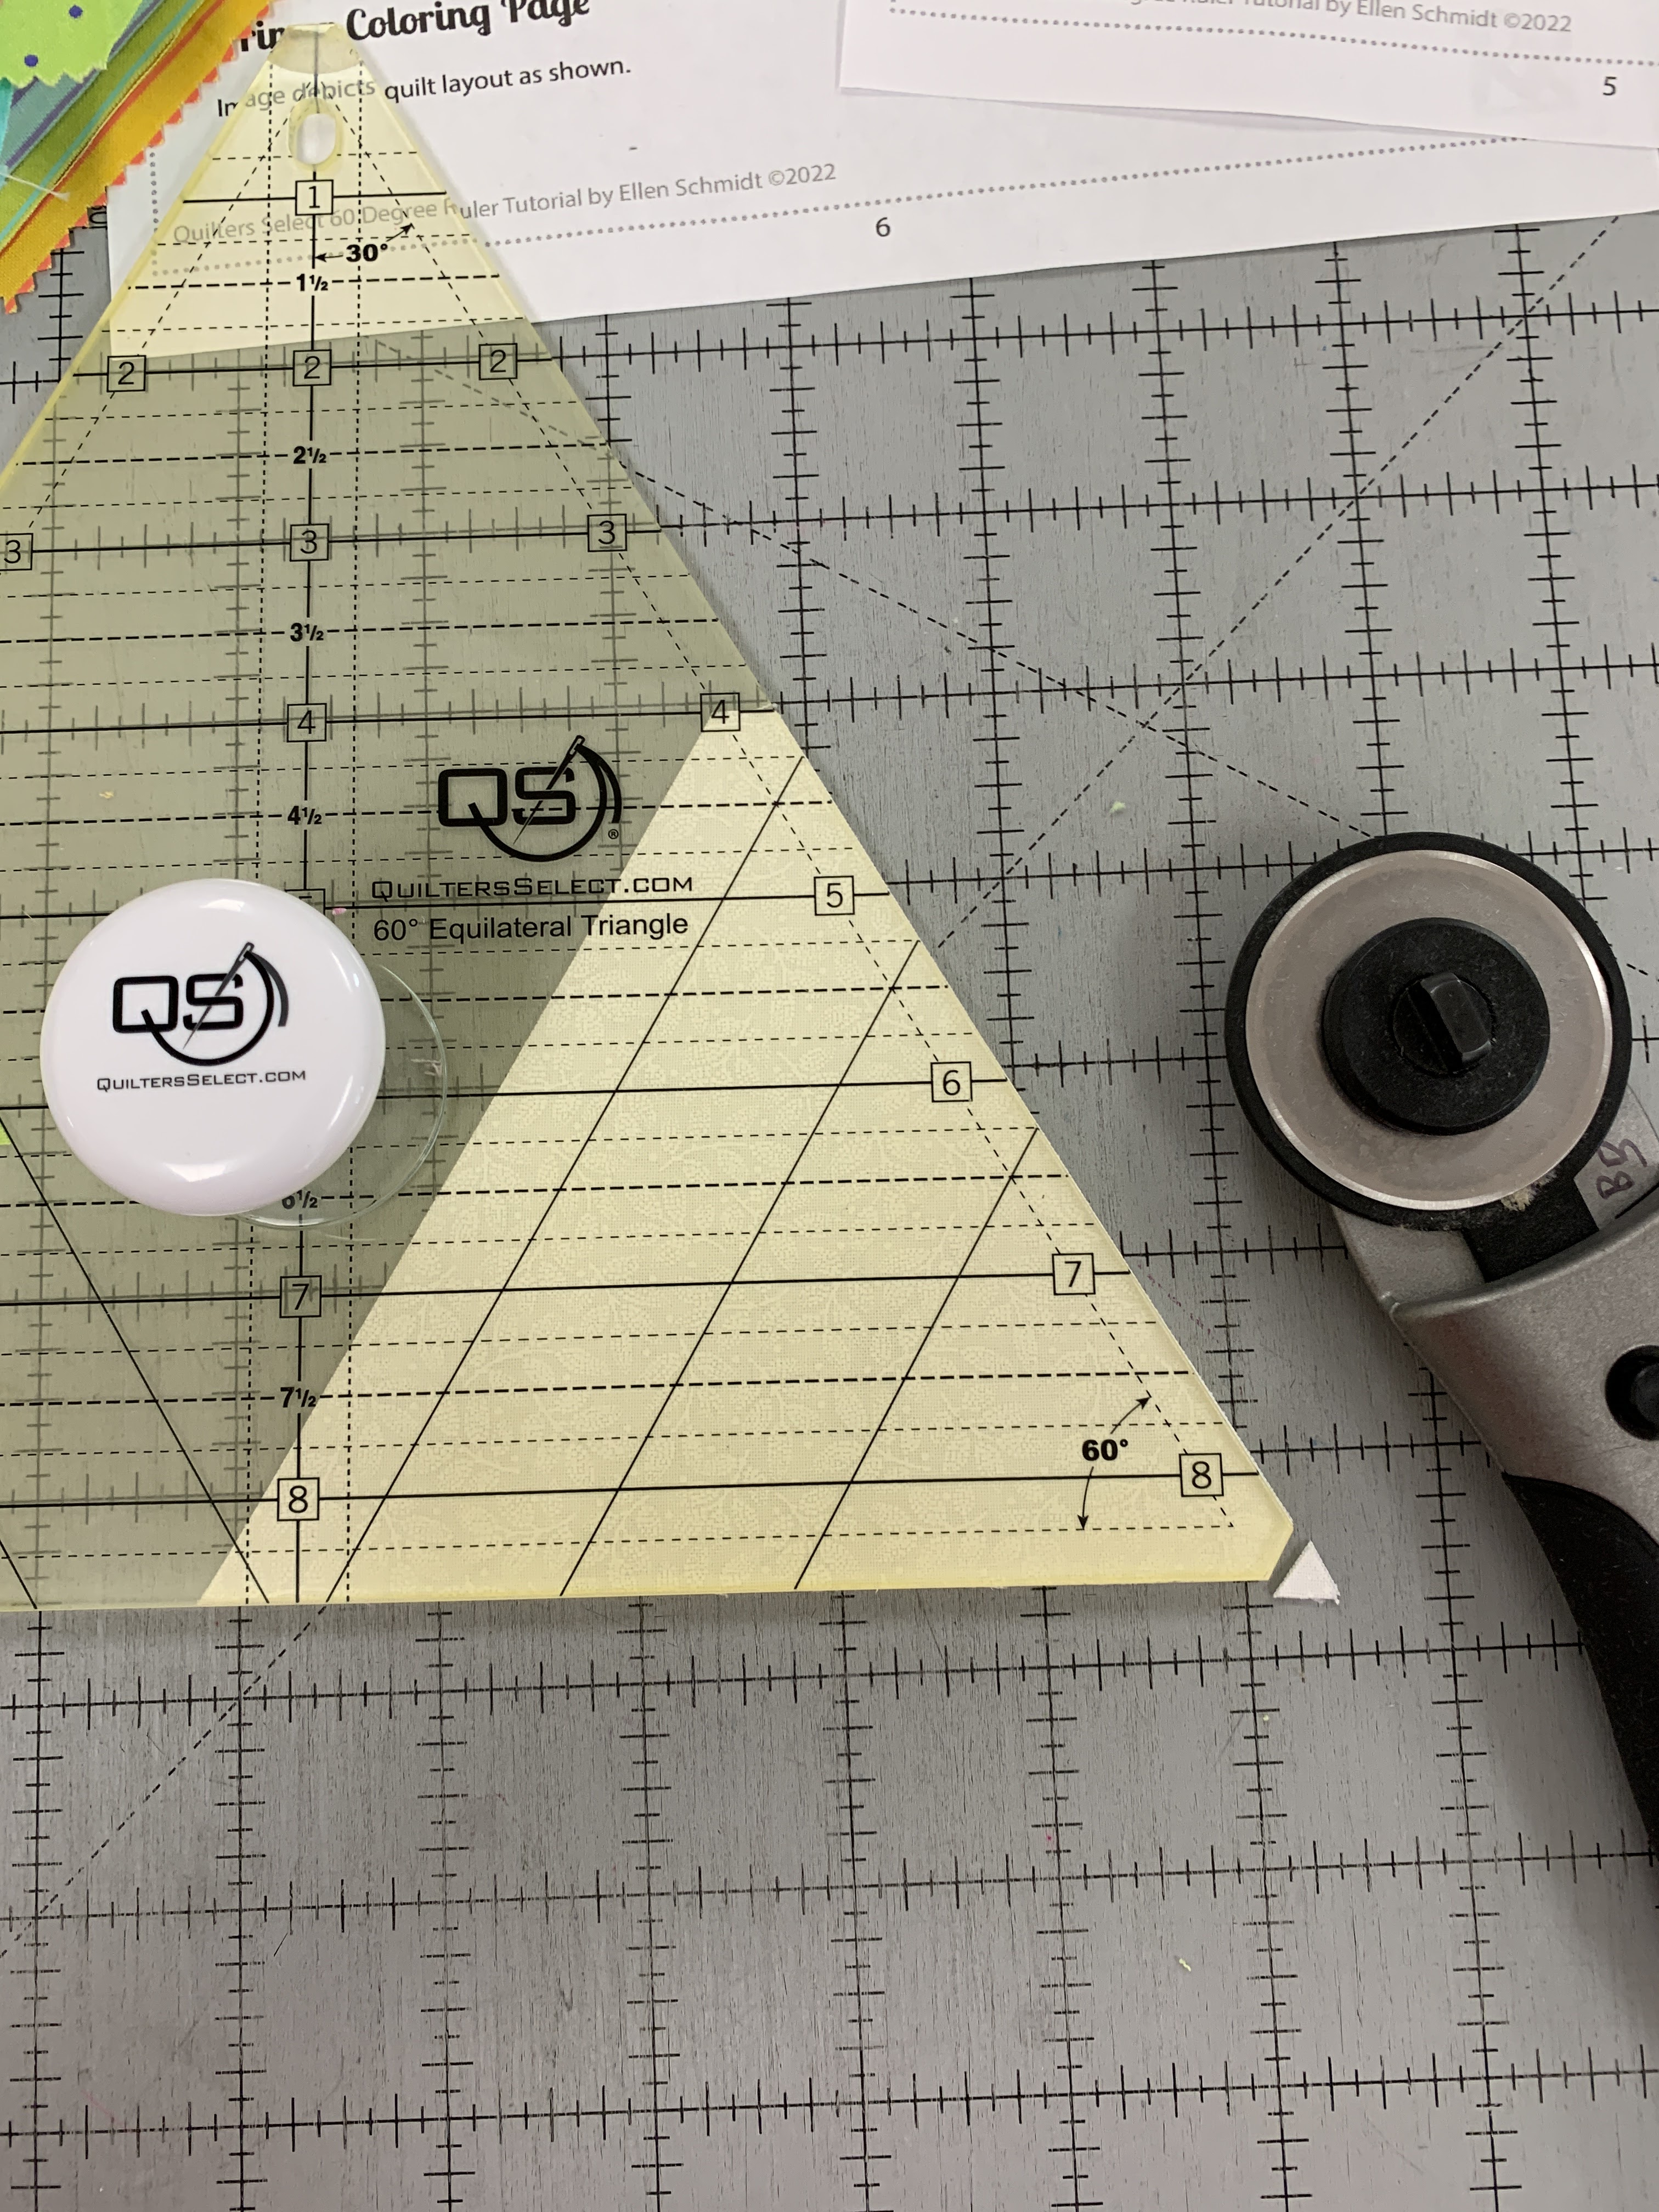
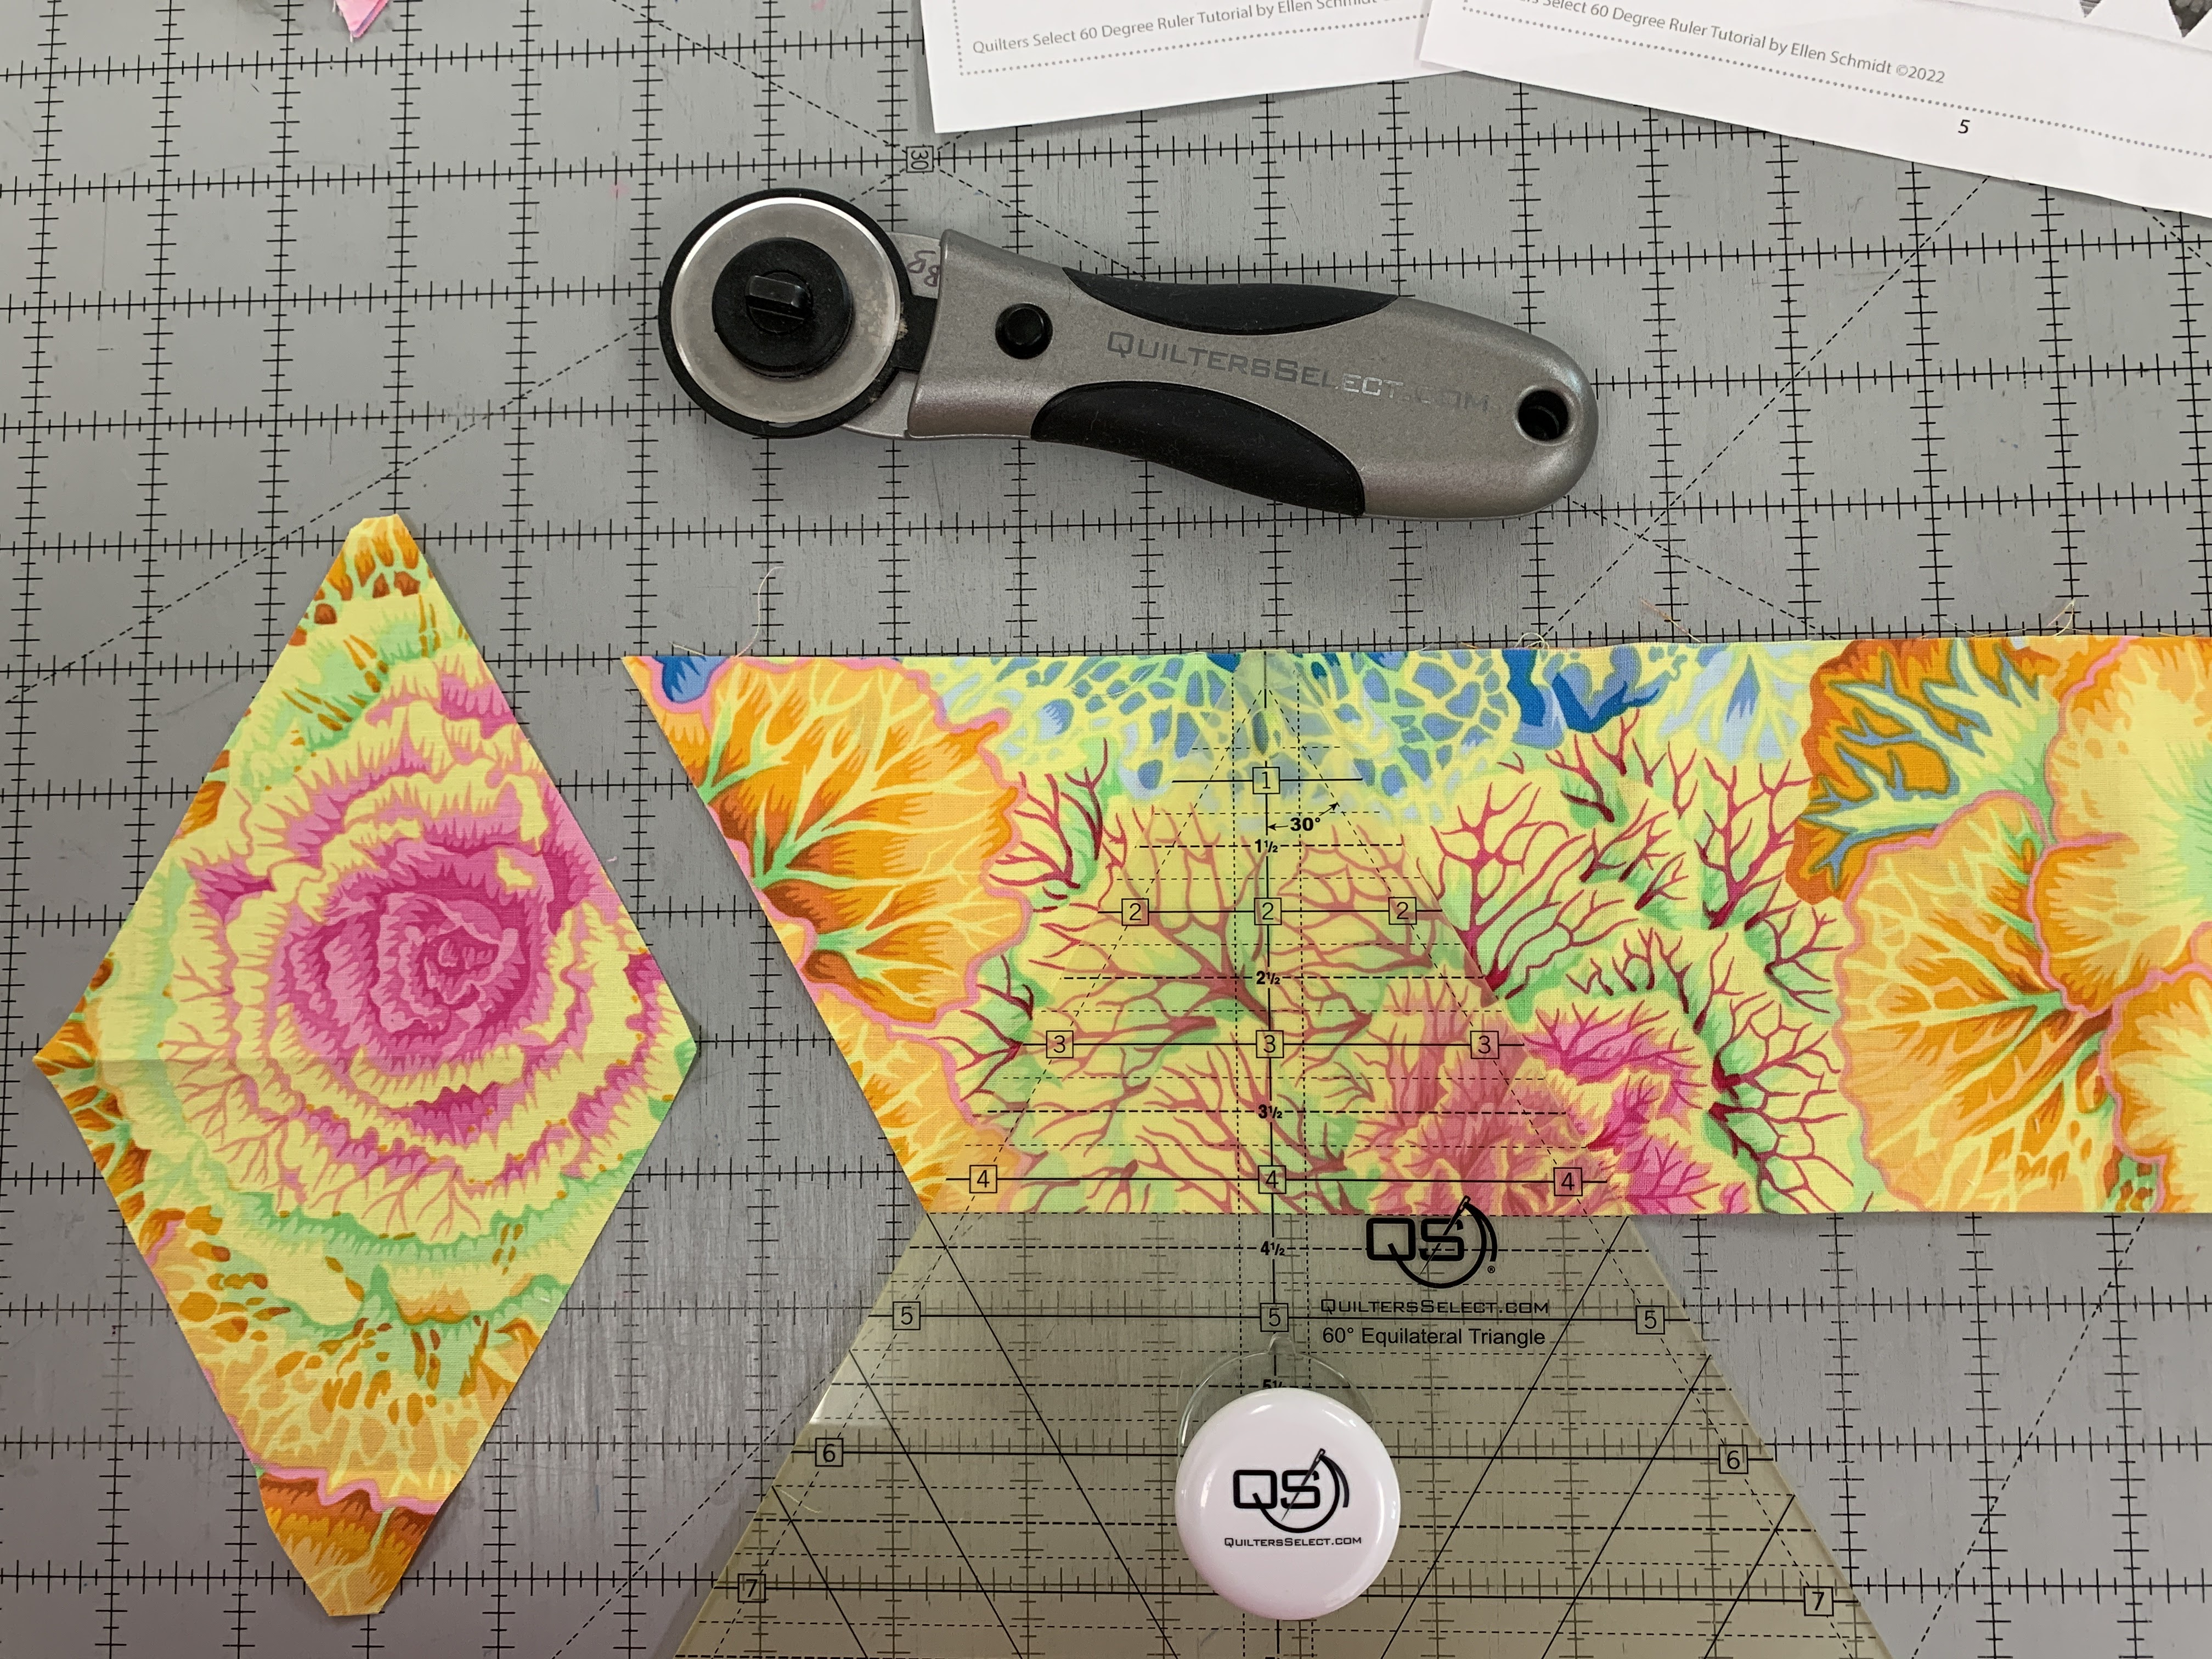
The math to use this ruler for quick and accurate cutting of 60 degree triangles is simple: What is the finished height of the triangle you want, from center point to the base? Finished means when the shape is sewn into the block. Add 1/2" to that measurement and that is the size strip to cut.
I started with leftover jelly roll strips, those are 2 1/2" wide. I joined two on the long seam and pressed it open. I could have trimmed it to exactly 4 1/2" but decided to cut first, trim second. Next time I will trim the strip to exactly 4 1/2" FIRST:

Like any tool, it might take a few times using it to become fully comfortable with it. But this is a keeper in my studio. I encourage you to play with 60 degree shapes to see how easy they can be.
Find more information on the Quilters Select website: 60 Degree Triangle Ruler
Watch the videos HERE, they start at about 9 minutes in.
Let's quilt.
Barbara
A great tutorial for this ruler, Barbara!
ReplyDelete