
PICK A PETAL is the 2024 Block of the Month quilt designed by Jen Kingwell exclusively for The Quilt Show. It is FREE to Star Members, join today to take advantage of this great bonus. WATCH Jen's Show to see how she makes this quilt--it is FREE for EVERYONE all of 2024: Jen Kingwell Show 3401
It is time to start the applique on the lovely Log Cabin borders. Here are two photos showing Jen Kingwell's stitching. We will learn more about the embroidery in future months:


Here is mine on the design wall. I am preparing two of the borders to travel with me to Texas. The hand applique will be done in my hotel room in the evenings:

All I need to work on these away from home are needles, thread and a good pair of scissors. A needle threader helps too. The pre-wound bobbins of Quilters Select 80 wt. thread is perfect for hand applique and has every color I can possibly need:

I prefer turned edge applique to raw edge so that is what I am doing. The Kit includes Mylar templates for all the shapes used in the quilt. Mylar is heat resistant plastic, use a synthetic setting on your iron, not super hot.
Searching on the internet for videos to share with you, I found a couple. The first is Jen Kingwell showing hand applique of circles:
The second is Margaret Mew demonstrating how to prepare applique shapes using Mylar templates:
On my blog I have written MANY times about turned edge applique. Use the SEARCH box in the upper left to look for Turned Edge Applique to find them.
A very helpful tool for preparing applique shapes is a Sandpaper Board. Jen Kingwell's is perfect, not very expensive and can be used on both sides. Buy it at The Quilt Show Store:


For the flowers I dug through the Mylar templates to find the ones I needed for Month 5. This is the BOTTOM ROW Log Cabin border of the quilt. I complicated my life by putting 6 Log Cabin blocks on the Top and Bottom rows, and 4 on the Left and Right Sides. It takes extra effort to figure out which motifs are intended to go on the outside corner blocks. And their orientation. So, I recommend you follow the instructions for the Log Cabin block rows, Month 4.
Then I played with fabrics to make my selections. While I used the photo of Jen's quilt as a guide, I made changes using the Kit fabrics. And sometimes I just used some of my favorite fabrics.
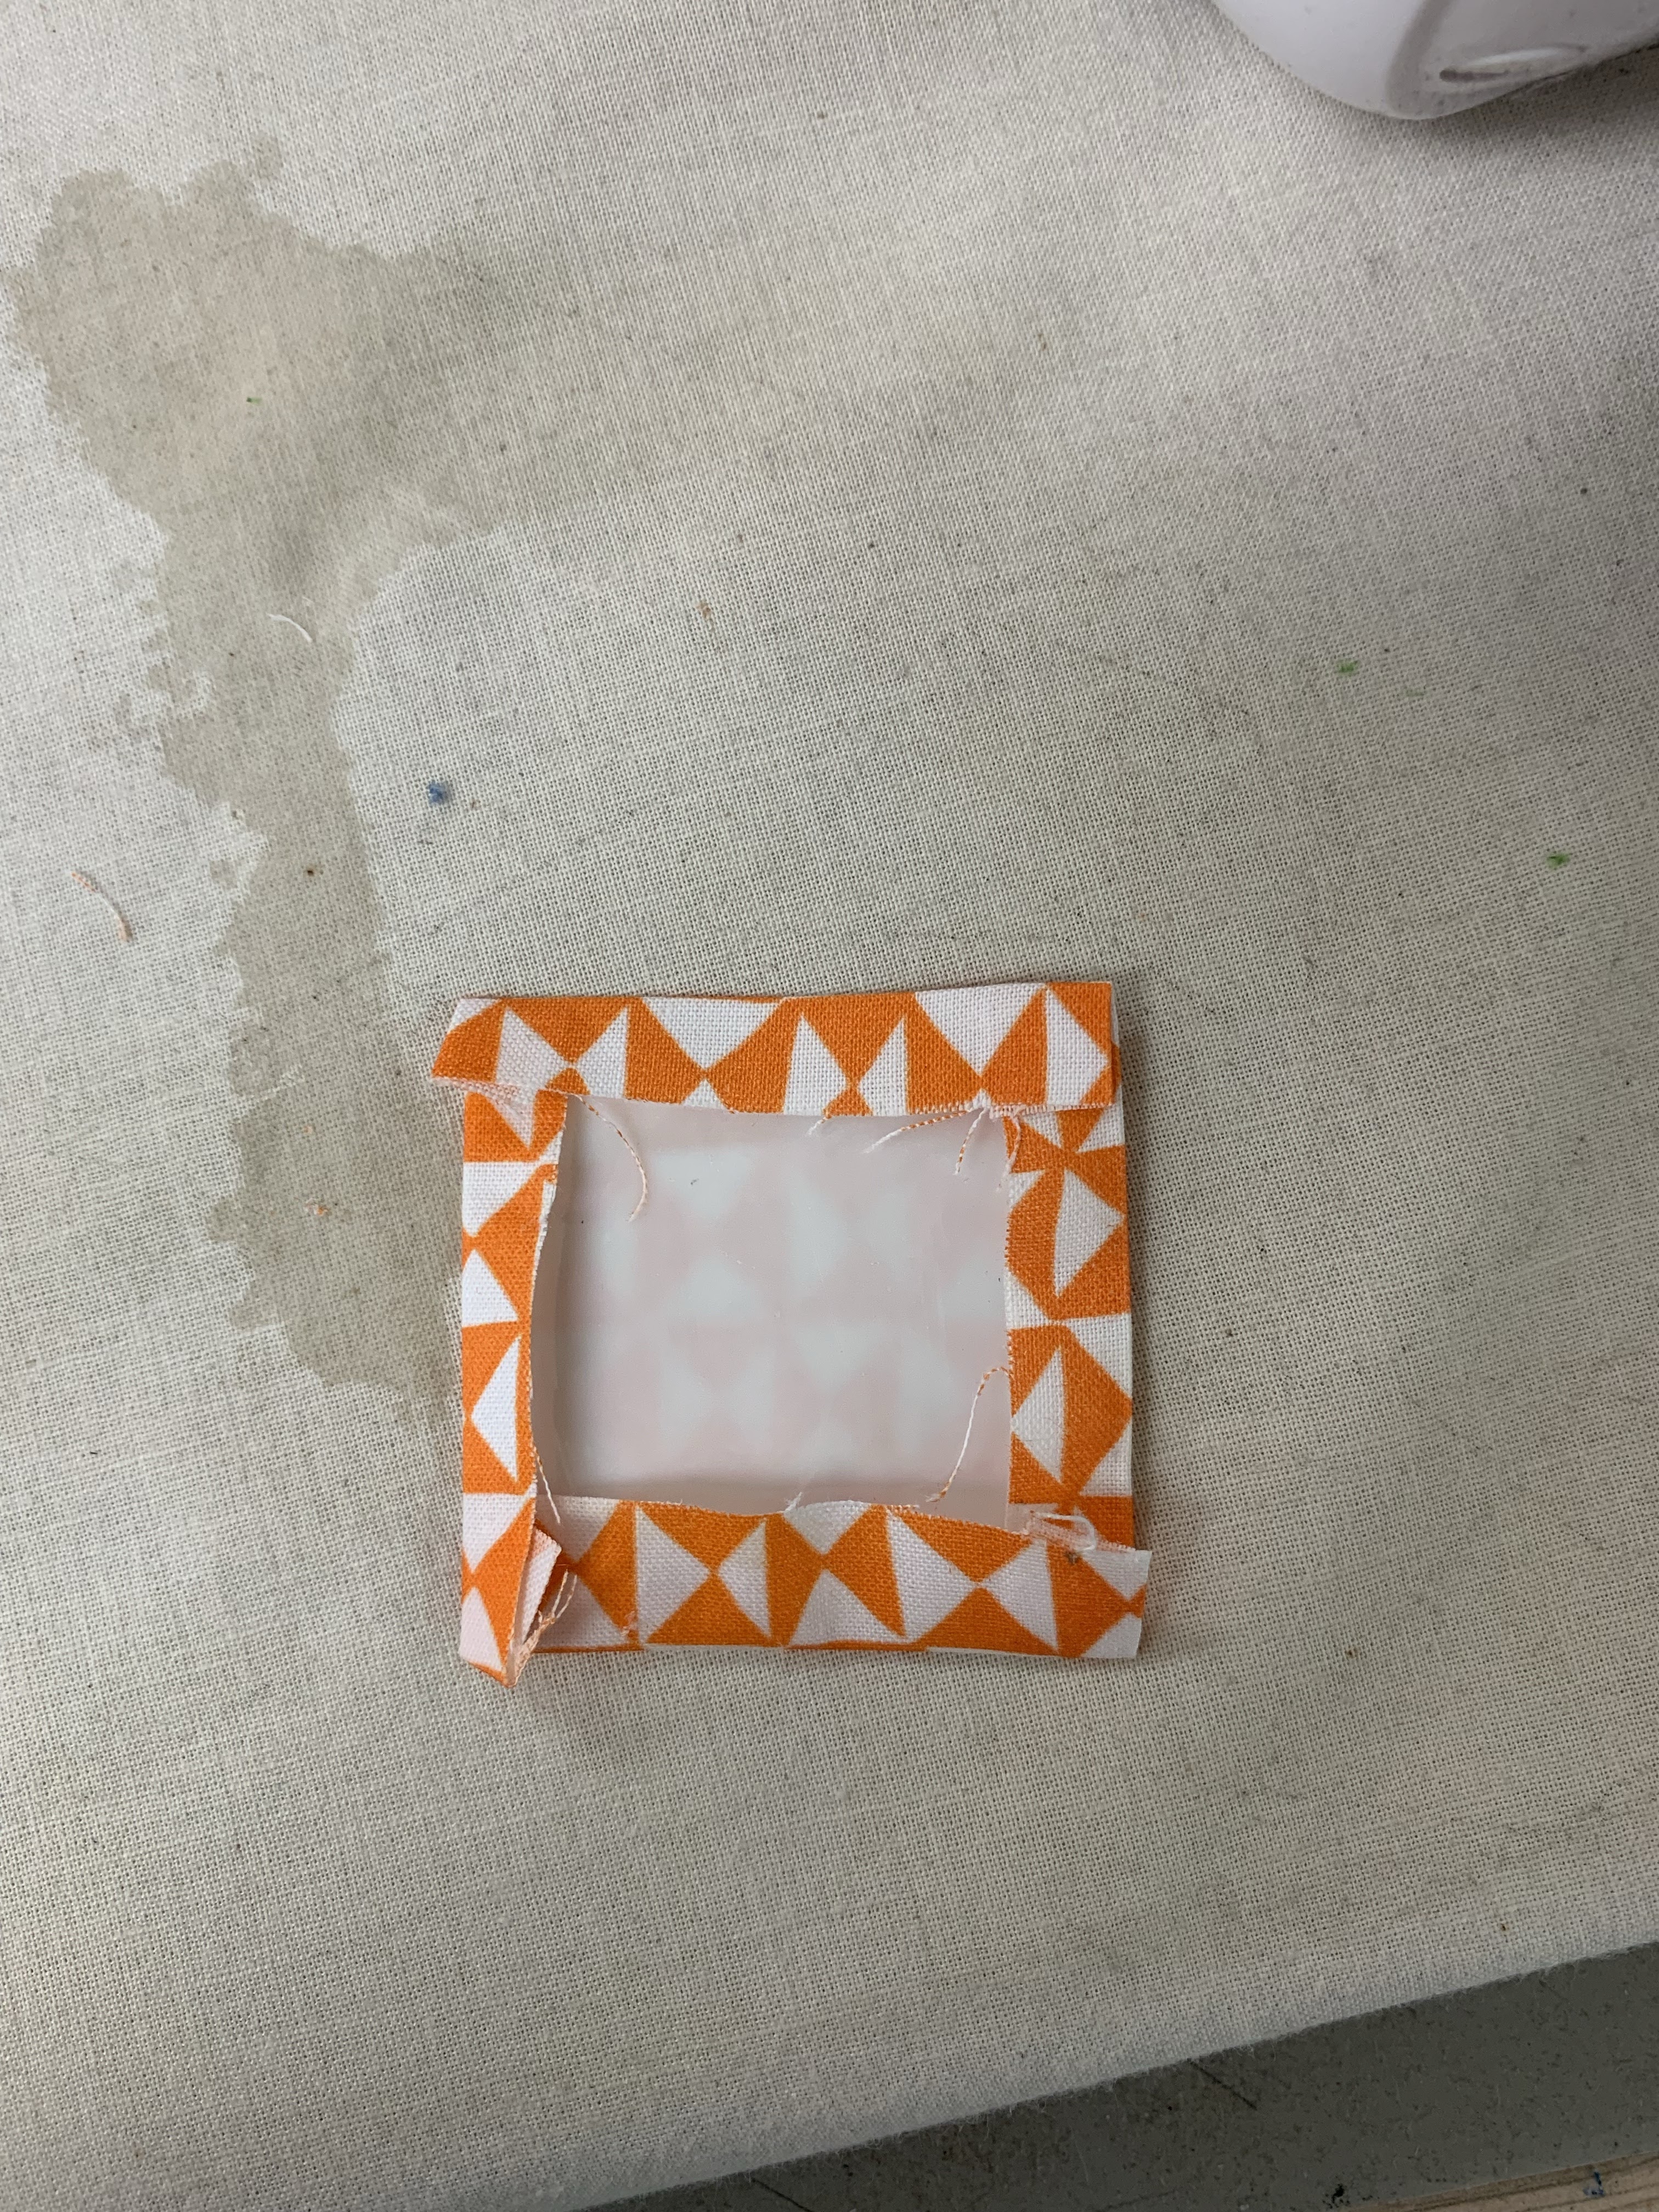
If the shape could be easily prepared for machine applique that is what I did. Squares are easy.
Use the Sandpaper Board to hold the fabric while tracing around the template. A mechanical pencil is my marker of choice, as long as I can see it:


Are there instructions/patterns for the flowers, stem placement for those who did not buy the kit?
ReplyDeleteYes, they will be in Month 5 instructions due to be released May 1.
DeleteWhew!!! Thank You for the info, so looking forward to the applique...
ReplyDeleteI’m still confused. I bought the kit but it did not include any flower templates, only fabric. Am I missing something?
ReplyDeleteLook through the package. The Mylar templates for all the flower shapes are wrapped in a paper wrapper.
DeleteHi, I would like to comment on your Applique stitch on your Bernina 770.(On my Bernina 770 it is stitch 1329, Width .8 and Length 1.7. ) Are you using St 1329? should it not be St 1309? Just asking? Thanks
ReplyDeleteI use stitch 1329. There are many stitches that could be used for appliqué. Try several on test fabrics to find your favorite.
Delete