Laurel Ridge is the 2025 Block of the Month quilt designed by Lynn Wilder exclusively for The Quilt Show. Star Members have FREE access to the patterns starting January 1, 2025. Made in two colorways, the complete patterns are excellent. You will love making this quilt. Lynn supports the pattern instructions with Videos too.
Month 7 finds us making more Four Patch in a Star blocks. We first made these in Month 1. Find my post here: MONTH 1 FOUR PATCH IN A STAR
This month we make 24 blocks. If using the Kit Fabrics, follow the pattern instructions for fabric selection. If using your own fabrics, select whatever you like.
MY CUTTING ADJUSTMENT: I like to cut the E triangles from squares that start at 4.75". CUT 3 STRIPS 4.75", sub-cut into 24 squares, 4.75" each. Draw a pencil line on BOTH DIAGONALS, then cut the 4.75" square into 4 small squares, 2 3/8" each, with the pencil lines already drawn. 24 squares 4.75" = 96 squares 2 3/8".
I found it helpful to have that slight extra amount. To follow the pattern instructions, cut the squares 4.5", that creates 4 squares 2 1/4" as per the instructions:

I used my Month 1 blocks, saved after I changed all my other star blocks to have a dark green square running diagonally:
 |
| First set of blocks I made |
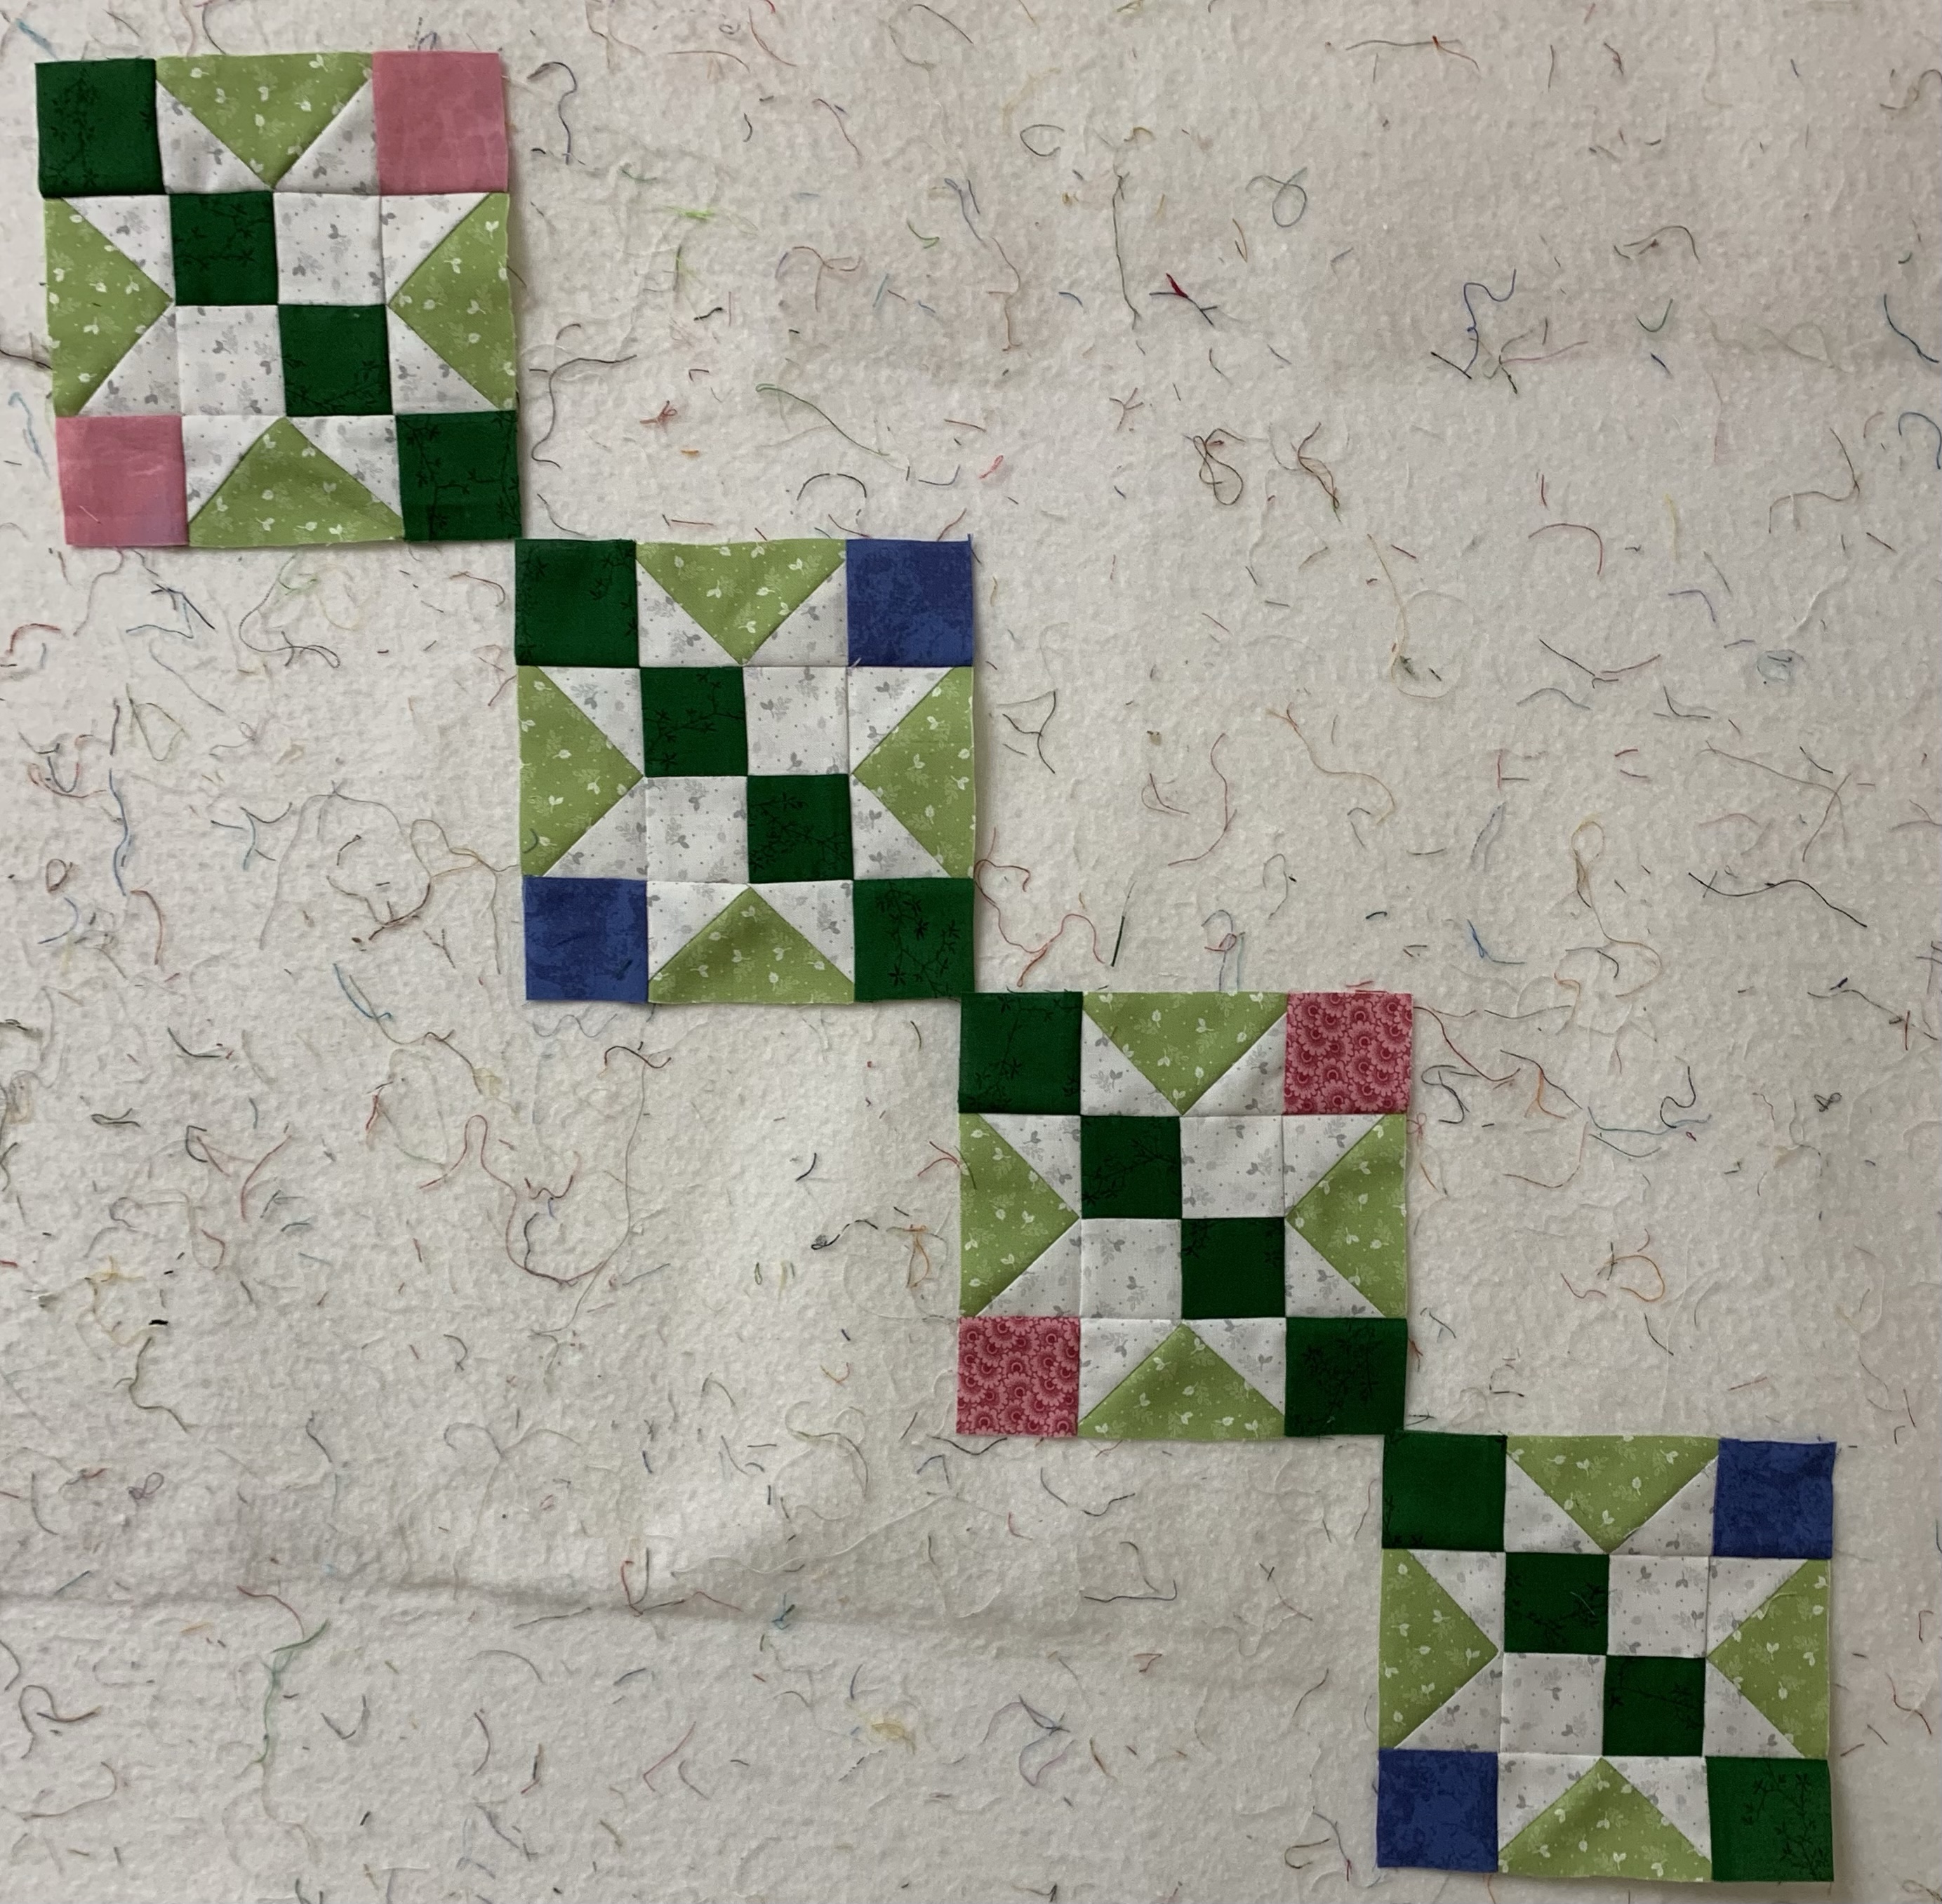 |
| Second choice, all blocks have dark green squares on the diagonal |