Showing posts with label Circa 2016. Show all posts

Sunday, November 25, 2018

What's Next?

This is my post-Houston get-productive period. That means classes are about finished for the year and I don't have to go anywhere for a while.

I just finished Circa 2016 and am pleased with how it turned out. This pattern is still available for purchase from Temecula Quilt Company.


Now it's time to clear away the clutter from the stuff I brought home from Houston and make a plan for the rest of this year. I didn't buy a lot, mostly thread:


There are a few gifts to sew, quilt and finish--that won't take long. So, I've decided to finish a very long, on-going quilt: Ruffled Roses, the 2011 Block of the Month from The Quilt Show:

A few months ago, I put this on the design wall to inspire/prod me to finish it. Today, when the clutter is stashed away, I will get back to it--my goal is to have the top done by the end of 2018.  

My Lifetime Quilt is almost done too, another Finish I want to complete by the end of this year:


Are you busy with sewing projects now or do holiday preparations take over? I don't like to shop and only do it when I must. The kids won't be here for Christmas so holiday decorating will be limited to a few of my favorite things. There is no reason I can't get these two quilt tops completed.

Let's Quilt!

Barbara

Wednesday, November 7, 2018

Circa 2016

I am a huge fan of Temecula Quilt Company's Sew-a-Longs and have made several of them. This is one of my favorites, Circa 2016, on the design wall more than a year ago. The pattern is still available  here:


The outer border stripe is wider on the top border, I just didn't cut it down, it was the last strip of border stripe I had left--once the quilt is finished all four borders will be trimmed to the same size.

The other day I finally started quilting this--it has been basted and waiting for me to get to it for about a year:


 It took about two and a half hours to stitch in the ditch along every construction seam. It was easy work using my favorite tool, the Line Tamer Ruler or "template". It allows me to quilt very straight lines quickly with the Bernina Q20 sit down longarm machine--it has no feed dogs so no walking foot would work.


The back shows the simple lines currently quilted. I will quilt in free motion curvy designs in each square created by the stitch-in-the-ditch grid. One advantage to doing all the stitch-in-the-ditch first is, all the pins are being removed as I quilt--now there are no pins to get in the way as I do the free motion designs:


The biggest challenge will be that 3.5" finished size border. I really want to quilt a curvy, flowing large feather design so am currently drawing that on paper a lot to establish "muscle memory". I am also taking a Free Motion Quilting class with my friend Jenny Lyon, Quiltskipper, in Houston, that will help too. When I come home I'll draw some 3.5" wide lines on practice fabric and work on this design until I am comfortable going to the real quilt or just get tired of practicing and decide to jump in! 

With any luck, this one will be done before the year is over and the label I printed last year will still be correct.

Let's quilt,

Barbara

Friday, October 14, 2016

Tutorial: How to Add a Mitered Border to Your Quilt

There are times when a quilt really benefits from a mitered border, instead of a border with butted or cornerstone corners.  It takes a little more time to do miters, but the effort can really pay off.  It is NOT HARD, just a little slower to accomplish than plain borders.

Sometimes it's the fabric you've selected for your border that tells you to miter.  A stripe or a border print really looks good mitered.  Here are the steps I took this week to add a striped fabric to my   Circa 2016 quilt.

1. Measure the quilt top in both directions:

This was 52" x 43" including seam allowances.

2. Carefully cut the borders exactly the same size in width and placement of the lines.  This almost certainly has to be done one layer at a time to be sure all four borders are the same. I placed the 2.25" mark on my ruler on a specific line on the striped fabric--this is the center of the border.  I cut four borders, 4.5" wide each, 2.25" away from the center line in both directions.  Now the borders have the stripes exactly the same. The longest border I needed was 52" + 8" = 60" so the 2 yards (72") I had of this stripe was plenty.  I did not cut the borders to exact size before sewing.  Some people do, but I wait until the borders are sewn in place to make the final cut to size--insurance in case I measured incorrectly--it happens...

3.  Fold the border in the middle, mark the middle, and mark the outside measurement on both ends--here is the 52" border, marked at 26" and at the outer ends:


4. Do the same thing with other border, 43" is marked at both ends and 21.5" in the middle.

5. Pin the first border to the quilt, pinning at the middle and precisely at each end.  Use as many pins as you need to ease the border/quilt to fit each other:

This shows the back side of the border, where the mark on the border is lined up with the outside edge of the quilt.  I pinned and sewed with the quilt side up so I could see the Half Square Triangles (HST).

6. Start and end the seam 1/4" from both outside edges:


7.  Add all four borders in the same manner, starting and stopping 1/4" in from the outside edge of the quilt.

8.  When all four borders are in place, you will mark the 45 degree miter line with a pencil.  Carefully fold a corner of the quilt so two borders are exactly on top of each other and the quilt is folded at the seam where you started/stopped sewing:

Both borders sewn, from the back

Both borders sewn, from the front

If you have a triangle ruler, now is a good time to use it.  Line up the ruler with the start/stop stitches where the quilt joins the border and the bottom edge, keeping everything in line:


If you don't have a triangle ruler, any ruler with a 45 degree line will work:


Pencil line drawn carefully from start to finish:


I pin and check that the border lines are precisely lined up, this looks good so I'm ready to sew:


9.  Starting at the top where the quilt is joined to the border, sew with a few back stitches, being sure you don't go inside the seam allowance.  Any stitches that go inside the seam allowance will cause a small pucker--you'll want to remove any of those stitches.  Sewn and ready to trim:


10.  Carefully trim the seam.  I cut this slightly larger than 1/4", but 1/4" is fine if you prefer.  Press the seams open and admire how precisely you sewed your borders:


Lather, rinse, repeat with the other three borders.  Your quilt looks great!

Here is mine:


And, because someone will ask, the top border is wider because I did not cut the selvedge off when I cut the fourth border.  It will be trimmed off when the quilt is finished and I am squaring it up for binding.

Just a NOTE:  if you have multiple fabrics in your border, make "border fabric" first before joining the borders to the quilt.  Here is a striped border that I didn't worry about matching at the corners and an inner narrow black border.  The black fabric was sewn to the striped fabric before I marked, pinned, and sewed the borders to the quilt.  I only want to miter four times/quilt. not eight or twelve or however many borders you have on the quilt:


I hope you learned a trick or two here.  If so, please share this with all your quilt-y friends.  It can seem like no one is reading these posts out there in cyber-land!

Let's quilt!

Barbara

Wednesday, September 14, 2016

Back At It

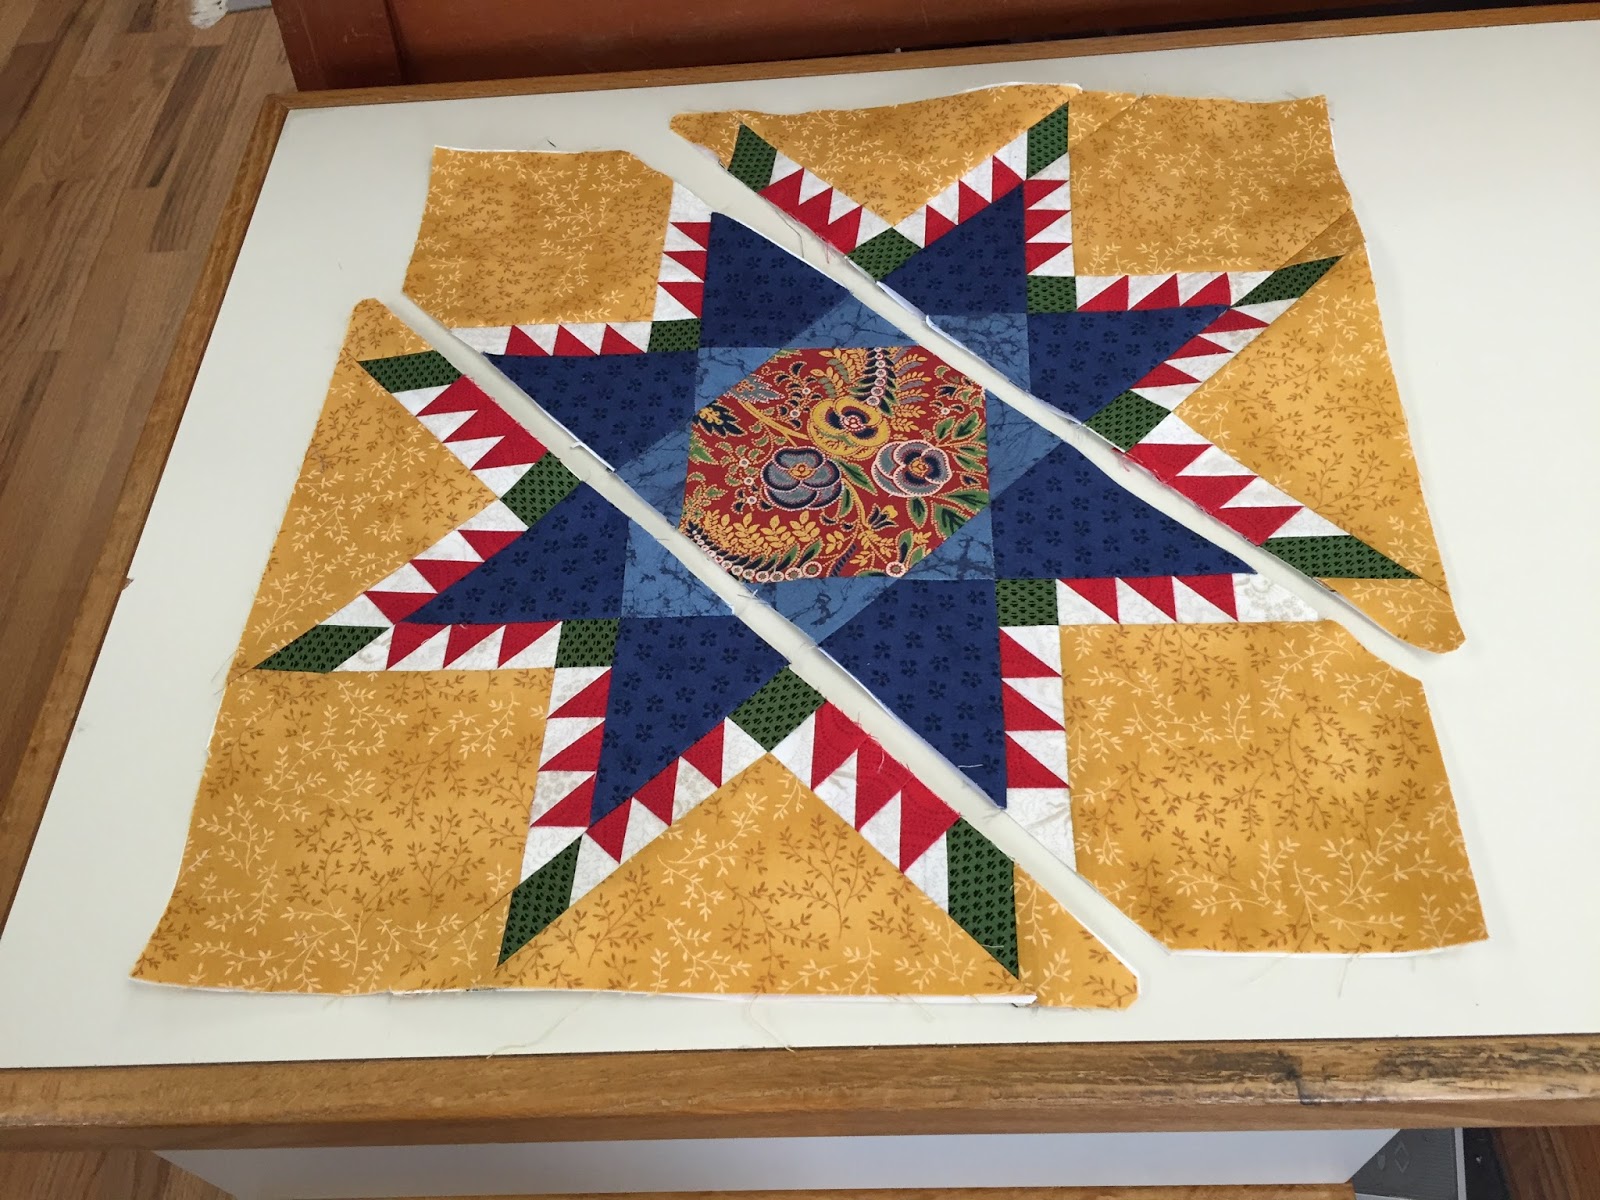
The 15" feathered star block I prepped for demonstrations in my recent two-day Feathered Star--Perfect Paper Piecing Workshop, is now a finished block:


I figure it took me about 6 hours to complete, from fabric selection to final seam.  That's why Marsha McCloskey calls feathered star blocks "Really Hard Blocks that Take a Long Time to Make"--that's truth in advertising.

This block is one of 16 I need for my Diamond Jubilee quilt, to celebrate my 60th birthday--which occurred 2 years ago.  Better get crackin'!  It is the fourth one done, and goes with these:


The gold one is hanging at the quilt shop as a sample so I don't have a photo of it completed, but it is.  Only 12 more to go.

I also caught up on Circa 2016..  We must be getting close to the end of this project:


All these little blocks will surround this middle:


And then there is Stella's Splendid Sampler, 61 of 100 blocks done.  So glad I am assembling this one as I go:


Today I will do some free-motion machine quilting as my regular machine has gone in for her annual cleaning.  Take care of your machine and it will take care of you.  I clean out any lint in the bobbin area and under the throat plate each time I change a bobbin.  And I add the recommended drop of oil each time I change two bobbins--to keep that straight, I simply wind 2 bobbins each time they are both empty so it is easy to tell if this is one bobbin or two.  If you don't know what kind of maintenance you should do on your machine, just Google it--there are videos for most every machine.  Preventative maintenance is very important too.

I'm off to Mississippi for a few days, for a guild show.  I look forward to seeing some familiar faces and meeting new friends.

Let's Quilt!

Barbara

Monday, June 27, 2016

Two Tops Done!

I've been hard at it these past few days, working on quilt tops.  Now they are done.  Not the pieced backs, I'll get to those tomorrow, but the tops are finished.

This weekend I worked on a shop sample for a Fall class:


I love making these, they are my go-to quilt for a gift since I can usually make a top in a long weekend.  This one took much longer with that diagonal pieced border but since I think I'm keeping this one, I didn't mind putting in the hours.  The pattern is Southern Star from Calico Carriage Quilting Designs.

At the retreat last week (more on that hereI finished sewing all the rows onto my year-long Tumbler project:


There are 45 rows of 61 tumblers, for a total of 2,745 two-inch finished tumblers and it's about 90" x 100".  This was Bonnie Hunter's 2015 Leader/Ender challenge.  Her 2016 one should be revealed July 1 or thereabouts.  Unless I can't help myself, I don't plan to start that one--I've got several quilts I am determined to finish this year and need NO NEW PROJECTS!  

Saturday I taught two classes.  Here is Smitten. There were only 3 students and they did great:

Their first block--each student did very well and was happy with her block

Donna's second block cut and ready to be pieced

Catherine created a sewn strip before cutting her units 
In the afternoon I had 2 students for Strippy Stars:

Rebecca trimming her units

Hollie and Rebecca's blocks made in class

Summer is a tough time for classes since people are busy.  But I love to teach and having just a few students in a new class is a good way to find out if they can accomplish what I think they can in the time allotted.  Smitten continues in a couple weeks and I'll be eager to see the wonderful blocks the students come back with.

I'm keeping up with The Splendid Sampler:


and Circa 2016:
3" blocks
My husband and I went to see the movie "The Free State of Jones" on Sunday.  We enjoyed the history though it was intense in parts.  It takes place between 1862 and 1876, with a few scenes set in current times.  Our history is ugly at times and some people still have some of those ugly beliefs.  But I try to focus on how far we've come and hope for the future.  Saturday night we saw "Spotlight" on TV and I felt similarly sad and conflicted about that movie too.  

We're indoors because it's been so hot.  Great time for quilting.

Let's quilt!

Barbara

Monday, June 20, 2016

Summer is Quilting Time

When it's too hot to be outside for very long, it's a great time to quilt.

I got caught up on The Splendid Sampler. except for a hand embroidery block--that's taking way too long:


I kept up with Circa 2016:


The red Churn Dash block was my leader/ender for these two little Circa blocks---I also finished all my tumblers today and now just have to sew the last few rows to the "mother ship" and that large quilt will be done.

Today I gathered several days of projects to work on at a private retreat I'll be enjoying this week with my two best quilty friends.  Each summer we get together, just the 3 of us, for a few days to enjoy sewing and catching up with each other.  One lives 2 hours away and we don't get to see her near as often as we'd like.  I'm really looking forward to it.

And this past weekend we were thrilled to have Stella and her folks here for a wedding.  She is so pleasant almost all of the time, very funny, loves music and dances to any beat she hears.  It was so good to get to love on her for a bit.  And she was very popular at the wedding--everyone wanted to hold her and she let them.  It was wonderful to have her here.


Let's Quilt!

Barbara