Showing posts with label free motion machine quilting. Show all posts

Sunday, February 15, 2026

FREE MOTION MACHINE QUILTING

 While I enjoy hand quilting and learned to do it many years ago, it is slow. Now most of my quilts are finished by machine quilting.

While some are "quilted by checkbook", meaning I pay a longarm quilter to quilt them, most I quilt myself on my Bernina Q20 sit down longarm machine. Like with most things, the more you practice, the better you become.

2012, that's 14 years ago, I started planning and making a quilt for my 60th birthday, my "Diamond Jubilee". It is almost finished! I have written about this quilt a lot during those years, find one of them HERE.

This is the top before I started quilting it:


Some photos of the quilting:

As I worked on the various stars, I wondered what I could do in the wide paisley border. It needed a good bit of quilting but nothing would show up except for the "texture" given by the stitches. And there was nothing I could mark on this fabric that I would be able to see for quilting. 


By dumb luck at just the right time, I learned of Geraldine Wilkins' new ruler: Stitchline 3-in-1 Ruler Quilting Tool. I met Geraldine when we both taught at the Virginia Consortium of Quilters a few years ago. She knows her stuff and is an excellent machine quilting teacher. And she knows what makes a tool really great. The price was right, shipping was reasonable, so I ordered it. Timing was perfect, it arrived the day before I was ready to tackle those borders.

I wanted something curvy, fairly open, and the ruler had excellent markings to require no marking on the quilt itself. I was very pleased with how well it works and how the border looked finished:

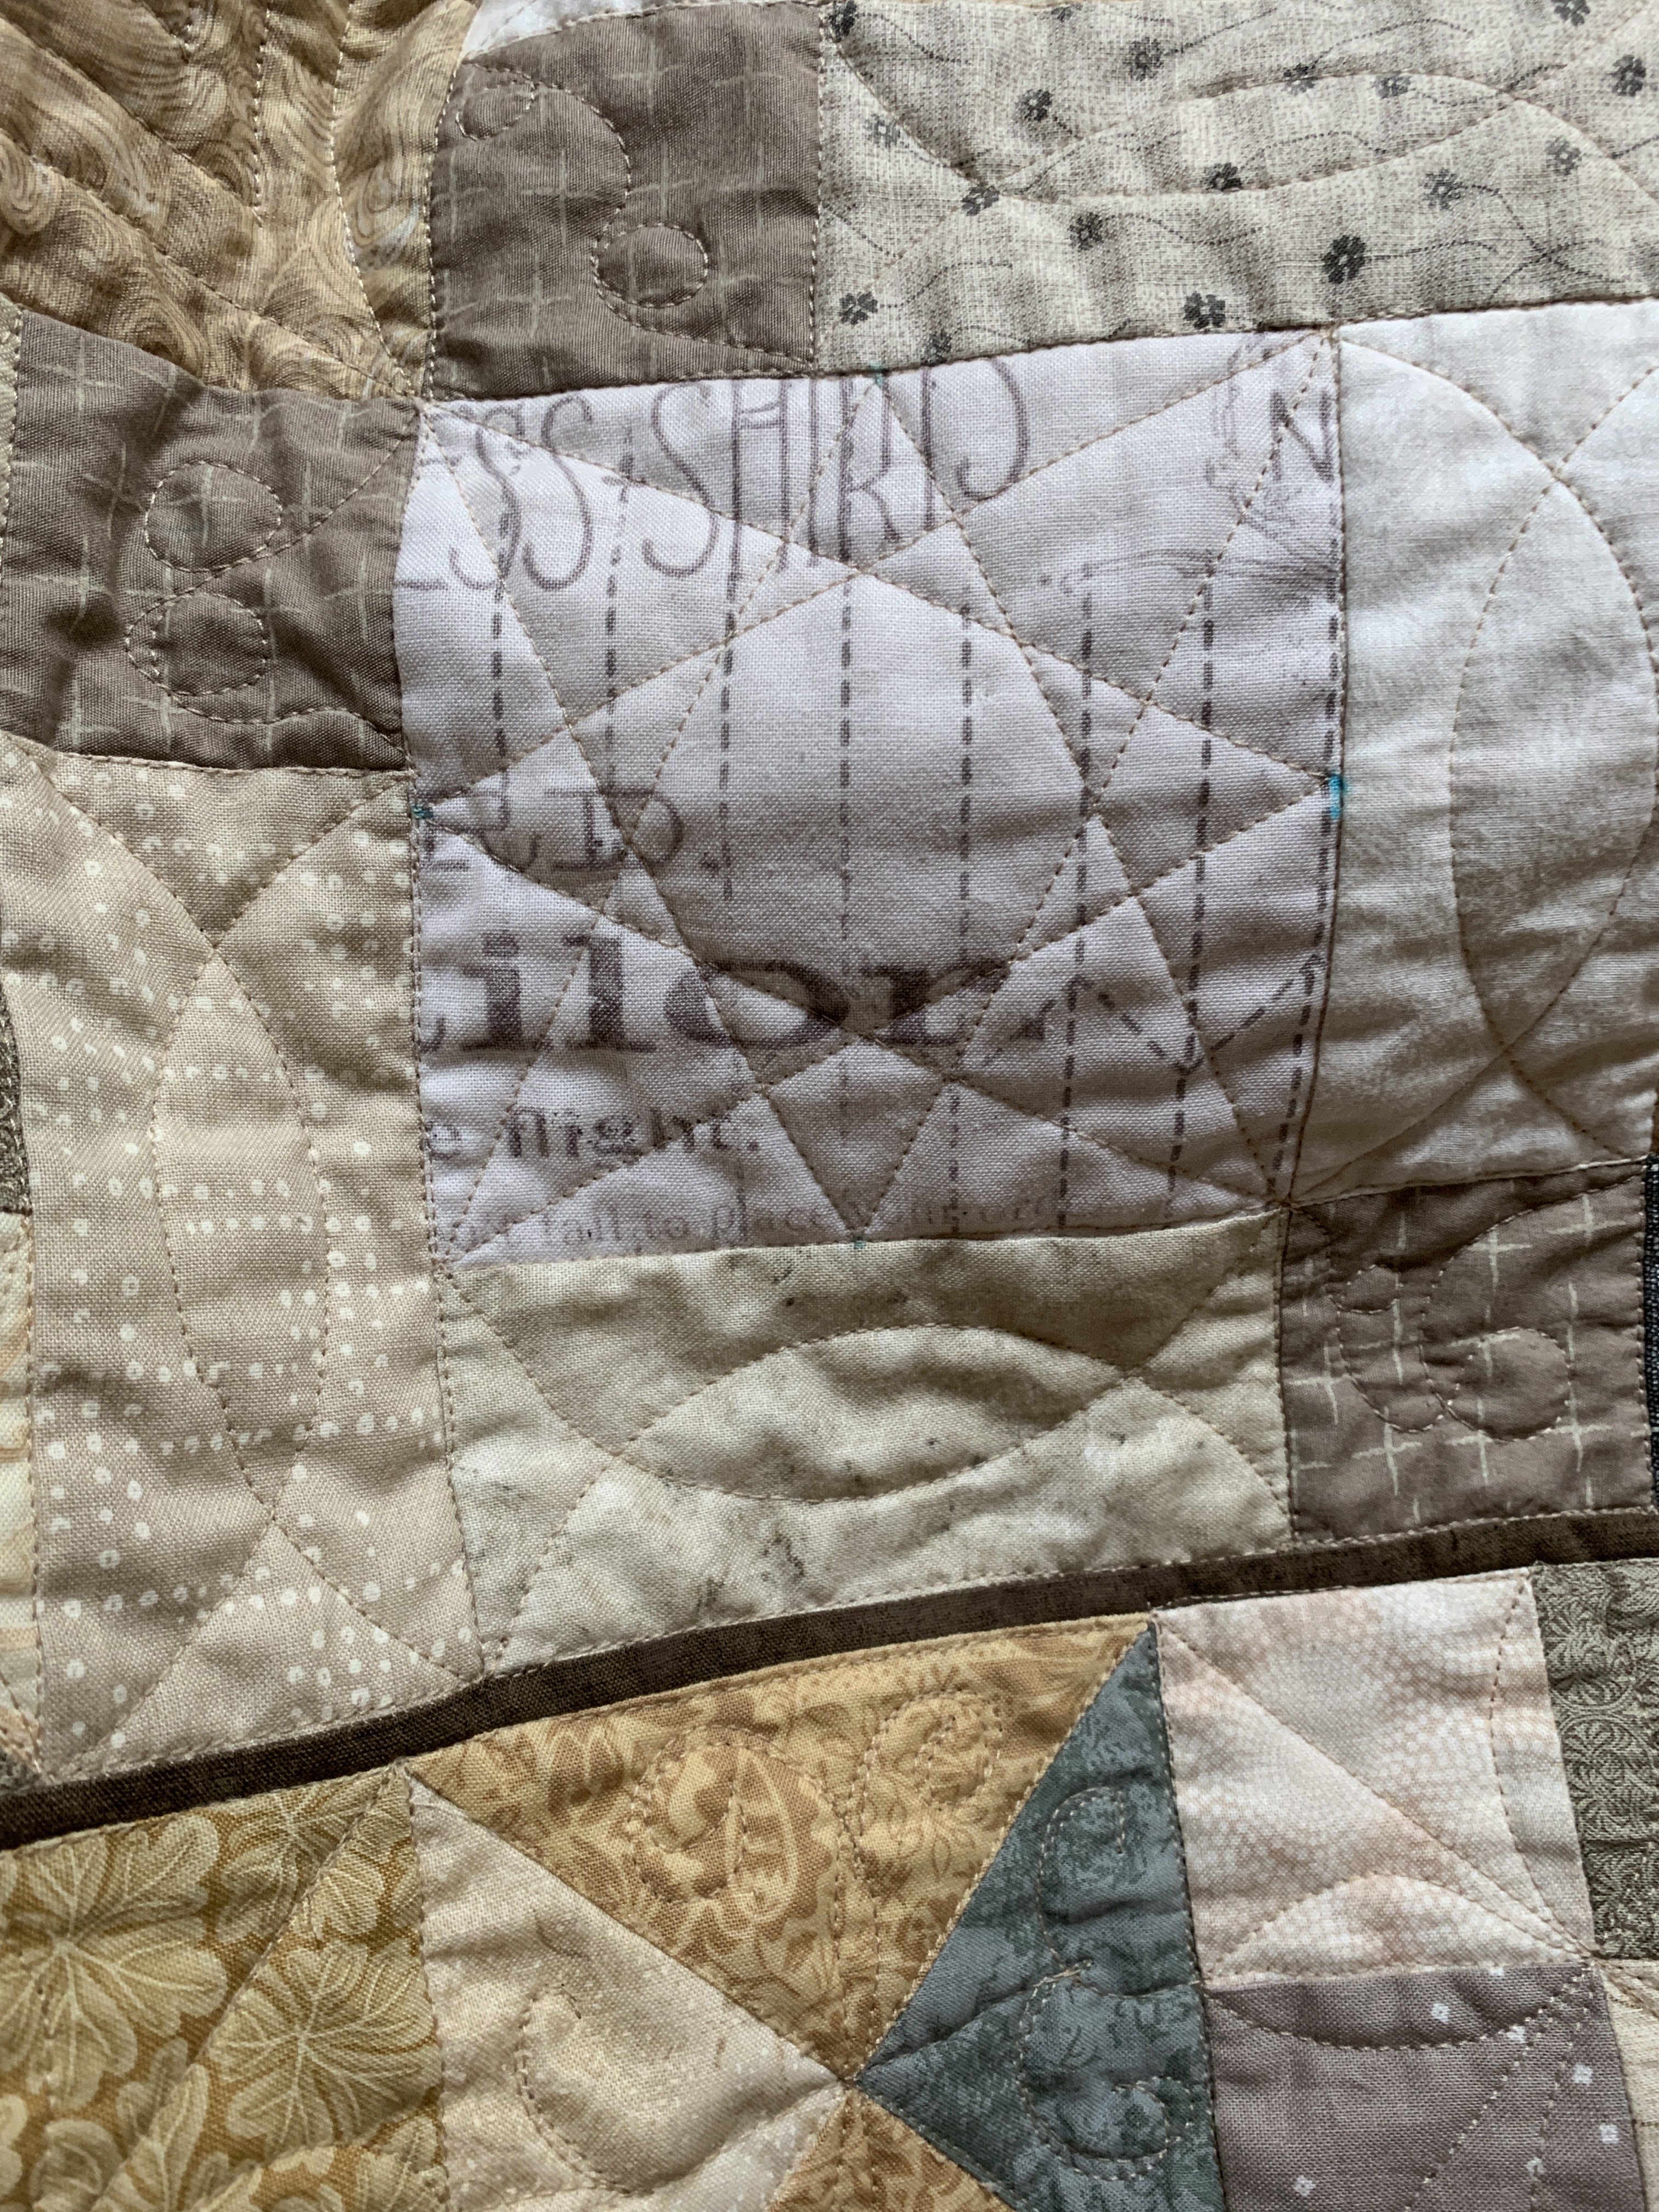
Back showing the border quilting, a wavy cross hatch

Straight Line 1 Ruler--in addition to the curvy edge there is a channel for stitch in the ditch, and a straight edge with needle stops at both ends

The first pass--all curvy lines done in only one direction. After that was done, I decided it needed to be done in the other direction too.


Detail of quilting in the blocks--all done with rulers


Once this was quilted, the binding went on and I'm just about done hand sewing that in place.

On to the next one. The bins of four patches I make as leader/enders was overflowing so I looked for a block pattern to use some. I thought I liked this enough to make a large quilt but when 12 blocks were done I knew that was enough. I just didn't love it that much--this baby size was plenty:

The body of the quilt is quilted with a simple straight line cross hatch grid, using Geraldine's ruler. 

I want to get better at feathers and this was the perfect quilt for them--the busy border fabric won't show much and I was free to play with feathers. 

First I used another ruler I have with a curvy edge to quilt the spine of the feather plume. Then I drew lines on paper the finished size of the border, added that same spine, and drew the feathers with a pencil. This helped me see which way to quilt them and served as a reference as I was quilting:

All in all, I was pleased with how the feathers turned out:

From the back so you can see them

The front

Now I am hand sewing the binding in place and this will be done. Waiting for a baby who needs a quilt with a mother who likes old-timey fabrics. And I am still looking for a way to use the hundreds of four patches from bright fabrics:


I am enjoying online classes for free motion and ruler work quilting. Here is a little more from those:


Learning new designs will give me more options as I finish more than a few tops I have made.

Do you quilt your own? What is your favorite method?

Let's quilt.

Barbara

Sunday, February 8, 2026

THIS AND THAT

Blissfully at home much of this winter, I am getting a lot done with little concern for cold weather.

Here is what has kept me busy this week:

1. Angela Walter's Arcs, Curves, Points with Rulers Free-Motion Challenge Quilting Along. I bought both the smaller and larger panels, so easy to work with for this class. This is the small one:

A variety of rulers for free motion quilting

My progress for weeks 1 and 2 

2. Natalia Bonner's free class, 99+ Strip Designs. This just started. These are the first 3 designs and one of the added Bonus designs, all to fit 2" finished strips. To start, I am just using scrap fabric with 2" lines drawn in. When I perfect a few of my favorites I will use them on a Quilt of Valor I am making for a specific Marine.  I really want to perfect my Ribbon Candy, so not there yet, but her tip to draw around a penny or dime to get started was a good one. Half way across I switched to no drawn lines as I was getting in the rhythm of the design. Lot more practice is needed:


3. The Sunday Sew and Sews came over, a small group due to illness, a broken hip, family obligations. But look what they brought for Show and Tell:

Susan is on a mission to complete  a lot of UFOs

Susan made this for her husband, a coffee lover

Another from Susan

Susan's Sizzle, the BOM from 2019, designed by Becky Goldsmith

Susan made this throw size from the leftovers of a king size Ocean Waves quilt

Pam finished her Laurel Ridge in William Morris fabrics. She says she has MORE William Morris fabric now than when she started. How does that happen?

Cyndi is making these delicate Log Cabin blocks from a kit, I think that ships monthly. It's pricey because they are Liberty of London lawn fabrics and she added on the "fussy cut centers" package. The blocks feel so good!

Cyndi is very talented with EQ8--she often redesigns Block of the Month patterns to suit herself. This is her version of Game On! She calls it Parchisi. 

These women are very talented, giving and fun to be around. I look forward to their visits.

This week I got a package--the PRINTS KIT for the 2026 Block of the Month for TheQuiltShow.com, Game On! designed by Becky Goldsmith:


It is a beautiful collection of contemporary fabrics, the kinds I don't have a lot of. It is 17.625 yards, mostly fat quarters, and would be an excellent way to freshen up your stash--or call it your "collection".

The BEST phrase I ever heard about your "stash" vs "collection" is this:

"I am the Curator of an extensive personal TEXTILE COLLECTION". Now doesn't that sound impressive?

Available for purchase by anyone, you don't have to be a Star Member to shop in the "Store". See it HERE for a full list of each fabric in this package.  

I cut out Month 1 and 2 so I can make and use them for demos on my LIVE:

Month 2 ready to sew

Month 1 ready to sew

It's been cold and wet here but we have power and no where we have to go most days. I remember the 35 years I worked for H&R Block and HAD to go to work when the weather was awful--I was the office manager and those would be busy days--if people couldn't go to work because of snow they would come to us to get their taxes done. I am so glad those days are behind me! 

Now I can bake bread when the weather is cold. Find the recipe for this and my other favorites up top here in the tab RECIPES:

Cranberry Pecan Artisan Bread

There are a few more things to keep me busy, like working on my own taxes, but there's nothing to show for that.

I hope you are dry and warm and enjoying some good times.

Let's quilt.

Barbara


Sunday, November 5, 2023

ON THE LILY POND IN PROGRESS

 As you read this, I am traveling home from Houston, TX after teaching 3 amazing classes to wonderful, enthusiastic quilters.  Look for a big post about that next week.

Before I left, I began to machine quilt On the Lily Pond, my latest pattern and quilt class sample. I first wrote about this quilt in August, with photos of the antique quilt I own that inspired it. Find that post here:

A New Old Quilt

Here are some photos to show you the process.

1. The top is done, about 76" square:

2. On to basting with safety pins, my least favorite part of the quiltmaking process. Mr. BB often helps:

3. Bobbin thread of choice for me is Superior's Bottom Line, a color to match the back, #653. For stitch in the ditch, I use Superior's Microquilter 100 wt thread or Quilters Select 80 wt thread--depending on the color I need--here I used QS 80, color #730. For quilting motifs/designs I often use Superior's So Fine 50 wt thread--color # 491 a soft pink, blends nicely on the front: 

4. First, I stitched in the ditch as the quilt was constructed. This supports and stabilizes the quilt and allows me to begin removing some pins. The empty spaces show the stitch in the ditch grid:

5. Once all the stitch in the ditch was done, I started on the pieced blocks. It took a few blocks to get the best "path" figured out. I want to minimize starts and stops and backtracking:

6. After I was satisfied with the design/path for the pieced blocks, I worked on the design for a Feathered Wreath in the 7.5" open blocks. This is where having a wide variety of stencils and quilting design books comes in handy. One for the outside ring of feathers, one for the inside ring, and I'm all set:


I am trying to get better at feathers as I LOVE them. With 25 blocks, 20 half block triangles, and 4 quarter block corners, I figured I would get better or give up. I am seeing improvement so practice does make "better". AND, the entire outer borders, pink/white, will be filled with a Feathered Vine:


7. Marking should be done as little as possible since every mark made is one that has to be removed later. I used a blue washout marker until it ran out then used a grey chalk pencil to draw a few guidelines for the feathered wreath. I was able to fill in the feathers from those guidelines much easier than trying to machine quilt on a drawn line:


8. I love ruler work and use it every chance I get. Stitch in the ditch is all ruler work using a fantastic tool, the Line Tamer by FourPawsquilting.com. The circle on the feathered wreath was done with a Good Measure Circle template. And for free motion I adore Grip-Its by sewingmates.com, two palm size "handles" with rubber grippy things on the bottom. They replace gloves, I simply rest my hands on them to guide the quilt as I stitch. They are indispensable to me:


9. There is still a good bit to go but I am on target for completion by Thanksgiving. The binding and sleeve are made, the pattern is written and all I have to do is complete the quilting, bind it, and update the pattern cover with a professional photograph of the finished quilt. 

Front:

Back:


I have written about machine quilting many times. Use the SEARCH box in the upper left, the orange B, for Ruler work, machine quilting, Bernina Q20--all of those searches will bring up previous posts. Here is a good one on Ruler work, there are many more:


Stay tuned when this quilt is done for photos of the completed quilt.

I will be teaching this locally in 2024 AND on the New England/Canada cruise with Stitchin Heaven, September 4-13, 2025. Once registration opens for that cruise, I will make a big announcement--it will FILL QUICKLY, I already know several friends who plan to join me on that cruise.

My Alaska cruise, August 9-16, 2024 is SOLD OUT--there could be a Waitlist if you still hope to come on that one. See my class quilt for that trip HERE:


Let's quilt.

Barbara


Sunday, August 28, 2022

Disappearing Patchwork -- the Quilting

 For the past few months I have been working on a Neutral quilt, made from neutral fabrics: white, tan, gray, in various shades of each. That is descriptive but it's not a great name. So, the official title is Disappearing Patchwork.

About 62" square

Here are details of the machine quilting I did with the Bernina Q20 sit down long arm:


Each of the thirty-two 4.5" squares has a different quilting design--some I got from books, some I came up with. Most were done with a ruler: 
A star: 
Just follow the squiggles in the fabric: 

Square on point with horizontal and vertical lines and a square on point with pumpkin seeds: 


Each of the 2" x 4.5" rectangles have the same half circle curve, done with a circle ruler: 


The pinwheels in the four corners have simple quilting, a square on point with pumpkin seeds:


All the remaining pinwheels have more curved quilting, again using a ruler: 

While it is hard to see, the small 2" squares were used to "travel" from block to block, with a simple loop-di-loop squiggle that got me from one place to another: 


Superior Thread: Omni 40 wt #3008 Sesame Seeds and Bottom Line 60 wt  #653 Beach:

On the brown narrow outer border, I used Quilter's Select 60 wt # 739--it matched perfectly for a very simple loop that took me quickly all around the outside edge:


The back in the sunlight--I love the texture of quilting: 

Disappearing Patchwork is named this because this is a simple 16 block quilt, made from pinwheels and 5" squares, cut up using the "disappearing nine-patch" method. 

There has been some interest in using this for a free Sew-A-Long here in the future. If you are interested, let me know in the comments below, and when we reach 2500 followers, I will do that. We are about 2300 now so follow by email or with Google if you  have a Gmail account--it's easy and you don't miss any of the posts, usually twice a week, Wednesday and Sunday.

Let's quilt.

Barbara