
Now it is time to add the background to complete the block:

There are several ways this can be done. As usual, I look for the "fastest method that gives me the result I want".
1. APPLIQUE: I could have turned under the edge of the Mariner's Compass 1/4", either pressed or basted it, and then appliqued it to a square of background, either by hand or by machine. I was fairly certain that would take me a lot of time to prepare and it was not likely I would get a nice, smooth, round circular shape.
2. PIECING: Much more to my liking. My steps:
I found a Mariner's Compass pattern in Electric Quilt 8, quilt design software I have used for many years, and printed out the background curve for a 14" Mariner's Compass block. I could have drawn a 14" circle, using a yardstick compass, but having the software made it easy:

I copied the template onto Freezer paper, leaving as much extra beyond the finished outside line as I could. I can always trim the background smaller when I decide what comes next.
The background was cut into a square about 20" and folded in quarters. I pressed the freezer paper template so the outside edges were exactly on the left and bottom side folds and about 2.5" extra was on both the top and right sides--the outer edges of the square.
Had I thought it through in advance, I could have placed the FINISHED EDGE of the freezer paper template on the folds and that would have created a complete circle, with no seams necessary.
Instead, I cut it like this, and knew instantly I would have to add those seams. Oh, well:

The four quarter circles ready to be seamed to make the complete circle:

Using the pattern template that was used to piece the actual Mariner's compass, I made registration marks at the place the background circle would join points of the Compass:

I spent a bit of time pinning the background circle to the Compass--the Compass is on the bottom for machine piecing. There is a pin at each place the Compass point meets the circle--those pencil marks--and a pin in between all the other pins to easily keep the edges aligned. You can use fewer pins and work to keep the edges aligned with your fingers or a stiletto as you sew--the extra pins really help me:

Once sewn, I turned it over to see if any seam allowances got twisted on the bottom--sometimes that happens despite your best efforts. I only had one so I quickly fixed it--un-sew a few stitches with my trusty stitch ripper, and resew those few stitches. All good to go.
I pressed the background away from the Mariner's Compass, and declared this block Done:
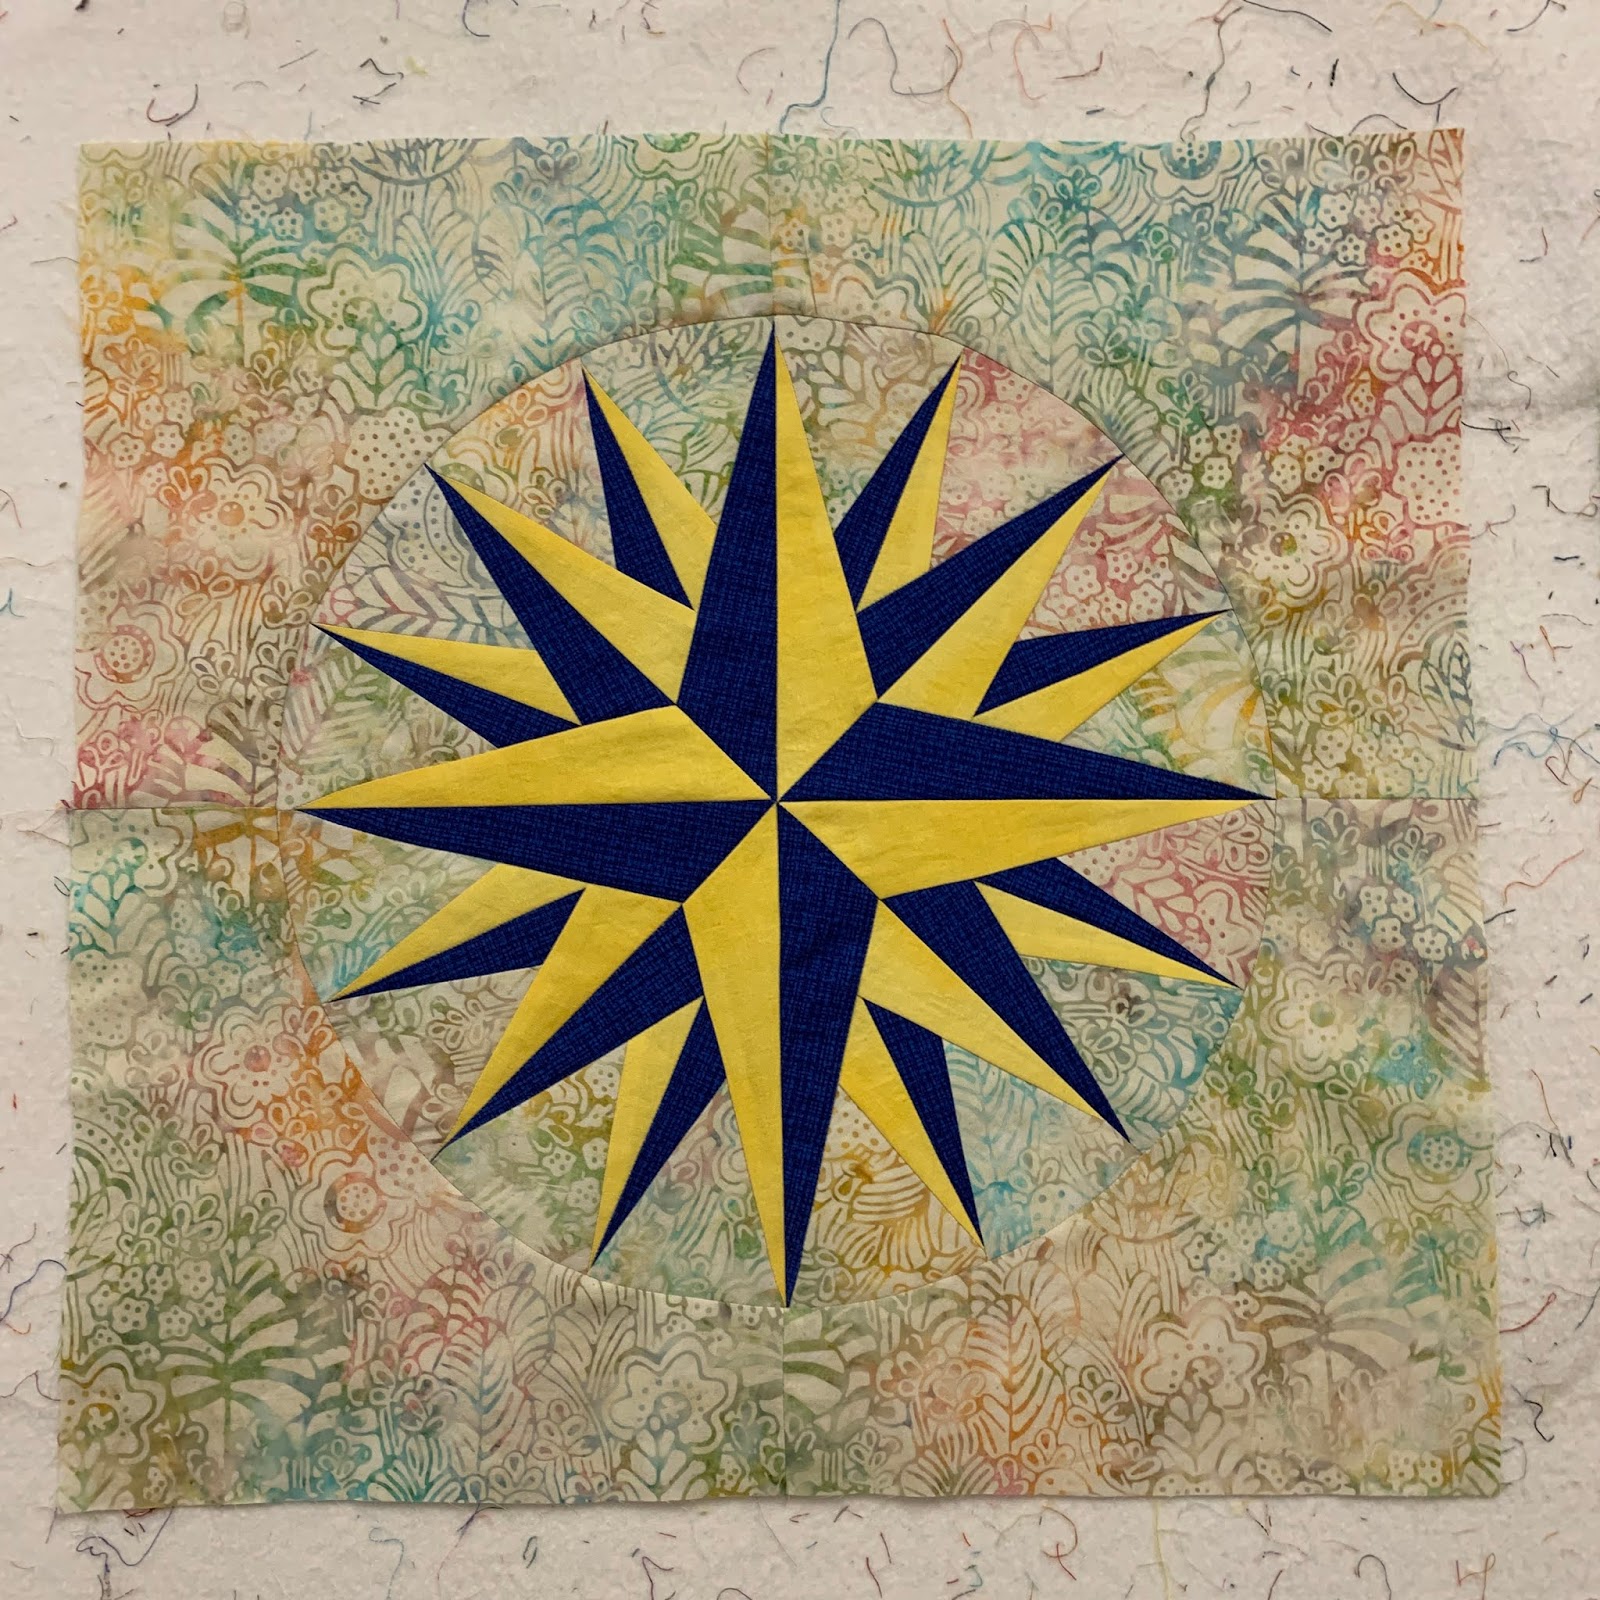
I am not sure what will come next for this block--I have another big project that has to get done first. But someday it will get done and be a gift for a sailor.
Let's quilt.
Barbara
beautiful
ReplyDeletevery nice :) !
ReplyDelete