
Many people have gotten their Garden Party Down Under top finished and are starting to think about the quilting process. See some of these tops on the Forum topic: Show Your Completed Top Here, you do not have to be a Star Member to see quilts on the Forum.
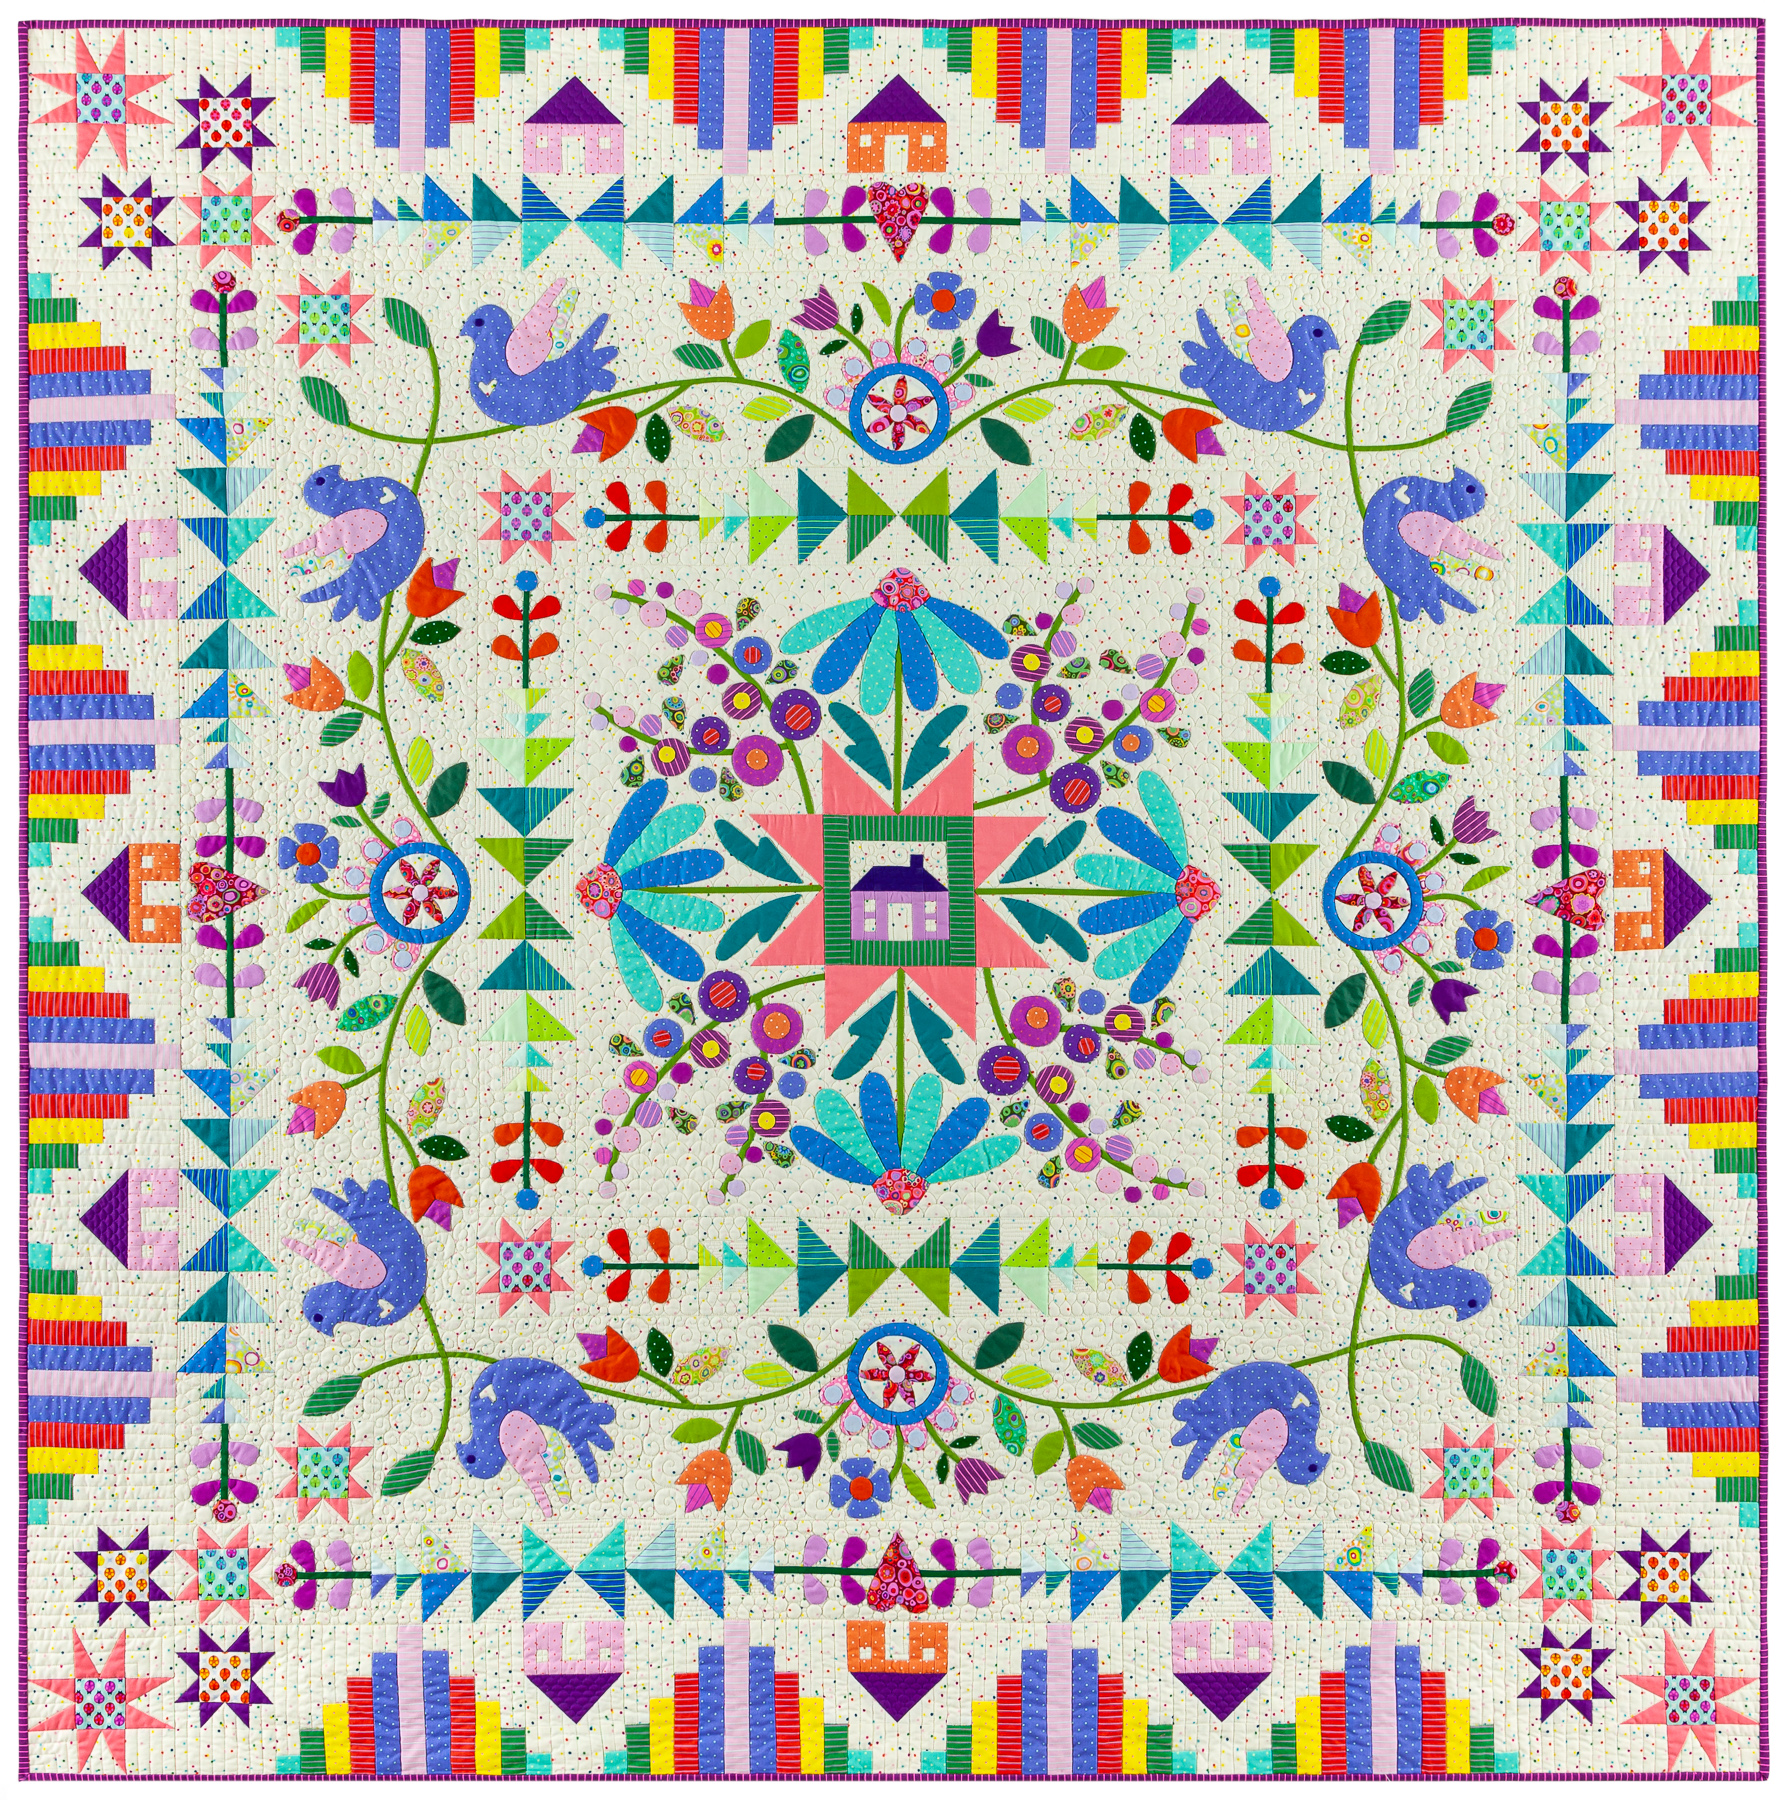
Here is mine, made in 2021 with the help of 8 of the beloved Sunday Sew and Sews. This photo was taken on the set while taping The Quilt Show in August 2021:
%20-%20Copy.JPG)
%20-%20Copy.JPG)


I love ruler work so I often develop continuous designs using rulers that move nicely across the quilt. Using a circle I was able to move from one end of the diamond borders to the other, then go back in the opposite direction, creating a flowing curving design that complements the diamonds:

See the same design used on the Dogtooth borders around the center:

Here is my basic process when quilting:
1. Good basting is imperative. I use safety pins and most often baste on my dining room table. I tape the back firmly to the table, wrong side up, using painter's tape at the top and bottom. Clamps are used to hold the edges securely to the left and right sides of the table. The batting is laid on top of the back, followed by the top, right side up--it helps to have another set of hands to spread out the batting and top. After pinning the middle, I untape/unclamp the quilt, and slide it to one side, retape/reclamp then pin that side. Repeat for the opposite side. After all the pinning, check to be sure you have no puckers/pleats basted into the back--they have to be fixed. I tend to get them near the corners.
2. Make a small test "sandwich" with the same back and batting and some of the top fabrics so you can test the thread color and tension before you begin. I write a note for tension setting for each thread so I can get it correct each time I work on the quilt. This project took almost two weeks to quilt, a few hours a day.
2. I used Microquilter thread in the top and Bottom Line in the bobbin, white in both, for the majority of the quilting. The first step is to quilt straight lines from top to bottom, starting at the middle of the quilt. I pretty much follow the seam lines the same way the top was constructed. This serves to stabilize the quilt, allowing some of the safety pins to be removed. My favorite ruler for straight quilting is the Line Tamer by Four Paws Quilting, a great ruler.
3. After all the straight line quilting was done in all directions, I thought about how to quilt each block. I If the background fabric had a good design, I followed that--like swirls or straight lines. If I needed to create a design, I played with a piece of plexiglass and a dry eraser marker to "audition" designs directly on the quilt--be sure to wrap the edges in painters tape so you don't overshoot the edge of plexiglass with the pen--a disaster you don't need. Designs can be tried out, erased and more designs tried again and again until you like what you see:

5. The borders were perfect for using a circle template (ruler) to create curving designs that move from one end of the borders to the others.
6. The two small "floater" borders were the perfect place for some circles. I freehand quilted them:

I have written about my quilting process several times before:
Ruler Work -- the Basics this is a long post and has LOTS of information.
UPDATE--on the December 2, 2022 LIVE broadcast I was asked about the corner flowers and my label. Here is the corner flower, with simple echo quilting on the background and around the shapes:


This is one of my most favorite quilts. I love the fabrics. I love the design. l am happy with the quilting. And I LOVE the friends who helped me make the top:

You can find some photos of the quilting on Irene Blanck's quilt in our Gallery of Quilts: Monthly Guide . These photos were used for the Monthly patterns. Irene's quilt was quilted by Australian Longarm quilter Rebecca Rae. Find her on Instagram as @astitchnline_machinequilting.
Remember. the patterns for GARDEN PARTY DOWN UNDER are only FREE FOR STAR MEMBERS until December 31, 2022. After this year, the designer regains the rights to the patterns and you will have to buy them from her.
If you join The Quilt Show now, you can still download/save all 12 months of Garden Party Down Under and be ready to jump right in to the 2023 Block of the Month quilt, Homeward Bound, beginning January 1, 2023:
Barbara
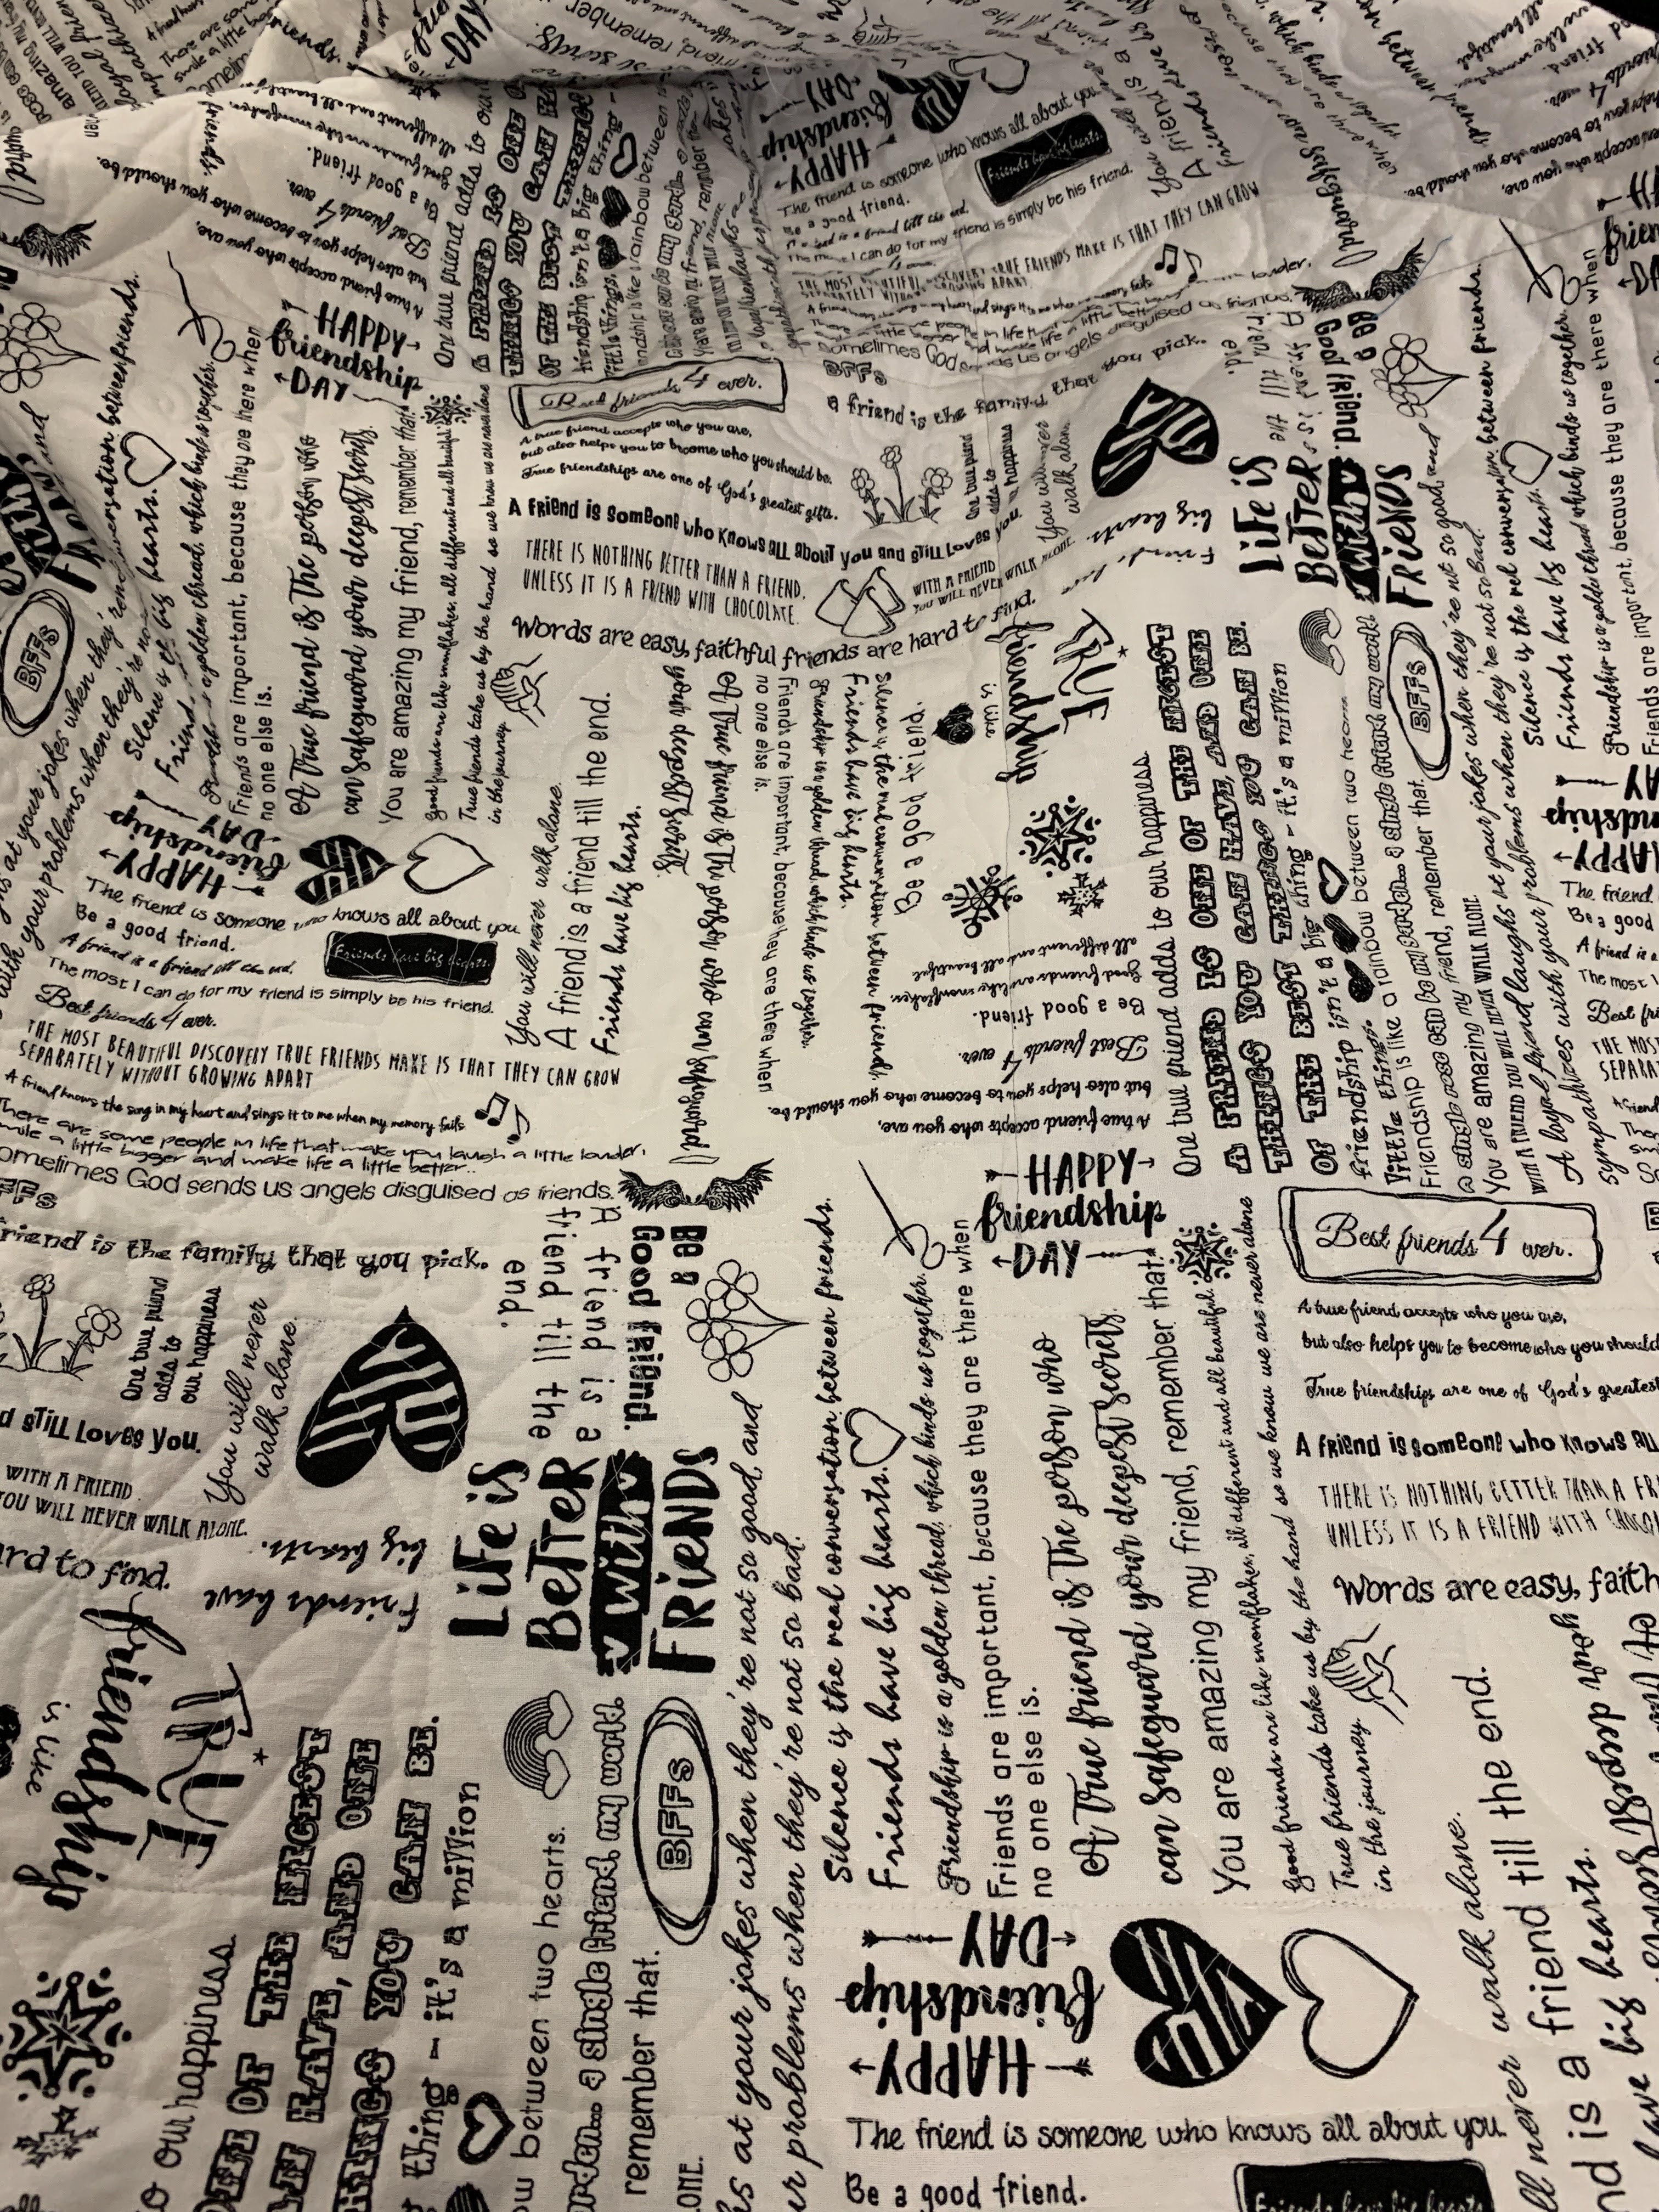
Barbara, what is the name of the fabric you used for your backing. You mentioned on the Facebook Live today that it is available in the Quilt Show shop. Thanks
ReplyDeleteIt is called 108” backing — Friendship. I got it 18 months ago, the shop had more in a few months ago but it is out again now. Let the shop know you want it and they will try to get more in.
Delete