
This is a little "class" on making Feathered Star blocks with a paper foundation. Find the first lesson here:
My block is now done. Let me show you how I did it:

Once all the units are made, I laid them out where they go. The paper is still on the back of each unit now:

Starting with one diagonal row I removed the paper from units just before sewing those units. Tweezers can help remove tiny bits of paper that may be stuck in seam allowances.
Joining these two units shows how those outer edges fit perfectly with the blunted off corners printed on the pattern:

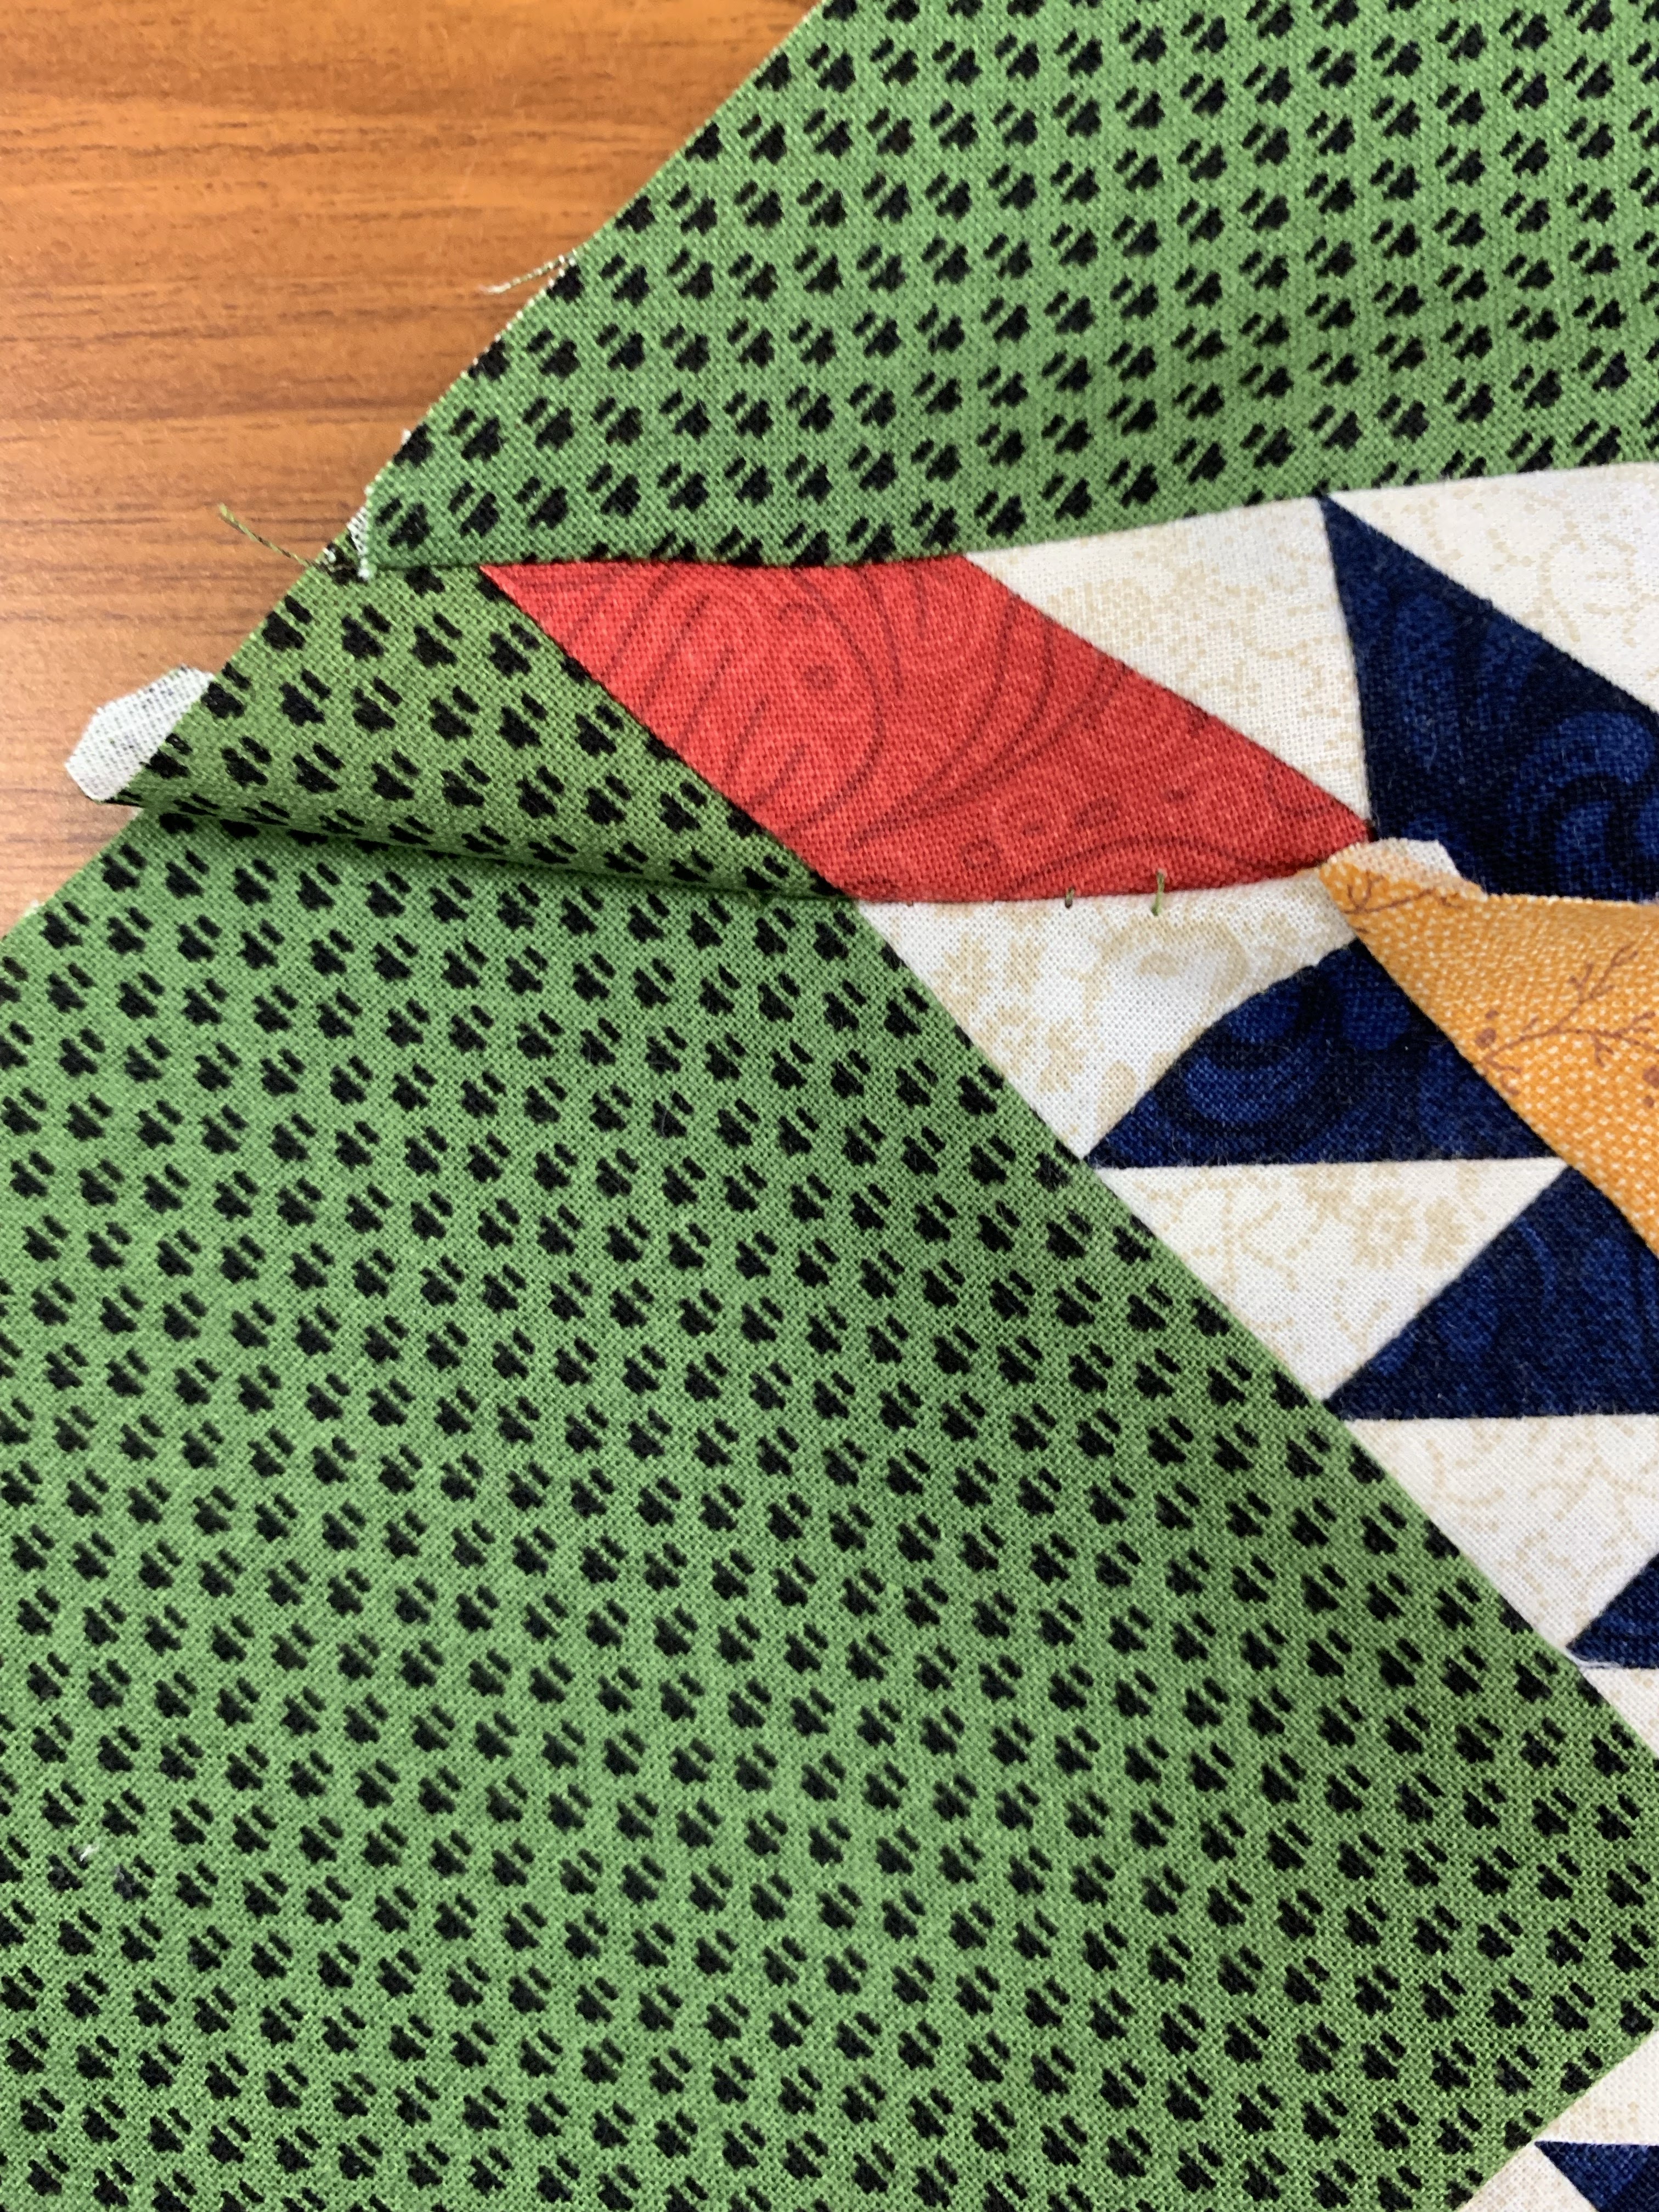
Once those units were sewn, I pressed away from the feathers and added the "kite" shape. I did re-press the blue triangle seam toward the gold kite so the unit would "nest" nicely with the other pair of units:

There are places where multiple fabrics come together and I want those intersections to be as good as I can get them. I pin them, fiddling to see they are really accurate and then MACHINE BASTE. The stitch length is turned way up, about 5.25 here. Easy to remove and try again if the intersections could be better:


You simply continue on in this manner, making two outer diagonal rows and the center row. Here they are complete and ready to be joined into the block:
 |
| Front side |
 |
| Back side showing how I pressed the seams |
Now it's time to be well-rested and ready for the most important part, making the full block Only 2 seams, right? How can that take so much time?
I machine baste ALL the intersections that really matter. Every where there is a pin, I have machine basted. It takes a little while. But I would much rather take out basting stitches to fix intersections that are off than to remove real stitches:


Thank you for this tutorial! I am so thankful for your natural ability to teach.
ReplyDeleteThank you! I love sharing my passion for Quiltmaking with those who want to learn what I have spent my life learning.
DeleteThis is a really cool & doable way to get a beautiful block. Will you be saving these 2 posts under your Tutorial tab?
ReplyDeleteYes, I will. Great idea.
Delete