
Let's do a SEW A LONG!
The Old Italian Block is one of my favorites, simple, easy, classic, the perfect block for a Scrappy Quilt.
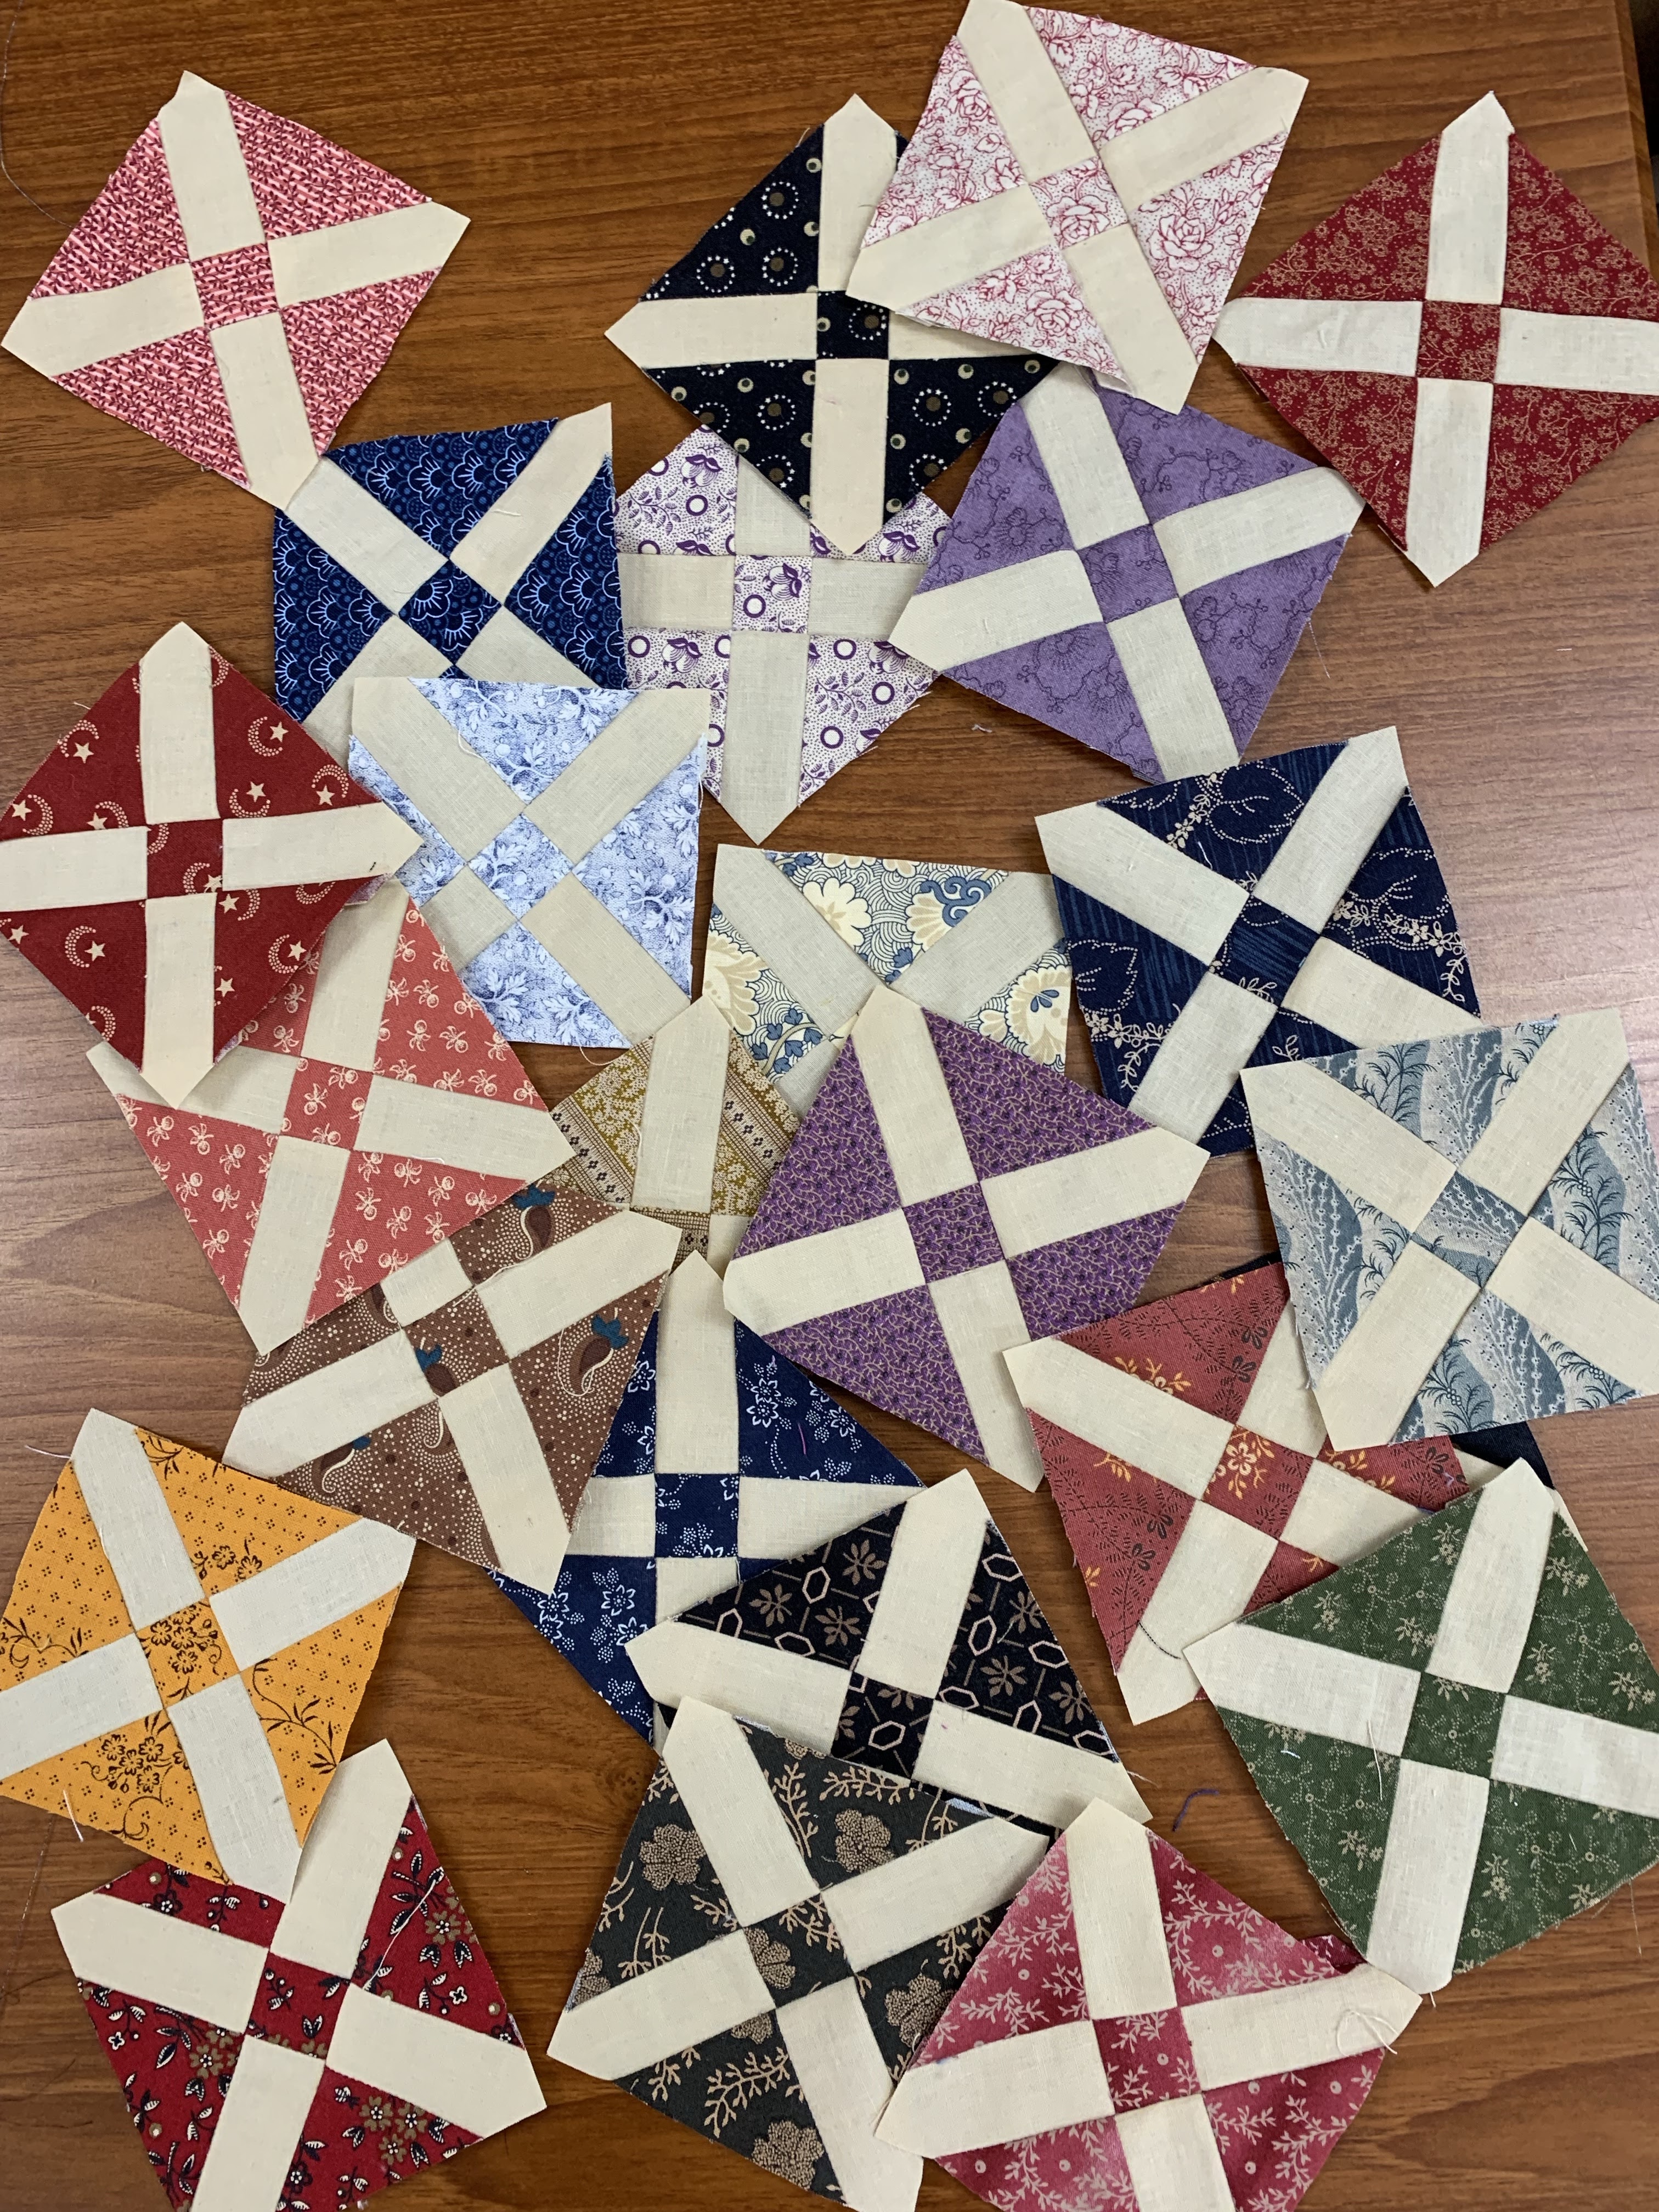
And it is the block in my antique top I am replicating:


When I first wrote about this project, My Next Lifetime Quilt, there was a lot of interest in doing this as a Sew A Long. So, here you go.
I am providing the cutting sizes for 3 different size blocks: 3", 5" and 6". You are free to make any other size you like. Either use design software like EQ8 or simply draw the block size you want on paper and figure out how to cut the pieces the correct size. My TUTORIAL SIMPLE MATH FOR QUILTERS makes that easy.
|
SHAPE |
3” BLOCK |
5” BLOCK |
6” BLOCK |
|
Triangles 4 |
3.25” square cut QST |
5” square |
5 7/8” square |
|
Center Square
1 |
1.25” |
1 3/8” |
1.5” |
|
Bkgnd Strips
4 |
1.25” X 3” |
1 3/8” x 4” |
1.5” x 4.5” |
Originally, I planned to make 4 of each block, so I cut rectangles 6.5" x 8". That would provide 4 squares 3.25" each for the Quarter Square Triangles, and 4 Center Squares, 1.25" each. As I am making 289 of these that would use 73 fabrics. After cutting ALL OF THOSE, I changed my mind and decided each block would be a different fabric.
To make ONE 3" block I cut a rectangle 3.5" x 5". This allowed me to carefully cut the square 3.25" for the QST and one center square 1.25". You could be more precise, cutting 3.25" x 4.5" but your cutting would have to be perfect. It was faster to cut a hunk 3.5" x 5" from 289 fabrics as preparation for the project.


There is SO MUCH MORE INFORMATION on my earlier post I hope you will go read it first:
The ONLY SPECIAL TOOL I RECOMMEND for this project: a quality SQUARE RULER the size you will trim your blocks: 3.5", 5.5", or 6.5". The best brands are Quilters Select and Creative Grids. I used a black Sharpie Fine Line marker to draw a diagonal line on the back from the upper left to lower right--that makes it easy to see the ruler is aligned properly:

I find these the perfect LEADER/ENDER blocks so I always have at least two of them cut and ready to sew while working on other projects. To understand that process, see my Tutorial about it: TIME MANAGEMENT FOR QUILTERS
To test the sizes for the larger blocks I made 5" and 6" blocks:
 |
| 5" block |
 |
| 6" block |
Here are 3" blocks in brighter colors than my 1800's reproduction fabrics, these would make a good baby quilt: :

There are many ways to set these blocks so I will offer those options next month. For now, choose your size and start making blocks. It's scrappy, you can't run out of fabric.
Feel free to ask any questions you may have. Have fun using your favorite fabrics. AND if you want to post your progress on social media please use this hashtag: #olditalianblocksewalong
Please share this with all your quilty friends--the more, the merrier. It is easy to share this blog on your Feeds: Facebook, X, and Pinterest; or you can email it directly to anyone you like. Click on the icons at the bottom of the page to do this:

Let's quilt.
Barbara
What is the easiest way to piece these together? Center square with two back grounds and the QST with the other background? Just trying to keep my thinking straight 😊
ReplyDeleteYes, 3 rows on the diagonal. Two triangles with background strip = top and bottom row. Middle row is square with two background strips. I will add an additional photo to show this.
DeleteThis looks like fun, Barbara! What kind of pace are you setting for yourself?!
ReplyDeleteNo specific pace, it will get done when it's done. Probably more than a year now.
DeleteLove that you can get a 3” block from one charm square. Makes it easy to add more variety.
ReplyDeleteYes, I am always looking for ways to use 5” charm squares. You can even get a 5” block from one if you are willing to use a different fabric in the center.
Delete