

Making this small and simple quilt will teach you:
how to perfect your piecing
how to work with two blocks in one quilt
how to make an on-point setting quilt
how to add borders that will make your quilt square and true
the basics of simple quilting
how to add a binding by machine for both hand and machine finishing
This will be a "teaching tutorial"--I want to help you learn the basics of good quiltmaking practices so you can improve all your quilts in the future. This finished quilt is just a bonus.
Instructions will be posted each Friday for 5 weeks:
January 6 Introduction with Fabric Requirements
January 13 The Shoo Fly Block--Tips and Tricks
January 20 The Old Italian Block--Tips and Tricks
January 27 On-Point Setting How-Tos
February 3 Finishing: Quilting and Binding
February 10 A Link-Up Party--Share Your Progress and a Giveaway
The sample is approximately 32" x 40". Changing border sizes allows you to make it the size you want. More on changing the size will be presented in Part 4.
Today we talk about fabric selection/requirements. You can be totally scrappy, using fabrics you have, make all the neutral backgrounds different OR you can use a limited set of fabrics for a more planned effect. Here are approximate yardages for each style:
Scrappy Planned
Neutrals for Blocks
12 Shoo Fly: 24 3" squares 1 Fat Quarter
48 2.5" squares 1 Fat Quarter
6 Old Italian: 6 5.5" squares 1 Fat Quarter
Colors for Blocks
12 Shoo Fly: 24 3" squares 1 or 2 Fat Quarters
12 2.5" center squares
6 Old Italian 24 2" x 5" rectangles 1 Fat Quarter
6 2" center squares
Perimeter Triangles: 1/3 Yard 1/3 Yard
and Corners
NOTE: If you want ALL your neutrals to be the same fabric, both in the blocks and in the perimeter triangles and corners, 1 Yard will be sufficient. This will make your colors in the two blocks more prominent, as they will appear to "float" on the background.
For my Step-Out Photos I'll be making a second version, using fabrics from Stella's Splendid Sampler:
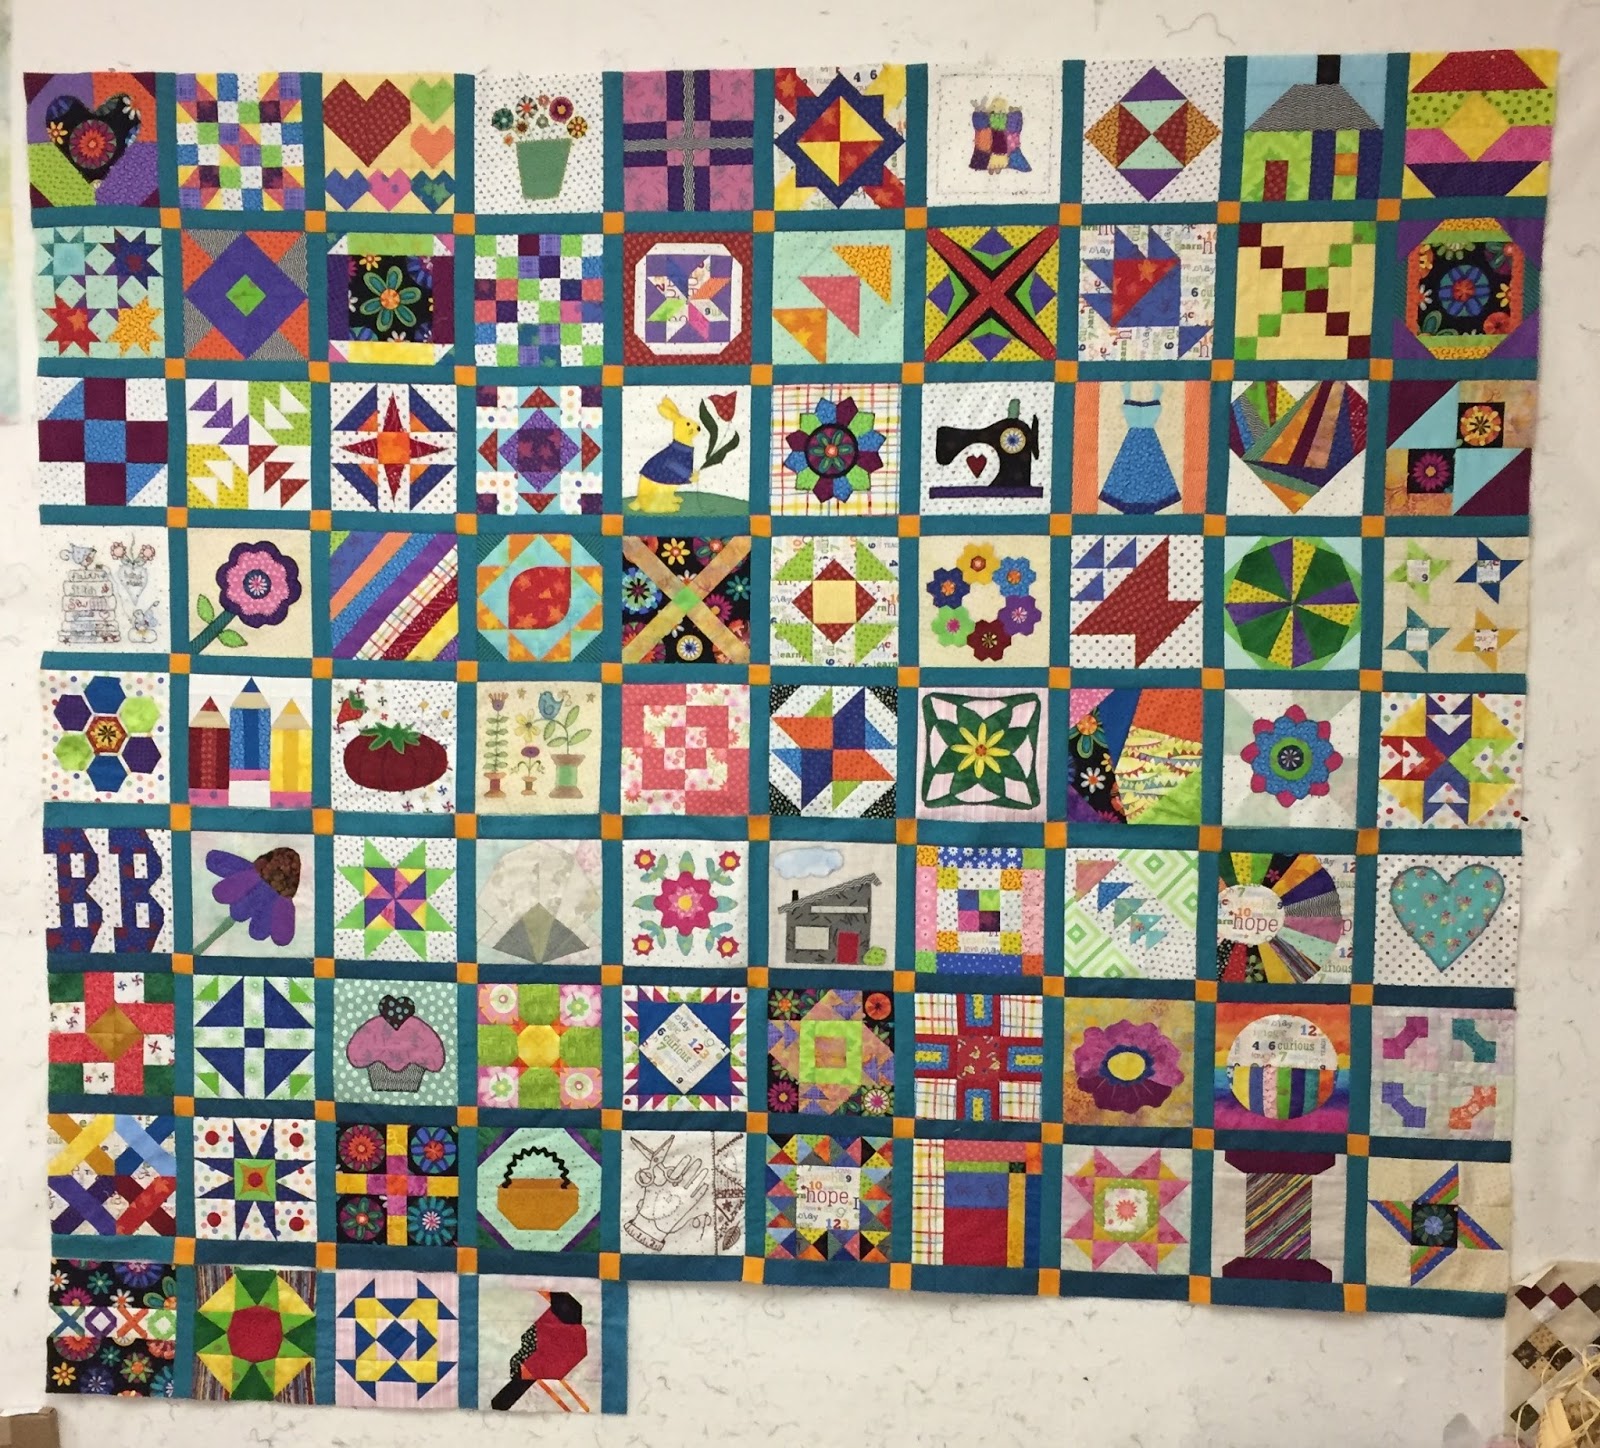
This will give you an idea of a scrappy look:

From the two shoe boxes I used to store the many fabrics used in Stella's Splendid Sampler, I selected a soft yellow for the perimeter triangles and corners. Why? Because I had 1/3 yard and that is what I needed. Done. I think the polka dots will be the neutral backgrounds, I may add one more that is similar. The gold and orange are the "zingers", the deep red and darkest blue are the "deep darks". I think I need to add a darker green as well so I'll shop in my closet for that. It may be the fabric for the X in the Old Italian Block.
TIPS for making a Scrappy Quilt look less "chaotic":
Select 3-4 color families, i.e. Red. Blue, Green, Yellow
Select 3-4 fabrics for each family: light, medium, dark
Add at least one "zinger" and one "deep dark" to add brightness and depth
Select 2-3 similar background prints, mix them up if you like. Keep the "tone" the same, like gray, tan, white, or cream--don't mix tones to keep things looking cohesive
I hope you'll join me on this journey as we make a small quilt together. AND please tell your friends who may want to join us. This will be like taking a class without leaving your home.
Let's Quilt!
Barbara
Part 2 The Shoo Fly


