Showing posts with label Lemoyne Star. Show all posts

Sunday, December 31, 2023

PICK A PETAL -- MONTH 1

It's a new year. Let's get started! 

The 2024 Block of the Month Quilt for The Quilt Show was designed by Jen Kingwell exclusively for Star Members of The Quilt Show. Join today to get access to the patterns, once a month throughout 2024, along with almost 500 shows featuring the best and brightest movers and shakers in the Quilt World. Membership is $49 for the entire year, the best money you will spend on your quilting journey.

PICK A PETAL 

Each month I do a LIVE broadcast on Facebook and YouTube, recorded to be watched when convenient.  I offer tips and tricks and answer questions from members and viewers. It is intended to supplement the pattern and enhance the written instructions. Find all of the LIVE broadcasts at this one location, available as they happen. The first one will be January 1, 2024, noon Central Time: LIVE Broadcasts

Each month I also dedicate one of my monthly Blog posts to the Block of the Month. This one is posting Sunday December 31, 2023 so everyone is ready to go with the release of the Month 1 pattern. You can follow me by email or Google or Bloglovin--use the links right over there on the right side. I also post a reminder on the Block of the Month FORUM when the new blog is posted.

BEST TIP BEFORE YOU BEGIN: WATCH Jen's Show on The Quilt Show FIRST! The show is FREE TO EVERYONE, all year, watch and learn and get excited to make PICK A PETAL. It airs starting December 31, 2023. 

MONTH 1 The Center (Centre) Block   Find the Pattern HERE--available to STAR MEMBERS ONLY


1. Acrylic templates are currently available for purchase from The Quilt Show STORE  If you don't buy them, you will simply make your own templates from plastic. It is ESSENTIAL that they be as accurate as possible. 


2. ACCURACY starts with printing the patterns the correct size. Always download the pattern to a computer/device and print from the Download. Set the printer for ACTUAL SIZE, not "fit to page" or "scale". The 1" scale box must be exactly 1" if you want your templates to be ACCURATE!

UPDATE: Use this photo to help determine if your printed Template page is accurate. The sizes shown are FINISHED sizes, not including seam allowance. Printing is always an issue when accurate templates are required:


3. All of Jen's instructions are for hand piecing. I prefer to machine piece so I will show you how I made the center block. Do whatever you prefer, try both methods, combine both methods--I call that the "hybrid method", machine and hand piece, using whichever method works best for a particular step. 

4. I assembled my star differently, the way I usually machine piece Lemoyne/8 Pointed stars with Y seams.

TIP FOR USING THE KIT FABRICS: Fabrics in the KIT are similar but not the same as Jen's sample quilt. She used some of her stash. I had plenty of leftover fabrics from Homeward Bound and Garden Party Down Under, the 2023 and 2022 Block of the Month quilts, so I added some of my favorites of those. This quilt is very scrappy--everything goes! I used Jen's quilt as a guide to select my fabrics. For the fan blades, I just cut a 3" strip of almost all the fabrics and made blades. If I run out of something, I will substitute something else. 

First, I cut a variety of fan blades and handles for the Fans. Trace around the template and be sure to include the dots at the intersections. I use a Micron Pigma pen size 05. The ink is permanent so you might not want to use it for the dots if they will show through to the front. A sandpaper board helps hold the fabric as you trace around the template. Fine grit sandpaper taped or glued inside a manila folder works fine too.

 Be sure to cut off the drawn line when cutting out the pieces--if you keep the line you are making the piece a bit larger than it should be: 

It is easy to machine piece the four blades together. 

The "handle" can be hand or machine pieced, you decide. 

A member on the FORUM suggested using Glue Basting for all the curved piecing. Thank you, Sonia! If you are not familiar with this I strongly recommend you watch two videos that clearly show the process. I tried it and had pretty good success, and expect to get better at it with more practice.

How to Sew a Curve  I am not nearly that fast!

The back side showing how I pressed

Front side

Join two diamonds, stopping and backstitching at the Dot where the Fan will be inserted. I pressed seams open:
                                       
Add another Fan at the middle: 

Before adding the side Fans, I joined the Star halves together, again, stopping/backstitching at the Dot: 

Before sewing the center seam I "test" the center by machine basting about an inch across the 8 diamonds--simply turn the stitch length very long: 

Check to be sure you are happy with it--if not, remove the basting stitches and try again. Once happy, set the stitch length back for regular piecing and sew the entire center seam, dot to dot, backstitching at both dots: 

I am happy with this

Center seam sewn

For me, there isn't a lot of extra fabric around the outside of the templates so I cut the pieces bigger than the template, to allow me to "trim to perfection" after the block is complete. 

MY BIG MISTAKE: I cut the outside angles off following the template. DON'T DO THIS. My block came up just a bit short and I had to add just a tiny bit more fabric to each outside corner. I would also cut the pieces even larger than shown here: SEE BELOW 

NOTE: The KIT includes one fabric that is a fat quarter for the background. All the other fabrics are fat eighths. The star background fabric in the Kit is directional, plan your cuts carefully if it matters to you how the lines run: 

What I should have done:   

Mark Dots and trace around template

Extend outside edge beyond template and I added about 1/2"  on the long edge

Leave extra on the long edge and the left outer edge, trim away drawn pen line

Now you can join the 8 wedge shapes together to form the background Frame.

The frame machine pieced and ready to sew around the center star: 

Pin at each dot, adding pins in between:

Sew slowly, using a stiletto to keep the raw edges aligned. Have the Frame on top, the Star on bottom:

Back side of the block all done, showing how I pressed: 

My OOPS--what you don't want to do and how I fixed it. This puts lots of bulk at those 4 corners:

Work at your own pace, don't rush. The object is to have a beautiful center block that is the correct size and lays flat. 

My Center Block

TIP FOR WORKING AHEAD: The outer border uses 64 of the Fan Blocks, the exact size used in Month 1. If you make an extra 8 fans each month you will have those 64 done and ready after 8 months. I would much rather do that than have to make 64 all at once. 

The FORUM has two categories for each month. See MONTH 1 -- ASK QUESTIONS HERE  and MONTH 1 -- SHOW YOUR PROGRESS HERE .  You can also ask questions here on the blog. I check the FORUM several times a day and can give answers there for all to see.

Have fun and Let's Quilt!

Barbara


Wednesday, March 7, 2018

Illinois Quilters Inc--Stars All Over

I recently spent time with the Illinois Quilters Inc.in Northbrook, IL. Their program person, Sue, saw me in action at Spring Festival in Chicago as I gave Open Studio presentations the last 3 years and booked me to come teach for them.

A great hostess, who took care of everything, Sue:


Flying into O'Hare with very minor time delays, I was met by two great hostesses, Sue and Martha. They  have the airport run down pat--Sue came into baggage claim to help with the bags, while Martha circled or went to the cell phone lot--no parking permitted at the arrivals area unless you are loading your car. They keep you moving. As soon as my bags arrived, Sue texted Martha and she pulled up to the curb as we exited the building--very smooth.

After dropping off my personal luggage at the hotel, we headed out for a lovely meal and conversation at a Market/Deli. Quilters always feel like they've known each other forever--these women quickly felt like old friends.

Then we headed to the church were the meeting was held to get the technical stuff done--connecting my Ipad to their projector worked perfectly--we felt so smart but were probably just lucky. The lecture was "How to Make an Award-Winning Quilt" and it was well-received.

The next day we gathered back at Gloria Dei Lutheran Church, for our first class:  Feathered Stars Precisely Paper Pieced. This is usually a 9-12 hour class but the guild asked if I could do it in one day. As long as everyone had all their pieces cut out before class, we could give it a good try. It was pedal to the  metal all day and they got pretty far along. One amazing student, Nona, worked really hard and got 2/3 of her star pieces made: 
This was helpful for the rest of the students to see--it's like a jigsaw puzzle.  Here is some of the student's class work:

Vickie, I think

Bill, the lone gentleman in the class

Martha, I think

Lynne--don't you love the orange against that blue?
All in all, they did great and most figured out why it's usually a longer class. But they all know how to finish their stars once all the "parts" are pieced.

Day Two was a new class with a few students staying on and a some new ones joining the fun. We made String Stars--Save Our Scraps, here are a few:

Barbara, with a Christmas theme

Diana, with plans to make an "exploding" star

Vickie, very scrappy and happy

Mary with a beautiful scrappy red, white and blue star

Lynne, determined to use up lots of bright kids fabrics

This time we remembered to get a class shot
Everyone got their block assembled, or very close--a successful day.

Nona, from the Feathered Star class, was the class "hostess" for the second day but did not take the string star class. Instead, she worked hard to complete her Feathered Star, in between taking lunch orders and going to get lunch.

It is helpful for students to see how all those paper pattern pieces come together--the jigsaw puzzle. Here is Nona's before she assembled it:

And, ta da! Nona and  her beautiful block--thanks for keeping at it for most of two days, Nona:


I had a great time with these good folks. They fed me well, showed me around and did their best in class. Too soon it was back to O'Hare the 4th day to head for home.

A few days later, Bill posted his completed block on Instagram--beautiful block, Bill:


I hope to see more Feathered Star and String Star blocks from this group in the future.

Let's Quilt!

Barbara

Friday, October 21, 2016

Friday Finishes

It's been a busy week but I have a few things to show for my efforts.

First, is a sample for a new class I'll be teaching this Winter:  Quiltmaking 202--Stars and More Stars. I have taught beginning classes for 27 years and many of my students want to know "what's next?"  If they want to improve their skills and move along to more challenging patterns, this is a great class.  We'll make 8 pointed Lemoyne stars, yes, with real set-in piecing:


In the late Spring/Summer, I'll teach another Feathered Star by paper piecing--this is a 12" star, smaller than the 15" one I usually teach.  I quilted this with ruler work on the Bernina Q20. It has to go to the shop now as a sample--when I get it back I'll add more quilting.

Today I finished the Quilters Madder top from Lori's Humble Quilts Sew-A-Long.  It's about 29" square.  I think I'll take it to Houston to hand quilt--I always have hand work with me on a trip, even if I sometimes don't get to work on it:


Another blogger I follow did a pin cushion swap recently and today I received my pin cushion all the way from jolly old England--look what Penny made for me:


I love how it is reversible--use upside or down.  Very sweet--I am very happy, thanks, dear Penny!  Here is the one I made for Laura L in Massachusetts:


I have also kept up with Stella's Splendid Sampler, here is yesterday's block, #72 of 100:


I will be able to do Sunday's block then will be in Houston when the next four blocks are released so will have to get caught up when I get home.  This block was designed by Victoria Findley Wolfe, who I will see in Houston.  She said she loves to use polka dots in her quilts--that was the reason she added the dots to this block.  I started with a polka dot background.  This one I hand appliqued.

The binding is almost done on Color in Black and White, 2--I showed it here.  I still have a RARE Bear body to make--to donate to the cause in Houston.  You can read more about that here.

Let's Quilt!

Barbara

Monday, April 4, 2016

Before and After

Most of this post won't be about quilting so skip to the bottom if you don't care for gardening.

This is what happens when you go to the Home Builders and Remodelers Show--you always find something you "have" to do to your house.  I didn't want to go but with a retired husband now, we're figuring out the new "normal".

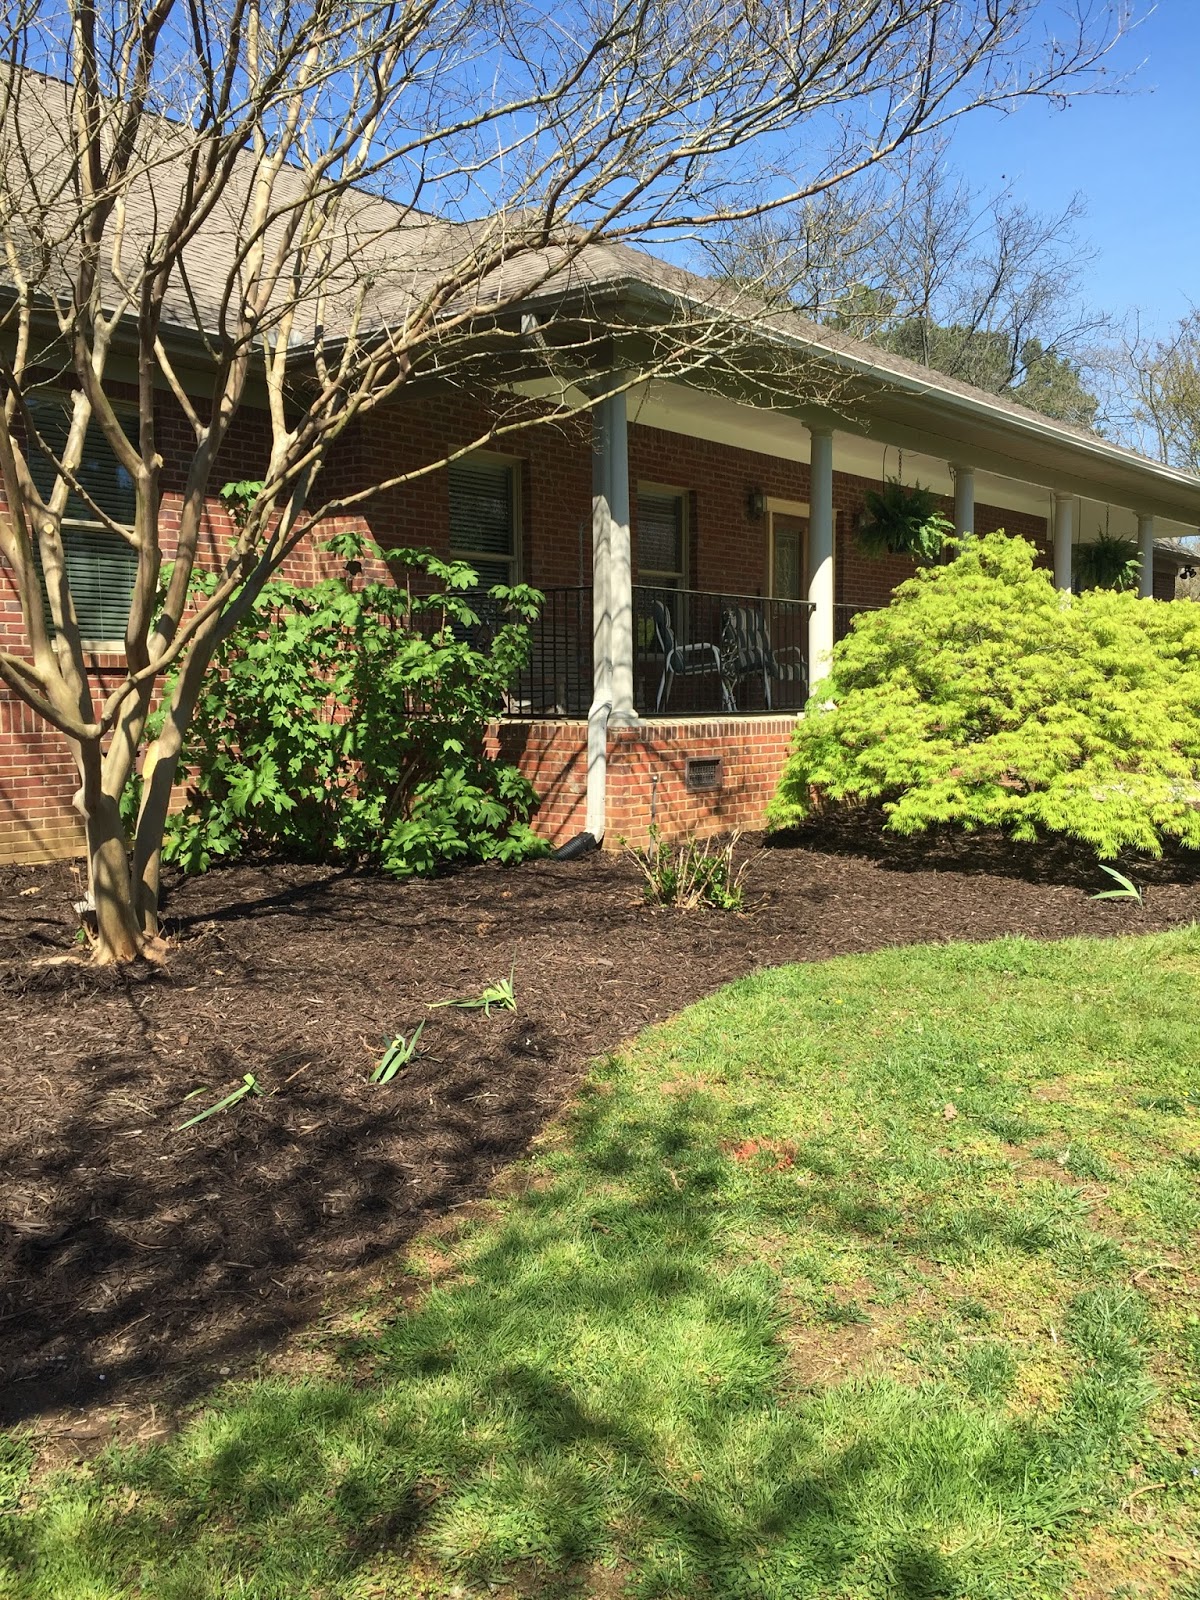
BEFORE:

Left corner

Left Center


Cherry Tree in all her glory
Messy, messy, messy.  Sixteen years of growth, some not in the right places, just messy.

AFTER:


When it warms up, I'll put two big flower pots at the base of the steps.


I plan to add 3 more Drift Roses on this corner and we're adding a large birdbath near the corner too.


I must say it looks pretty bare to me right now.  We were able to save some of the shrubs and irises to move to other parts of the property.  It kills me to dig up perfectly good plants and throw them out but that's what happened.  I had to fight my husband for everything I kept.

While all the digging and planting was going on, I made quilts.  Here is my current BEFORE:


This is My Scrapbasket Sampler by Cheri Payne, a Facebook project.  I'm still not sure I like my setting blocks or the actual layout.  There is some applique' and borders yet to be provided--we won't get those until next week.  This long skinny layout is unusual and I might change that.  Will wait to see what Cheri provides next.  And I might buy a fat quarter or two in Chicago for those setting squares.  

I'm off to International Quilt Festival Chicago tomorrow morning, where I will work in the Education office and teach four sessions of Open Studios on the show floor--String Pieced Lemoyne Stars, Hexie Stars, and Artist Trading Cards (ATCs)--Baubles and Beads.  If you're there,  check the schedule  for Open Studios and come on by--it's FREE and full of great info provided by lots of teachers.

Hexie Stars

String Pieced Lemoyne Star
ATC by Mariette found on Pinterest

I'm sorry this is not one of my ATC collection pieces--they are now packed in the suitcase.  But Google Artist Trading Cards and find many links, images, and videos on the process of making these little baby art pieces, generally 2.5" x 3.5".  This is a great project for a group of friends to do together--it doesn't take a lot of any one thing but the more beads/baubles/photo transfers/ephemera/etc. you have, the more amazing your cards will be.  The idea is to make a bunch and swap with other artists.  That's where most of mine came from and I'll show them next week when I get home.

Have a great week, and let's quilt!

Barbara