Wednesday, September 12, 2018

A Little Trip Out West

A couple weeks ago my husband and I hopped on a plane and flew to Denver. I was there to tape an upcoming episode of The Quilt Show. I have written about The Quilt Show before, most recently here.

This is what I saw the morning I walked in for the taping. The audience has not yet arrived but soon these seats will be filled with more than 60 enthusiastic quilters.

The day before my taping, we arrived mid-day to deliver the four large quilts I brought so they could be hung up that evening, saving time the next morning. Also arriving about then was Christa Watson, who was taping after me the next day.
We ended up staying most of that afternoon to watch the taping going on then. This is helpful so the "guest artist" knows what to expect for their own taping.

Oddly, I do not have many photos on my phone of my taping. My husband took a few short videos, not really good to show you behind the scenes. So I am using a couple from Christa's Facebook page:

The monitors that show what the various cameras see, this is during her taping:

 The control room:


Back to my photos. When I arrived early the morning of my taping, it was exciting to see how beautiful my quilts looked in the great studio lighting. Here is Pieces of the Past--Circa 1875. I wrote the story of this quilt here.

My favorite quilt, because it taught me so much, Joyful Journey:


 Hello, old friend, nice to see you again. Red and White--By the Numbers. To find out what this quilt means to me, read this. This quilt is now part of the Corporate Collection of Quilts, Inc. and was borrowed just for this special occasion. We are so grateful that was able to happen, thank you, Quilts, Inc.:


 Another favorite, Stars in a Time Warp:


A very special quilt, one I had to bring to help "tell my story". A-Round With My Friends. I spent 7 years working on this and it has been very successful so the time was worth it:

It was hard to decide which quilts to bring, there is only so much room in the luggage, and more importantly, only so much time to talk about them.

For the first segment, I discussed how to do basic piecing, the things that help you be successful, the cutting, the sewing and the pressing. The second segment was on binding, the steps I use for a well-done finished edge and how it doesn't have to be hard. The time goes by in a flash, and then it's over.

I did get to talk with the audience a bit and answer a few questions:


Another segment taped after mine featured Bill Volckening, a quilt collector and nice guy--I've known him for several years. I am eager to watch this segment on a few of his antique quilts when it airs:


Another terrific quilt-world person I am happy to know is Becky Goldsmith. She taped the day after me so arrived mid-day of my taping to deliver her quilts. I didn't see her taping but we did get to chat a bit. Here are two of my favorite people:


All in all, this was a wonderful experience, one I never even put on my Bucket List. I have been a member of TQS since the very beginning. I learn a lot here and am happy to provide what assistance I can with the Block of the Month, answering questions on the Forum and teaching a class locally, made up of the Sunday Sew and Sews, a great group who have become good friends too.

I do not yet know when my show will air but you can be sure I'll let you know. When it does, I will have a passcode non-members can use to watch the show during one week of its' airing. But I enthusiastically encourage you to join if you are not a member, it is the best money you can spend on quilting--all of the shows are great and there is so much more. And follow them on Facebook and Instagram--lots of fun photos there.

The crew is very professional and I was treated so well. This is quite an operation--they taped 6 days in a row, two shows per day. One of my new BFFs is Shelly Heesacker, the amazing producer who makes sure everything is done as well as it could possibly be. Everyone who has ever worked with her says so. Thanks, Shelly!:
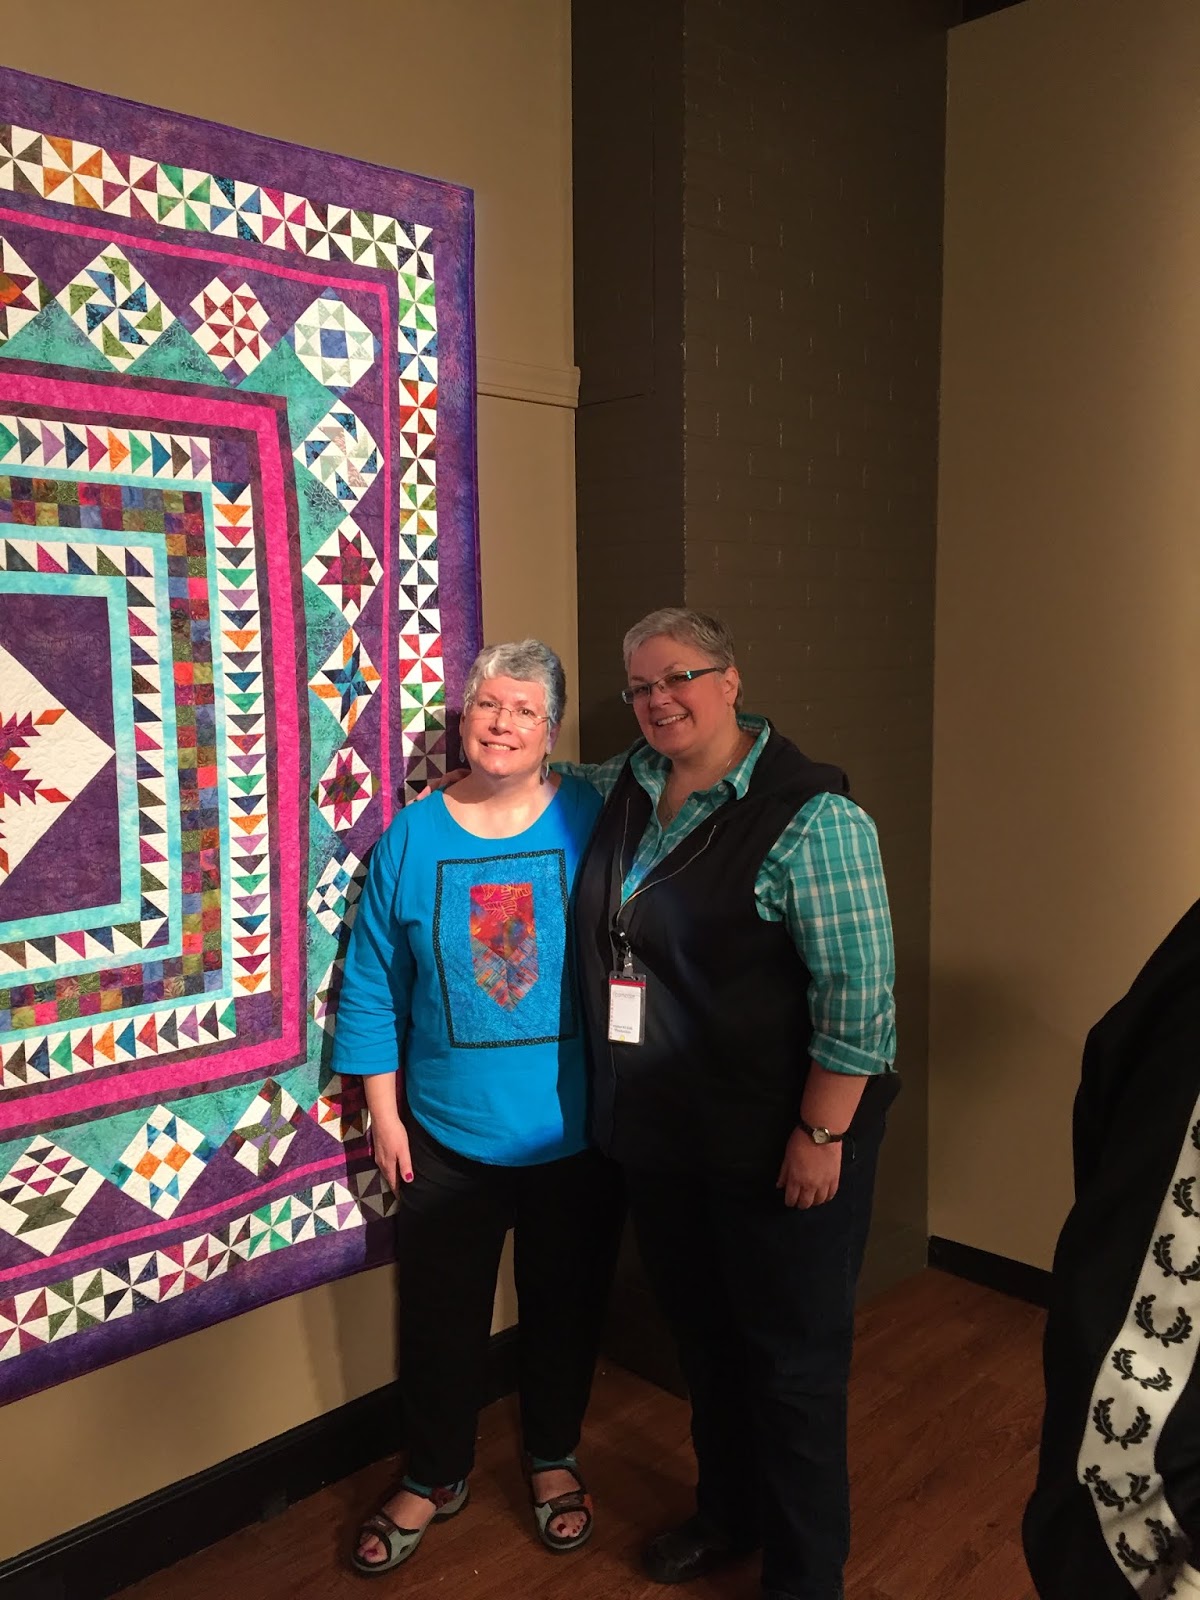


It's a wrap:


Let's quilt!

Barbara

Sunday, September 9, 2018

How To Display Quilts

Recently, I was asked how I display my quilts on the walls in my  home. 

This is how I do it and I'm sure there are other ways. As I watched my husband hammer a nail into the wall I thought "I'll bet 3M Command strips would work." Maybe I'll try those when I hang up something else in the future.

For small wallhangings, I like to use hangers made especially for that purpose. Once the hanger is mounted on the wall, usually with a small picture hanger-type nail, it is easy to change out these small pieces seasonally--the rods slip out of the holder. They are usually  made from wood or wire and are often sold at large quilt shows:
 
Heavily Beaded Dragonfly quilt from my 'artsy" period 2003, 1/4" dowel for hanging

A gift from Ellen, tiny little pieces, 2013, she included the hanger too
For larger wallhangings, there are substantial shelves with wooden hanging rods attached:

Friendship Triangles, 2011--I swapped more than 700 half square triangles with quilters all over the world, thanks to The Quilt Show 
I change this one a few times a year--it is in the hallway outside my studio so I see it every day. Another quilt on it:

Almost Amish, 2004. handquilted, made in honor of Pennsylvania quilters before me

Small quilts weigh very little. If they don't have a sleeve, I use old sewing machine needles, they have a tiny point that is sharp, and makes a tiny hole in the wall:

A Calendar quilt gift from Sharon, 2002
I bought this beautiful piece from a long-time friend, Eileen Williams--like from Kindergarten days. She makes wonderful sea and beach landscape quilts, for sale on her website Eileen Fiber Arts Quilts. She finds amazing items to create hanging rods for her work, like this driftwood and I love the shell fringe, more beach finds:


"Reach for the Stars" June 2013

For larger wallhangings, I often use 1/4" dowels, easy to find at Lowe's or Home Depot. If you know what size you want, they will usually cut them for you right in the store. This is a long piece and the photo was taken looking up toward the ceiling. I don't worry about the correct length in my studio, since I change them from time to time. If it's in the living room, I would cut the dowel so it doesn't show:


This hangs in the guest bathroom, Salsa Red paint on the walls, the dowel is the correct size, it does not show:
"Kimonos" 1994, back in my hand-quilting days

Now for the larger quilts, throw to bed-size. I get wooden lathe boards from Lowe's, 1.5" wide by 1/4" thick. There are a few heavier quilts hung up, and I should have used heavier lathe board--they tend to bow out at the top a bit. This quilt is about twin size so the 1/4" board is fine. Invisible:


An eye bolt is simply screwed in to the side, here is the right side:

 Here is the left side--be sure to get them at the same height on both sides:


Picture hangers are used here, this is where maybe Command strips might be better--it is hard to get them in the exact right spot, way up at the top of the 9' ceiling. Husband only wanted to do that once:


The quilt in place. Notice the lathe board sticks out. That is because during December a Christmas quilt hangs here and it is longer so the lathe board was cut and hung for it. What I intended to do but didn't, was to paint the lathe board that luscious soft gold wall color when hubby painted the room--then it would hardly be noticeable:

A-Round with My Friends, 2011, hand appliqe'd and quilted

The same location in December: 

"Cross and Crown" original design, 1997, Featured on the cover of McCall's Quilting, December 1997 issue
Exposure to light and dust will take a toll on textiles. This crib-size former class sample has been in this north-facing wall for 18 years, in my bathroom. The border fabric has faded--I used a fabric from the same line as the border fabric for the binding and you can see the difference on the side not directly exposed to light:


The back side of the binding, not exposed to light:

So, don't hang antique, fragile or valuable quilts for long periods of time. Refold them periodically to prevent permanent creases. I store my antique quilts and tops in cotton pillowcases in a closet, they rarely see the light of day.

How do you display your quilts?  I'd love to know.

Let's quilt!

Barbara


Wednesday, September 5, 2018

An Alternative Center for The Patchwork Barn

Instead of the Patchwork Barn, I made an alternative center. It is made from half square triangles and is easy to construct. The star is 24" square, including the sawtooth borders. This design is Barbara Brackman #2165, The Twinkling Star, published under the name of Nancy Cabot in the 1930's:


Here are the instructions I  have written:

My Alternative Center 2018 BOM
The Patchwork Barn
MONTH 9

Instead of the Barn, I made a Sawtooth Star Block for the center of my quilt. I used the leftover fabric from my blocks.

NOTE--I used 3 yards of Kona Snow, an off-white, for all the sashing. The full cutting instructions for this layout will be given in Month 11. For now, save 2.5 yards of your sashing fabric for the vertical sashing and narrow sashing between blocks and use .5 yard for the center block construction.

Center Block Construction:

From a half yard sashing fabric cut:

(1) 5” x width of fabric (WOF)
Sub-cut into four 5” squares for the block corners
For the 12 light solid triangles for pieced blocks, you have a choice:
            Use a Half-Square Triangle ruler to cut (12) 4.5” FINISHED half-square triangles--this will require one additional strip of 5” x WOF
 OR:
            Cut a 5.5” x WOF strip of sashing, sub-cut into (6) 5.5” squares, cut each in half to get 12 half square triangles, these are slightly larger than needed.

To Piece triangle units for the center block: I worked from leftover fabrics from the quilt:


            Make 36 1.5” FINISHED half square triangle units
               I used a half-square triangle ruler and 2” strips,
                        Right sides together, cut triangle pairs, sew them.
     
 Cut 36  1.5” FINISHED half square TRIANGLES, mine were all red--I used 2” leftover strips and a half-square triangle ruler. You could cut (18) 2.5” squares in half.

            Join 3 HST units and 3 triangles to form half of the pieced squares.
                  Make a total of 12 of these
Join the 12 pieced triangles to 12 solid white triangles to make 12 pieced squares that FINISH at 4.5”, they will be 5” raw edge to raw edge

Lay out the 12 pieced squares and the 4 corner squares, sew into 24” block.
            I pressed all seams open, press them however you prefer.

From remaining sashing fabric, cut two strips 2” x WOF for inner sashing.
            Sub-cut into (2) 2” x 18.5” and (2) 2” x 21.5” sashing strips

Join left and right sashing to left and right of pieced block, press toward sashing

Join top and bottom sashing to top and bottom of pieced block, now your block should be 21.5” square, raw edge to raw edge

SAWTOOTH BORDERS:

To create the sawtooth borders, make 56 1.5” FINISHED half square triangle units. I used a half-square triangle ruler and 2” strips, lights and darks placed right sides together, cut and sewn into squares. They should be 2”, raw edge to raw edge. You could cut them from 2.5” squares, trimming them to perfection after sewing the triangle pairs together.


Cut (4) light 2”squares for the four corners of the borders.

Left and Right borders: sew 14 HST units together--I changed direction at the mid-point, you may prefer to have all the diagonals go in the same direction

Top and Bottom borders: sew 14 HST units together, add one light square to each end.

When sewn together, the center block is 24” FINISHED, 24.5” raw edge to raw edge.

IMPORTANT TIP FOR SEWING SAWTOOTH BORDERS:

It is very easy for these borders to “grow” as you join them together. I strongly recommend, you “ruler check” your work, with each pair you sew. Chain piece the 14 HST into 7 pairs. Decide how you want to press them--I pressed open.


Measure them carefully--they should be 2” x 3.5” now--two 1.5” FINISHED HSTs, and .5” seam allowance. If they are that size, join these pairs into units of four. Press and ruler check--they should now be 2” x 6.5”. Continue to create the border, ruler checking as you go. If you are off two threads every seam, your border will really grow.


Remember when piecing units: If your unit is not the RIGHT SIZE NOW, it will NOT MIRACULOUSLY become the right size when you do the next step.

The more you ruler check yourself, the better your piecing will be. Eventually, your piecing will be spot on, congratulations--you can stop checking now.

I check every time I make these kind of units--it is very easy to get careless. A metal tape is a good way to check the borders if you don't have a ruler that is at least 24.5" long. Do not use a paper or fabric tape--they stretch over time and are not accurate.

MY LAYOUT:

I also added 1" finished sashing between the blocks to lengthen the quilt. This layout will be provided in Month 11 if you are interested. My quilt has no applique'. The finished size is 74.5" x 97.5".


Let's Quilt.

Barbara
Sunday, September 2, 2018

Month 9 The Patchwork Barn--Part 2 The Applique's

Now it's time for some applique' work. The instructions provide basic information on 3 types of applique'--Fusible Raw-Edge Applique', Machine Turned Edge Applique' and Hand Applique'. Each has advantages and disadvantages. Select the one you like best.

Luckily, Alex Anderson did a segment on several of these methods at the start of Show 2303. Take a look at that to see several applique' choices.

I can do needle-turn hand applique' and like that method a lot. But it is pretty slow and I needed to get this demo piece done so I chose Machine Turned Edge Applique'.  The project I am adding the applique' to is a 24" alternative center block, with a 3" border added. This will become a 30" small wallhanging BUT it could be the center of your quilt:.


The product I used is similar to the Quilter's Select product Alex demonstrated. I had this on hand and have used it successfully in the past:

Using template plastic,  I made templates from the pattern. Those were used to draw on the matte side of the Wash-Away Applique' sheet. I stacked several leftover pieces together, put a pin through to hold them, then used paper scissors, not my good fabric scissors, to cut out the shapes. This circle template had the size circles I needed, easy to draw them correctly:


There are various methods you can use to make the stems. Bias bars are commonly used. For this project, I chose the fastest method I know--I cut 1" bias strips and simply folded it in thirds and really pressed them hard to form the narrow, turned edge stems:


Here are some of the pieces prepped, ready to be trimmed to about a 1/4" seam allowance and the stems are ready to be stitched in place. The Wash-Away paper has a light fusible on the underside, be sure that is the side you place on the back of the fabric:

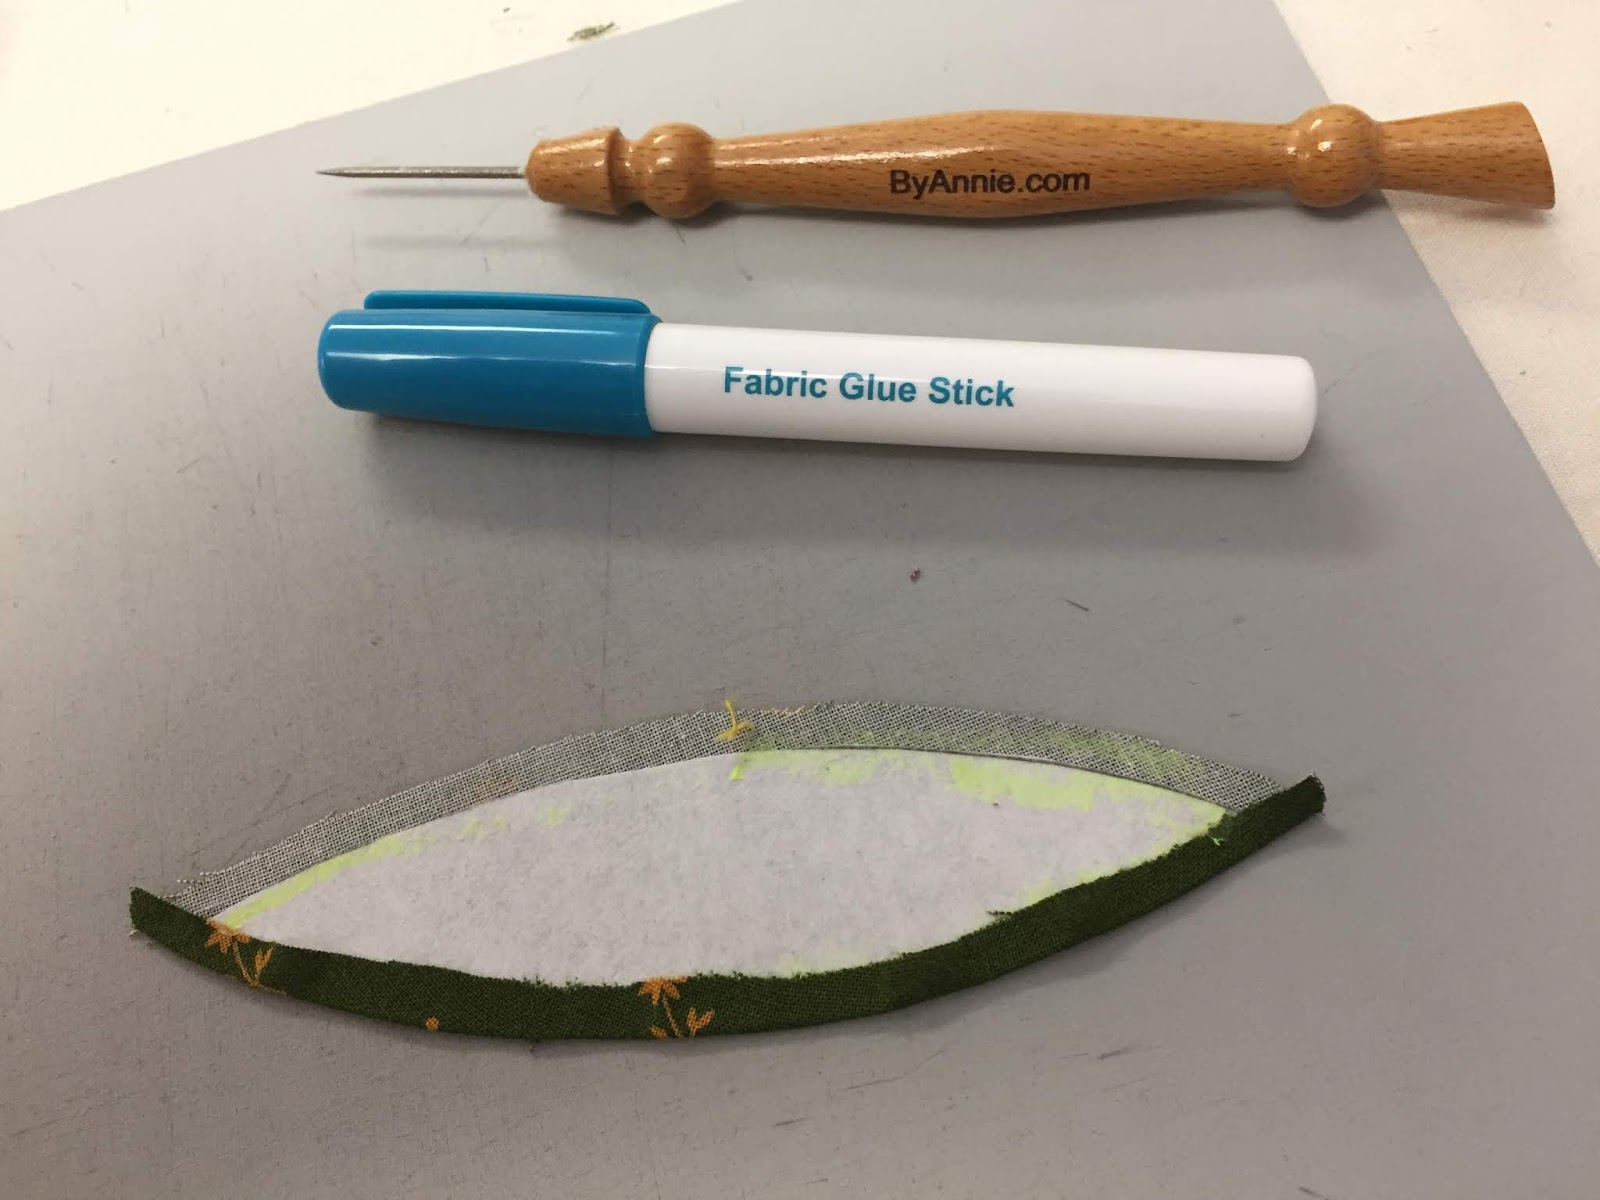
I used the glue stick Alex recommended, as I had one of those, and it worked very well:

For the small circles, I used Karen K Buckley's Perfect Circle Templates--they were so small it would have been difficult for me to turn them over the paper and get a good result. Karen is Show 2007.

Since I was creating my own pattern, I used two sheets of vellum, drew the border space I wanted to fill, and used the templates I made to trace the leaf and circle shapes. For the stem, I just drew a single line as a guide for placement of the stem:

Once I had drawn the design the way I liked it, using a pencil, I traced over the pencil lines with a Sharpie, so I could clearly see the design, on both sides. Because I can see through the vellum, I only had to design one half of the border--then I just turned the pattern over for the mirror image other side.

The only marks I made on the white border fabric was the curved stem placement line--drawn very lightly with a pencil. I pinned the stem over the placement line and stitched it. To place the other applique's, I set the vellum pattern on top of the border and slid the pieces in place, pinned and sewed them.


The machine stitching I did exactly as Alex demonstrated in Show 2303--go look there for her excellent video. I used a very small blanket stitch using thread to match the applique's. First, I stitched all the stems in place. Then I added the leaves--since I still had green thread in the machine. The red berries and red center flowers were added next, changing to red thread:

A couple of tips:

1. The edge of the borders get handled a lot--I wish I had cut them wider during construction, then trimmed to the finished size after the applique's are in place--I mentioned this in Part 1 also.

2. For the two-piece flower bud, I appliqued the yellow center on to the larger red flower before putting the flower on the quilt--less handling of the whole quilt this way. I found a stiletto helpful for turning the edge over and those Mylar circles are Karen K Buckley's Perfect Circles--I still have to make a few more of those:


So, I still have 3 more sides to go but the pieces are almost done--once I start the stitching, it goes pretty fast.

Whatever method you choose, I hope you enjoy the process and the way your Patchwork Barn is growing.

The next post in a few days will be the instructions for my alternative center block.

Let's quilt.

Barbara

Saturday, September 1, 2018

Month 9 The Patchwork Barn--Part 1 The Barn

This is the FREE Block of the Month pattern "Patchwork Barn", designed by Edyta Sitar exclusively for The Quilt Show. You must be a Star member of this world-wide quilt guild/show/Internet community to receive the free patterns each month, beginning January 1, 2018. Join today and get started on this journey.

Previous instructions are here:

Introduction
Month 1
Month 2
Month 3
Month 4
Month 5
Month 6
Month 7

NOTE: On The Quilt Show, the Forum is the best place to ask questions, find answers, or find out if there is a change in the pattern.  I recommend you check in there frequently. And there is a Show and Tell Topic--show us your blocks. Forum Patchwork Barn

We made it to Month 9--the center Barn is up next. Here is the Barn made by one of the wonderful Sunday Sew and Sews, Brenda:


Since I have another center planned for my quilt, Brenda was the "celebrity stunt sewer" who was able to test out all the directions. 

I RECOMMEND YOU READ ALL THESE DIRECTIONS BEFORE YOU BEGIN THE BARN--THERE IS AN ADJUSTMENT TO THE TEMPLATES YOU MIGHT LIKE. READ ON:

To make the Templates needed for the roof, I use freezer paper--unless I am making lots of the same shape, then I use template plastic. Freezer paper can be seen through and you can write on the matte side--I use a pencil so I can correct any incorrectly drawn lines. Draw as accurately as possible, and use a mechanical pencil for a fine line.  Incorrect templates will cause difficulties when you try to sew the pieces together.

The important thing to be aware of is the Roof--parts A and B are "Reverse Mirror Images"--this means they need to be cut in opposite directions. If you are using a solid for Part A--no problem, you can simply flip one over. But if you are using a print for A or B, the easiest way to cut these is in two layers, right sides together--this will automatically give you reverse units. 

The other advantage to freezer paper, I press the shiny side down to my fabric--this holds the fabric in place as I cut with a rotary cutter--I have my fabrics in two layers, right sides together. NOTE: Since you need a total of 4 of each part, you can cut four layers if you like, two sets both right sides together, to cut all  the pieces at once. This requires more strength when cutting and a sharp blade. I prefer to cut two layers but the choice is yours.

Here are a set of templates laid out, ready to cut. They are rough cut, larger now so I can cut precisely on the line when cutting the fabrics. Written on them is the note "Cut 2 and cut 2 in Reverse". I also draw a "straight of grain line"--the double arrow--so I am sure to get the grain straight on the outside edge of the roof unit. You may notice, I drew in the seam allowance line on Part A and omitted it on Part B--either is fine. Shown below is the way to cut both options:

Part A cut on the outer pencil line--try to split that pencil line in half--do not leave the line in place, your pieces will be too large:

 Part B cut 1/4" away from the drawn pencil line, which is the sewing line. Place your ruler very carefully::


NOW, before I sewed these parts together, I knew it would be a little challenging to get them aligned because of the odd angles. I made adjustments to the templates to be sure they would fit perfectly. SEE BELOW FOR THOSE ADJUSTMENTS. Here is what Parts A and B look like with slight adjustments:

 Here they are, right sides together, ready to be sewn. The outer edges line up just right so you know exactly where to start sewing:


Part A and B sewn together. I pressed one toward Part A and one toward Part B, so the seams nest in the next step. NOTE: I strongly recommend a DRY iron at this point--steam can easily stretch these bias edges out of shape, you don't want that:


The two halves, pinned, ready to sew. The seams nest, I pinned to be sure they stayed in place. This seam is all bias, that is stretchy, so don't handle it too roughly.  I put the bottom pin about an inch in so I can leave it in place as I sew the seam straight, all the way to the end:


You get to decide how perfect it has to be. A tip for being sure these intersections meet is to machine baste just that spot with a long stitch, about a half inch before and a half inch after the intersection--take it out of the machine, check it--if it's fine, turn the stitch length back to normal and sew the entire seam. If it's off more than you like, remove the basting stitches, fiddle with it a bit, and baste again. I'd rather pull out basting stitches than have to un-sew with a stitch ripper, especially on bias seams:


 I pressed the center seam open, again, with a dry iron. All done, now you just have to make the other half of the roof unit:


ADJUSTMENTS I MADE TO HELP WITH PLACEMENT WHEN SEWING THESE ODD ANGLES. I tested this unit out and always find it helpful to cut odd angles so the fabrics will align perfectly. The RED lines on the pattern show my adjustment, they are cut 1/4" away from the seam allowance intersections: 


If you don't want to do this, another tip that can help is to draw a dot on all three intersections of both fabric pieces--this is at the 1/4" seam allowance intersections. Draw this on the back side of the fabric--I use a pencil if I can see it--then you pin those dots exactly to each other. Tails will stick out--those are the tails I eliminated with my template adjustments. As long as your dots line up, the seam will be correct when you sew it.

The rest of the barn is  straightforward, follow the directions. The cut measurements are exact, so you need to CUT and then SEW the pieces exactly. Check yourself as you go to be sure your units aren't "growing" as you sew all those seams.

TIP: The outer borders of the Barn are cut exactly to size. If you are adding the applique's, you might want to cut them wider than they need to be so you can trim the block perfectly when the applique's are in place. The borders get a lot of handling as you add the applique's. 

Once your Barn Block Center is done congratulate yourself and take a break--you have come a long way.

Month 9 The Patchwork Barn--Part 2 will discuss the applique' instructions.

Let's quilt.

Barbara