My local guild, the Heritage Quilters of Huntsville AL recently had our every-other year quilt show. Held at the Von Braun Center, this show has a great reputation as one not to be missed if you are anywhere in the Southeast USA.
This show didn't disappoint. More than 200 quilts were entered in the judged show. There were several Special Exhibits, and a lot of great vendors. Here is a sampling of the quilts and the show. In no particular order:
 |
| Core Values Elaine Wick Poplin |
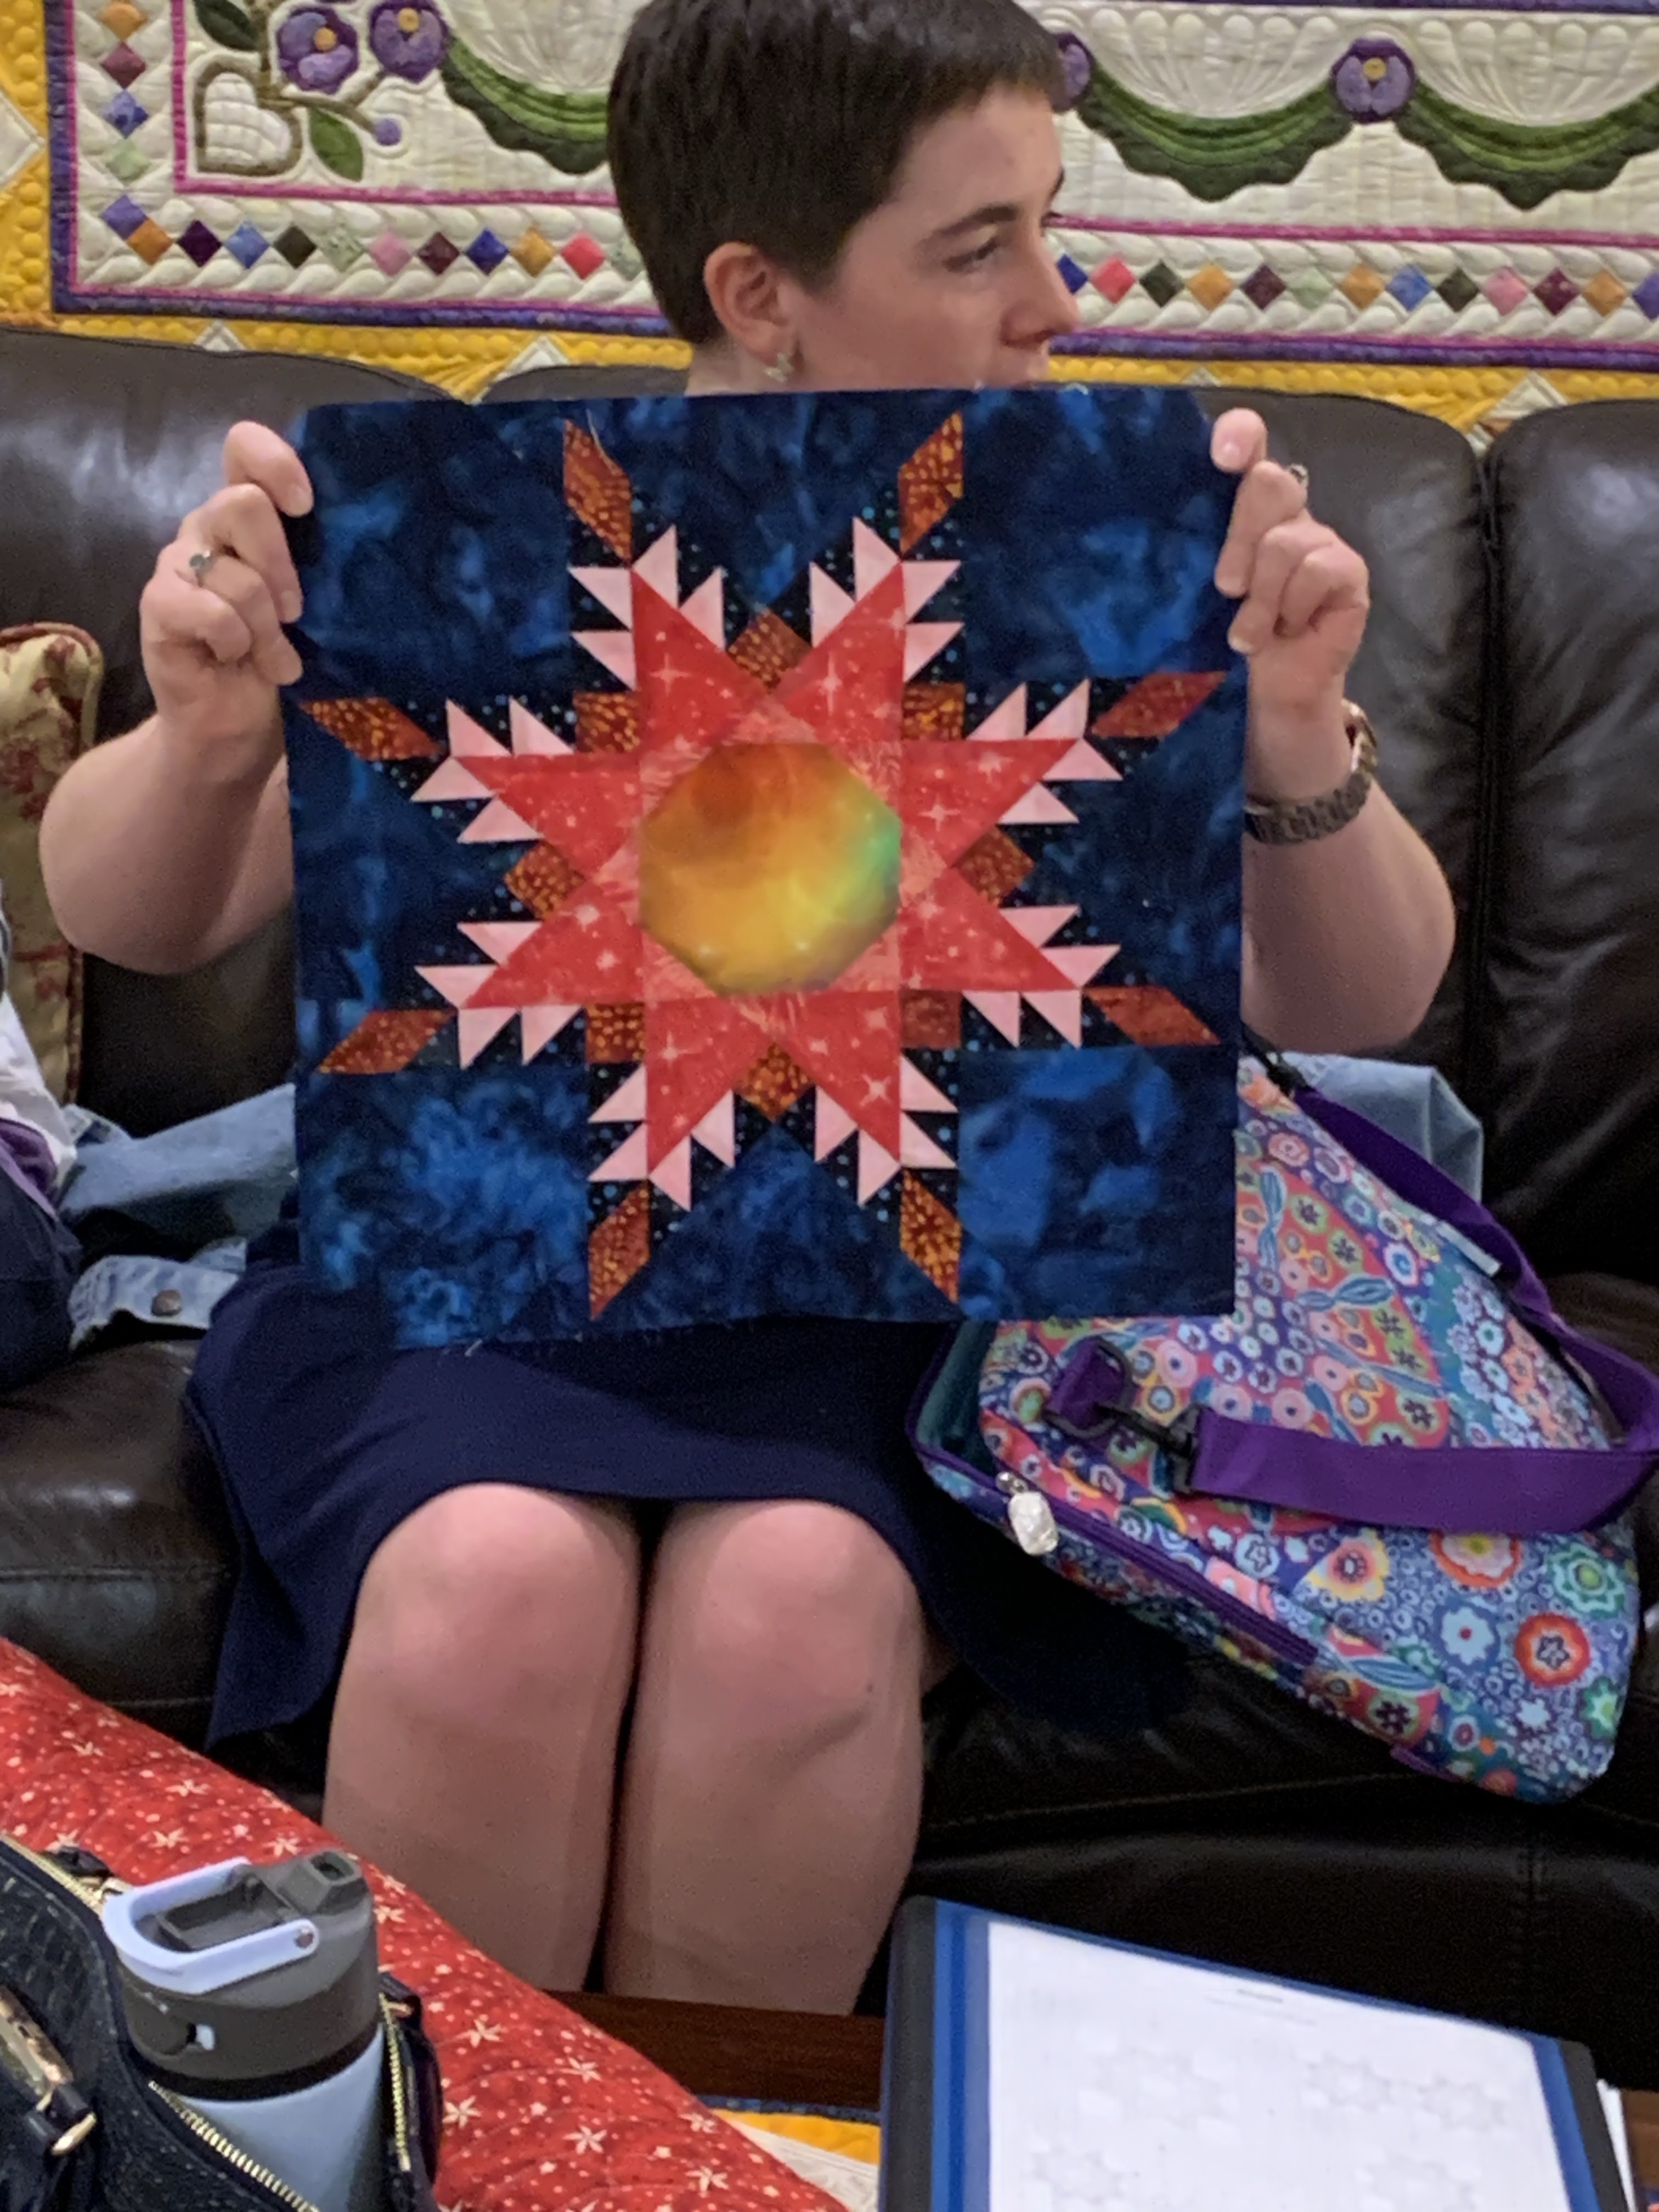
 |
| Blue Star Baby Sam Swieszcz |
 |
| Karma Trish Harmon |
 |
| Best of Show Patty Wilson quilter, Karen Measels made the top |
 |
| Spring Fever Cyndi Russell |
 |
| Kiwi Peel Ben Darby |
 |
| Full Circle Cyndi Russell |
 |
| Cosmic Curves Ben Darby |
 |
| Christmas Delight Donna Daniel, Robin Ruth design for The Quilt Show |
 |
| Main Event Ben Darby |
 |
| Quilting 101 with Barbara Maureen Griffin--student work made in my beginner class |
 |
| Mandala Elaine Wick Poplin |
This quilt, "EMPTY" by Elaine Wick Poplin, got a lot of attention and was awarded the Judges' Choice Ribbon. Elaine is a retired high school teacher. Elaine says "It features the names of all 175 innocent victims of every mass school shooting since Columbine. I created the graphic and had the fabric printed by Spoonflower. Red quilting, backing made of red solids, raw edges and sutured letters all reflect the sadness of mass school shootings". It is a moving piece of art:
There were LOTS of quilts made from recent Block of the Month quilts featured on www.thequiltshow.com. As I work for The Quilt Show, helping those who are working on these quilts over the course of a year, I feel like they are my "babies".
COLOR MY WORLD, 2021 BOM, designed by Wendy Williams:
 |
| Sally Wright |
 |
| Anne Clough |
 |
| Beverly Penaranda |
 |
| Marci VanderGriend |
 |
| detail showing the quilting, awarded Best Machine Quilting -- Track Machine |
 |
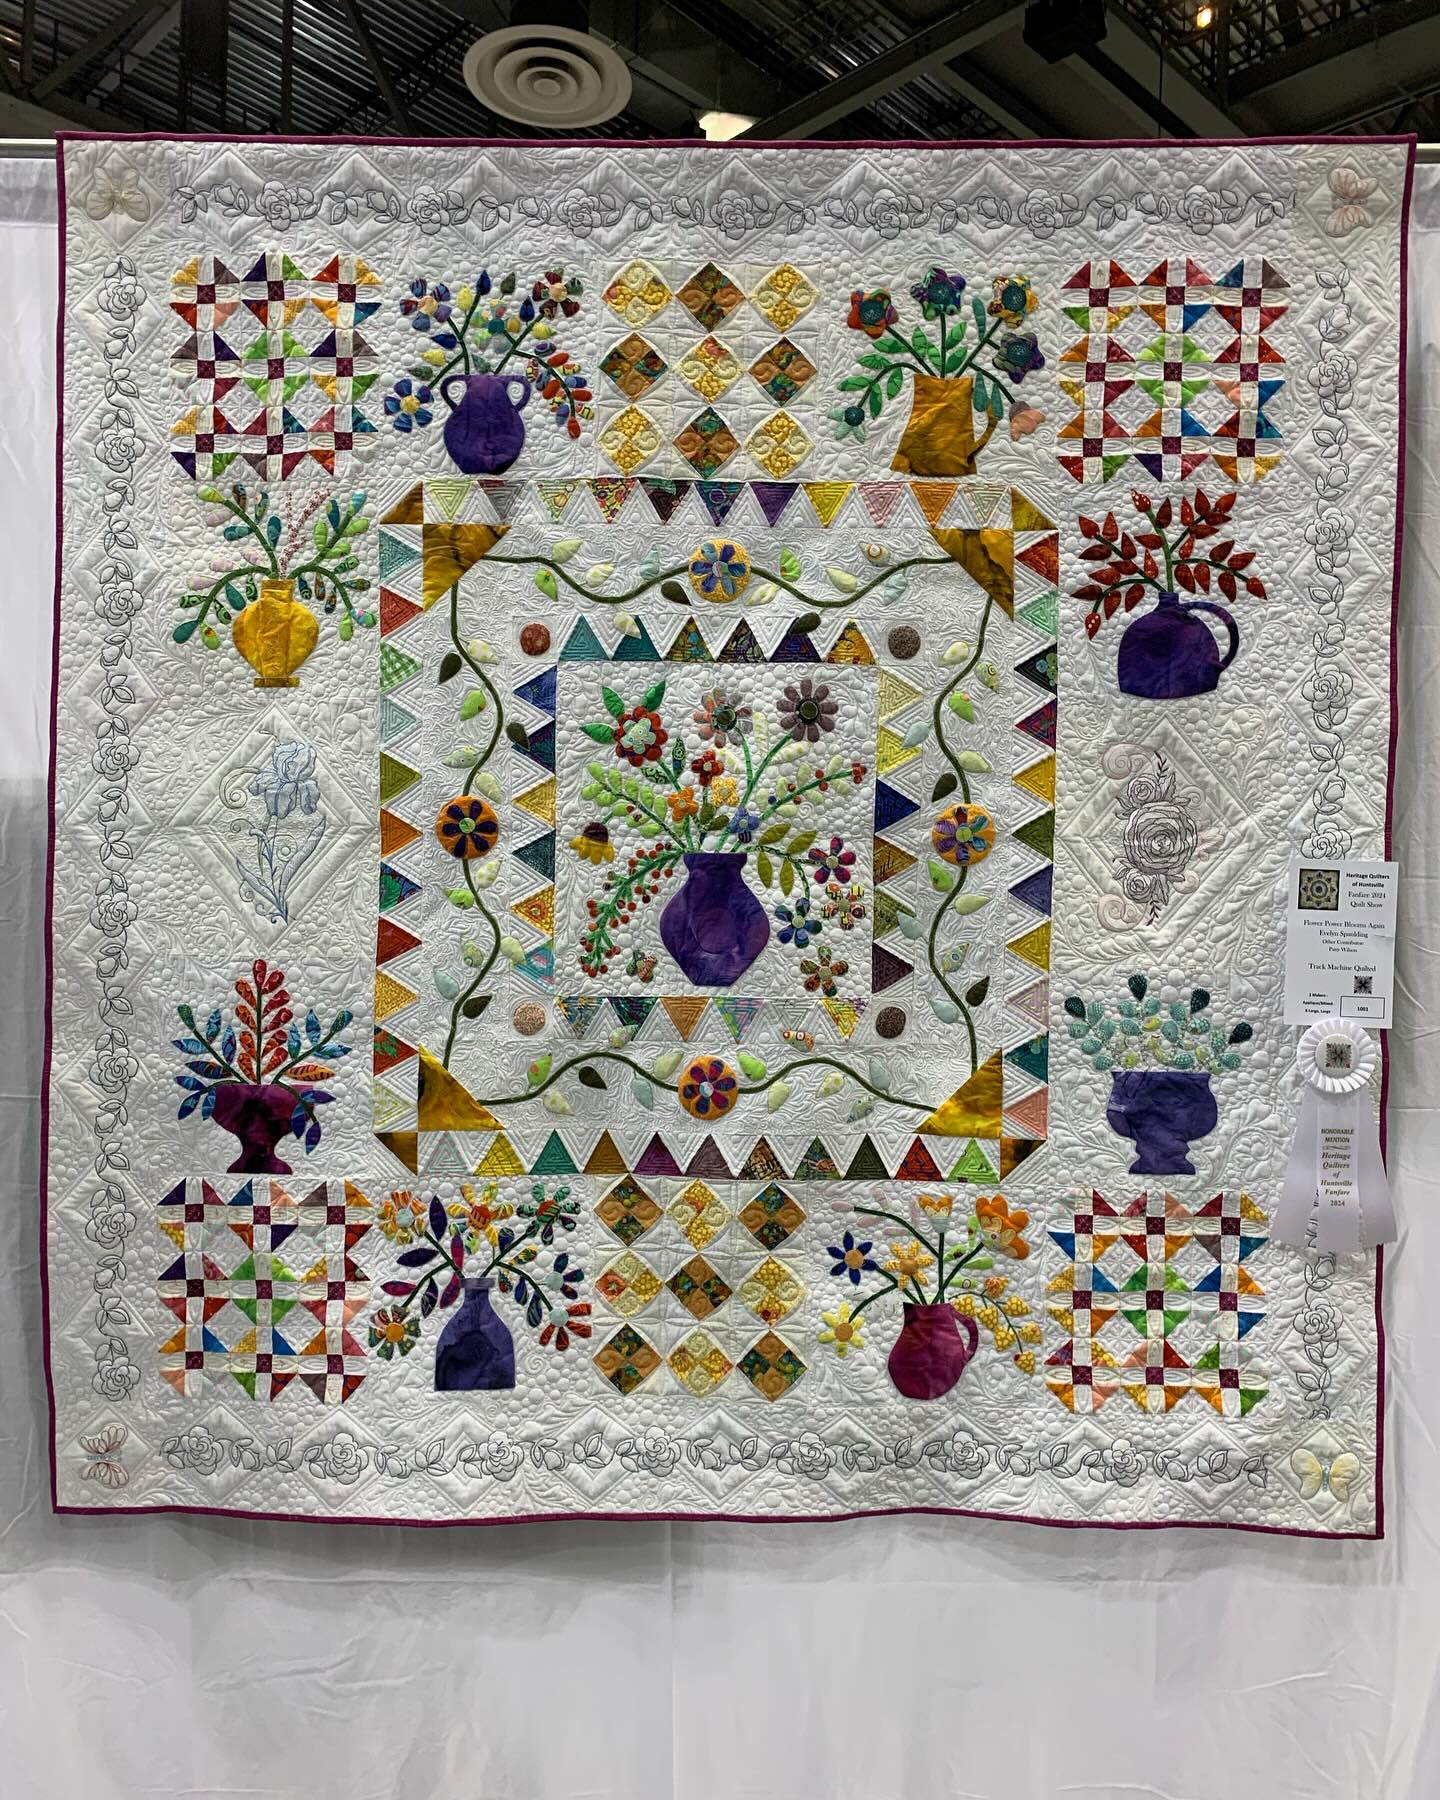
| Evelyn Spaulding |
 |
Lynda Kronenberger
|
GARDEN PARTY DOWN UNDER, 2022 BOM, designed by Irene Blanck:
 |
| Beverly Penaranda |
 |
| Detail showing quilting |
AFTERNOON DELIGHT, 2020 BOM, designed by Sue Garman:
 |
| Patty Wilson |
My only entry this show was Full Circle, quilted by Patty Wilson:
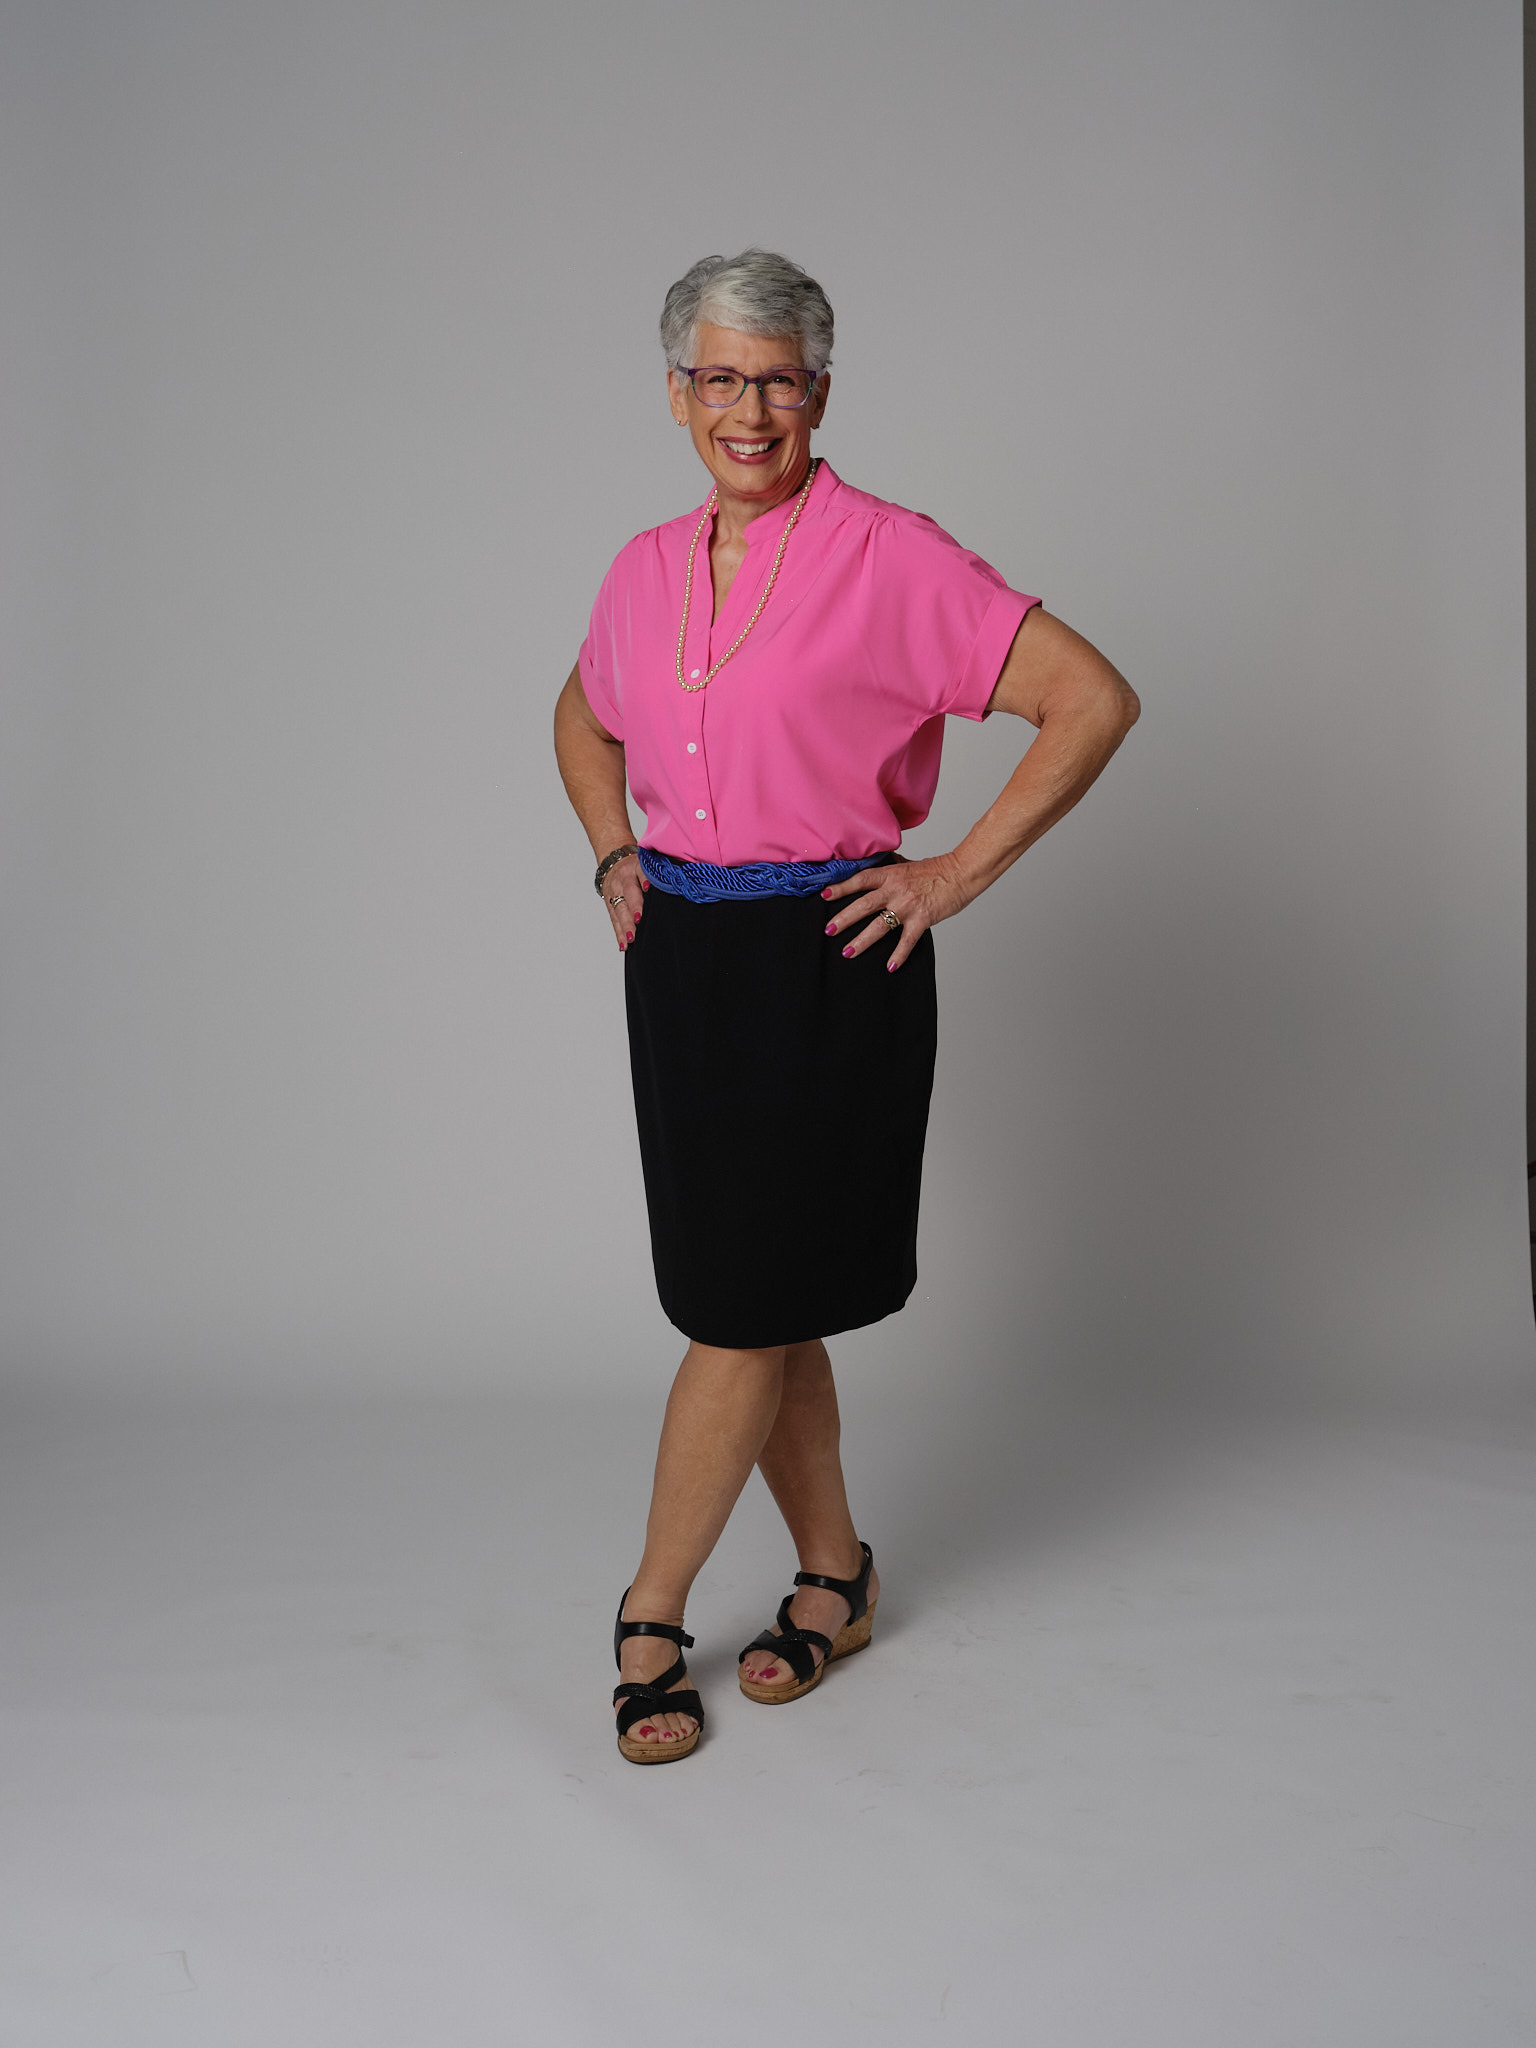
Another favorite was "Finding Teal Mountain" by Suzie Wilbanks. She worked on this for many years, gathering every teal fabric she could find. I added a few to her stash:
Suzie and I in front of our quilts for the "photo op":
One other quilt I made was at the show. SUNRISE SUNSET was on display in the Southern Charm Quilting booth. I taught this class there and they had a few kits left so this was a good place to sell them. The name of the quilt pattern is "Aether" by Patty Murphy:
One of the vendors had a wonderful antique quilt on display. It wasn't for sale, it just captivated me. To be as old as it is and in such fine condition, oh, wow. The hand quilting is awe inspiring:
I wish I had taken a few "overview" shots, but I didn't. Fortunately, Kari H did so I snagged these to share with you. It was a great show!
Let's quilt!
Barbara