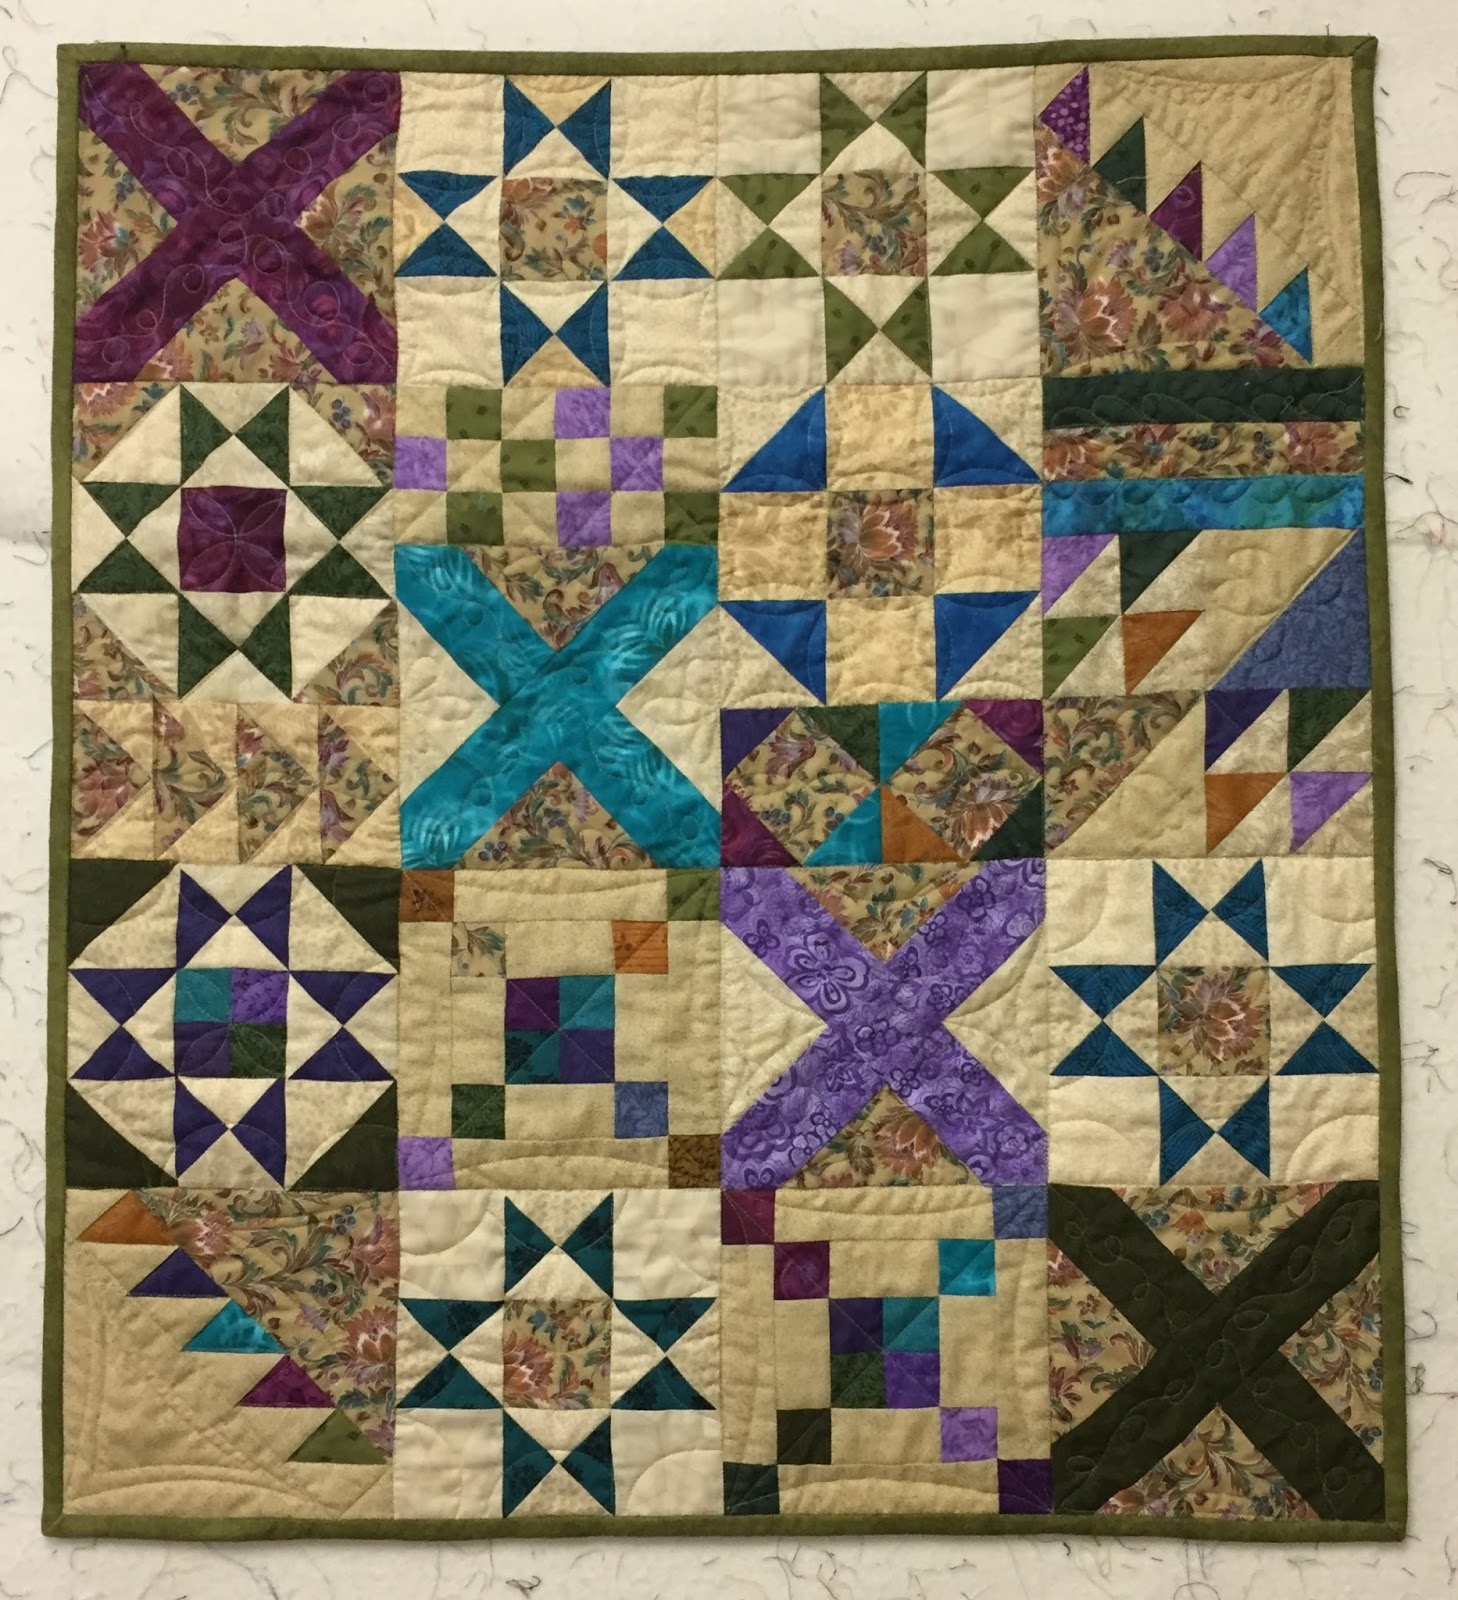
Still making masks--it looks like we will be wearing them for a while. My sons said the two I made them recently were too tight--I used loops made from t-shirts. So when I was able to find elastic at my local quilt shop, I made a few new ones and retro-fitted their others:
My husband is a hardworking man who would rather do it himself. We are having our old deck replaced so he decided to take out the old deck himself so all the contractor has to do is build the new one. I know he is not 30 years old anymore, so I called in reinforcements--our two sons came to help with the labor. Here they are at the end of a long day, but the work is almost all done. The screws are all out of those boards, they will just be lifted off when the workers arrive to build the new deck. As usual, it took much more effort than anticipated:
Andy, the youngest, brought Stella for me to play with. She is a delightful child, happy and funny and smart. It is very hard to get her to pose--she delights in making "goofy faces" rather than "good faces" so a bit of prompting finally got this., the new 5 year old:
She and her brother Sam are coming for a sleepover soon--so no sewing for me. It takes at least two full grown adults to keep up with a 5 and almost 2 year old. But we love seeing them and having them visit.
Drumroll Please! The Giveaway winner, chosen by Random Number Generator from 66 comments is Kim W! An email has been sent, Kim, get me your mailing address and I'll send your package on the way:
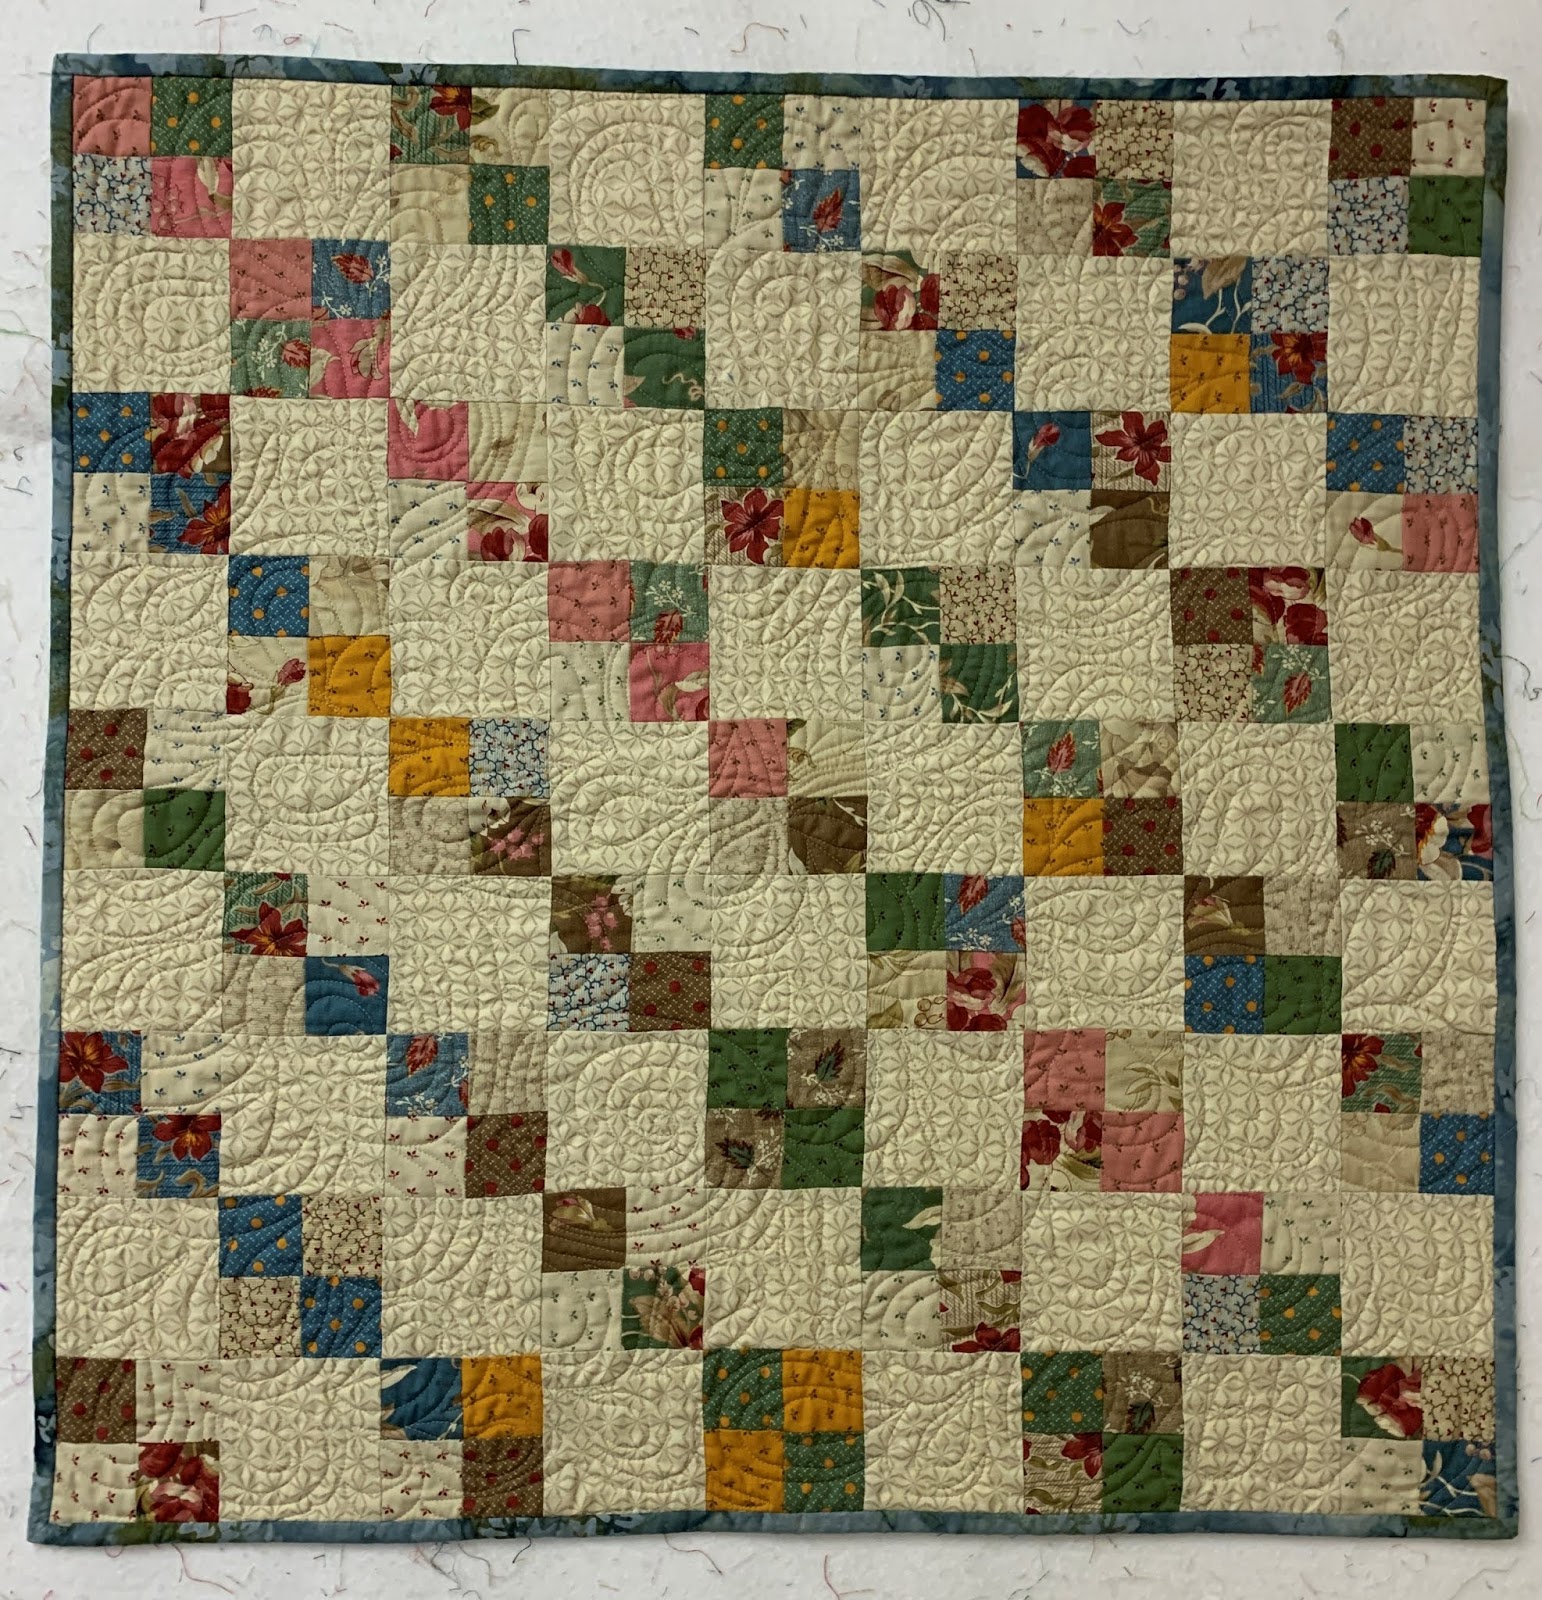
I looked back to find out when I made this quilt--it was in 2017. I received the four-patches from someone who posted on a Facebook group that she made them from a charm pack but didn't like them and just wanted to give them away. I saw that post almost as soon as she wrote it and said "I'll take them". I put them into this doll-size quilt and had fun practicing free-motion quilting on it.
All the comments were interesting and touching. Quilting ties so many of us together, making it a smaller world in some ways. Many find it a link to their past and a foot into the future.
By the way, the first 5 people selected did not have an email connected to their profile so were not able to be selected. Lucky for Kim!
Let's quilt,
Barbara
Showing posts with label giveaway. Show all posts
Sunday, June 14, 2020
Wednesday, June 3, 2020
Giveaway Goal
As the recent recipient of a Blog Giveaway, I think this is a good time for a Giveaway Goal.
This blog has over 2700 followers, most by email, which you can't see--there are currently 1936 who follow it by email.
Let's get to 2800! Whether people choose to follow with Google, Bloglovin or another blog reader, or by email, it all counts and gets this content out to those who want it.
If you are a follower already, THANKS! I look forward to talking to you a couple times a week.
If you only read this from Facebook where I post a link each time a blog goes live, please follow the blog too.
It is easy to follow by email: just fill in the box over there on the right, and respond to the Confirmation email you will get. Each time I post, usually on Wednesday and Sundays, you will get an email with the direct link to the blog.
And share this with all your quilty friends--when we hit 2800 followers I will be giving away this little quilt and a few other goodies to go with it:
A huge THANK YOU! to Janet O--the Rogue Quilter, who has inspired me for years. Here is the terrific package of goodies I won on her blog:
Janet makes soap--they smell divine, Spearmint/Peppermint and Orange/Cinnamon in that little baggie. There is a scented candle, a lovely notebook, and a super Log Cabin Pincushion--I love it all.
The brand new book is THANKS TO Pam Buda of Heartspun Quilts. Vintage Treasures: Little Quilts for Reproduction Fabrics is right up my alley--there are several in year I will enjoy making. Pam has a Blog you might enjoy too.
So spread the word, let's get to 2800 followers, and someone can feel lucky too!
Let's quilt.
Barbara
This blog has over 2700 followers, most by email, which you can't see--there are currently 1936 who follow it by email.
Let's get to 2800! Whether people choose to follow with Google, Bloglovin or another blog reader, or by email, it all counts and gets this content out to those who want it.
If you are a follower already, THANKS! I look forward to talking to you a couple times a week.
If you only read this from Facebook where I post a link each time a blog goes live, please follow the blog too.
It is easy to follow by email: just fill in the box over there on the right, and respond to the Confirmation email you will get. Each time I post, usually on Wednesday and Sundays, you will get an email with the direct link to the blog.
And share this with all your quilty friends--when we hit 2800 followers I will be giving away this little quilt and a few other goodies to go with it:
| 27" square |
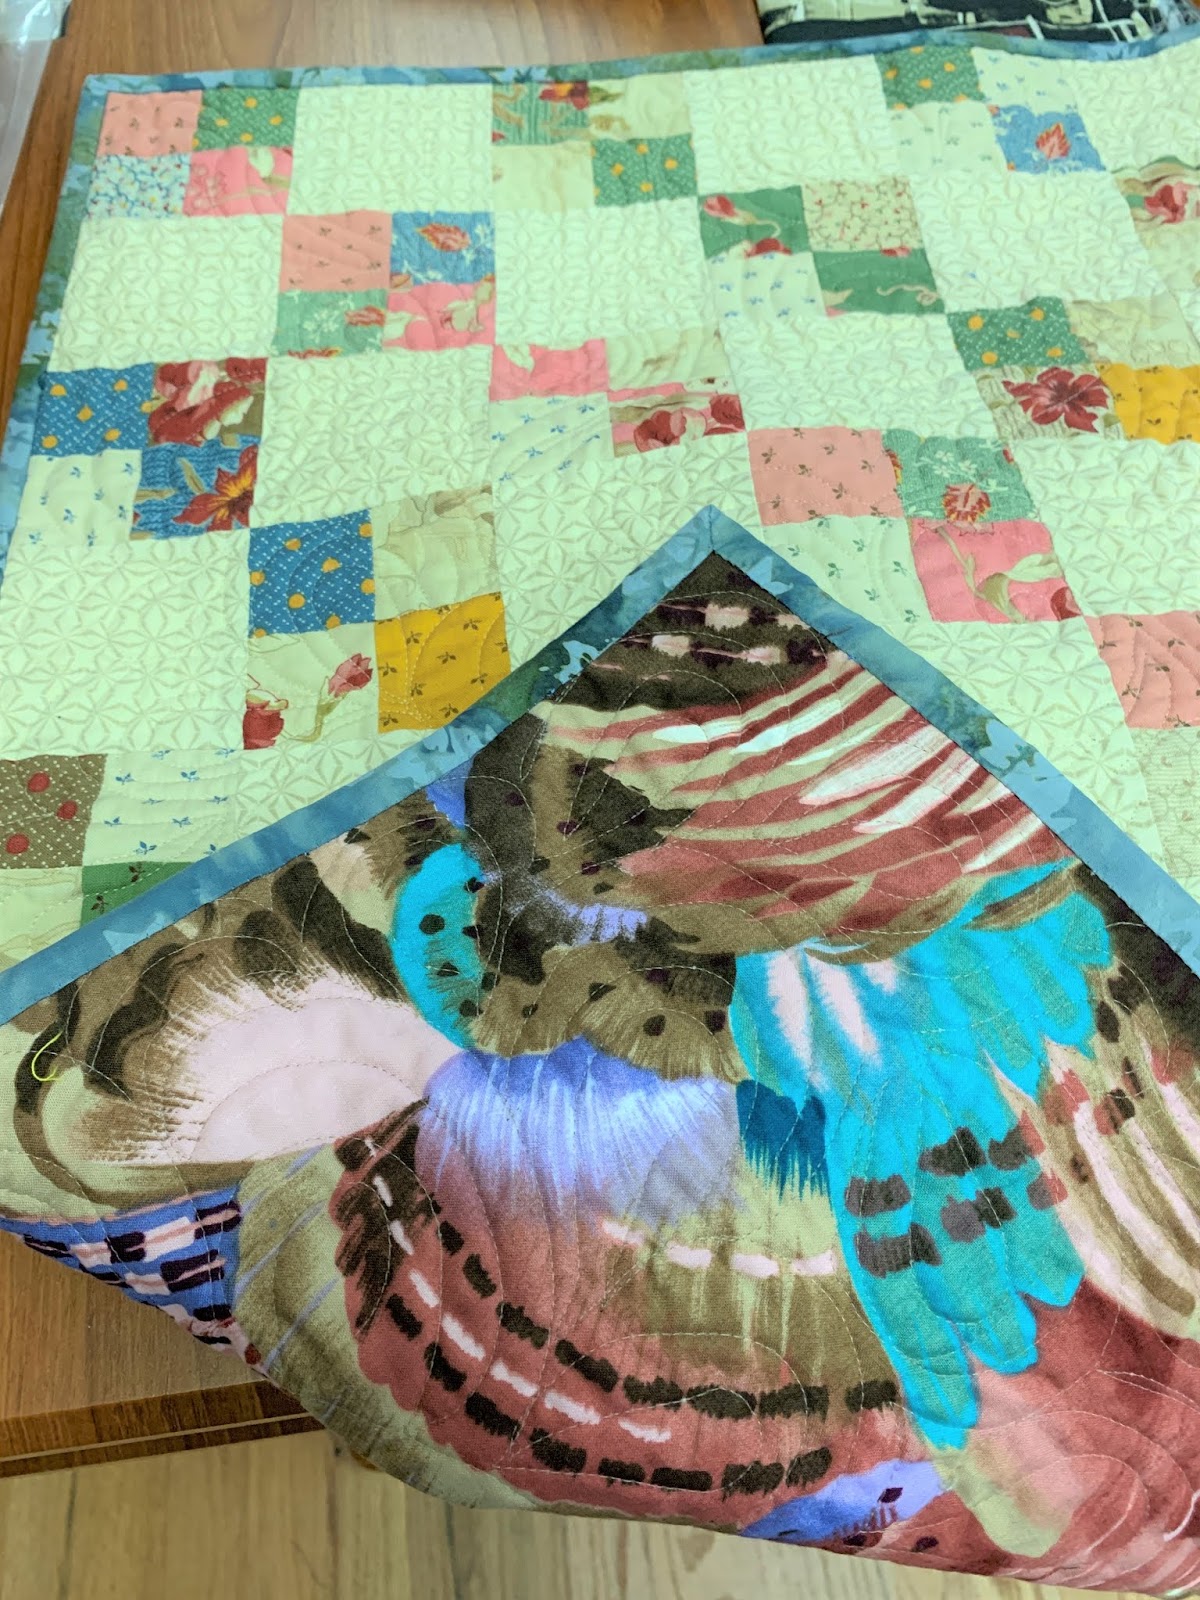
| A fun back fabric |
| Free motion texture |
Janet makes soap--they smell divine, Spearmint/Peppermint and Orange/Cinnamon in that little baggie. There is a scented candle, a lovely notebook, and a super Log Cabin Pincushion--I love it all.
The brand new book is THANKS TO Pam Buda of Heartspun Quilts. Vintage Treasures: Little Quilts for Reproduction Fabrics is right up my alley--there are several in year I will enjoy making. Pam has a Blog you might enjoy too.
So spread the word, let's get to 2800 followers, and someone can feel lucky too!
Let's quilt.
Barbara
Sunday, June 9, 2019
Do I NEED More Fabric?
No, of course, not. But when a friend is giving away her lifetime supply of quilting fabric and works in progress, well, I just had to help her out.
Promptly at 2 pm, about a dozen of Janet's quilting friends showed up, mostly Sunday Sew and Sews. Rules were passed out, the garage door was opened at 2, and about 100 banker's boxes were revealed--free for the taking. We were asked to take no more than 4 boxes each, and you had to take the whole box, no sorting through--you got the entire box. Most were color-coordinated already or full of things like batiks.
Here is what I got:
Those who arrived at 2:12 got nothing! Yes, 95% of all the boxes and bags with tops and works in progress were gone in 10 minutes.
Now I will sort through these boxes and decide what I really want. The rest will go to the Sunday Sew and Sews meeting today--a couple of the latecomers will be delighted to still get some. Stay tuned to see what I keep.
The one thing I was most excited about:
Two and a half yards of this old fabric. Years ago, my son, Andy, had the nickname "Mr. Flameshoes" because he had black shoes with this flame pattern on them. He was, and still is, a skateboarder so I made him a "Mr. Flameshoes" quilt. The fabric is long gone but now I can make his little boy, Sam, a "Mr. Flameshoes" quilt someday--this fabric alone was worth the trip!
Andy's quilt, "Mr. Flameshoes":
Janet will continue making quilts but not at the pace she had. She was thrilled to have the burden of all this great stuff out of her house. I can relate but am not ready to go that route yet...
Remember, your kids don't want your stuff.
Let's quilt.
Barbara
Promptly at 2 pm, about a dozen of Janet's quilting friends showed up, mostly Sunday Sew and Sews. Rules were passed out, the garage door was opened at 2, and about 100 banker's boxes were revealed--free for the taking. We were asked to take no more than 4 boxes each, and you had to take the whole box, no sorting through--you got the entire box. Most were color-coordinated already or full of things like batiks.
Here is what I got:
Those who arrived at 2:12 got nothing! Yes, 95% of all the boxes and bags with tops and works in progress were gone in 10 minutes.
Now I will sort through these boxes and decide what I really want. The rest will go to the Sunday Sew and Sews meeting today--a couple of the latecomers will be delighted to still get some. Stay tuned to see what I keep.
The one thing I was most excited about:
Andy's quilt, "Mr. Flameshoes":
Janet will continue making quilts but not at the pace she had. She was thrilled to have the burden of all this great stuff out of her house. I can relate but am not ready to go that route yet...
Remember, your kids don't want your stuff.
Let's quilt.
Barbara
Wednesday, October 24, 2018
Giveaway Time!
UPDATE: We have WINNERS! Congratulations to Susan T. And Denise--emails coming to you. Thanks you so much to all who shared this blog with friends.
As a gift, the Sunflower Quilts company sent a supply of their nifty Thread Cutters to my taping of The Quilt Show in August. These were given out as prizes to some of the lucky audience participants.
They also sent me a couple to use as giveaways--that means YOU might win one:
I have written about these cuties before: here. They are handy-dandy for separating all those chain-pieced units we sew together in long strings, much faster than using scissors. Remember my motto:
"I want the fastest method that gives me the result I want."
They don't slide around and you can easily slice apart lots of units in record time.
"My" episode of 'The Quilt Show will air February 24, 2019--that's four months from today. To celebrate that information. I'm going to give these two away now. To be eligible, leave a Comment below, telling us why you NEED this, which color you prefer, blue or orange, AND that you have shared this blog with at least one friend. One entry per email address--be sure your address appears for me---Unknowns cannot win.
Two winners will be selected Saturday October 27, 2018 so you only have 3 days to act. They will be mailed out October 29, before I leave for Houston. AND if you will be attending Houston, I will hand-deliver yours personally.
Good luck and share away!
Let's quilt.
Barbara
As a gift, the Sunflower Quilts company sent a supply of their nifty Thread Cutters to my taping of The Quilt Show in August. These were given out as prizes to some of the lucky audience participants.
They also sent me a couple to use as giveaways--that means YOU might win one:
I have written about these cuties before: here. They are handy-dandy for separating all those chain-pieced units we sew together in long strings, much faster than using scissors. Remember my motto:
"I want the fastest method that gives me the result I want."
They don't slide around and you can easily slice apart lots of units in record time.
"My" episode of 'The Quilt Show will air February 24, 2019--that's four months from today. To celebrate that information. I'm going to give these two away now. To be eligible, leave a Comment below, telling us why you NEED this, which color you prefer, blue or orange, AND that you have shared this blog with at least one friend. One entry per email address--be sure your address appears for me---Unknowns cannot win.
Two winners will be selected Saturday October 27, 2018 so you only have 3 days to act. They will be mailed out October 29, before I leave for Houston. AND if you will be attending Houston, I will hand-deliver yours personally.
Good luck and share away!
Let's quilt.
Barbara
Sunday, December 10, 2017
Halo Sunday Sew and Sews--Wait Until You See!
The food was great but guess what? They brought me a gift!! Behind my back, they had a little project going. Using the fabrics from their Halo Star Medallion quilts, they presented me with this amazing top they made as a group:
What a touching surprise! I love it and all the memories it holds, of friendship, fellowship, love and learning. They suggested I add a border with my fabrics--maybe I will. It's pretty perfect just the way it is. Can't wait to quilt it!
The house was ready:
| My Quilt-y Tree with quilt, dragonfly and an A-6 ornaments |
| The new household tree so Stella can see our family ornaments |
None of us knew everyone when we first met last January 8, 2017 but we are all members of the Heritage Quilters of Huntsville. We started with 15, one dropped out and today 3 were unable to be here. The 10 who did come brought snacks and I had the hot apple cider ready--it's cold here today!
After we ate and they presented my quilt gift, I pulled their names from a hat and each was able to select any quilt they wanted from these shown in the basket. They couldn't open them, just had to choose from the folded part they could see. The last person thought she would be stuck with the last quilt but NO, she got this:
| Halo Star Leftovers 24" x 28" |
So sorry I didn't get a photo of Donna and I with this piece--my leftovers from my Halo Star Medallion quilt. She was happy to get it and I think the others wished they were last. As I made this I knew I was going to give it to one of them, so glad I decided to give everyone a quilt. Just like Oprah said: you get a quilt, and you get a quilt, and you get a quilt...!
Now to show you the wonderful quilts they made. Each quilter stretched herself and learned a lot, especially how to solve problems when they arise, as they will. Enjoy the show:
| Jodie--she said this may be all she does and we assured her that was fine--it's a great quilt just like this |
| Brenda--she may add just one more narrow border |
| Pam--love that little green border and the funny story that goes with it |
| Terri--perfect for a large bed. She may take some of the red border off since she will be paying by the square inch to have it quilted |
| Jo Anne, sister to Brenda--their competition kept them each going |
| Donna--another happy quilter who learned a lot |
This was a great year for me too--at least my studio got straightened up once a month. These ladies have all become more friends than students and most are already signed up for the 2018 Block of the Month, designed by Edyta Sitar. This time we're meeting at Patches & Stitches so we can accept up to 20 people. Sign up for that class here. We start January 7, 2018. We will be the Sunday Sew and Sews 2. You must be a Star member of The Quilt Show to participate so you can print your patterns.
Let's Quilt!
Barbara
Friday, February 17, 2017
Basting a Quilt for Machine Quilting--and the Giveaway Winner
If you are going to machine quilt a quilt on your home machine, you need to baste the three layers together. When we hand quilt, we most often baste with thread, large stitches basted in by hand across the surface of the quilt. But with machine quilting you would be sewing in all those threads, then have to remove them, or they would get caught on the presser foot, so thread-basting is not a solution for machine quilting. Most quilters use safety pins:
For a small quilt, I often just use straight pins until the basic grid quilting, like stitch in the ditch, is done. But on a large quilt that wouldn't work: the pins would come out or, worse, you'd get bloody sticking yourself as you manipulate the quilt through the machine.
Here is my process. (I know there are other methods, spray basting, basting guns, etc.--this is how I do it.) First, I need to find a room with tables that will fit my quilt--no crawling around on the floor for me any more. If you have access to a church Fellowship Hall,or a business or community center lunchroom, see if there is a time you can use that space to baste your quilts. After teaching a class this morning at Patches & Stitches, Huntsville, AL, I put 3 classroom tables together to baste Stella's Splendid Sampler.
The back was pieced from two lengths of fabric, after removing the selvages, then the seam was pressed open. I carefully laid the back out, RIGHT SIDE DOWN. I centered the seam on the middle table. I used small plastic clamps to secure the back to the table, clamping firmly but not stretching the back.If you don't have clamps, bulldog clips, also called black binder clips, often work. At home on my dining room table I use painters tape.
Luckily, most of the back fit nicely on the table, the left and right sides hang over about 6-8":
Then I gently added the batting:
This is my favorite batting. Quilters Dream Cotton batting, Request weight, the lightest. It comes in white or natural, use white if you have a predominately white background:
After smoothing the batting carefully across the back, keeping the left side even with left edge of the back, I spread out the quilt top. This whole process is much easier with another set of hands but it was only me so I did it myself:
An important point: I didn't intentionally center the seam on the center of the quilt--it pretty much happened by accident. For a competition quilt, I would have carefully lined up the center seam of the back with the center of the quilt top. NOTE: For a larger bed quilt, the back would have been made from 3 pieces, about 40" across the middle, and two pieces sewn to either side. OR I would use a wide-goods back, 108" or wider--then you only need the length of your quilt plus a bit for the back. This quilt is 81" square.
How much bigger is the back and batting than the top? If you are quilting it yourself, on a home machine, with a fairly flat/thin batting like this, 4" extra all around is enough--at least 85" in both directions for my quilt. If you are giving your quilt to a longarmer to quilt, they need 8" extra all around, this means, your quilt top plus 4" extra on the left and right sides, 4" extra on the top and bottom edges. The thicker the batting, the more back and batting you need beyond the top.
Once I was satisfied I had the quilt as flat and straight as I could make it, it was time for the safety pins. I was afraid I would run out so I placed them about 7" apart--they really should be closer, about 3-4" apart. As I plan to stitch in the ditch first, on either side of all the turquoise sashing strips, I purposely did not put any pins in the 1" finished sashings. Once the stitch in the ditch is done, I can remove all the rest of the pins to quilt in each block, whatever I think that block needs.
Put the safety pins in BUT DON'T CLOSE THEM, until all the pins are in place. I did run out of pins when I got to the borders, I'll add more once I get home. For now each block has a pin and there are a few in the borders. After ALL the pins are in place, remove the clamps that have been holding the back securely flat on the table:
Now you can close the pins. On a large quilt there can be more than 300 pins and that can be tough on your hands. I used my hands but you can use a grapefruit spoon, a chopstick or a Kwik Klip tool:
Once all the pins are closed, turn it over to the reverse side and check to see if there are any pleats or tucks. If there are, now is the time to fix them. If you forget to fix them, you will sew them in place, just ask me how I know...
Basting is not my favorite part of the process--having a friend or two to help makes it go faster--but you can do it yourself. If your quilt is larger than the tables you have, after doing the middle portion on the table, close those pins, and slide the quilt to the side, do that side, close the pins, carefully slide the quilt back to the remaining side, and complete the basting. Now you can quilt it!
And it's time to announce the Giveaway for the Sew-A-Long. The Random Number Generator selected number 2: congratulations, Donna D! We'll get together soon to give you the prizes. Thanks to everyone who posted their photo.
Let's Quilt!
Barbara
For a small quilt, I often just use straight pins until the basic grid quilting, like stitch in the ditch, is done. But on a large quilt that wouldn't work: the pins would come out or, worse, you'd get bloody sticking yourself as you manipulate the quilt through the machine.
Here is my process. (I know there are other methods, spray basting, basting guns, etc.--this is how I do it.) First, I need to find a room with tables that will fit my quilt--no crawling around on the floor for me any more. If you have access to a church Fellowship Hall,or a business or community center lunchroom, see if there is a time you can use that space to baste your quilts. After teaching a class this morning at Patches & Stitches, Huntsville, AL, I put 3 classroom tables together to baste Stella's Splendid Sampler.
The back was pieced from two lengths of fabric, after removing the selvages, then the seam was pressed open. I carefully laid the back out, RIGHT SIDE DOWN. I centered the seam on the middle table. I used small plastic clamps to secure the back to the table, clamping firmly but not stretching the back.If you don't have clamps, bulldog clips, also called black binder clips, often work. At home on my dining room table I use painters tape.
Luckily, most of the back fit nicely on the table, the left and right sides hang over about 6-8":
Then I gently added the batting:
| Twin Size Batting is somewhat larger than needed |
After smoothing the batting carefully across the back, keeping the left side even with left edge of the back, I spread out the quilt top. This whole process is much easier with another set of hands but it was only me so I did it myself:
An important point: I didn't intentionally center the seam on the center of the quilt--it pretty much happened by accident. For a competition quilt, I would have carefully lined up the center seam of the back with the center of the quilt top. NOTE: For a larger bed quilt, the back would have been made from 3 pieces, about 40" across the middle, and two pieces sewn to either side. OR I would use a wide-goods back, 108" or wider--then you only need the length of your quilt plus a bit for the back. This quilt is 81" square.
How much bigger is the back and batting than the top? If you are quilting it yourself, on a home machine, with a fairly flat/thin batting like this, 4" extra all around is enough--at least 85" in both directions for my quilt. If you are giving your quilt to a longarmer to quilt, they need 8" extra all around, this means, your quilt top plus 4" extra on the left and right sides, 4" extra on the top and bottom edges. The thicker the batting, the more back and batting you need beyond the top.
Once I was satisfied I had the quilt as flat and straight as I could make it, it was time for the safety pins. I was afraid I would run out so I placed them about 7" apart--they really should be closer, about 3-4" apart. As I plan to stitch in the ditch first, on either side of all the turquoise sashing strips, I purposely did not put any pins in the 1" finished sashings. Once the stitch in the ditch is done, I can remove all the rest of the pins to quilt in each block, whatever I think that block needs.
Put the safety pins in BUT DON'T CLOSE THEM, until all the pins are in place. I did run out of pins when I got to the borders, I'll add more once I get home. For now each block has a pin and there are a few in the borders. After ALL the pins are in place, remove the clamps that have been holding the back securely flat on the table:
Now you can close the pins. On a large quilt there can be more than 300 pins and that can be tough on your hands. I used my hands but you can use a grapefruit spoon, a chopstick or a Kwik Klip tool:
Once all the pins are closed, turn it over to the reverse side and check to see if there are any pleats or tucks. If there are, now is the time to fix them. If you forget to fix them, you will sew them in place, just ask me how I know...
| Stella's Splendid Sampler Back |
| Next one in line for machine quilting |
And it's time to announce the Giveaway for the Sew-A-Long. The Random Number Generator selected number 2: congratulations, Donna D! We'll get together soon to give you the prizes. Thanks to everyone who posted their photo.
Let's Quilt!
Barbara
Friday, February 10, 2017
Sew-A-Long Link Up Party
Welcome to our first Sew-A-Long. If you missed the other parts you will find them here:
Part 1 Introduction
Part 2 The Shoo Fly
Part 3 The Old Italian Block
Part 4 Setting Your Quilt On-Point
Part 5 Finishing Your Quilt
Now it's time to see what you've been doing. And hold a Giveaway!
Link a photo of your finished quilt top to the Link below and be entered to win this:
The gift includes:
One of my favorite books, Quilts!Quilts!Quilts!
A previous year Quilt Art Engagement Calendar featuring my quilt Joyful Journey
A package of marking pencils in lots of colors
A 1" x 6" Omnigrid ruler
A bundle of 8 fat quarters of Metallic Fabrics--very glitzy
If you are unable to do the link-up, email me your photo and I'll post it for you.
The winner will be announced next Friday February 17, 2017--good luck!
Let's Quilt!
Barbara
Part 1 Introduction
Part 2 The Shoo Fly
Part 3 The Old Italian Block
Part 4 Setting Your Quilt On-Point
Part 5 Finishing Your Quilt
Now it's time to see what you've been doing. And hold a Giveaway!
Link a photo of your finished quilt top to the Link below and be entered to win this:
The gift includes:
One of my favorite books, Quilts!Quilts!Quilts!
A previous year Quilt Art Engagement Calendar featuring my quilt Joyful Journey
A package of marking pencils in lots of colors
A 1" x 6" Omnigrid ruler
A bundle of 8 fat quarters of Metallic Fabrics--very glitzy
If you are unable to do the link-up, email me your photo and I'll post it for you.
The winner will be announced next Friday February 17, 2017--good luck!
Let's Quilt!
Barbara
Subscribe to:
Posts (Atom)