My current project, Western Sun, has BIG circles. I thought you might like to see how I am making them.
See the first post I wrote about this project here: Western Sun
1. Cut out large squares, 3/4" larger than the finished circle. I used Templar, heat resistant template plastic, to cut a circle the finished size. Trace around the circle on the back side of fabric:
2. Trim excess fabric away, leaving about 3/8" seam allowance. Use a long stitch on the sewing machine to run gathering stitches in the seam allowance--be sure to leave long thread tails:
3. Pull the bobbin threads snugly around the template, press firmly:
4. I used a 50/50 liquid starch/water mixture. You can use spray starch or sizing straight from the can too. Wet the edges with starch. I found using a stencil brush better than just spraying--that put lots of liquid directly on the template which then put it on the sole of the iron:
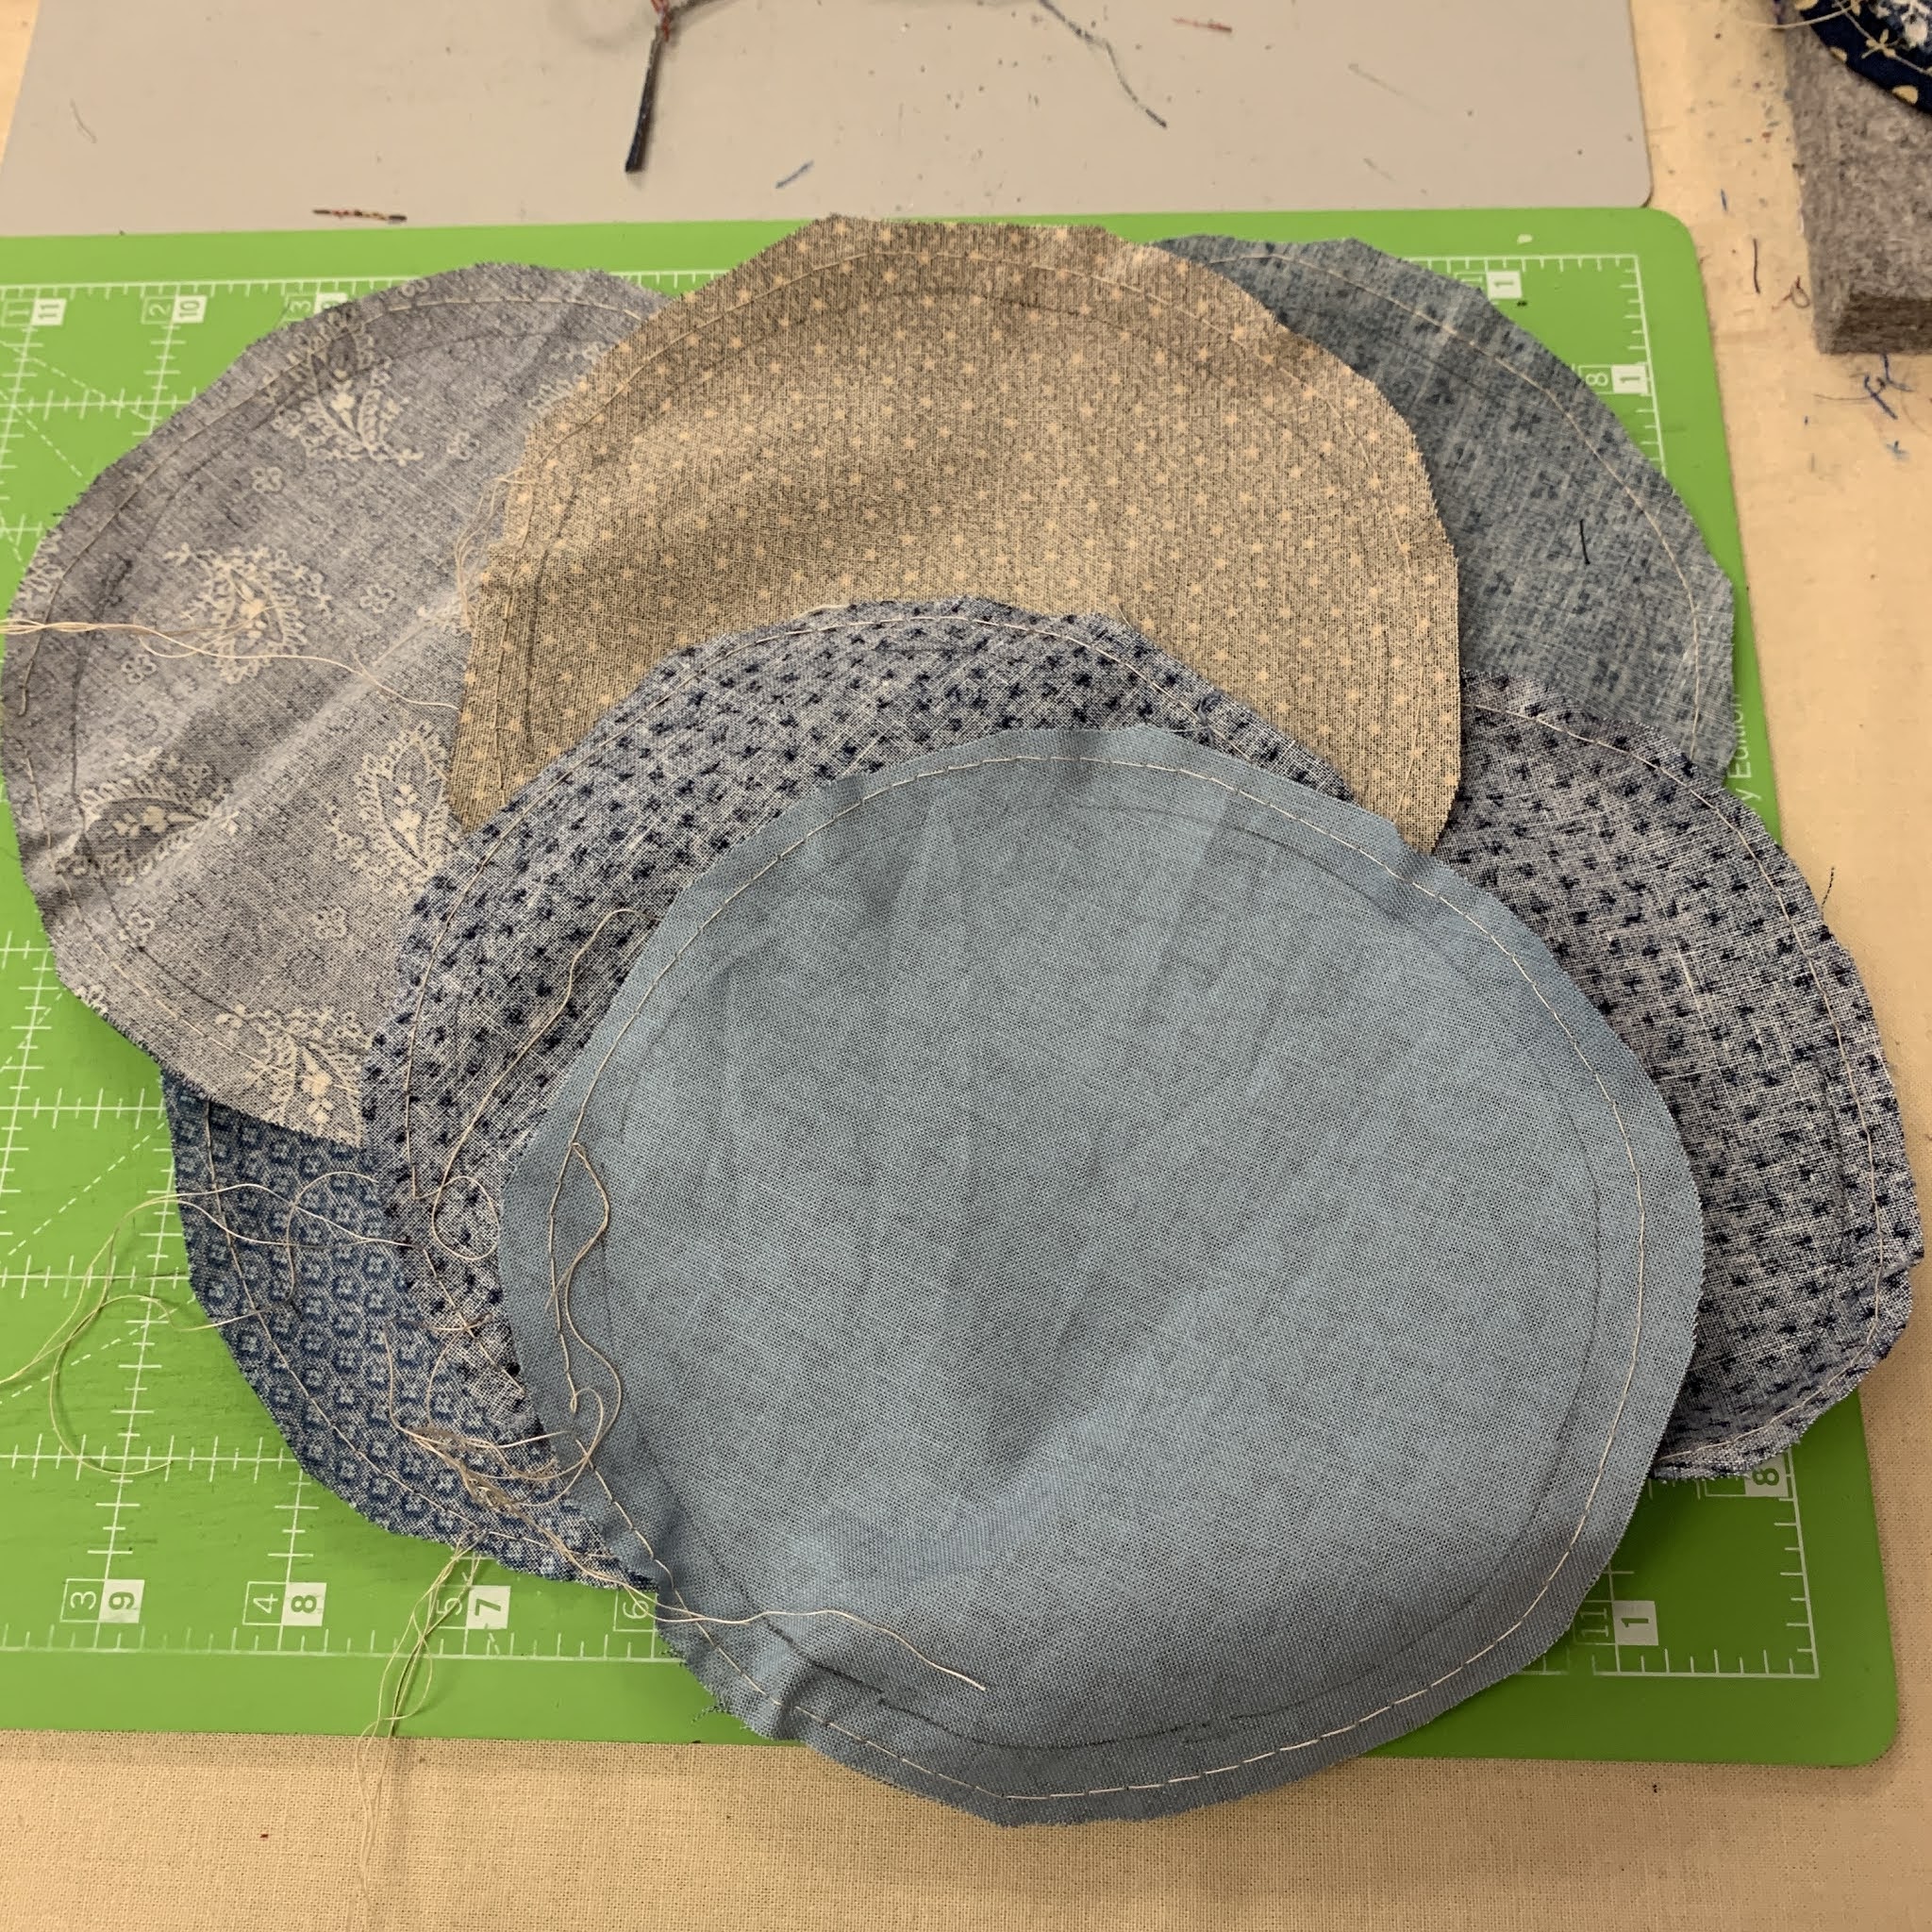
5. Allow the starch to dry then gently remove the template. Pull the threads snug again if they came loose, press one last time, on both sides, to be sure the circle is dry:
6. The star is made with a scrap fabric in the center, which will be completely covered. I used muslin:
7. Pin the circle on top of the star, sew in place. I hand applique' with Quilters' Select 80 wt. thread, practically invisible:
As this will be king size, I have 25 full star blocks, 12 half star blocks and 4 quarter corner blocks to make. Plus a LOT of flying geese sashing.
Stay tuned for more as this project progresses.
Let's quilt.
Barbara


Your circles look so neat, I'd have never guessed it was such a simple (though not necessarily easy?) process! They really are beautiful, in the middle of the squares! :)
ReplyDeleteGreat tutorial! I would’ve passed on making that block dreading curves and perfect points. This makes sense. Love it!
ReplyDeleteWow, that is such a great block in its finished state!
ReplyDelete