Showing posts with label American Jane Patterns. Show all posts

Sunday, April 27, 2025

OH MY STARS! CLASSES AVAILABLE


I love this quilt. Oh My Stars had been saved on my Pinterest board for quite awhile. Last year, looking for a new project, I found it and sent for the pattern. 

My version:
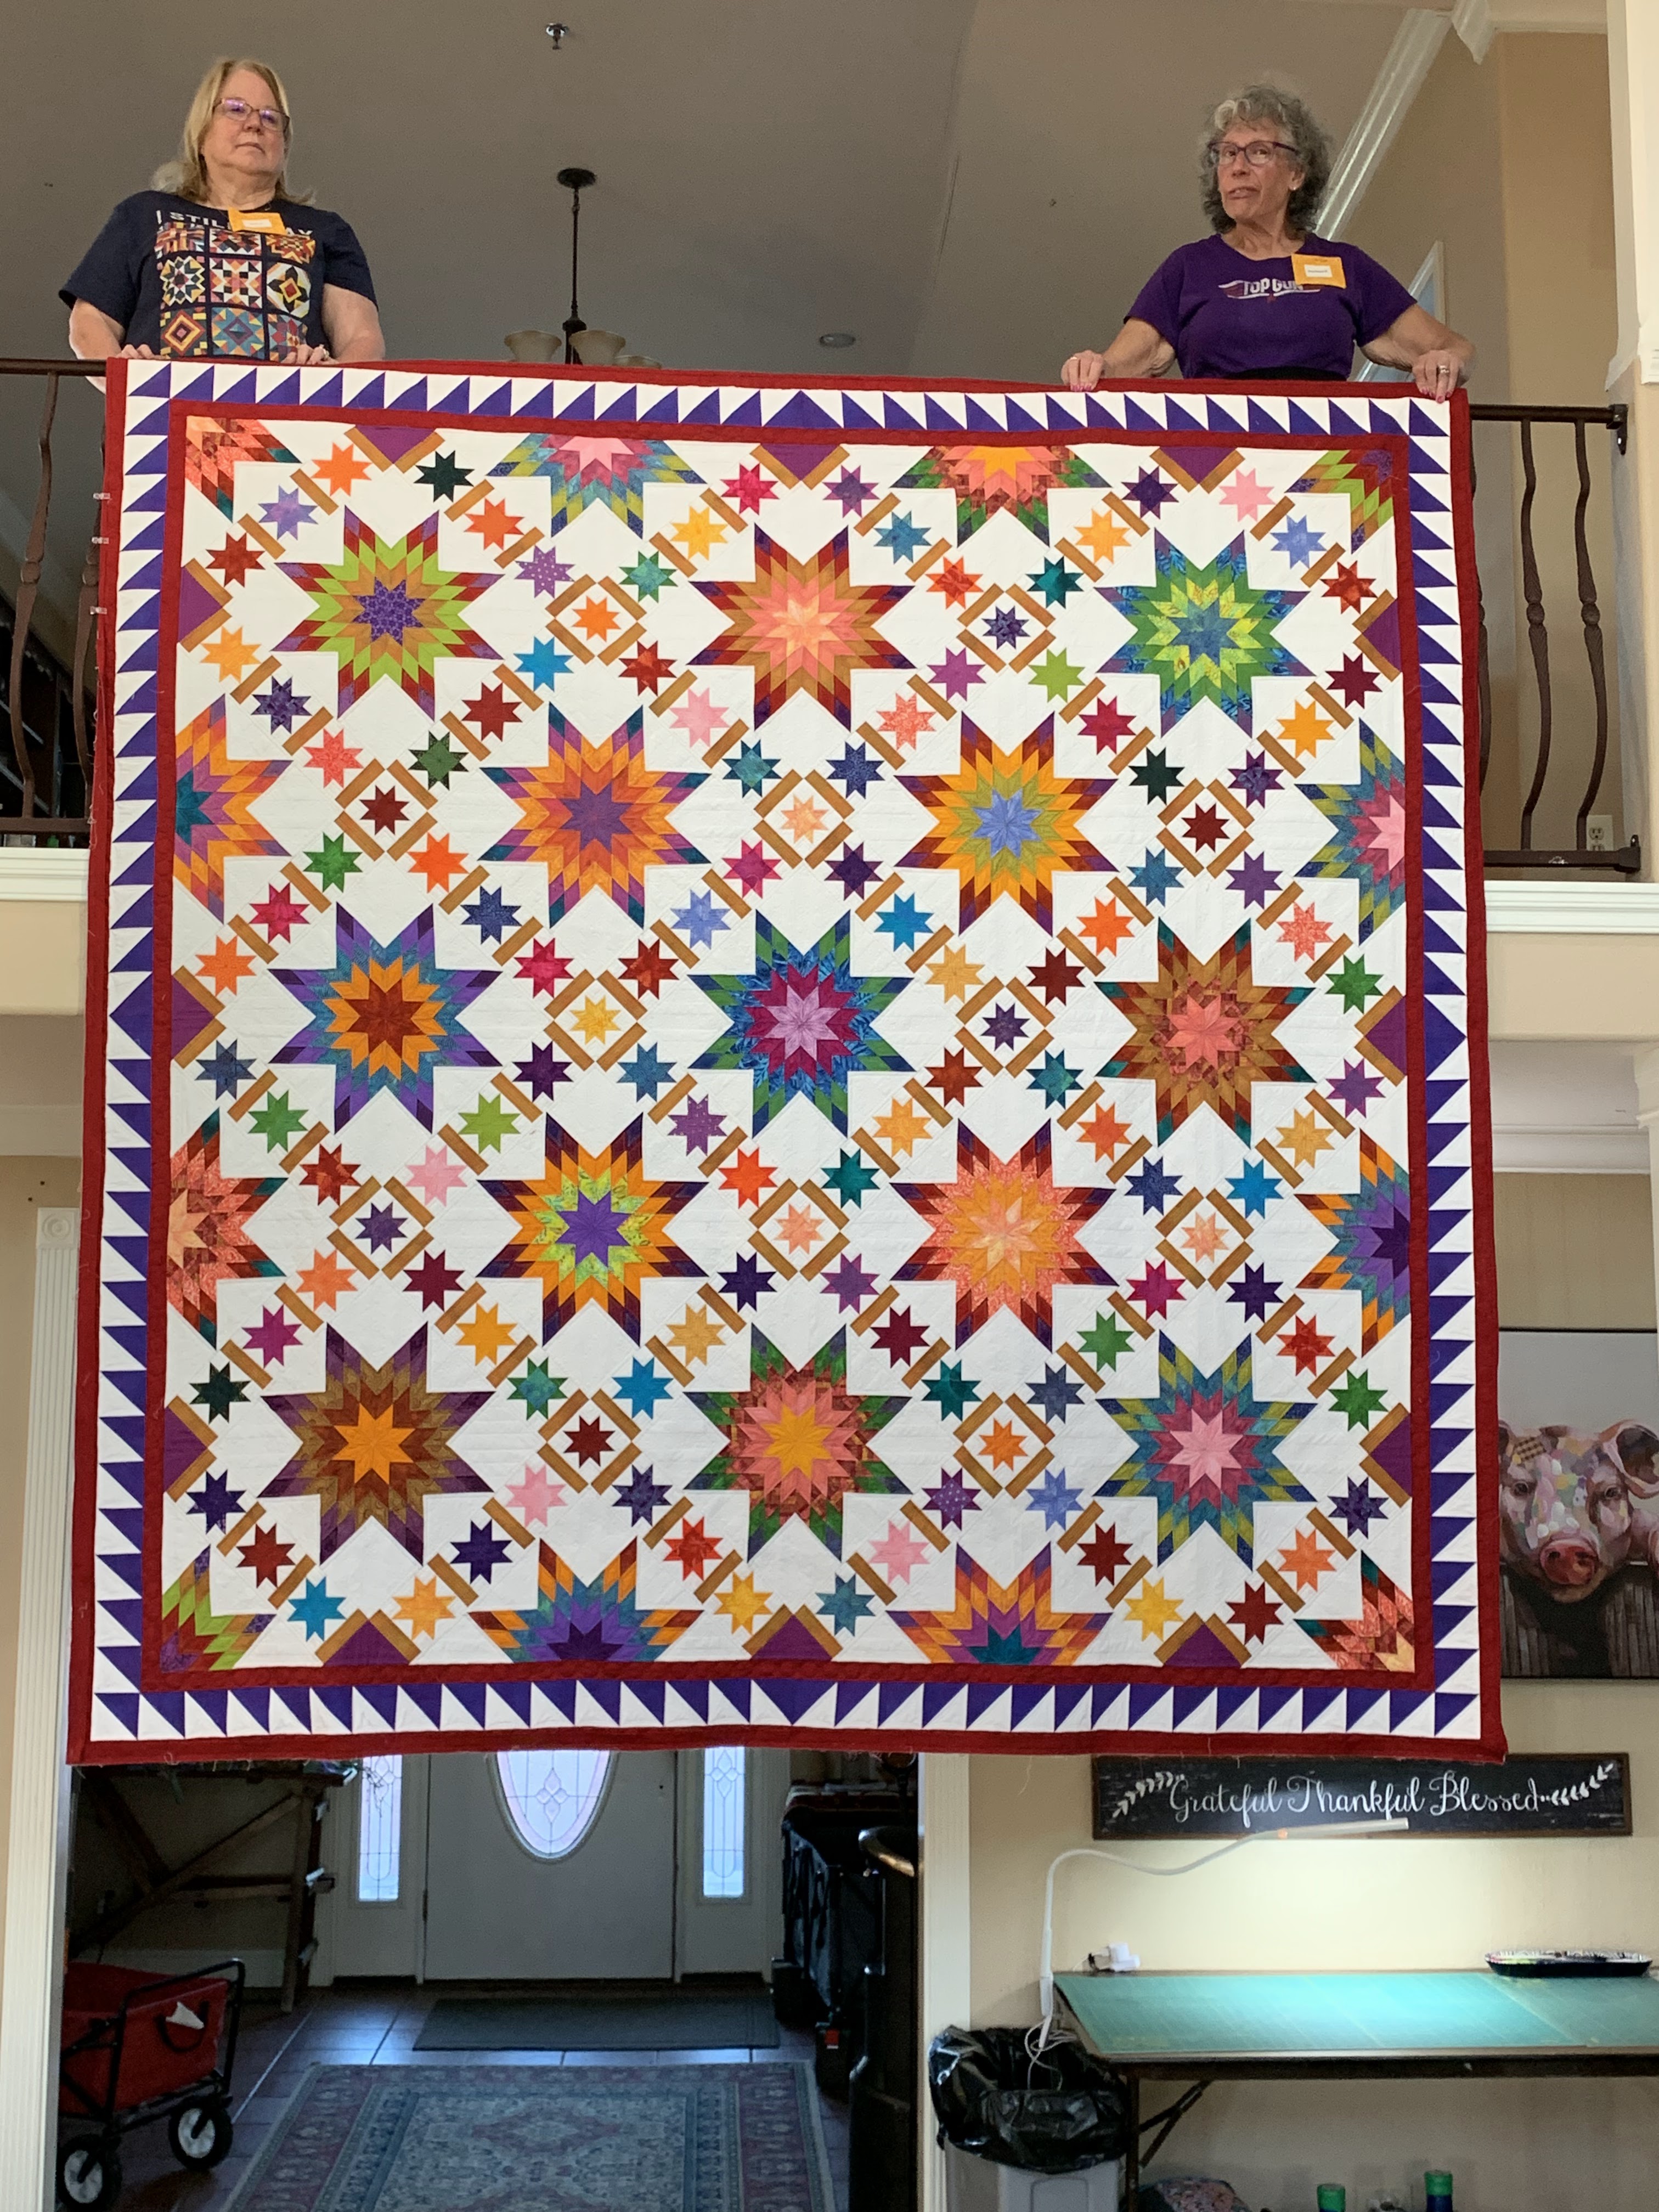

The pattern version:


As usual, I have written a detailed supplement of instructions for students. These are often described by students as "worth the price of admission". 

NOW IS THE TIME TO REGISTER FOR EMPTY SPOOLS SEMINARS 2026! I will be teaching this as a 5 day Seminar there at SESSION 5, April 30-May 4, 2026. Registration opened Saturday April 26, 2025, 10 am PST. Classes fill up FAST so don't delay. If you are flying to Monterey, and need to rent a Bernina sewing machine for your use all  week, DON'T DELAY. There are a limited number of machines available for rent. Students have come from all over the country: Hawaii, Massachusetts, Pennsylvania, Ohio, and all the western states. Ten teachers each Session make for lots of happy students.

This is one of the best quilting experiences you can have. Read my previous posts about the MAGICAL EXPERIENCE Empty Spools Seminars truly is:

WHY YOU SHOULD ATTEND

MY 2025 EXPERIENCE


OH MY STARS will teach you a LOT! 

    How to improve your  precision piecing

    How to make 45 degree angle seams meet every time

    How to sew Y-seams

    How to avoid Y-seams

    How to make perfect small flying geese for the sashing Stars

    How to avoid flying geese and make Floating Stars

    How to make pieced borders really FIT

    And just about everything else I know and have learned in more than 40 years of quilt making.

LOCALS:  you have ONE chance to take this class at home. Friday and Saturday June 27-28, 2025 at SOUTHERN CHARM QUILTING. Register today if you want to be included. (NOTE:  the supplemental handout fee is $10, payable directly to me in class.)  Out-of-towners are welcome, Spring Hill Suites hotel nearby is great place to stay.  This is the only local class I am offering this year. 

If you can't make either of these classes you have ONE MORE CHANCE: International Quilt Festival in Houston, Thursday October 9, 2025, 9-5. Enrollment for this class opens in early summer and I do expect it to fill quickly. 

Join me for a fun, full, rewarding class as you add so many tools to your quiltmaking toolbox.

Let's quilt.

Barbara

Sunday, September 22, 2024

OH, MY STARS!

Things are coming along nicely with Oh, My Stars! This pattern is from American Jane patterns. I expect to offer it as a class locally and it will be my Empty Spools Seminar quilt project for 2026: April 29-May 4 2026. Plan now to join me there for the BEST quilting experience of your life. Registration won't open until May 2025 but you can still make your plans to SAVE THE DATES.

I made a design change--my borders are made from Half Square Triangles. Easier than the Dogtooth triangles in the pattern, and it provides an alternative design. Mine so far: 


The original as designed by American Jane patterns:

The original pattern as designed

After making the pieced borders from half square triangles (HST), I was able to calculate the "floater borders" needed to make everything fit together. The quilt top before borders measures 88" including seam allowance. I use a metal tape measure to carefully measure the quilt folded in half:

Then I measured the HST borders. They should have been 90.5" but had grown by a few extra inches because I did not check my piecing carefully as I went. While that is OK, I could easily have calculated a wide floating border to fill in the space, I didn't want those borders to be that wide. 

SO, I fixed the pieced borders, all 4 of them! NOTE TO SELF: next time, check those pieced borders as you are making them. A little "extra" becomes a LOT over 30 seams.

Using my TUTORIAL on FLOATER BORDERS I calculated what size to cut the RED borders to make the quilt middle fit the pieced HST borders:

1. Pieced Borders including seam allow.            90.5" 

2. Center of the Quilt including seam allow,         88"

3. Difference                                                            2.5"

4. Divide in half for finished size                         1.25"    Finished Size of Floater Border, add .5" seam allowance for Cut Size

The Left and Right Red Borders were cut/pieced to be 1.75" x 88".  They are sewn to the quilt.

The Top and Bottom Red Borders were cut/pieced to be 1.75" x 90.5". They are sewn to the quilt after the left and right red borders were added.

Now all I had to do is add the four pieced HST borders--they fit perfectly.

The biggest decision is what to do next. I don't like to finish a quilt with pieced units at the edge that need to be precisely aligned with the binding, like this: 


It was simple to add one narrow red border to the outside like this:

About 97" square

What I really had in mind originally was to make this King size by adding a wide outer border. This print is nothing like the one I would use but you get the idea:

About 109" square

Here is the actual print, I really like it:


BUT, do I really want a KING SIZE quilt, especially if this has to travel for teaching? QUEEN would be big enough. 

For right now, I am waiting until I decide the best course of action. What are your thoughts?

See my previous blog posts about this project:

The Fabric Pull

Getting Started

More Design Decisions

Tiny Stars

Let's quilt.

Barbara

Sunday, August 11, 2024

HALF SQUARE TRIANGLES TWO WAYS

 Half Square Triangles (HST) are important building blocks for many quilt blocks and designs. I use them a LOT and I bet you do too.

This latest project has a pieced border of HST, all from the same two fabrics:

Oh, My Stars with my choice of pieced border

When I need a lot of HST from the same two fabrics I love to use the GRID method. It involves drawing a grid on the wrong side of the lightest fabric then sewing on both sides of the drawn diagonal lines. I call it a SEW FIRST METHOD.

To get 24 HST from two fabrics use this GRID:


On the wrong side of the lightest fabric draw the grid 1" larger than the finished size of the HST. My HST's are 3" finished so the grid is 4".  Cut the fabrics 12" x 16" to get this grid that makes 24 HST.

 NOTE: I added 1/4" around the outside edge so I cut the fabrics 12.5" x 16.5". This was TOTALLY UNNECESSARY and just created extra wasted fabric. In the future I would cut fabrics 12" x 16":


Starting at the upper right corner diagonal sew 1/4" away from the diagonal line. At the edge of the fabrics pivot and turn to continue down the next diagonal line. Pivot and turn at each edge--I did the outside lines first. When back at the beginning switch to the other side of the drawn diagonal lines--again pivoting at the outside edge of the fabric. SO--this means you only have ONE START and ONE STOP--just keep pivoting and sewing until it's done.

Here are the lines are sewn:


Cut apart on all the drawn lines. Press to the dark fabric and "trim to perfection":


3.5" perfect


Making 5 of these large grids gave me 120 HST. To make the remaining 4 I needed I used my other favorite method--the Half Square Triangle Ruler.  This is the CUT FIRST METHOD.

I cut a strip of both fabrics 3.5" wide, placed them right sides together, and used the Half Square Triangle Ruler to cut the HST pairs ready to sew. I tend to cut the strips slightly larger than 3.5" so I can "trim to perfection". Cut exactly 3.5" if you prefer:


Chain piece the 4 pairs of HST. Put the the flat end under the needle first--no point to get drawn down into the hole in the throat plate:


Again, press to the dark fabric and trim to perfection. 

I took me longer to write this than it did to do all the steps.  Of course, there are more ways to make HST. These are my favorites. The GRID method is perfect to make a lot the same. The HST Ruler method is perfect to make a few or if you prefer to "cut first", then sew.

Here is one of the borders all done:


There will be a RED "floater border" between the middle of the quilt and this pieced border. More about that when I get there. If you are curious about that now I have a TUTORIAL on the process: The Magic of Floater Borders

I hope you find this helpful. 

Let's quilt.

Barbara


Sunday, August 4, 2024

TINY STARS TWO WAYS

 A recent quilt project had me making a LOT of tiny stars, 4" each. Known as the Evening Star or the Morning Star, I chose to make it from Flying Geese units, 1" x 2" finished. I have a TUTORIAL for  making Four Flying Geese at Once. 


I found the easiest way to trim those small flying geese units to exactly1.5" x 2.5" was with the Bloc Loc ruler designed for that size:


After making about 30 of the 126 I needed I was reminded of the Tiny Stars blocks I had made for swapping with others. The points don't go to the outside edge of the block which is good when working with blocks made by several other people.  The stars "FLOAT" on the background:

Regular on the Left, Floating on the Right

The floating stars are SO MUCH easier to make, faster, less fiddley. Find the instructions on this previous post: TINY STARS BLOCK SWAP

Each of these stars is trimmed to 4.5" including seam allowance so finishes at 4" when sewn into the quilt.

I used both types of stars in my project--the FLOATING STARS are at the intersections of the sashing. I think they look fine:


The project is coming along nicely. Now there are borders to make:


The layout I am working on:


The pattern is Oh, My Stars! by American Jane patterns.

Let's quilt.

Barbara


Sunday, July 7, 2024

DESIGN DECISIONS ON OH, MY STARS

 I am happily working away on Oh, My Stars!  This is a future class offering, most likely a 5 day Seminar Workshop. It has much to teach about the skills of piecing a quilt: the CUTTING, the SEWING, and the PRESSING. 

The design wall today:

Only 3 more Full Stars to make, and those fabrics are selected and cut into strips. It only takes 5 fabrics for each star so it's not hard to choose them. I repeat some of my favorites for continuity across the quilt and to USE UP some of this stash--a novel concept for some:


All four QUARTER STARS are done for the corners, as are all eight HALF STARS for the perimeters. That can be the most challenging: which blocks to complete and which to make as quarters and halves.

 I decided I didn't want any two FULL STARS to be exactly alike so I used fat quarters and worked each star in two parts. First I made a FULL STAR  from 5 fabrics. Then I either made HALF or QUARTERS with the rest of the fabric OR I shuffled the fabrics around, replacing a few with other fabrics, to have FULL STARS that are similar but not the same.

The biggest decision so far has been what fabric to use for the SASHING--the one that joins the small 4" stars. Here were the contenders:


I went with the bottom one, a very rich dark purple solid. After I cut a bunch of those rectangles and made two sashing sections, I could see it on the design wall:


Guess what? I didn't like it. The purple is just TOO DARK. So I made another sashing section, using the soft gold Dit Dots fabric--I LOVE Dit Dots! Here you can see both, the dark sashing on the right, the lighter one on the left. My decision was made, the soft gold is the winner:


There are only a few more decisions to make. The pattern shows 12 half TINY STARS for the ends of the sashing rows. But it doesn't provide instructions for making them:


I don't want bias edges on the long side of this triangle section so I would recalculate how to sew them so there is straight grain there. Not a problem, I could easily do it, but they are already SMALL. I think I will replace them with a quarter square triangle (QST) of  fabric. Which one? Perhaps one of these:


Two more decisions that will be part of the overall decisions on fabric selection to complete the quilt is the narrow INNER BORDER and the PIECED OUTER BORDER. The pattern shows those:


The four fabrics above are definitely in the running for the the borders. And I want to design a different pieced border. I am still thinking about that, probably half square triangles (HST). If you want to do the diamond triangles as shown in the pattern, you can. If you want an alternative pieced border that will be an option.

I will make those decisions as I get to them. I am several weeks away from that now. Stay tuned for more updates...

While working on this kind of project I spend a lot of time making notes on suggested notions and tools that will be helpful. I work on a HANDOUT that will add some additional instruction to the pattern if there are areas that need more information, like pressing directions. 

I will create a chart as part of the handout students can use to keep track of the 5 fabrics in each FULL STAR block--that helps in cutting the correct number of the various strips needed and sewing them together in the correct order. I used orange notepaper but a chart will be better.

This quilt is really fun and I am enjoying the process. While it is not for beginners it provides enough of a challenge that even very experienced quiltmakers will find it engaging. A good STITCH RIPPER is essential! Yes, even for me.

To see more of my process with this quilt, check out these posts:

Fabric Pull Part 1

Strips for Stars  Part 2

Let's quilt.

Barbara

Sunday, June 16, 2024

MORE STARS, OH MY!

 I have been having so much fun making Stars for my latest project, Oh, My Stars!, a pattern from American Jane. I wrote about it last week, find that post here:

Oh, My Stars!

Here is just a peek at the process. This is not the final arrangement--when the rest of the 13 full stars are made I will decide who goes where. This just lets me see the general idea:

Picking fabrics is my favorite part! The latest fabric "pulls":


Here they are ready to sew. Having them all set helps me make the most of my time the next sew day--just start sewing, these are cut and ready for assembly:

The actual sewing is slower and requires careful pinning and sewing. I make two diamonds first to be certain I like the 5 fabrics together, then I finish the star. Once that is done, I sew the other half of the strips and finish making either full stars, half stars or corners.

Each set of fabrics makes either TWO full stars, or ONE star and TWO halves, or ONE star and TWO corners:


The pattern quilt. There are 132 little 4" stars for sashing. I make the star points unit from flying geese, using my TUTORIAL for 4 Flying Geese at Once. Those geese are 1" x 2" finished, that's small. I am making them as I go, using them as Leader/Ender projects. I prefer that to having to make 132 all at once.


Let's quilt.

Barbara


Sunday, June 9, 2024

Oh, My Stars!

 This week I started a new quilt project. Oh, My Stars from American Jane Patterns is a bit challenging and will make a great multi-day project for students who want that immersive experience of several days with one teacher.

My FAVORITE PART is the FABRIC PULL--also called "shopping in my closet":

The first pile, way more than is needed

These were pre-washed, notice how much dye is on the Color Catcher

Everything that wasn't pre-washed, still more than needed but lots of choices

While the pattern calls for 1/4 yard pieces cut into Width of Fabric strips, about 42" long, Fat Quarters can be used. I have lots of them and will be using them, along with Width of Fabric cuts--much more instruction about that will be provided in class. 

There are full stars and half stars, and even 4 quarter stars for the corners:


There are 132 small Evening Stars; these are great to use as "leaders/enders" while sewing the larger stars or other projects:


The piecing will require our best work. All the important aspects of piecing quilt blocks is at play here, the CUTTING, the SEWING, and the PRESSING. Each will be taught in detail in the class.

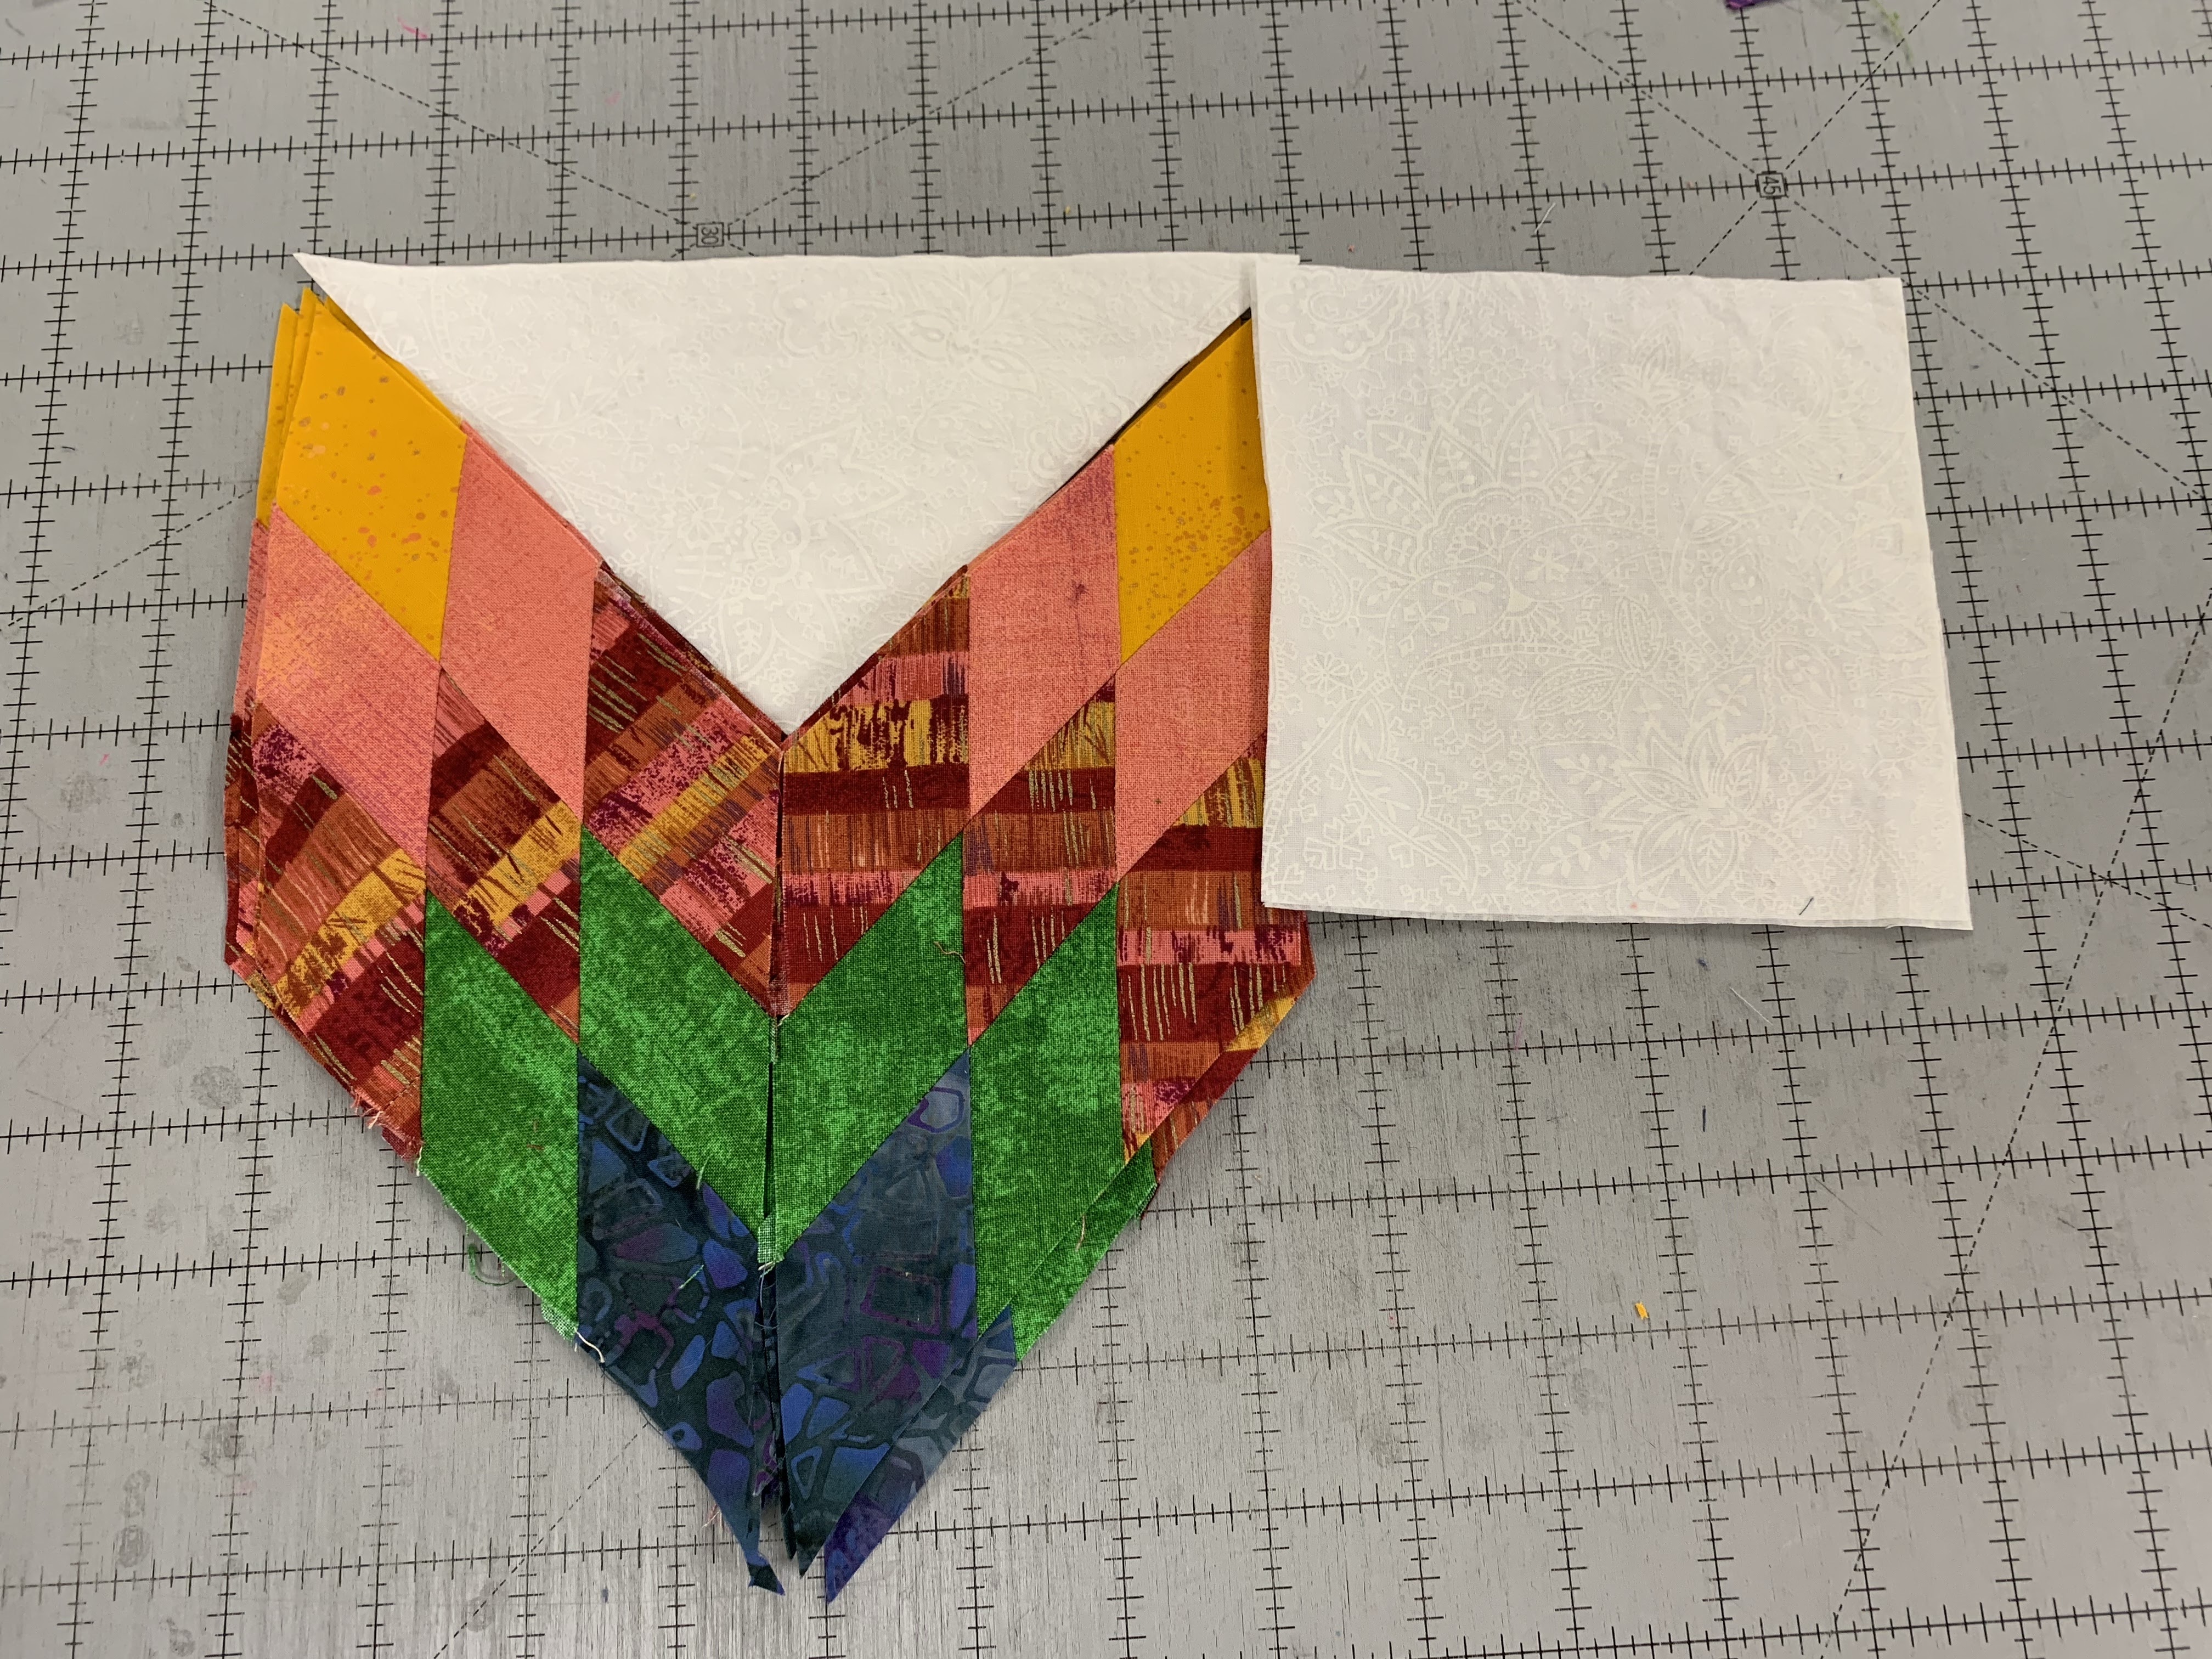
All the DIAMONDS have a bias edge so it is important to keep them straight and true. Here are just a few photos of my process:


The units are sewn together so you get a perfect seam alignment match:


Then you get to choose which fabric arrangement you prefer:

Light points on the Outside

Dark points on the Outside

As usual, I even get to show WHAT NOT TO DO:

OOPS, time to get out the stitch ripper and fix that middle segment--I sewed the orange to the WRONG FABRIC

When the top is done I will start offering this as a Workshop for extended day classes. It is big, 94" x 94"  square as the pattern is written. I am planning to add an additional border to make it King size. So I don't think I will quilt it before teaching the workshop--a King size quilt can fill a suitcase by itself.

So tell me? Would it bother you to see the sample as a top only? I can make a very small additional sample and quilt that to provide quilting suggestions for the final bed-size quilt. 

I am also considering a different pieced border. Do you like the long Sawtooth border or would you like an optional alternative?

Making a quilt for a major workshop takes a lot of time. I write a lot of notes about pressing instructions, notions that will be helpful, how to speed up the process, how to achieve maximum accuracy. All the things I have to consider and think about get written down while the quilt in in progress. There will be an additional handout for students with all the "Tips and Tricks" to being successful with this quilt. 

Let's Quilt!

Barbara