Showing posts with label pieced borders. Show all posts

Friday, August 28, 2026

GAME ON! MONTH 9

Game On! is the 2026 Block of the Month quilt designed by Becky Goldsmith exclusively for THE QUILT SHOW: find Game On! information here. Join as a Star Member to get all the patterns and all the videos FREE. Membership is just $49/year and provides access to almost 20 years of shows and tremendous additional content. Join HERE

This month we make the TOP LARGER BORDER:


There are NO PAPERS TO PRINT.  So if you're not a fan of paper piecing this month is for you.

As always, watch the VIDEOS and read the PATTERN. Becky has great photos of how to make the blocks and how to press so the seams nest. 

Becky encourages everyone to make the quilt your own. Feel free to use other PRINT Kit fabrics if you like. For the SOLID Kit I followed the pattern:


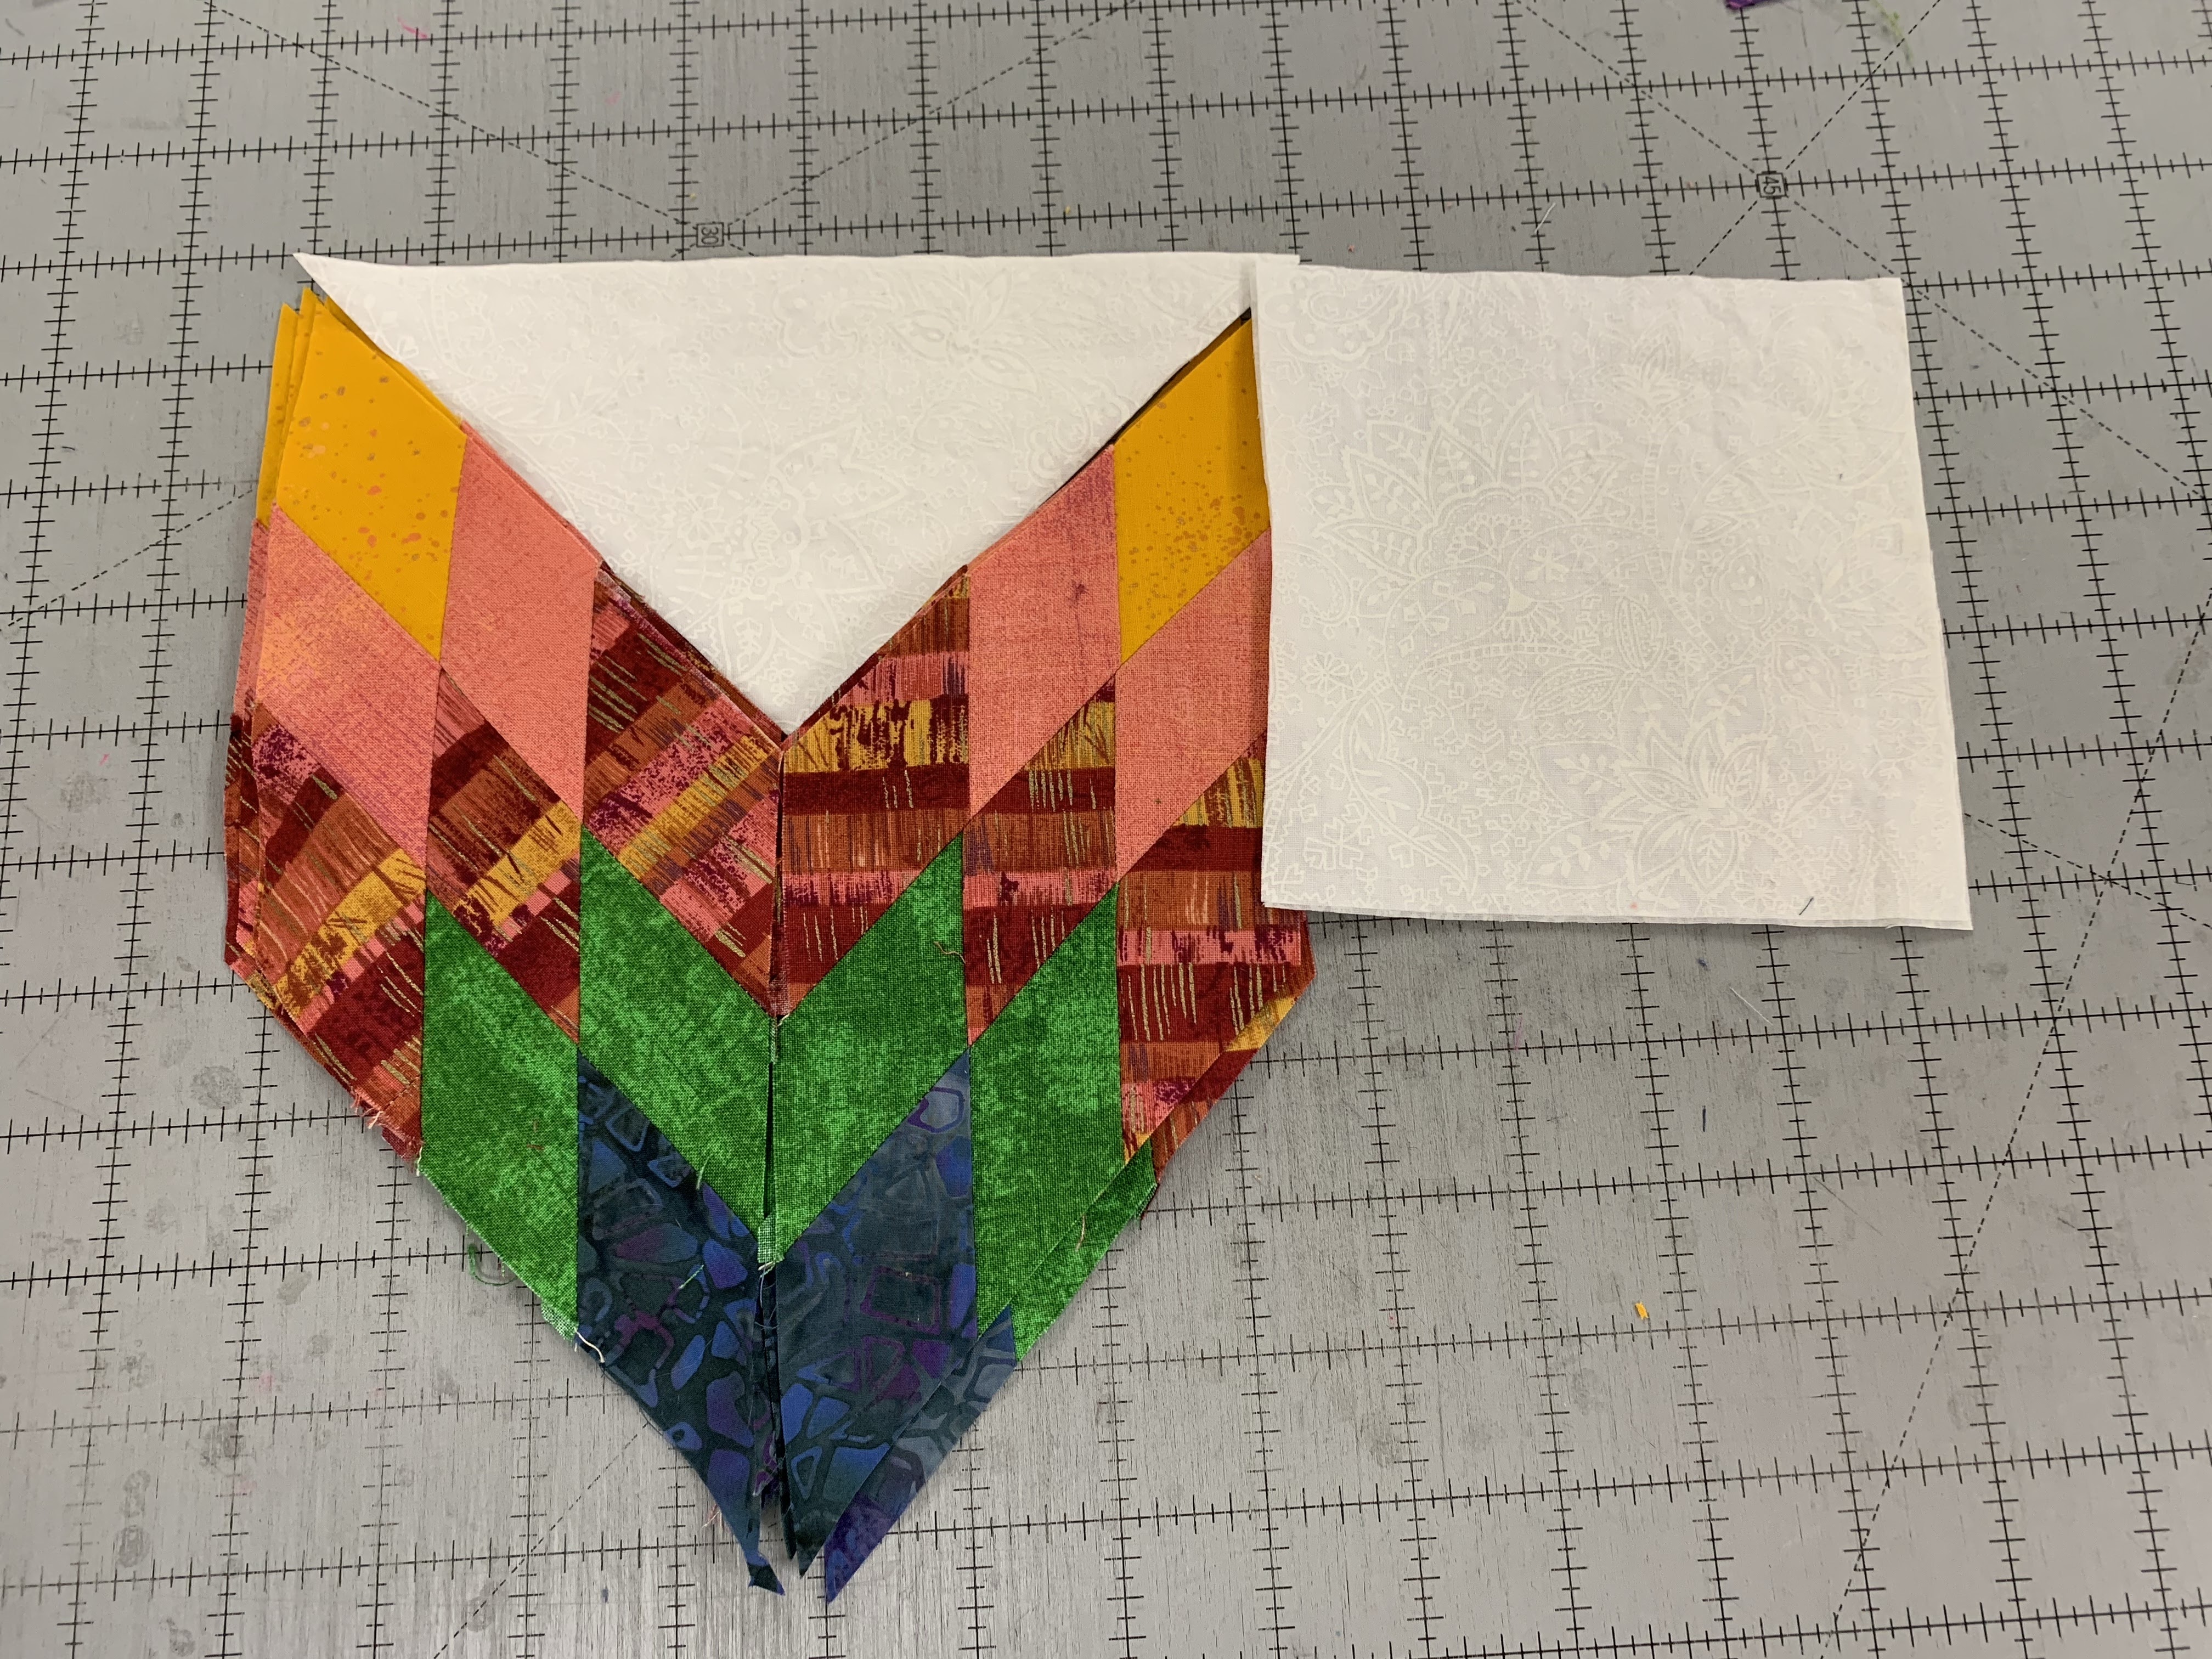
I carefully trim my blocks, always measuring from the center out. Half of 6.5" is 3.25" so that is where I start. The 3.25" mark is placed at the intersections of the center square:


As I join these 6" blocks into pairs, I check that each pair measures 12.5", Then those are joined I check again. If my seam allowance is off a little I want to find it as soon as it happens, not after the long border is not the size it needs to be. The little time this takes saves me lots of time if my border is too long. And I KNOW, if I don't check, it WILL be too long. 

You will also be adding the CORNER BLOCKS made in months 4-7 to this long border. Feel free to put whichever 2 Corner Blocks you want on this top border. The other 2 will be added to the bottom border we make in Month 11. There are sashing strips to add to each corner block before adding those blocks to the border. Follow the directions!


Next month we make the RIGHT LARGER BORDER and we will use printed papers for that.

We love to see your progress so please post photos on the FORUM!

Let's quilt. 

Barbara

Friday, July 31, 2026

GAME ON! MONTH 8

Game On! is the 2026 Block of the Month quilt designed by Becky Goldsmith exclusively for THE QUILT SHOW: find Game On! information here. Join as a Star Member to get all the patterns and all the videos FREE. Membership is just $49/year and provides access to almost 20 years of shows and tremendous additional content. Join HERE

Now we are ready to move on to the larger borders--6" blocks. We are making the LEFT larger border:


The good news for some of you--there are NO PAPERS TO PRINT. This is just machine pieced in the regular manner.

I have a few tips. First, once you make the little four patches, they need to be trimmed to 2 5/8". I always measure blocks from the center BUT what is middle of 2 5/8"?  It's 1 5/16". We don't have a line on our rulers for sixteenths. 

SO, I made a 2 5/8" square of Vellum, so I could see through it. Folding it in half in both directions gave me the middle--I drew a line in each direction with a fine point pen:


Placing the Vellum square on the Four Patch, I used a mechanical pencil to draw in the four corners--this allowed me to see where to place a small square ruler--at the 2 5/8" mark on the outside edge:


I rotated it and trimmed the other two sides for a perfect 2 5/8" Four Patch.

UPDATE: A smart person posted on the FORUM how to make this border without a seam in the green—not as Blocks. Take a look at her idea:  Shirlett P’s good idea


Back to the Block method: I discovered my usual 1/4" seam allowance caused me a problem. Those 2 5/8" blocks are just a smidge too large for me  to make a 6" block accurately. How much too large? Oh, maybe 1/32".  Nothing you can easily measure.

When I made the first set of these blocks, using the precise 1/4" seam allowance I am accustomed to, I found I was going to "cut off" the outside points. You can see that where the brown sashing has been added:


SO, when I made the second set I experimented with using a slightly larger seam allowance.

The blocks on the LEFT were made with my usual seam allowance. The blocks on the RIGHT were made with the slightly larger seam allowance--they are MUCH better. The BLUE squares are now exactly 1/4" inside the edge and won't be but off:


As usual, I know I have to check myself as I go to be sure my borders aren't GROWING as I piece them. Two blocks sewn together should be 12.5" long. Three blocks should be 18.5" long. Four blocks should be 24.5" long. Join a THREE and a FOUR to get the 42.5" length this Border needs to be. Add the narrow brown sashing to each end and you have MONTH 8 done!

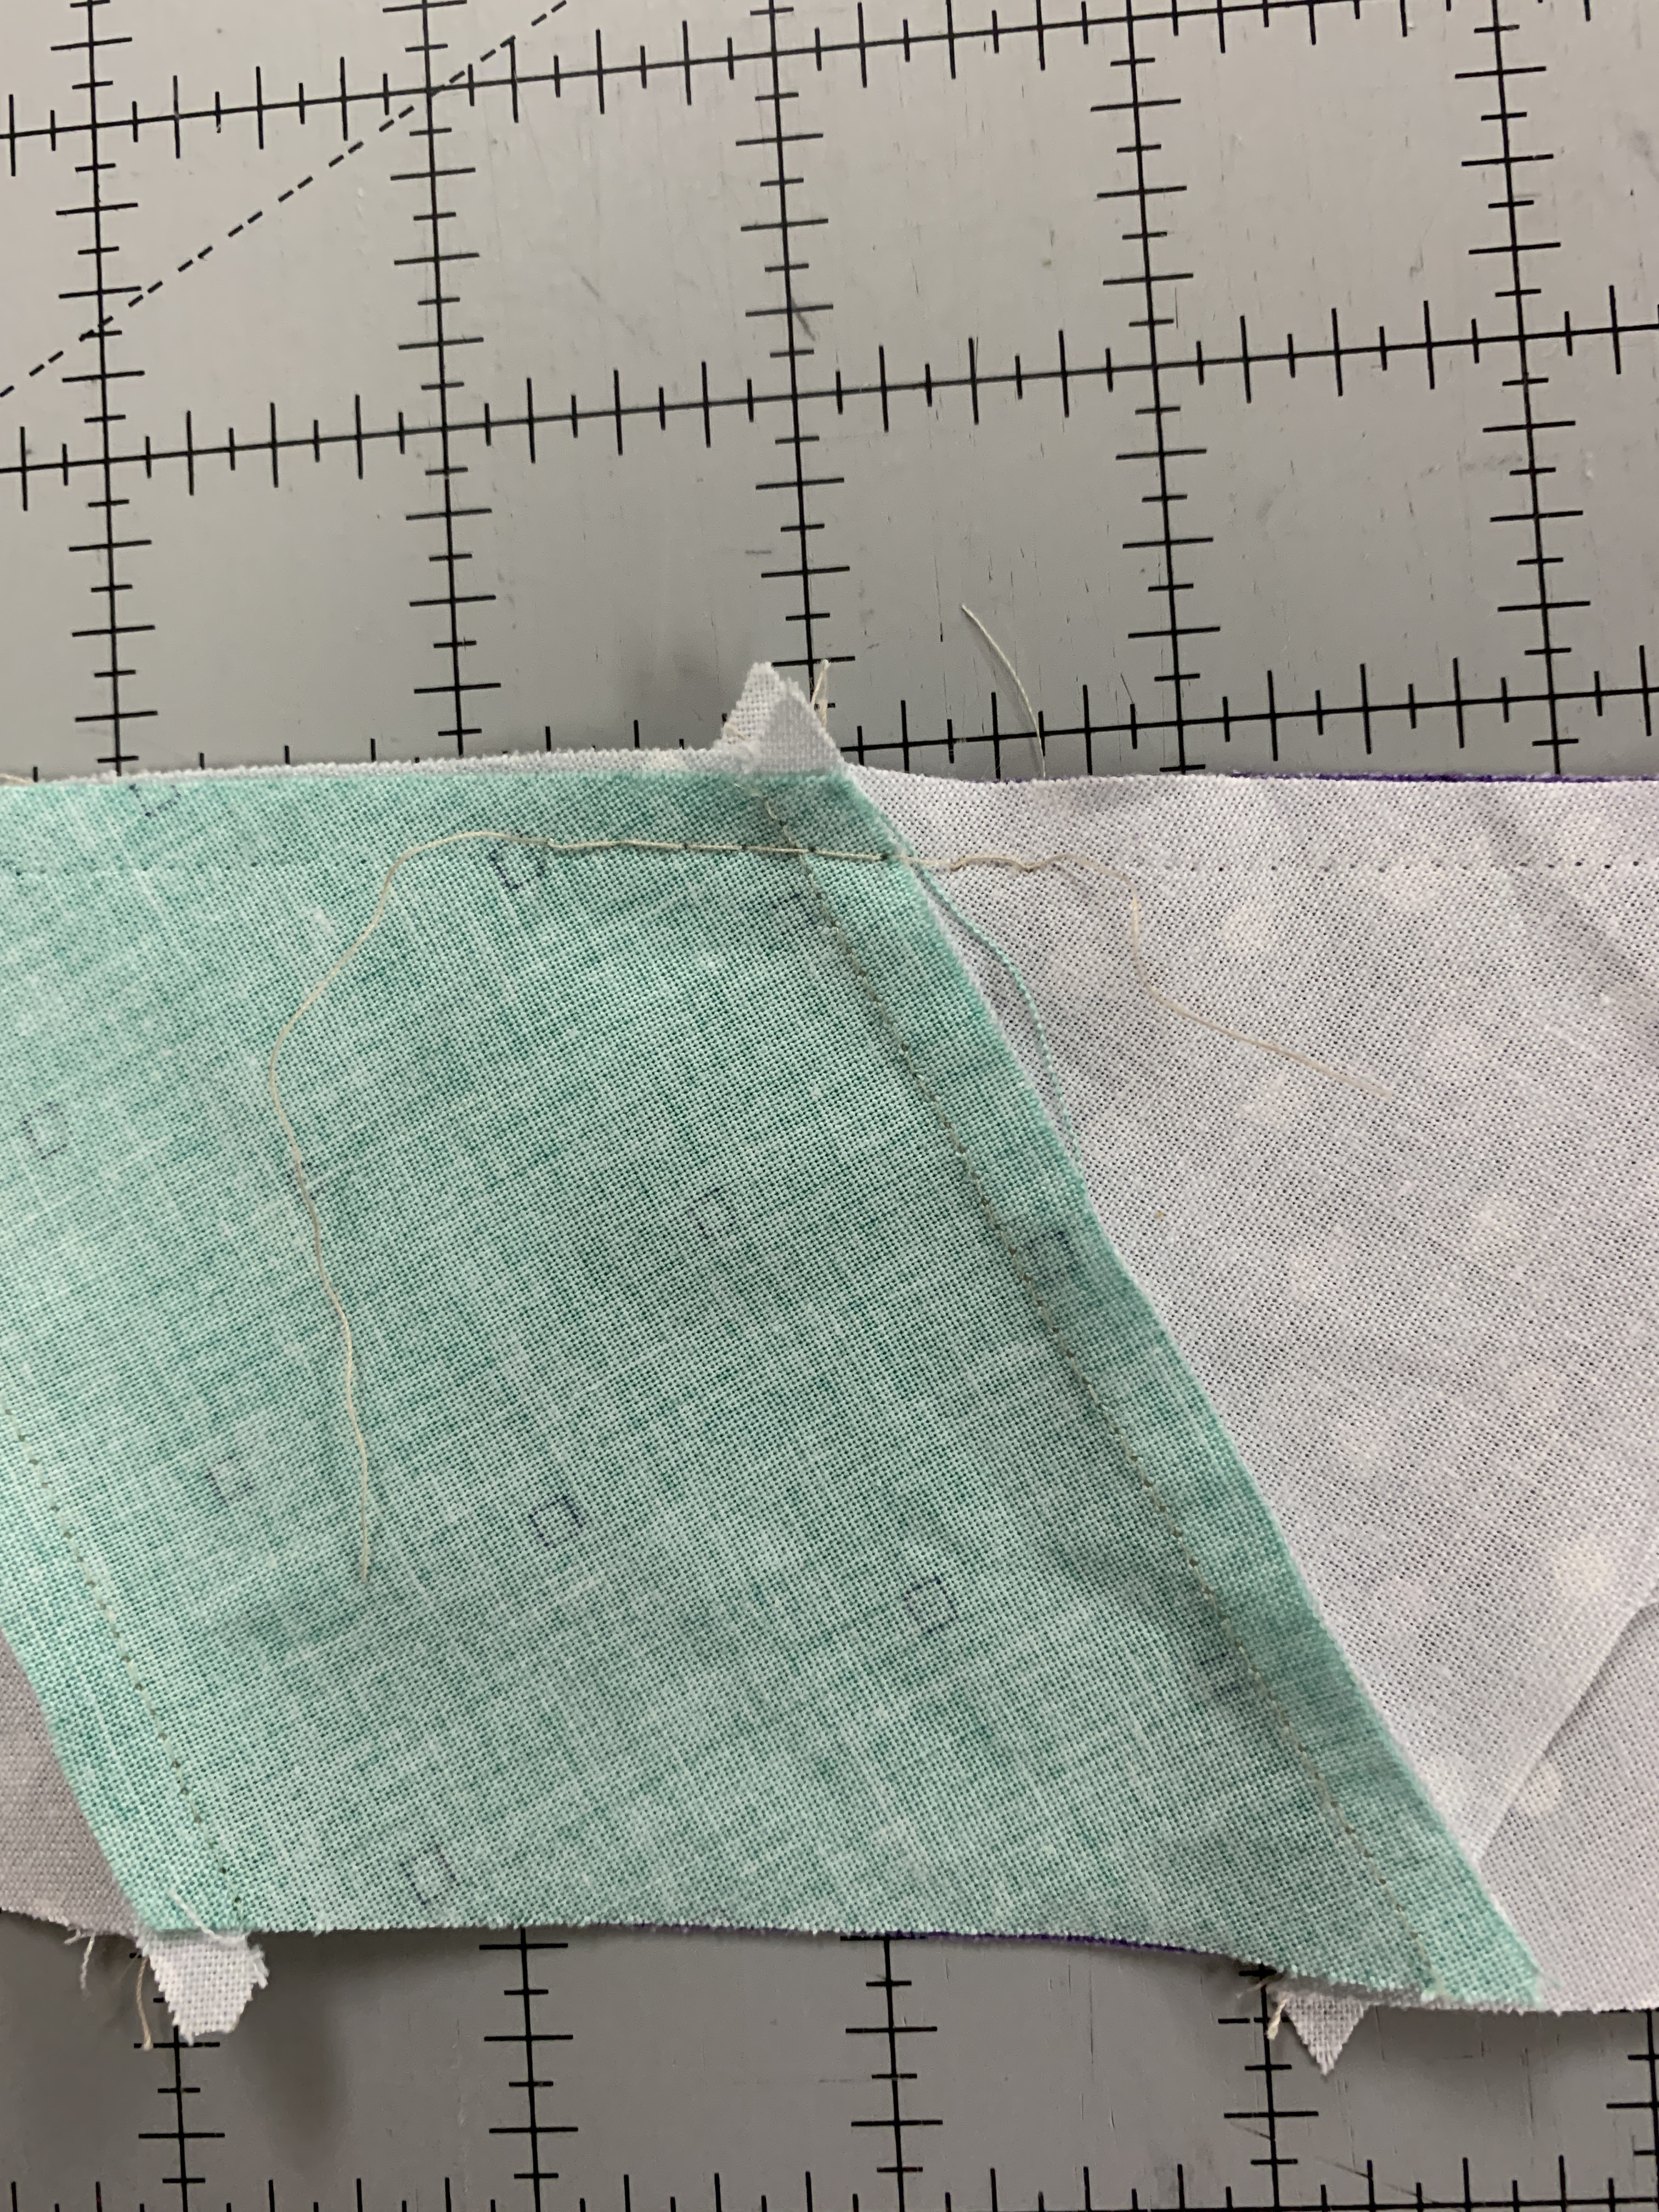
HOW MUCH bigger was the better Seam Allowance? Here is a photo of where my 1/4" presser foot was to give me the size I needed for perfect blocks. It's only a few THREADS, maybe 1/32". You might have to play with your presser foot or needle position if you find your blocks are coming out just a tad too large as I did: 


I find it very helpful to trim blocks with a ruler that is the size the block needs to be, 6.5" with seam allowance in this instance.  I put the 3.25" marks at the center in BOTH directions, North/South, East/West. 

This ruler has WHITE lines in BOTH directions at the midpoints that allow me to easily place them all across the middle of the block in BOTH directions. I can check to be sure there is a 1/4" seam allowance beyond the BLUE squares. This block is just right so I can trim it now:


I strive for perfection but can accept "close is good enough" sometimes. Not if you want to enter International Competition--then it has to be as perfect as you can make it. So I won't be remaking the PRINT KIT border--FINISHED IS BETTER THAN PERFECT.

Next month we'll make the TOP larger border.

Let's quilt.

Barbara

Sunday, June 9, 2024

Oh, My Stars!

 This week I started a new quilt project. Oh, My Stars from American Jane Patterns is a bit challenging and will make a great multi-day project for students who want that immersive experience of several days with one teacher.

My FAVORITE PART is the FABRIC PULL--also called "shopping in my closet":

The first pile, way more than is needed

These were pre-washed, notice how much dye is on the Color Catcher

Everything that wasn't pre-washed, still more than needed but lots of choices

While the pattern calls for 1/4 yard pieces cut into Width of Fabric strips, about 42" long, Fat Quarters can be used. I have lots of them and will be using them, along with Width of Fabric cuts--much more instruction about that will be provided in class. 

There are full stars and half stars, and even 4 quarter stars for the corners:


There are 132 small Evening Stars; these are great to use as "leaders/enders" while sewing the larger stars or other projects:


The piecing will require our best work. All the important aspects of piecing quilt blocks is at play here, the CUTTING, the SEWING, and the PRESSING. Each will be taught in detail in the class.

All the DIAMONDS have a bias edge so it is important to keep them straight and true. Here are just a few photos of my process:


The units are sewn together so you get a perfect seam alignment match:


Then you get to choose which fabric arrangement you prefer:

Light points on the Outside

Dark points on the Outside

As usual, I even get to show WHAT NOT TO DO:

OOPS, time to get out the stitch ripper and fix that middle segment--I sewed the orange to the WRONG FABRIC

When the top is done I will start offering this as a Workshop for extended day classes. It is big, 94" x 94"  square as the pattern is written. I am planning to add an additional border to make it King size. So I don't think I will quilt it before teaching the workshop--a King size quilt can fill a suitcase by itself.

So tell me? Would it bother you to see the sample as a top only? I can make a very small additional sample and quilt that to provide quilting suggestions for the final bed-size quilt. 

I am also considering a different pieced border. Do you like the long Sawtooth border or would you like an optional alternative?

Making a quilt for a major workshop takes a lot of time. I write a lot of notes about pressing instructions, notions that will be helpful, how to speed up the process, how to achieve maximum accuracy. All the things I have to consider and think about get written down while the quilt in in progress. There will be an additional handout for students with all the "Tips and Tricks" to being successful with this quilt. 

Let's Quilt!

Barbara

Monday, November 6, 2023

HOMEWARD BOUND -- MONTH 12

 This quilt is the 2023 Block of the Month quilt for The Quilt Show. It was designed by Sarah Fielke exclusively for The Quilt Show and is only available at The Quilt Show. The best news is it's FREE for Star Members of The Quilt Show. Each month in 2023 a new part of the quilt is released for download to Star Members. 

We made it to Month 12! It's time to finish the final border with a stair-step unit. Then your top will be done!

As always, watch any videos that have been provided to supplement the pattern instructions.

Homeward Bound by Sarah Fielke


There are 6 fabrics used for the pieced borders. If using the Kit  they are:

Fabric 1  Tiny Dots PEACOCK

Fabric  2 Tiny Stripes FERN

Fabric  3 Tiny Dots  FLARE

Fabric  4 Tiny Stripes WILDFIRE

Fabric  5 Tiny Dots Blueberry

Fabric  6 Tiny Stripes PETAL

The strips are cut 1.5" wide x WOF. Be careful to cut these accurately. 

I am an impatient person. I want to see units start to come together. SO, I cut HALF the strips needed, and then cross cut those into HALF the required number needed so I could start making units. There are a total of 16 sets for the whole quilt--I made 8 the first two days so I could see progress.

Be very careful with the cross cuts--there are lots of measurements and you want to cut each fabric the correct size. 

I laid mine out on a design board. At the top are the strips ready to sew. At the bottom, one completed section with one Cabin unit attached:

MY TIPS:

1. Press the  seam of each strip toward the Background fabric.

2. When joining the strips to each other, BE SURE to backstitch at the top and bottom of each pair. These will get a lot of handling as you create the entire border and you don't want those seams to start to pop open. They will, trust me.

3. Pay attention to Diagram 1 so the fabrics are kept in the correct order.

4. I pressed the seams open except for the two seams on Fabric 6--the pink. I found those easiest to press toward Fabric 6. You may want to press all to the left or right--you decide. It really doesn't matter.

THINGS TO UNDERSTAND: 

1. It isn't obvious from looking at photos of the quilt, Fabric 1, Peacock, the aqua, is sewn to the Cabin and the Star B units.  The directions are clear, please follow them. 

2. When making the Cabin unit, be sure to backstitch at the top and bottom as you join the aqua/background unit to either side of the 2.5" background square--Diagram 2. 

3. When making the Star B unit, follow the directions so you get Fabric 1 where it needs to be.

4. Cabin A is pink, there are 8 of those. Cabin B is peach, there are 4 of those. They were made in Month 11. The PEACH cabins go in the center of each border, the PINK cabins go on either side of center, with a pieced border unit between. 

5. Refer to a photo of the quilt to be sure you get all the parts in the correct place. It is easy to get them mixed up. 

Once all four borders are done, add the left and right borders to the sides, then add the top and bottom borders. The top and bottom borders include a Large Star C made in Month 6 to outside ends of those borders. 

Here is my completed top:


You made it! The top is done. And if you are not done yet? 

The MOST IMPORTANT ADVICE I  HAVE FOR YOU: be sure to SAVE, COPY, PRINT, whatever method you prefer, ALL THE PATTERNS before DECEMBER 31, 2023. After that, all rights to the patterns return to Sarah Fielke, the designer. We cannot give anyone these patterns after that date, and no one else here can legally give them to you either. Please be proactive in saving what you still need so you can finish without having to BUY missing months.

Let's quilt.

Barbara


Sunday, October 1, 2023

HOMEWARD BOUND -- MONTH 10

This quilt is the 2023 Block of the Month quilt for The Quilt Show. It was designed by Sarah Fielke exclusively for The Quilt Show and is only available at The Quilt Show. The best news is it's FREE for Star Members of The Quilt Show. Each month in 2023 a new part of the quilt is released for download to Star Members. 

After spending 3 months on the wide applique border, you will like how quickly the pieced border goes in Month 10. There is just a small amount of applique, leaves, stems, and  berries. 

As always, watch any videos provided to supplement the pattern instructions. The Month 5 video may also be helpful:  Month 5 Video


The Half Square Triangle units are the exact same size as those made in Month 5. The fabrics to use for the Large Triangles and Small Triangles are spelled out clearly in the Fabric Requirements so I won't list them here. Just pull out the 6 fabrics for the Large HST and the 4 fabrics for the Small HST and you will easily be able to see where they go.

I make HST with a Half Square Triangle ruler, like the one in the Accessory Kit. You can also make them from squares--I cut the squares 3" vs 2 7/8", I prefer that so I can "trim to perfection".  My blog for Month 5 discusses how to make the HST units: Month 5

The applique is simple this month, leaves, stems and berries:

ROUND LEAF  Sweet Pea SWEET  32 using the Round Leaf Template from Month 3
ROUND LEAF Dragon's Breath AMEYTHST 32 using the Round Leaf Template from Month 3

BERRIES  Paperweight PAPRIKA  8 using the Template B circle from Month 2

IMPORTANT NOTE: My large rectangles are DIFFERENT FROM THE PATTERN. There was a cutting error I discovered after machine appliqueing the wrong size Bias Stems to both ends of the 4.5" x 10.5" Background Rectangles. The error has been corrected. Rather than spend hours removing and replacing those short stems, I simply added a berry to the end of each to cover up the raw edge. The stems are supposed to go under the Heart, which will be added in Month 11. Because I used the same fabric for the berries that is supposed to be used for the Heart, I changed my hearts to a lighter fabric. My own personal Design Decision. It's your quilt, you get to decide.

Here is mine--this is NOT THE SAME AS THE PATTERN:


I think you will find this a fun and easy month. The end is in sight! Next month we add the 4 Hearts, and complete the HST borders, adding them to the quilt center. Then we make the 12 Cabins for the last border.

We are getting toward the end of this project. The MOST IMPORTANT ADVICE I  HAVE FOR YOU: be sure to SAVE, COPY, PRINT, whatever method you prefer, ALL THE PATTERNS before DECEMBER 31, 2023. After that, all rights to the patterns return to Sarah Fielke, the designer. We cannot give anyone these patterns after that date, and no one else here can legally give them to you either. Please be proactive in saving what you still need so you can finish without having to BUY missing months.

Let's quilt.

Barbara


Wednesday, September 28, 2022

GPDU -- MONTH 10 The DIAMOND BORDERS

This post is coming out a few days early so you can be ready to work on the Diamond Borders when the pattern is released, usually the first of the month.

Irene Blanck, the designer of the 2022 Block of the Month quilt for The Quilt Show, describes this border as representing a picket fence around your beautiful garden. 


The first decision you will make is if you will applique the diamonds onto a long background OR if you will piece the diamonds with equilateral triangles.  Irene appliqued hers, I pieced mine.

A segment of my pieced border:


To help you make the decision, there are TWO VIDEOS, one describing Irene's technique and one describing mine. Star Members of The Quilt Show have FREE access to the Videos and all the patterns until December 31, 2022. Membership alone is a great deal; having amazing, exclusive Block of the Month patterns is like the best icing on the cake.

Some important things to consider:

1. If using the Kit fabrics, be aware the stripe provided for the border must be cut into eight 6" wide x WOF cuts, then pieced together to create the length needed.

2. The Length Needed will depend on the size of your quilt center. In a perfect world it should be 62.5". Mine grew to 63". I went with that. If I had been appliquéing the borders I would need length AT LEAST 63". And since applique tends to "shrink up" the background, I would cut mine 64"--you can always trim off a little on each end AFTER the diamonds are in place. 

3. If you want to PIECE THE BORDERS, I strongly recommend you select a fabric that is non-directional.  The gray/white stripe in the Kit is beautiful but the stripes will not line up easily if the borders are pieced. One yard will do it BUT get two yards so you can add a Floater Border if necessary and an outer border should you choose. 

Here are two good options, the top is what I used in my Sample Quilt and the bottom would be a good choice if you want a little darker background: 


4. Irene's applique method uses 20 diamonds on each side. They are 3" wide so those 20 fill 60" of space. As the borders are at least 62" finished, you will want to leave a very small space between them OR leave an inch on either end. The VIDEO I made explains this in detail.

5. My pieced method uses 21 diamonds on each side and a Floater Border to make the pieced border fit the quilt center. There are 5 detailed pages of  OPTIONAL ALTERNATIVE instructions, with photos of each step, included in the Month 10 pattern section. 

6. If  you applique the Diamond borders, you will determine if you want to trim them to 5.75" tall, so the points exactly touch the center of the quilt, OR if you want to leave them 6" tall. I would leave them rather than trim 1/8" off both sides. The points will be "close enough" to the quilt center for me. It's your quilt, you get to decide. This is discussed in the VIDEO.

7. If you piece the Diamond borders, they should be 5.75" tall when done. Piecing them requires careful attention to the 3 things we can do wrong in piecing: the CUTTING, the SEWING, and/or the PRESSING. The instructions address all of these steps. The VIDEO will be very helpful. 

For those of you who are not Star Members of The Quilt Show here are some photos of my borders in progress last year. These are here to TEMPT you into joining us and taking advantage of ALL you can learn from our Shows and Block of the Month patterns:

Pieced Segments 

I machine baste the critical center join 

I pressed seams open

Picking Diamond fabrics was the fun part

As the borders were finished so I could select fabrics for the next border

How I kept the selected fabrics in order prior to sewing

How to cut the Equilateral Triangles

A Perfect 60 degree equilateral triangle

The two outer diamonds with Half Triangles ready to sew, then they will be trimmed to 1/4" beyond the point. Each will also get ONE triangle on the outer edges.

Friday September 30, 2022, I will do the monthly FACEBOOK LIVE for MONTH 10. It is early this month so we can discuss these things in advance. They are available FREE to everyone and are always available after they air on Facebook AND The Quilt Show's YouTube channel. 

In Month 11 we get the final TWO SKINNY VASES and make the LEFT SIDE DIAMOND BORDER. Here's a tip: the LEFT SIDE is exactly the same as the RIGHT SIDE.

Let's quilt.

Barbara

Wednesday, October 13, 2021

Round Robin Progress

 Two of the Round Robin quilts being made in the Sunday Sew and Sews are now complete. Meaning, they will be returned to their owner and she can decide if it is done or is worthy of more borders.

One is mine and I love it!  It's 42" square at the moment:


I began with the 12" Rising Sun variation, with the navy blue frame around it. The next person added the four-patch borders. The next person went all out with the applique' borders--I LOVE the sweet birds. The last person to work on it added the flying geese borders--she knows I love flying geese and use them often in my quilts.

I've been pondering what to do next. Here are some ideas:

four-patches on point

Diamond borders

4" X-blocks, also called Old Italian blocks

5" or 6" Log cabin blocks

I will probably try a few sample blocks of some of these ideas to see what I think.

The last one I worked on is also done and ready to be returned to Pam E. It's 41"square now:


Pam began with the Sunburst center from "Trip Around the Sun" by Material Girlfriends. The first person added the 1" sawtooth border. The next person added the lovely dancing stars border--one of Sue Garman's borders from Stars for a New Day. A "floater" border made everything fit just right. 

I added the Dogtooth border and "floater" to make it fit. That paper-pieced border is one I designed for an upcoming project and it was exactly half the size I needed for Pam's quilt. So I made 8 of them, joined two each into a single border and had just what I needed. The four hearts in the corners kept the corners simple. 

There are 8 of us working on these Round Robins, four in each group. If you get much more than 4, the quilts start to get really big. Everyone has until the first Sunday in November to finish the one they have so there will be more to show then.

I wrote about how to organize this kind of project in detail. Find that post here: How to Organize a Round Robin

Let's quilt.

Barbara

Sunday, October 6, 2019

Pieced Border for SIZZLE

Maybe you are not a fan of applique'. Why not consider a pieced border instead?


I love applique'--it just takes me a while. Since I am making two of these quilts, a Cool and a Warm, I decided to applique' the Warm version border and piece the Cool version border.

My Cool version is being made from the Kit available from  The Quilt Show Store.  I tried a few variations but I had to be able to use just the Kit fabric remaining after I finished the 9 large blocks--I didn't want to come up with a design that would require purchasing more fabric.

After "test-driving" 3 options, the border I decided on is made from 4" blocks, that are half square triangles (HST) and quarter square triangles (QST). Easy to make and I had just enough fabric to make it.

NOTE: you could make these units 3" for a narrower border--I chose 4" so the numbers here are for that size.

There are 15 of these on each of the four sides--60 total. There are 4 corner blocks that are made from HST only--white and dark blue. All 64 of these blocks are 4.5" unfinished.

My preferred way to make HST is with the Half Square Triangle Ruler. This strip of white is 4.5" wide--with two cuts I have the 4 white HST needed for the corner blocks:


I cut all the blue fabrics with the Half Square Triangle Ruler--I needed a total of 64 HST. In planning this border, I had to be sure I had enough Kit fabric left for those 64 HST--I did.  The blue fabric strips were cut 4.5".

Here the white and dark blue Corner Block HST placed right sides together, ready to be sewn:


After sewing, press toward the blue. Trim each corner block to precisely 4.5". You might notice the selvedge is still on the white triangle--I save time not cutting it off at the beginning, but I do cut it off at the end:


The Quarter Square Triangles are made from white and green fabrics. I prefer what I call the "Sew First Method". I cut strips of white and green fabrics, 5.5", then cut into 5.5" squares--15 squares of white, 15 squares of green.

NOTE: Precise quilters' math says we can cut these 5.25" square--I increased them to 5.5" to allow for a little "insurance". If cut 5.25", I have to be 100% accurate with the cutting, drawing the narrow pencil line, the sewing and the pressing.

Draw a diagonal pencil line on the back side of the white squares--I use a mechanical pencil for an accurate, narrow line. Put a white square and a green square right sides together. Sew 1/4" on BOTH sides of the diagonal line.

Use any ruler that fits from corner to corner to cut the sewn white/green squares apart on BOTH diagonals:


When cut apart they look like this:


Press toward the green fabric (note--this green is not a kit fabric, it is just used here for this demo). Notice the units are NOT THE SAME--two have the white QST on the left, two have the white QST on the bottom. This is important, you need them both:


Give each white/green QST a blue HST friend--the HST are smaller than the QST. I lined up the raw edges of the HST so they were centered on the QST:


Once sewn, press toward the blue triangle.

Trim each unit to 4.5" precisely. I place the 2.25" mark at the center of the unit, being sure the diagonal lines are diagonal. Trim two sides, rotate the block completely around, and trim the remaining two sides.

Ready for first trim, 2.25" mark in the exact center;


 After the first trim, ready for the second side trim:


Done, exactly 4.5". Make a total of 60 of these:


Lay out 15 of these units to create one border. Sew them together in pairs, then "ruler check" your work. This is important in the beginning because being slightly off with each seam will cause problems as you sew all 15.

Place the 4.25" mark at the center seam--this unit is made from two 4.5" blocks--so when sewn together two of them are 8.5": 4" + 4" + 1/2" seam allowance:

Yes, I checked every pair. I rarely had to fix anything. This when you want to find out your seam allowance is too narrow or too wide. If it is not the right size now, it will miraculously become the right size when you do the next step!

Sew 15 blocks together for the first border. When done the border should measure 60.5"--15 x 4" = 60" + 1/2" seam allowance. I use a quality measuring tape to check long borders. Fold the border exactly in half, press firmly, and "ruler check":


Ahh, perfect! Half of 60.5" is 30.25"--good to go:

What if it is not perfect? Use a ruler to check each block. When you find one or more that is smaller or larger than 4" you will know which seam to fix. I checked every seam as I made the border so didn't have any I had to fix at the end.

Make 4 of these pieced borders, being careful with the placement of the two different block units--I wanted the white all along the outer edge:


I prefer to add the left and right borders, then the top and bottom. The left and right are 60.5" long unfinished. Pin the center of the border to the center of the quilt, then pin the  two outside edges, and pin all along the rest of the border. Sew slowly and precisely--being fast is not as important as being accurate and straight.

After adding the left and right borders, press toward the body of the quilt.

Make the top and bottom borders by adding the corner blocks to each. Again, watch the placement of the HST--the white faces out, the blue faces in.

Add the top and bottom borders to the quilt, press toward the body of the quilt.


The quilt is now 68" finished. You can stop there or add another border. I had plenty of the turquoise print left so I decided on a 2" finished border of it and the same fabric for the binding. I cut 2.5" strips, 8 to piece the border.

Piece the left and right borders to be 2.5" x 68.5". Add those to the body of the quilt, press toward the border.

Piece the top and bottom borders to be 2.5" x 72.5". Add those to the body of the quilt press toward the border.  DONE!


For the binding I cut 8 strips 2.5" wide, joined them together with a diagonal seam, and pressed in half. The binding is now waiting for the top to be quilted. Making the binding now insures I won't use that fabric for something else and then hunt all over looking for it when it's time to do the binding.

I have a detailed Finishing and Binding Tutorial here.

Feel free to design any kind of border you like. It's your quilt, you get to decide.

Let's quilt.

Barbara