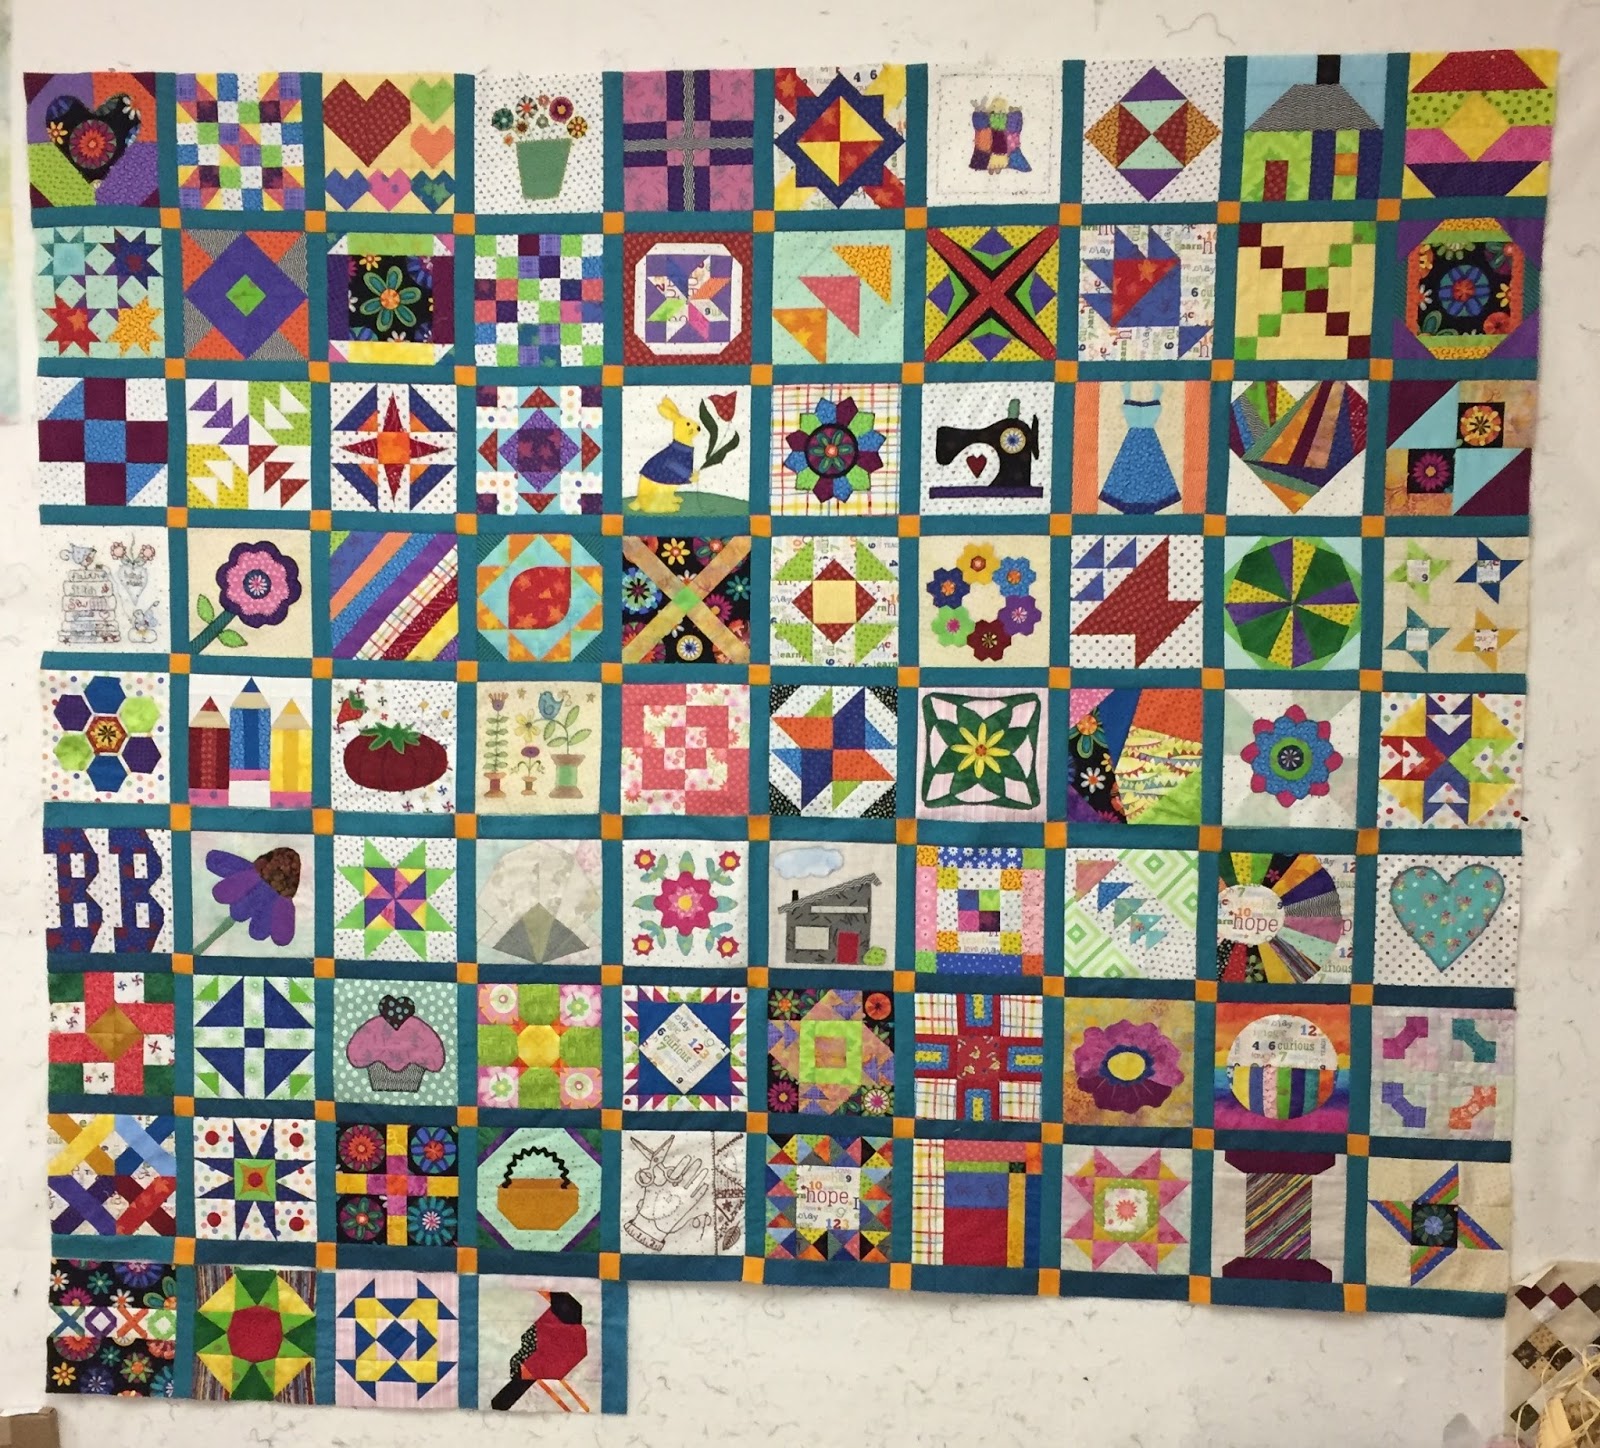
Welcome to our first Sew-A-Long. If you missed the earlier post you can find it here:
Part 1 Introduction
I am hoping you are after precise piecing, intersections that intersect, points that are sharp. Now, having said this, you should know that I describe myself as a "95% quilter"--close is good enough most of the time. If you are planning to enter international competition, that is NOT good enough. If you are making quilts for people you love, it is fine AND you get to decide how precise it has to be. I started 30 years ago as a "50% quilter" and was happy with that. You will get better the more quilts you make.
One more DISCLAIMER: I am not the quilt police and there is more than one way to complete any task. I will show you what works for me and what has worked very well for the more than 1000 beginning quiltmaking students I have taught over the years. If you have a different method that works well for you, I am happy for you and encourage you to keep at it. That is why there is chocolate AND vanilla--you get to choose. If you want some tips on how to improve, keep reading..
One of my favorite quilt blocks, the Shoo Fly and its' variations go by a few names: Churn Dash, Monkey Wrench, Hole in the Barn Door, etc. We're calling it Shoo Fly.
We'll be making 12 of these 6" finished blocks. You can make them very scrappy, with different neutrals and colored fabrics, or very planned with few fabrics. I am using several printed fabrics, with one polka-dot neutral and one gray/white stripe for the 12 blocks:

PLEASE NOTE: this post is photo- and word-heavy. If you are an experienced precision piecer, you will zip right through these 12 blocks. If you are new to precision piecing, or struggle a bit to get blocks made to your satisfaction, hopefully, all these photos and words will help you improve.
There are only three things you can do wrong in piecing a quilt block:
the cutting,
the sewing,
and/or the pressing.
We will focus on all three of those with this first lesson. We want to cut precisely, then sew accurately, and finally press firmly. Let's start with the cutting.
There are many ways to make Half Square Triangle units (HST). I'm going to show you two ways. The first method starts with 3" squares of both neutral and colored fabrics, 24 of each will yield the 48 HST needed for 6 blocks:
FIRST METHOD: Cut the neutral fabric into 3" strips. First, I clean up the outer edge of the fabric with two cuts. I'm right-handed so I place a long ruler on the left side of the fabric, then place a small square on the right. This is a fat quarter of fabric, approximately 22" long, and is folded in half. The fold is near my body, the cut edges are at the top. The process is the same for width of fabric, 42" long, except that I would use a 24" long ruler, not the 12" shown here:

The small square ruler is placed carefully along the fold line, creating a 90 degree angle against the longer ruler. Carefully cut this straight, creating a clean edge on the left. NOTE: I am not using any of the lines on the mat:

Now carefully move the long ruler in place, putting the 3" line on the newly cut edge on the left:

Cut enough strips to give you 24 3" squares--I needed 3 strips. Do the same with the colored fabrics. I used several different prints and cut as many strips as needed to create 24 3" printed squares.
I paired up the neutral strips with the printed strips, placing them right sides together, and cut a total of 24 pairs. For speed, I used a 6" square. Here you see the reverse side of a gold fabric, right sides together with the polka dot. First, I placed the ruler just past the messy edge of the fabric, on the left, and cut on the 6" line, on the right:

Then I rotated the fabric/ruler and cleaned up that messy edge.

Then I cut the 6" rectangle in half, creating 2 pairs of 3" squares, gold and polka dot. Because I was using small strips of leftover prints, you can see there is still enough gold fabric at the top of this photo, so I cut that into a 3" square pair as well. I continued to pair polka dot/prints, until I had 24 pairs of 3" squares:

Once the pairs are cut, you need to draw a pencil line on the reverse side of the light fabric. A plain mechanical pencil is my marking tool of choice as long as I can see it:

If you have a 1/4" presser foot on your machine, one line is enough. You will sew a 1/4" away from the pencil line on both sides of that pencil line. If you don't have a 1/4" presser foot, it may help you to draw two more lines, 1/4" away from the center diagonal. I know there are other methods and rulers for this job but you already have a ruler that will work so let's use that:

SECOND METHOD: If you are using one neutral and a limited number of prints, this method is faster and saves you a bit of fabric. Cut strips of both fabrics 2.5". That is .5" larger than the finished size of the HST (2"). Pair them right sides together:


Make the first cut, creating a pair of triangles. Rotate the ruler--don't flip it upside down, simply rotate it bottom edge to top. Cut the straight edge on the right, creating the second pair of triangles:

Continue cutting the pairs until you run out of fabric or have cut 48 triangles:

Let's compare these two methods. The first requires the drawn pencil line and is slightly larger than needed to create 2.5" unfinished HST. But it's quick to figure out how much fabric you need. People without a 1/4" foot like this method. I also find beginners really benefit from that little bit extra as they learn to master precise piecing. The second saves .5" of fabric and there are no lines to draw. But you must be able to sew a 1/4" seam accurately. Try them both, pick your favorite. And yes, there are other methods but these two are enough for now.
Let's Sew for a bit:
Before starting to sew my blocks, I begin stitching on a "starty/stoppy", "thread kitty", "leader/ender"--this can be as simple as a small scrap of waste fabric or small units being made for another project. This allows any thread tangles, called a"bird's nest" to happen on fabric that is not so important. I wrote about leader/enders here.
To keep this simple, my leader/enders are 1.5" squares, a dark and light pair. Eventually, one pair is put with another to create a four-patch. We will be "chain piecing", where we sew one unit after another, feeding them through the machine. This saves time and thread and the leader/enders become another quilt someday. If you prefer, just use a scrap of fabric.
With the 3" squares, they will go through the machine twice, on BOTH sides of the drawn line. If you have drawn 3 lines, sew on the outer two. You will "air sew" for just a couple stitches between the units, don't sew them on top of each other:

If you have drawn one line and have an accurate 1/4" foot, sew on both sides of the center drawn line, using the edge of your foot as a guide:

With the triangles cut with the HST ruler, you will sew an accurate 1/4" seam down the cut edge. The blunted corners on one end help to prevent the point from being "eaten" by the machine, it goes into the machine at the top. Here you see how they feed one after the other:

When all the sewing is done, you have long chains of squares or triangles:

Cut these units apart and we're ready to Press:

Many quilters like to use steam in their iron. If you do, just be careful not to distort the pieces as you press. That sewn seam is on the bias and can get wonky if you are heavy-handed with the iron.
First, press the seams as they are sewn, this helps to release any tension issues you may have and sets the seam. We are going to press each HST toward the printed fabric, away from the neutral background. Lay the sewn triangle as you see here, the long edge running parallel to the edge of your pressing surface, the point facing down:

Use the edge of the hot iron to press the printed fabric up and away from you. Press with a firm, smooth motion, not back and forth over the seam:

Now we are ready for some more trimming. The 3" squares are oversized to begin with so these half square triangle units are now too big. They need to be precisely 2.5" edge to edge. Using a square ruler that has a center diagonal line, place the diagonal line on the seam and make sure the lower left edge is at least at the 2.5" mark:
 |
| This square is about 2 5/8" |

The first cut is important but the second cut is critical, it will determine what size your HST is. This time as you place the square ruler on the HST be sure the 2.5" marks are exactly in place on the left and bottom edges. Trim the right and top edges for a perfect 2.5" Half Square Triangle unit:

Perfection! I am willing to throw that much fabric away to have perfectly precise units:

With the triangles that were cut as pairs with the HST ruler, in a perfect world no trimming would be necessary, IF they were cut perfectly, sewn perfectly, and pressed perfectly. I don't require that much perfection of myself, I simply have to "Trim to Perfection". First cut:
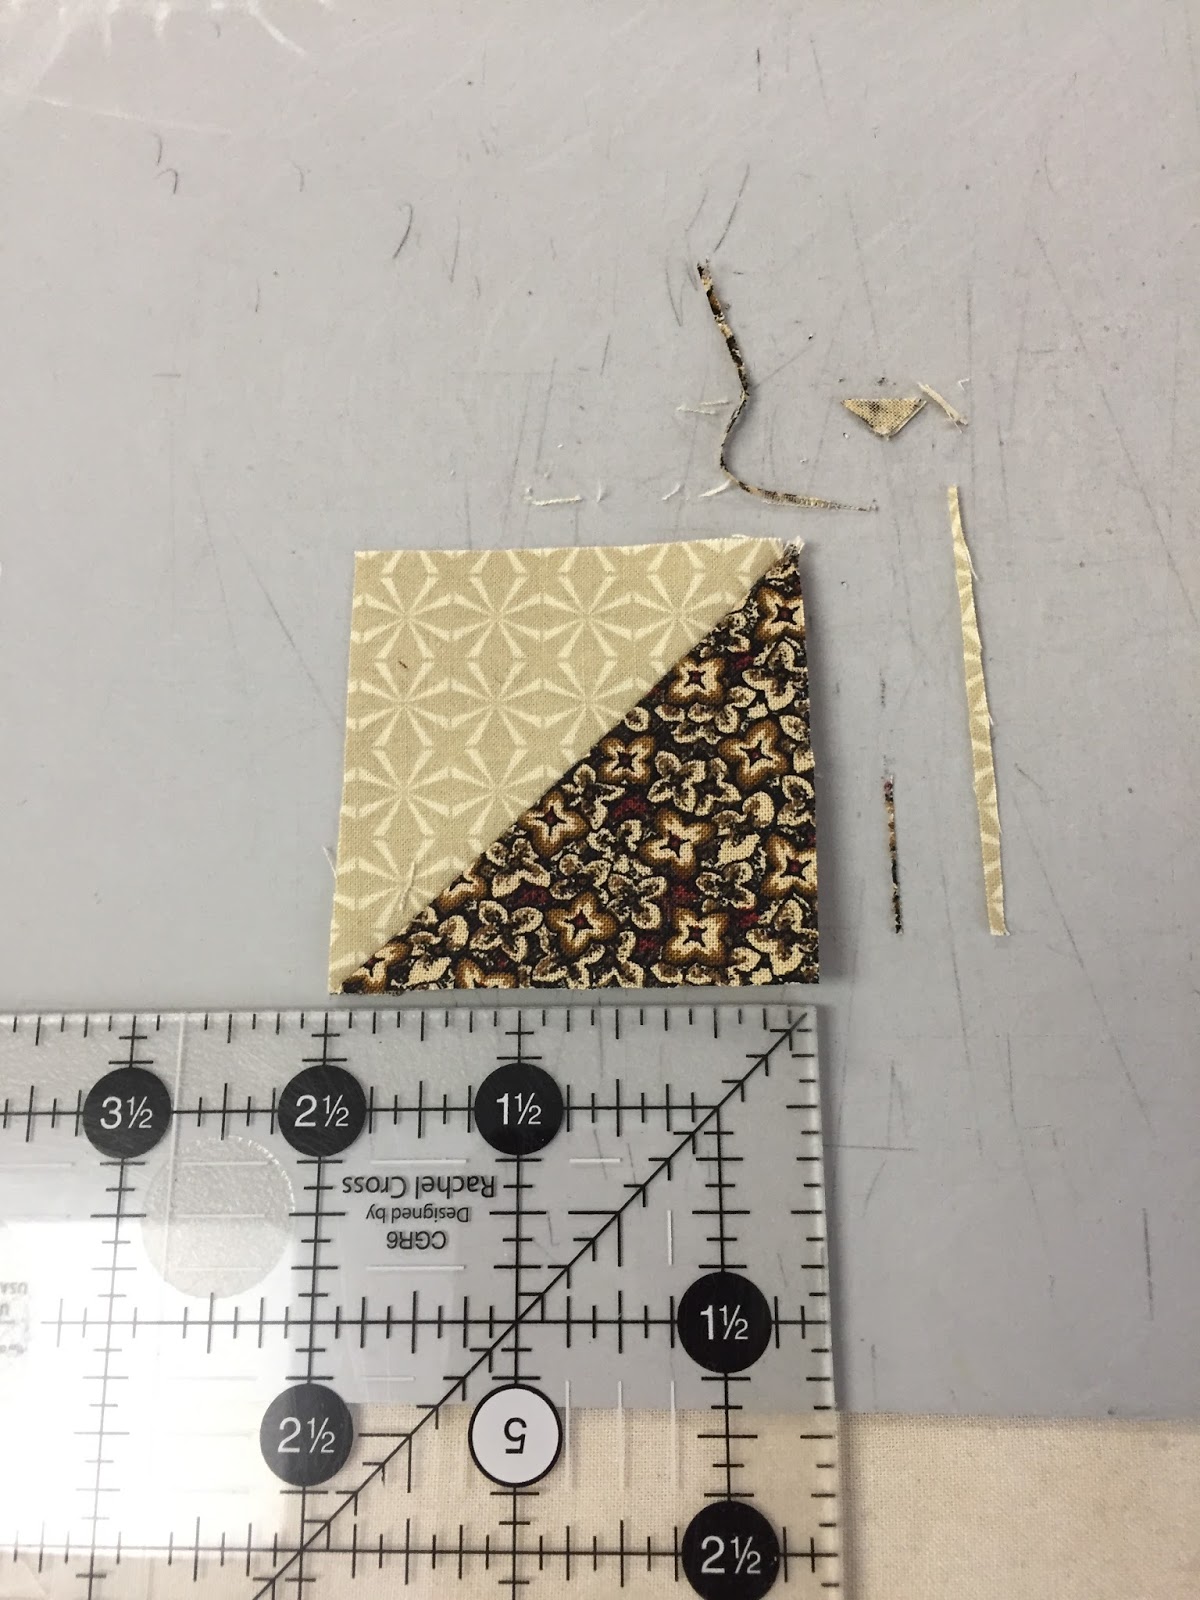
Rotate and make the second cut:

Perfect 2.5" HST, very little waste:

Here is the most important lesson about piecing units for quilt blocks:
If your unit is not the correct size now, it WILL NOT miraculously become the right size when you do the next step. So work on that precision, the cutting, sewing, and pressing, until you are satisfied you have a 2.5" unfinished Half Square Triangle unit, one that will become 2" when pieced into the quilt block. It takes practice, you can do it!
More Cutting:
We need squares for the Shoo Fly block too. Four squares of background, and one center square. Backgrounds can be scrappy or all the same. This time I chose one gray/white neutral stripe for the background and one colorful stripe for the center. I can lay out those stripes lots of ways:

As I am usually a very symmetrical girl and like all my lines going in the same direction, I was surprised that after laying four blocks out with the stripe in various orientations, I actually preferred the one in the lower left, with the stripes going in both directions. Lesson learned: don't overthink it, especially in a scrappy, bright, kids quilt.
Piecing the Blocks:
Here's where the rubber meets the road. It's time to piece the blocks. Lay out your blocks near the machine. I use a small design board, 16" x 20", covered with flannel. You could use cotton batting instead. This makes it easy for me to move the blocks from the cutting surface to the machine to the pressing surface. Here are four, ready to go:

I use Masterpiece thread by Superior. Read why on this post I wrote entirely about thread. My stitch length is about 12 stitches/inch, a 2.0 on my metric machine. Small enough to hold firmly at the edges, large enough to remove when I've made an "oops".
First, flip the middle row over onto the left side row:

Begin by sewing a leader/ender. Here you see two small squares that have been sewn together. Pick up the middle square placed on top of the left HST, right sides together (RST), feed it into the machine, carefully sewing an accurate 1/4" seam. In this photo you can see there is a small line on the throat plate that is the 1/4" guide mark and this presser foot is 1/4" wide from the needle to the right edge:

Next pick up the center square placed on top of the middle square RST and feed through the machine:

Here you see the third pair, bottom middle square and lower left HST, RST, has been sewn, and the leader/ender small squares are being sewn:

Now to press these seams. Place the sewn pieces so you can press toward the square, away from the HST. This is because the triangles points don't like to be pushed back over on top of themselves so if you don't have to do that, don't:
 |
| The seam is at the top, making it easy to press the square up, away from the triangle |
 |
| Squares have been pressed up, away from the triangles and center square |
OK, now it's time to check your 1/4" seam. If you are new to precise piecing, or struggle, or have a new machine you are getting used to, as I do, it's a good idea to check at this point to see you are sewing accurately.
Place a unit on the cutting mat, use a small ruler, and measure the width of the unit. Place the 2.25" line in the center, measure from the center out to the right edge, trim if necessary:

Rotate the unit 90 degrees and measure again from the center, 2.25" mark, to the other edge:

I trimmed just a bit from this unit:

If you are way off, a lot to trim, your seam allowance is too narrow. If the unit is less than 4.5" wide, your seam allowance is too wide. Try again, until you are happy with results. Remember:
IF THE UNIT IS NOT THE RIGHT SIZE NOW, IT WILL NOT MIRACULOUSLY BECOME THE RIGHT SIZE WHEN YOU TAKE THE NEXT STEP.
Lay out the units again, by the machine. Turn the right side units on top of the left/middle sewn units:


Chain piece this row, adding the third unit to each row. Place them on the pressing surface so you can press toward the square, away from the HST:


Now I will use a few pins. If you want to use pins for the earlier steps, that's fine. I don't need them until now. Joining the top and middle rows, put a pin at each intersection, in front of the intersection. Place an additional pin along the bottom edge, well out of the way of where the presser foot will be:

Feed this through the machine, being careful at the intersections--the seam allowances should "nest", meaning one is up, one is down, Remove the pins as you get to them. If you MUST sew over pins, sew slowly so you don't damage your machine. Stay straight all the way down, it's easy to let go at the end and have a less than straight seam:

Open up and check those intersections:

Pin the bottom row to the first two rows and sew:

Check those intersections:

Press the rows toward the middle, away from the HST:

Here is the front:

Here is the back:

Precisely 6.5" square, nice and flat:

Lather, rinse, repeat until you have 12 Shoo Fly blocks made, each 6.5" square, or as close to that as you want them to be:

Next week, we'll make the Old Italian Block.
Let's Quilt!
Barbara