Sunday, May 5, 2024

TEXAS TOUR 2024 PART 1: THE QUILT GUILDS

Recently I was on my "Texas Tour 24", taking me to two Texas quilt guilds to teach and lecture. In between I had a mini-vacation in Austin, The trip was SO GOOD, it needs two posts to show it all. Next week we will look at TEXAS. This post will focus on the two quilt guilds.

First up is the Golden Triangle Quilt Guild in Beaumont. I flew to Houston where I was met by the wonderful woman who has been my contact for more than a year as we planned all the logistics. Susan came in to help me wrangle the bags while Melissa circled the Passenger Pick up area.

We had a lovely 1.75 hour drive as we got to know each other better. I love seeing more of Texas and the drive was great. Home2Suites was a lovely place to stay for 3 nights, full kitchen, comfortable bed, very  clean, pleasant employees and a good fitness center.

I always sleep under a quilt

Frig, microwave, dishwasher, dishes and silverware

after my daily 1 hour power walk workout on the treadmill

The lecture was "Time Management for Quilters", one of my most popular, and it went very well. Lots of good comments after the meeting.

Lots of quilts to show

More quilts

It is not unusual for me to see lots of Block of the Month quilts from The Quilt Show at Show and Tell. I love seeing them:

A version of Homeward Bound at show and tell by Sylvia Weir

Inspired by Garden Party Down Under, also by Sylvia

Sylvia even had Pick a Petal done--the 2024 BOM from The Quilt Show!

The guild recently held their quilt show. One of the vendors wasn't able to attend at the last minute. His wife, a guild member I believe, had their inventory for sale at the meeting. I was happy to purchase a piece:
Hanging in my studio

Beautiful selections

Contact information

The next day we gathered for the Workshop: The Village. A fun class that teaches paper piecing in the morning and super easy star blocks in the afternoon:


There were 34 students signed up! That broke a guild record. While not everyone showed up, we had an amazing group who worked hard and accomplished much:

Building our Neighborhood


After some had left--I always try to get a class photo

My stay with the Golden Triangle Quilt Guild was the perfect way to kick off a 12 day trip. 

After a 5 day mini vacation in Austin, which I will detail next week, it was on to the Quilt Guild of Greater Victoria. This was my THIRD trip to this guild, 2016, 2019, and now 2024. We start at a great BBQ place in Lockhart, Kreuz Market. This is a good place to transfer from Austin to Victoria. My friend Marcia met me there with two other guild members for the 1.75 hour drive to Victoria.

The Hampton Inn was fine, even though lots of renovations are ongoing. Mostly I was thrilled to find hard boiled eggs at breakfast--the first time since Covid! I eat a hearty, protein packed breakfast after a hour-long hard workout each day:

I saved the eggs for lunch

Victoria Art League, a lovely space to meet in. The guild begins the meeting with the Pledge of Allegiance to the flag--one of only two guilds I have been to that does. Means a lot to me.

This guild is one of the few that serve refreshments--I can vouch for the homemade brownies!

Lunch--Market Salad from Chick Fil A with the two added eggs

This guild asked for a Trunk Show instead of a PowerPoint Lecture so I filled a large suitcase and that's what I showed. The Beaumont guild benefitted from that as they got to see them too, although I didn't go into detail with them.

In the afternoon we started the 9 hour workshop "Love Your Layout". Some students had worked ahead to make 4" pieced blocks so they were ready to play with the 3 layouts. Some used the afternoon to piece those blocks--both options are fine:


The next day we worked on those layout options. I was pleased with the progress:

Donna got busy and even finished her project with borders

Carolyn, my contact and chauffer, made great progress even while performing all her guild duties

A few days after I got home, Jo sent me a photo. She had made 12" blocks as she wanted a bed size quilt. I taught her how to recalculate the math for the sizes needed for the layout. Here is her 88" square finished top:


We always need that class photo:


All too soon, it was over. The next morning I was up early for the two hour drive to the Austin airport. Arriving with plenty of time, I spent the first hour power walking the long concourse. It worked, I got in 4 miles, worked up a mild sweat, and didn't run into anyone:


Happy to say I had "traveling mercies", all flights on time and uneventful. I am already looking forward to my next Texas Tour--most likely in 2026.

Let's quilt. 

Barbara


Sunday, April 28, 2024

PICK A PETAL -- MONTH 5

PICK A PETAL is the 2024 Block of the Month quilt designed by Jen Kingwell exclusively for The Quilt Show. It is FREE to Star Members, join today to take advantage of this great bonus. WATCH Jen's Show to see how she makes this quilt--it is FREE for EVERYONE all of 2024: Jen Kingwell Show 3401

It is time to start the applique on the lovely Log Cabin borders. Here are two photos showing Jen Kingwell's stitching. We will learn more about the embroidery in future months:


Here is mine on the design wall. I am preparing two of the borders to travel with me to Texas. The hand applique will be done in my hotel room in the evenings:

All I need to work on these away from home are needles, thread and a good pair of scissors. A needle threader helps too. The pre-wound bobbins of Quilters Select 80 wt. thread is perfect for hand applique and has every color I can possibly need:


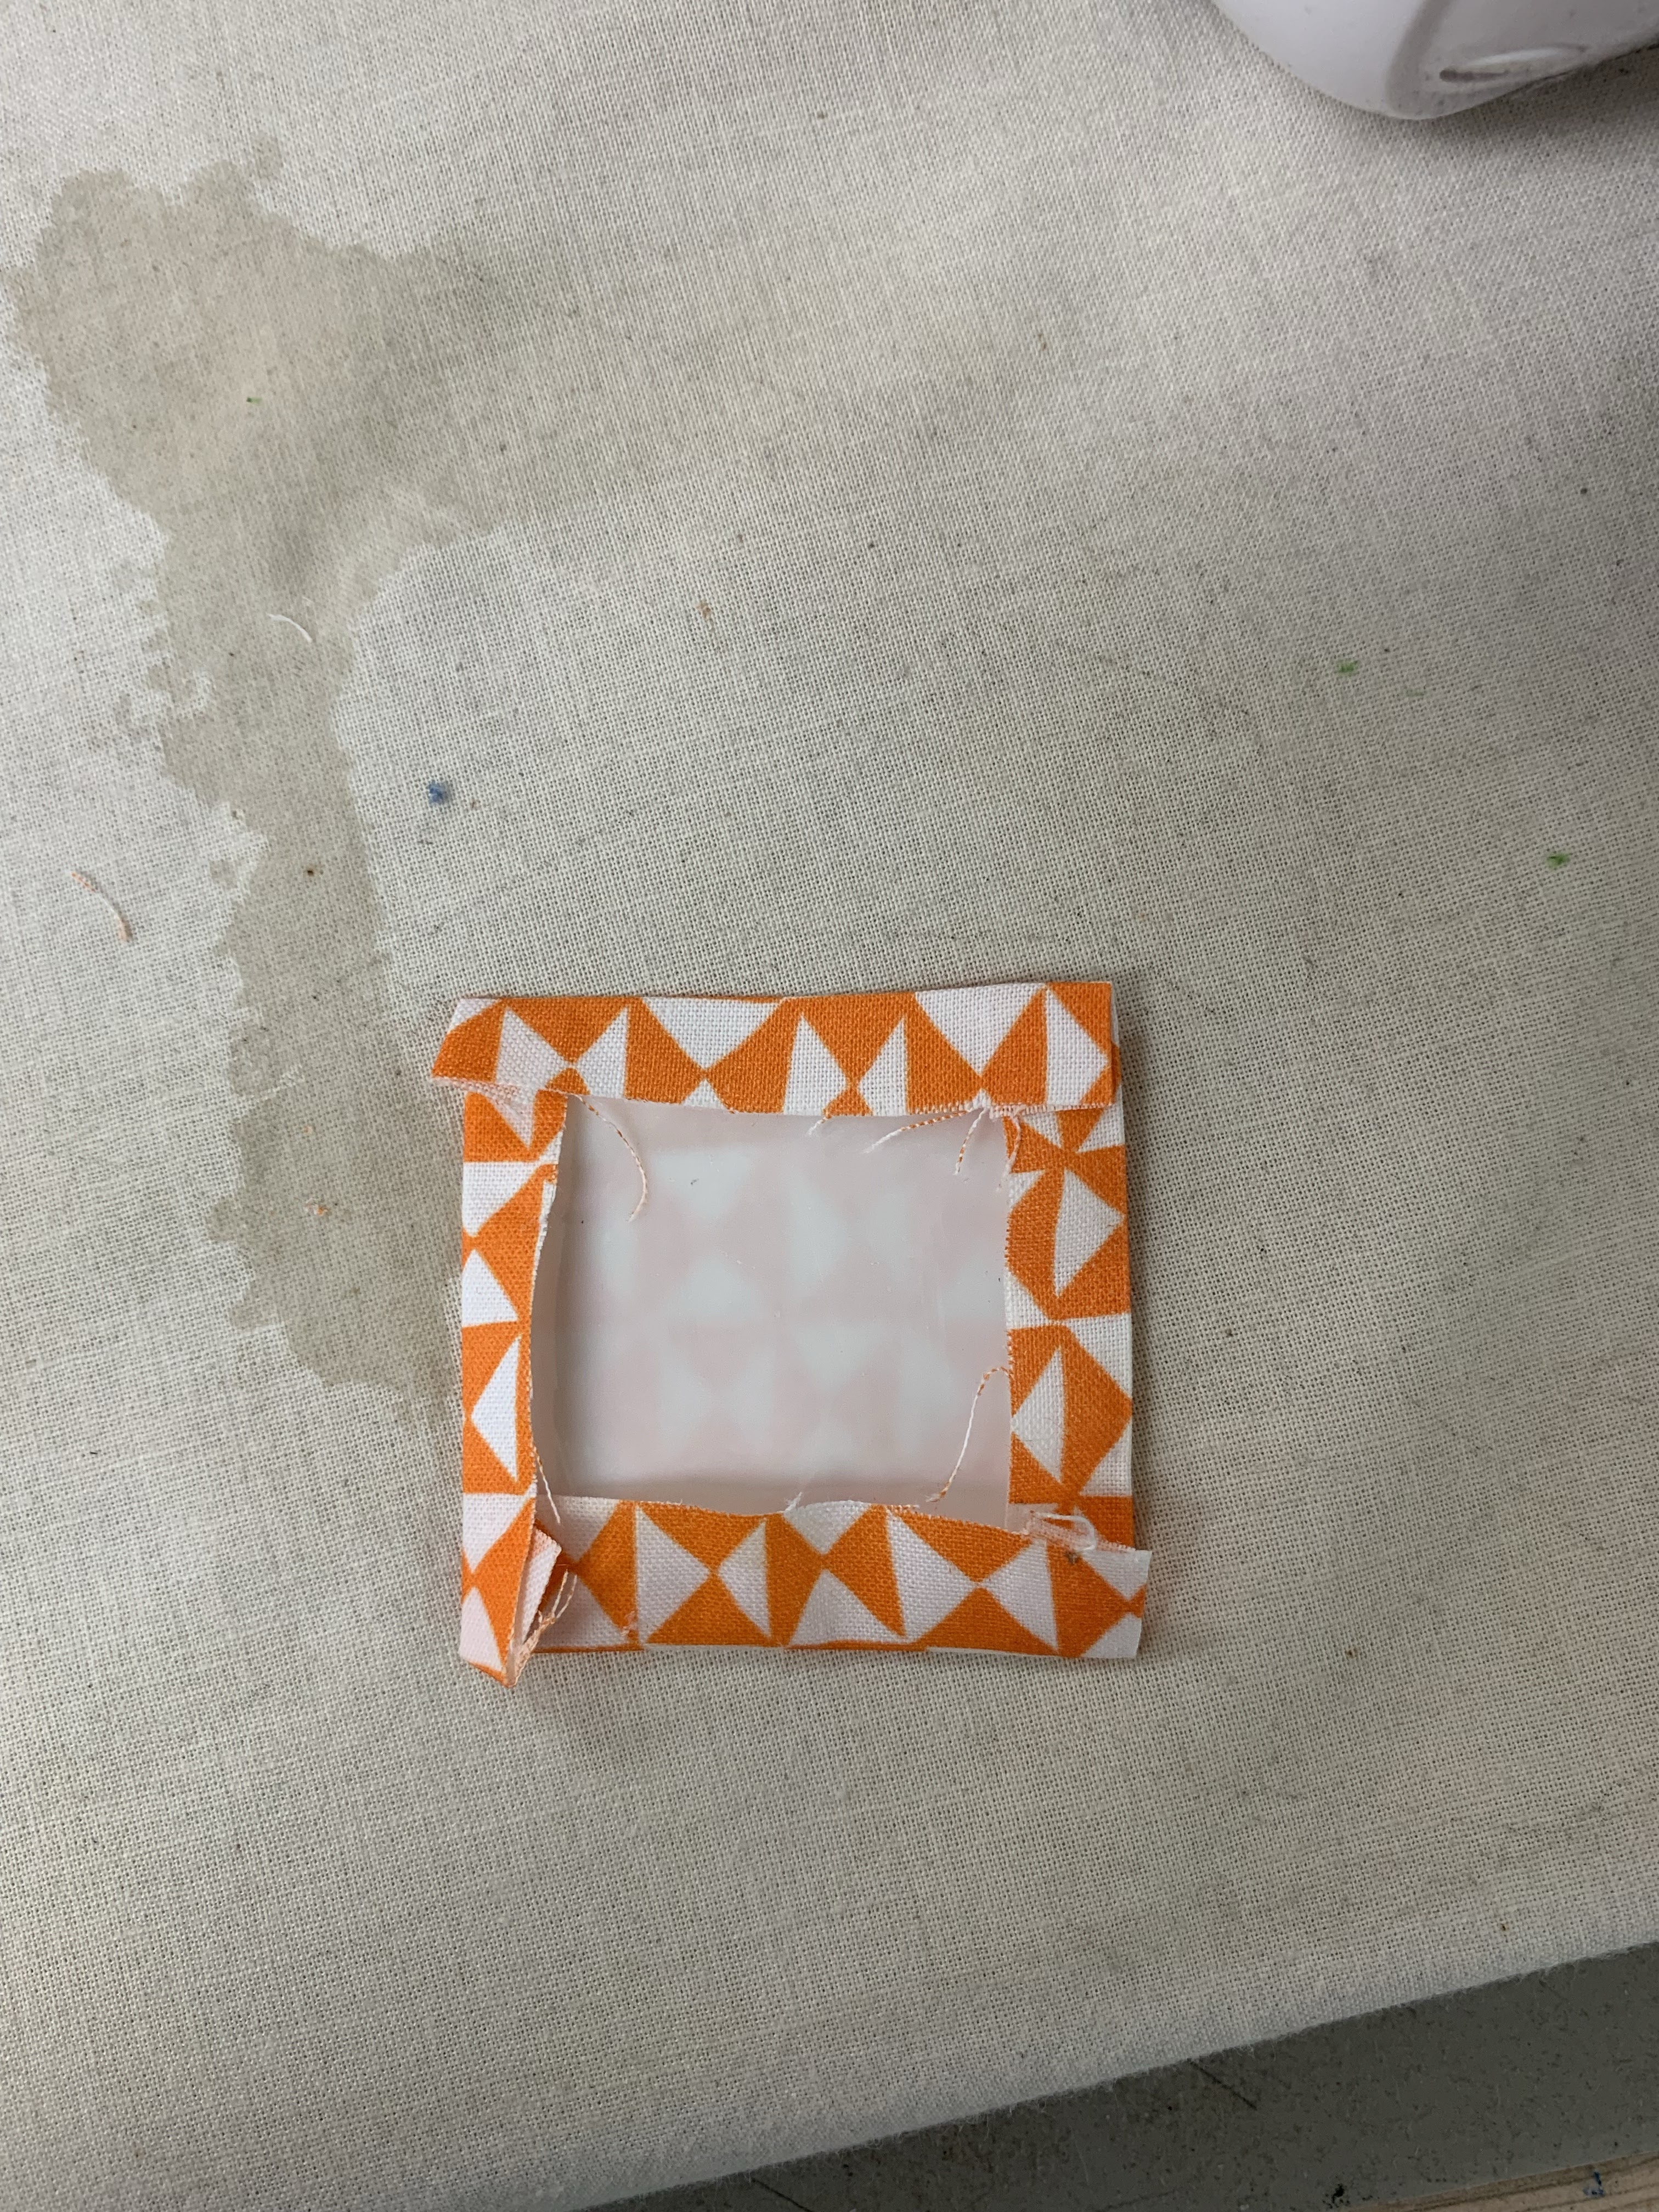
I prefer turned edge applique to raw edge so that is what I am doing. The Kit includes Mylar templates for all the shapes used in the quilt. Mylar is heat resistant plastic, use a synthetic setting on your iron, not super hot. 

Searching on the internet for videos to share with you, I found a couple. The first is Jen Kingwell showing hand applique of circles:

MARSHALL Quilt

The second is Margaret Mew demonstrating how to prepare applique shapes using Mylar templates:

Margaret Mew

On my blog I have written MANY times about turned edge applique. Use the SEARCH box in the upper left to look for Turned Edge Applique to find them. 

A very helpful tool for preparing applique shapes is a Sandpaper Board. Jen Kingwell's is perfect, not very expensive and can be used on both sides. Buy it at The Quilt Show Store:

For bias stems I simply cut bias strips 3 times the size of the finished stem. For 3/8" stems, cut 1 1/8" wide bias--or close. These whimsical flowers should be "organic", not precise. Then I fold them in thirds and they are done. Here is a bunch I have ready:

For the flowers I dug through the Mylar templates to find the ones I needed for Month 5. This is the BOTTOM ROW Log Cabin border  of the quilt. I complicated my life by putting 6 Log Cabin blocks on the Top and Bottom rows, and 4 on the Left and Right Sides.  It takes extra effort to figure out which motifs are intended to go on the outside corner blocks. And their orientation. So, I recommend you follow the instructions for the Log Cabin block rows, Month 4.

Then I played with fabrics to make my selections. While I used the photo of Jen's quilt as a guide, I made changes using the Kit fabrics. And sometimes I just used some of my favorite fabrics. 

If the shape could be easily prepared for machine applique that is what I did. Squares are easy. 

Use the Sandpaper Board to hold the fabric while tracing around the template. A mechanical pencil is my marker of choice, as long as I can see it:


I cut a slightly larger than 1/4" seam allowance: 

This is a starch-like product; use starch, sizing, Best Press, etc, to give a crisp edge. I like to use this small Steamfast iron because it is easy to clean the starch off the bottom. (Mine is not one of those recalled for safety): 


Once dry I remove the template and the shape is ready to be sewn in place: 

Once I had the stems prepared, I used very small dots of Roxanne's Glue Baste It to hold the shapes in place for machine applique. I did the stems first then added any other shapes that would be sewn down by machine. If the shapes were easier for me to prepare for hand applique, that is what I did. Here are several prepped and ready:

This shows the stem machine appliqued and the flower parts prepared (the circle) or traced ready for hand applique:


The stitch I use for machine applique is one Alex Anderson has taught several times. It is a Single Blanket stitch. On my Bernina 770 it is stitch 1329, Width .8 and Length 1.7. Play around with your machine to find a stitch you like. Then WRITE IT DOWN so you can use it again. Even though I have saved this stitch in my FAVORITES, I still write it down so I know I am using the same one each time. In the past I have used a small zig zag, that works well too.

Here is a great VIDEO of Alex showing her process. It starts at about 10 minutes into the video:


For thread, I used Quilters Select 80 wt, color # 275, a bright green, in the top and a neutral in the bobbin. I knew I wasn't going to change thread colors so this was a good choice. The stitch is small, the thread is fine, it's hardly noticeable even when there is contrast with the applique shapes. Remember, when the quilt is done most people won't see it from any closer than 6 feet away:


Feel free to draw your own "organic flowers"--Jen encourages you to do this in the pattern instructions.

Next month we will be adding the appliques to the Top Border. Embroidery instructions begin in Month 7.

Please add your Progress photos to the FORUM. That is also the place to ask questions, I check there frequently.

Let's quilt!

Barbara


Sunday, April 21, 2024

SUNDAY SEW AND SEWS 2024

 The Sunday Sew and Sews meet at my house once a quarter for friendship and to show off progress on their Feathered Star quilts. Read more about that project here:

FEATHERED STARS PERFECTLY PAPER PIECED Part 1 

As this was the weekend just before the total eclipse, three of our group had gone "eclipse seeking", two to Texas, one to Kentucky. They all saw a great sight, and I am glad for them.

Here is our Show and Tell:

Cheryl's Patchwork Barn top ready for quilting

Donna's precise Feathered Star, the first of many

Victoria's Roger and Rita, a loving pair

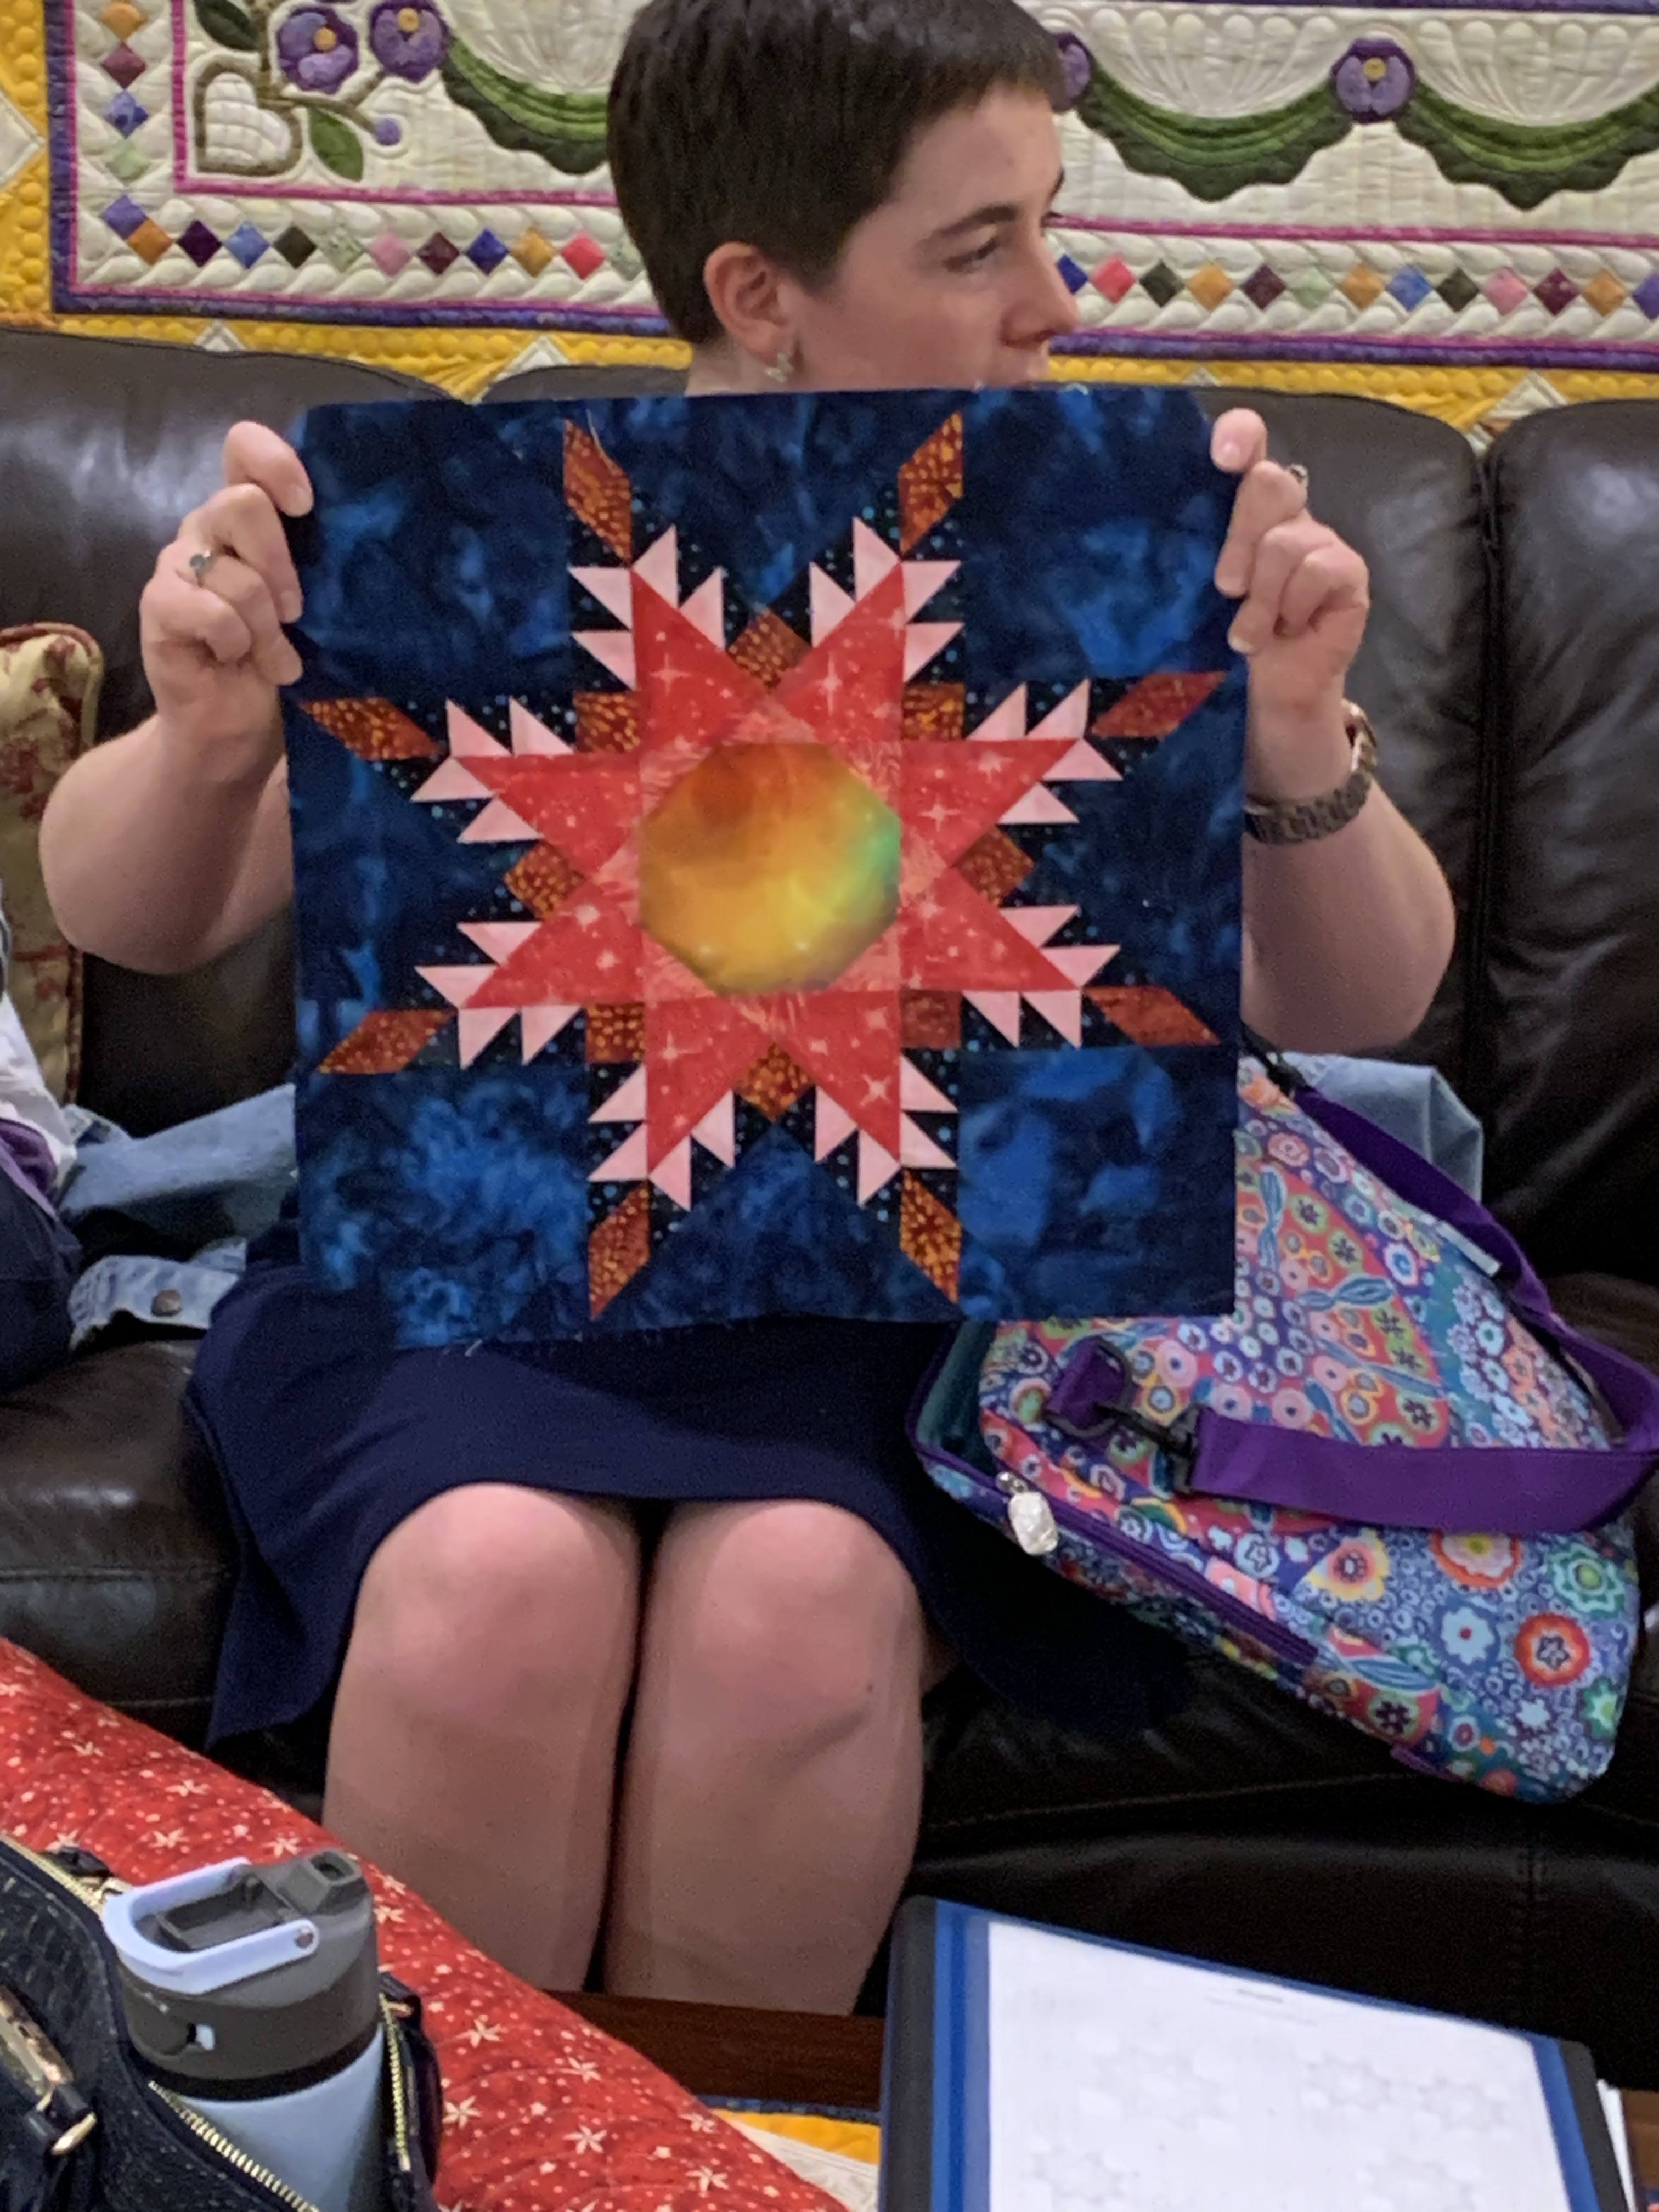
Victoria has an "out of this world" plan for her Feathered Star quilt
Mazie has her first 2 FS blocks done


Holly's Two-For-One--I am teaching this class locally this Summer at Patches & Stitches AND at Empty Spools Seminar March 2025


Holly's first 2 FS blocks

Jodie has 2 FS blocks too


Jan is making 4 Feathered Star blocks as corners for a long term project of Baltimore Album blocks, all needle turn hand applique. The FS are perfect as corners, Jan saw such an antique quilt which gave her the idea to incorporate the Feathered Stars with beautiful applique blocks.

This very special block flew in space on a shuttle mission with Jan. All the details are beautifully written in hand calligraphy by Elly Sienkiewicz--a most important block. Jan designed it herself. 

Terri is working on her first FS block, she got some good tips for getting everything to fit together perfectly

My first 9, only 4 or 7 more to go. Time will tell.

Making Feathered Stars with Sue Garman paper piecing patterns is a great way to make a complicated block precise and perfect. Each unit is perfect in size once made on the paper foundation. Then I remove the paper and precisely piece the various units together. See more about that here:

FEATHERED STARS PRECISELY PAPER PIECED PART 2

What I find most time consuming is selecting the various fabrics for a block and then cutting them all out. This might not look like much but there is more than a hour of work right here in this pile:


I wrote a detailed blog on the cutting process, find it HERE:


It's not too late for you to make your own Feathered Star block, or many. Sue Garman's patterns are available at her website, managed by her daughters:  FEATHERED STAR HEAVEN and WASHINGTON MEDALLION.  Washington Medallion is a slightly easier version of Stars for a New Day and Feathered Star Heaven. All are great patterns with excellent instructions.

Let's quilt!

Barbara

Friday, April 19, 2024

WOMAN’S WORLD Magazine REVEAL

This is a SPECIAL EDITION of my blog with timely news you might enjoy:

The news is out! My story of how I lost 110 pounds is featured in an upcoming issue of Woman’s World magazine. The April 29, 2024 issue hits newsstands very soon for just one week. 

Here are teaser photos of the issue:


My son, professional photographer Joshua Black Wilkins, was the photographer, hired by the magazine. Hair and makeup was done by the incomparable Chelsea Thompson. I felt like a model and the images are superb.

Here are some “behind the scenes” shots my husband took at the recent photo shoot in Joshua’s studio in Nashville TN:


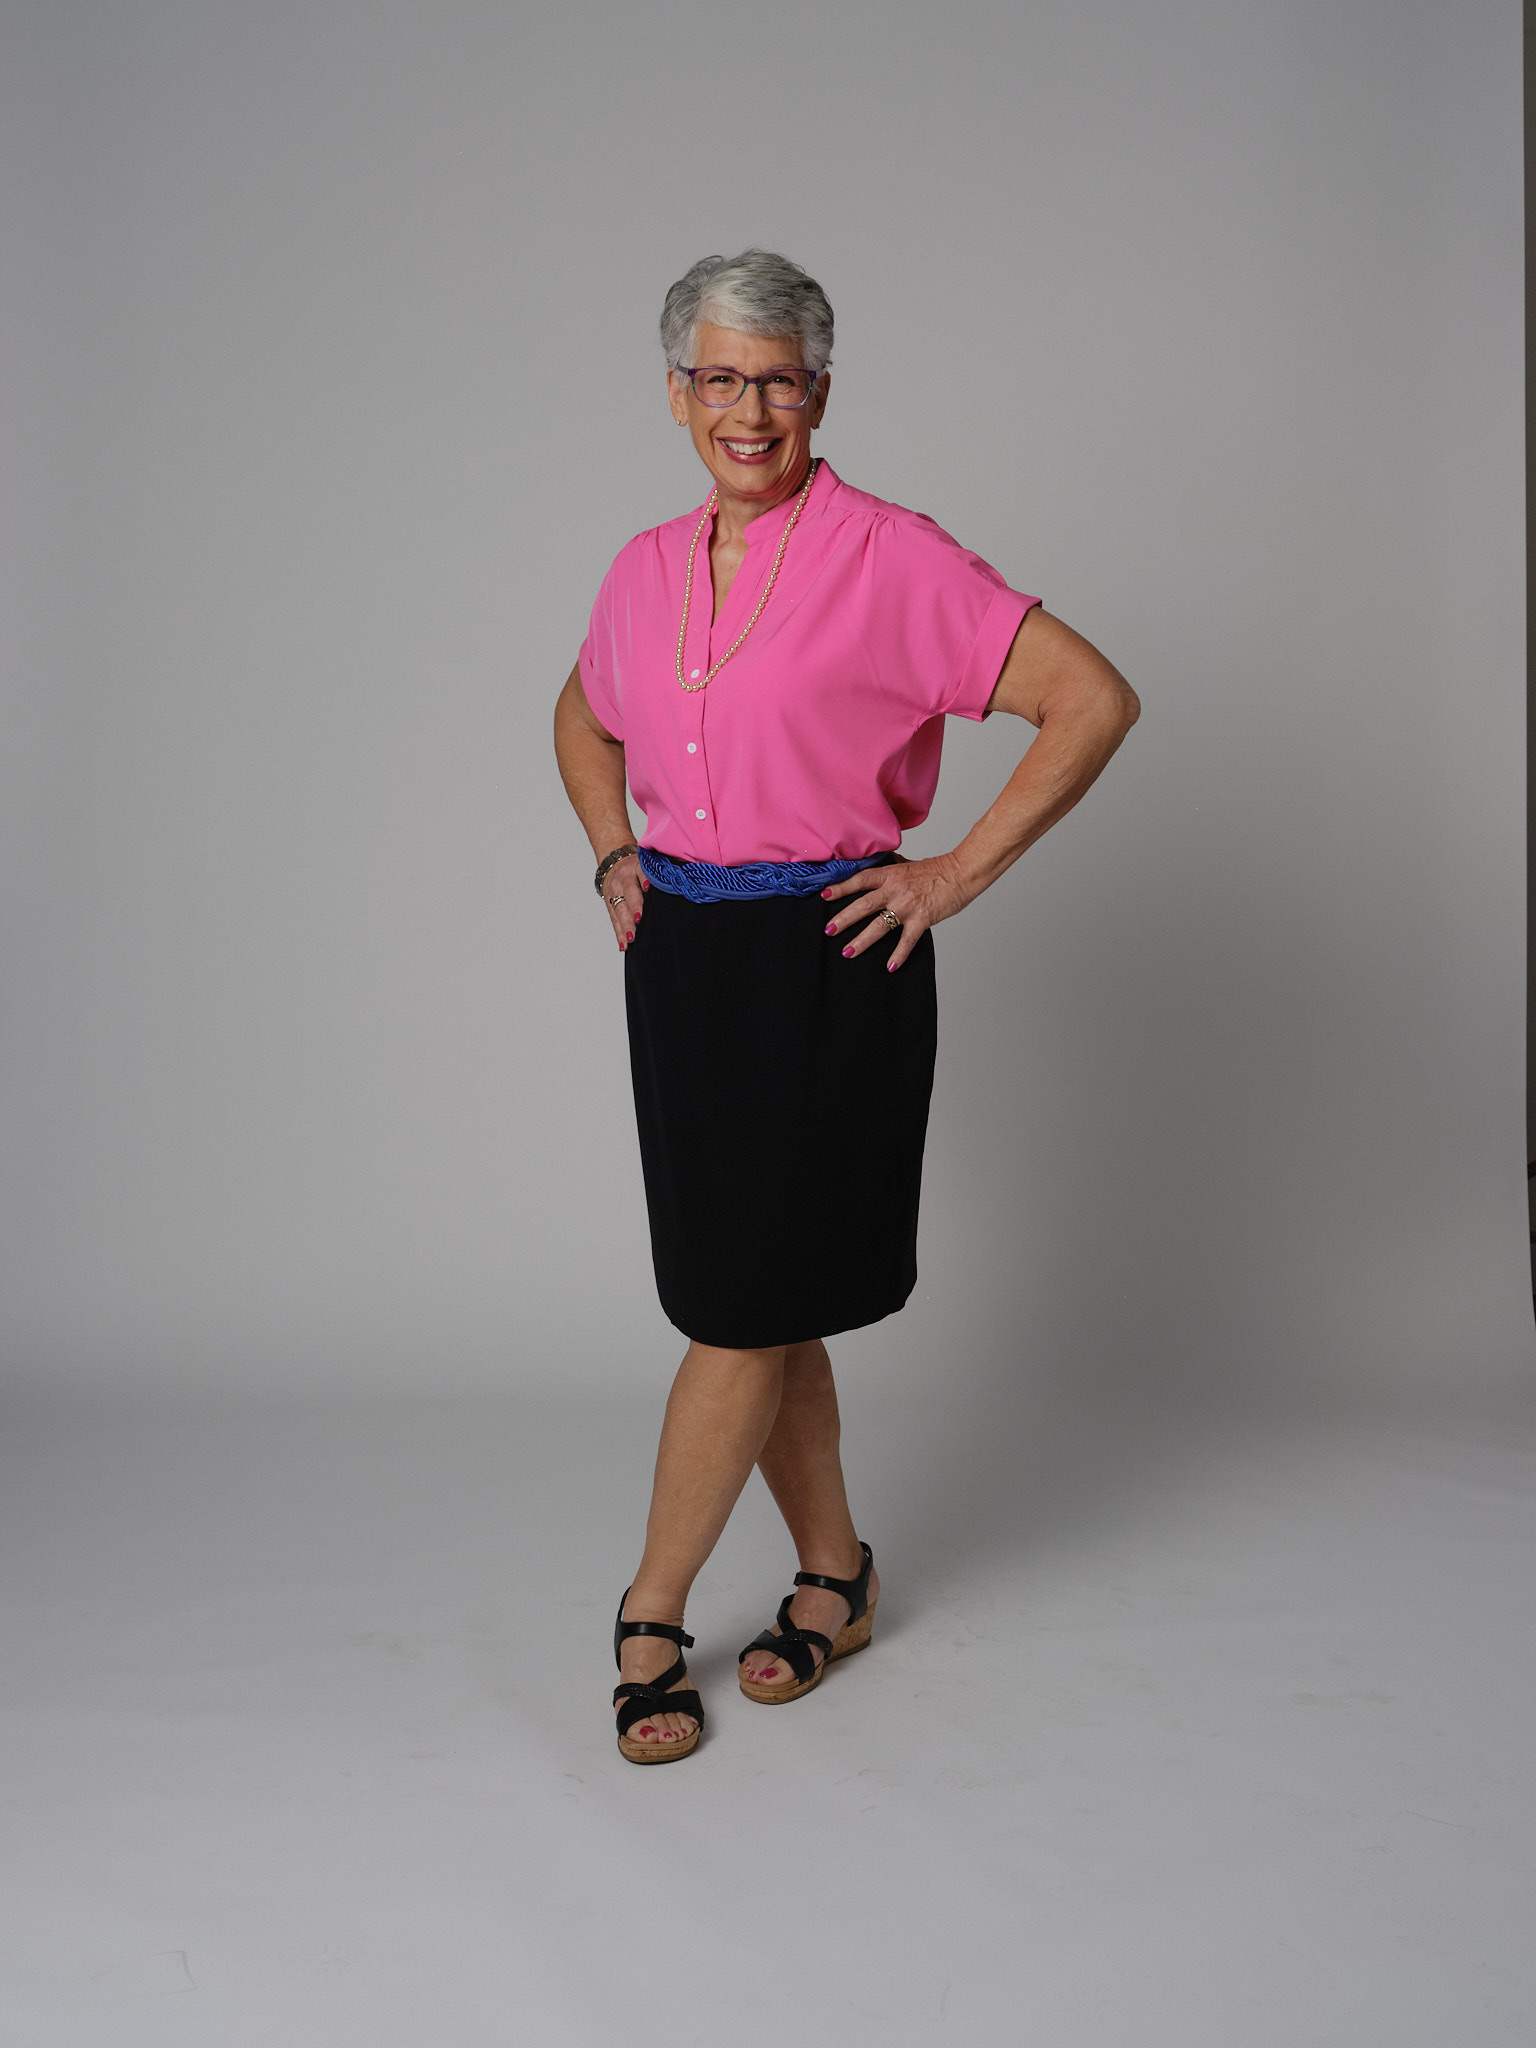
The clothes had to be approved in advance. We were sent suggested poses which is why I seem to have “attitude” in some of these shots. 

The article is online: Woman’s World magazine

The article is very well written, it is easy to understand the health/nutrition information being discussed. The quotations are close enough to what I actually said and it’s all true so I am happy with the final product. They included several things I really wanted included and nothing I didn’t. And there is even a link to my August 20, 2023 blogpost “How I Lost 100 Pounds” in tiny letters at the bottom of the page.
 

When we finished the photo shoot for the magazine, we hung “Garden Party Down Under” as a backdrop for some professional quiltmaker images. I am thrilled with the amazing job my son did, he really knows his stuff!


If I ever write that book, I have my book jacket photo ready.

It was a thrilling experience I will never forget. When I saw the first images I said to my son “Wow! Those are beautiful. It looks nothing like me.” He said “Mom, that is EXACTLY how you look.” Good boy. 

Look for the issue at local supermarkets/booksellers or, perhaps, online. 

Now, let’s quilt.

Barbara