
Be sure to READ ALL THE GENERAL DIRECTIONS and WATCH ALL THE VIDEOS. Each month's pattern has detailed instructions as well.
PRIOR POSTS WITH HELPFUL INFORMATION:
Block 1
Block 2
Block 3
Block 4
Block 5

You are going to LOVE Block 6--large pieces and not many of them! I think this is the easiest block so far.
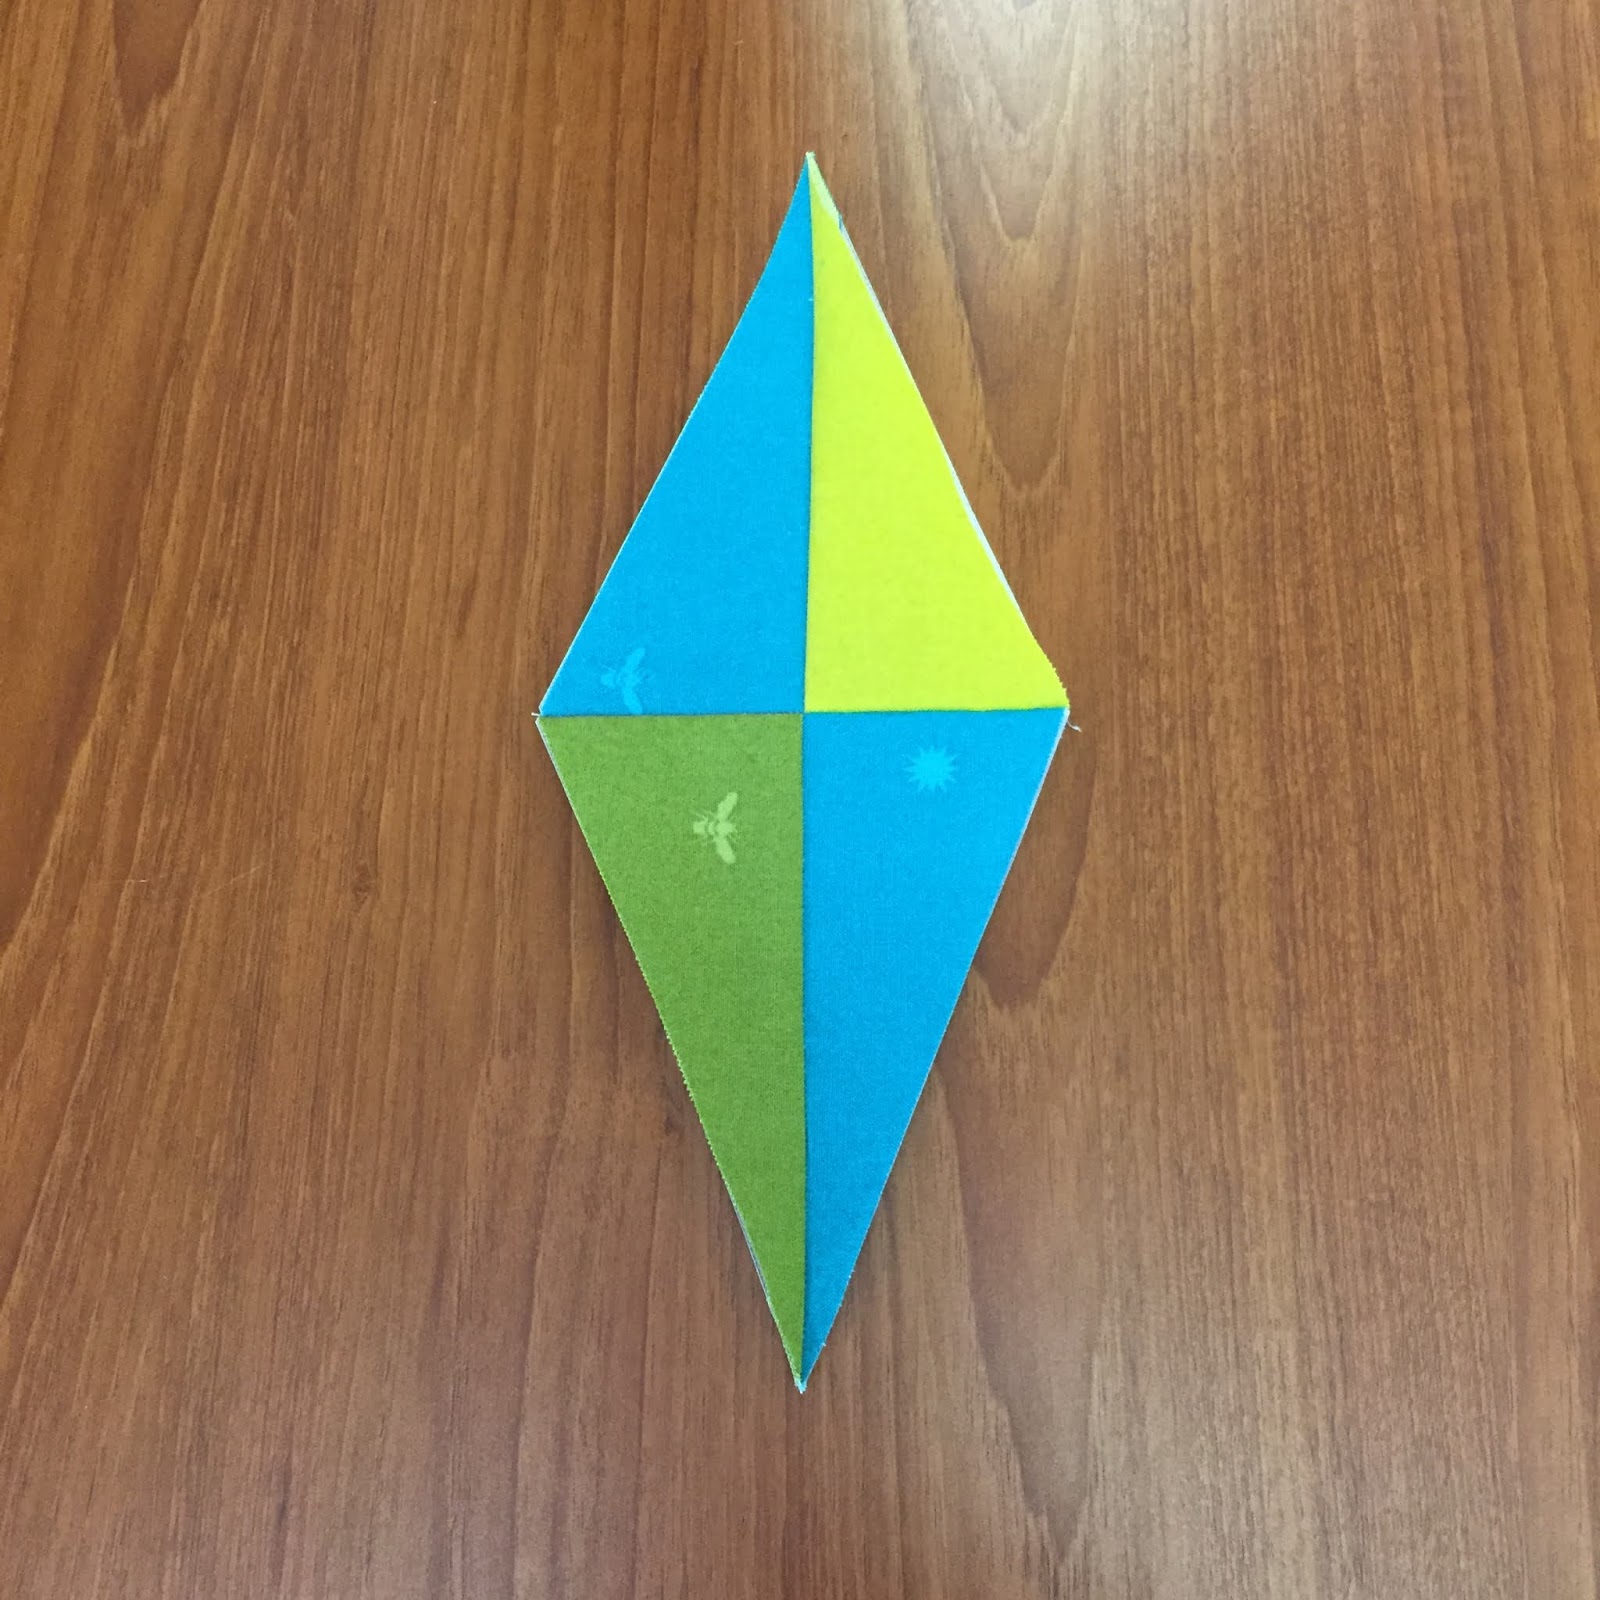
While construction is the same, Diamonds and Wedges, it is REALLY IMPORTANT to keep your fabrics organized:

The Diamonds are symmetrical when done--it is the pressing directions that make a difference. I made my Warm block first and mixed up the Top and Bottom fabrics--let's just say, I really had to figure out the pressing on my own.
WHAT COULD POSSIBLY GO WRONG?
Whether using the Kit, or your own fabric, be sure you watch that you are sewing the correct pieces in the correct places. I learned to double-check that the back of the dark Chutes fabric was on the back of the Diamond 1 space, for both the Top and Bottom of the Cool Kit block. Double-check BEFORE sewing...
This is what you want, Top is at the Top here:
This is what you DON'T WANT:

Once you get yourself on the right track, the piecing goes very quickly. Make two halves, sew them together, add the Block Corners, and you are done!
What about that crazy center? Becky shows how she appliqued a 1.25" circle over the center, then cut away all the bulk where all 16 points come together. Great solution for a flat center.
Or you can leave the center uncovered if you like how well you pieced the block--the choice is yours. Just smoosh that center done on the back as flat as you can. (Block 7, coming up next month, has a similar center).
Without the center circle:


With the Center Circle:

The Back:

I used Wash-Away Applique sheets I have used before to make the circle:

The Circle Template was sold for applique years ago, you can buy them now at any office supply store. Trace the 1.25" circle on the non-fusible side of a small scrap of this stuff, cut it out on the pencil line, and fuse it to the back of the circle fabric. Cut out the fabric circle with a narrow seam allowance, no more than 1/4". The Fabric glue stick and the Apliquick "forked tongue" rod made quick work of turning the seam allowance to the back.


I experimented with two different stitches, a blanket stitch, #1329 on my Bernina 765, and a narrow zig zag. Each took small bites of the circle and the background. I used the Quilter's Select 80 wt thread that came in the Accessory Kit. After looking closely at my test stitches, I knew I had to change to a smaller needle. The 80 needle left large holes the fine thread will not fill. I switched to a 70 needle and the holes were much less noticeable. I used the narrow zig zag stitch to applique the circle to the center of the block.
Cutting away all that excess fabric in the center after appliqueing the circle in place was a bit scary. First, I used scissors to remove the big bump in the back. Then I was able to slide the scissors between the circle and the block and carefully remove more of all those seam allowances. Having the wash-away paper on the back of the circle provided a little security as I cut away the bulk.
For a lengthy Tutorial on how I used the Applique' Wash-Away Sheets on a big project go here: Step-By-Step and Photos of the Prep.
We are not too far away from the appliqued borders. Now might be a good time to watch the Applique videos Becky made. You can hand applique if you like, or machine applique--Becky shows two methods for machine stitching the appliques onto the backgrounds. There are 3 new videos posted recently in which Becky gives you tips for Applique': Videos on Applique' They are almost at the bottom of the list of videos.
Let's quilt!
Barbara
Thank you Barbara for all your work with the blog. I make certain that I review your comments before starting with Becky's instructions. Your tips and watch out for-s are most appreciated!!
ReplyDeleteThanks!
DeleteThanks for your tips! I'm pondering that applique border. I'm not really a fan of it and wondering how else I might do a border on this quilt. Anyone out there have any ideas?
ReplyDeleteA pieced border would work well. I will have some suggestions for that when we get to the borders.
ReplyDeleteI have learned so much from your tips. There is one tip I would like to add. I was so tired of wrestling with the vellum that I went back to my favorite Carol Doak's Foundation Papers. What a difference! The wedge points came out so much better, tearing the paper was easier, the fact you cannot see through the paper as well as the vellum was not a problem for me. Just saying . . .
ReplyDeleteYou have been so helpful for me, thank you for all of your assistance.
ReplyDelete