This year is almost half over and I am already looking ahead to 2020. Both 2019 and 2020 are closed, no more room for bookings that take me away from home. I still enjoy teaching locally and have lots of quiltmaking to get done. Right now I am doing some "Secret Sewing" I am eager but unable to show you at the moment. Stay tuned...
Travel remaining for this year is exciting:
June 18-21 SW FL Quilters Guild--lecture and Two-for-One Workshop
August 8, Heartland Guild, Cullman, AL Lecture 6:30 pm
August 17-20, Tape The Quilt Show, Denver, CO
October 23-November 4, International Quilt Market and Festival, Houston, TX
November 21-23, Faithful Circle Quilters, Downer's Grove, IL--lecture and Antique Rose Star workshop.
2020 starts off with a great trip: Teaching at Road to California:
Four classes January 22-25, 2020--Registration opens this Friday, June 7--I will post photos of the classes after it goes public.
I am very pleased to be going back to this terrific show, which is celebrating its' 25th anniversary. This is a not-to-be missed show for so many on the West coast and around the country. There is a large Faculty offering amazing classes for the entire week. The quilt show is pretty wonderful too, the best of the best on display.
April 22-26 will have me on the Faculty of the Virginia Consortium of Quilter's Celebration! This is a full-circle kind of job--I joined VCQ as a brand new quilter in the 80's and learned so much at the quarterly meetings and first two Celebrations I was able to attend before moving from VA to Alabama. How exciting to be returning to join their slate of very talented Faculty members. Registration is coming soon for this show.
April 28-May 3 It will be my honor and pleasure to be one of the 3 judges for the Lakeview Quilters Guild quilt show, Houston, TX. Judging shows is a job I love and take seriously. This show never fails to delight and I look forward to it.
June 9-14 has me back in Southern California, with the Orange Grove Quilters of Anaheim and the Beach Cities Quilters of Mission Viejo. Two lectures, two workshops--if you are local, I'd love to see you there.
August 4-5 has me returning to the Cumberland Valley Quilt guild, just up the road, outside of Nashville. A lecture and a workshop--so nice to be invited back to this wonderful guild.
The next week I head west to the Prairie Quilt Guild of Wichita, KS, lectures and workshops there. I don't often get to the Midwest so I hope to see some of you there.
September 22-23 will be a driving trip to Blairsville, GA, the Misty Mountain Quilt Guild, a lecture and workshop there. I look forward to seeing this part of GA, away from the big city.
2021 is open, for now. If your guild is interested, now is the time to contact me. In March, I will be in Naples, FL for a lecture and two days of workshops.
As always, I enjoy reaching out to my quilter friends with this blog. Even if you can't get to a class, I hope you find something of interest here from time to time.
Let's quilt!
Barbara
Wednesday, June 5, 2019
Saturday, June 1, 2019
SIZZLE Block 6
This is the 2019 Block of the Month from The Quilt Show. This quilt pattern designed by Becky Goldsmith is FREE to Star Members. Join Today to be part of the fun.
Be sure to READ ALL THE GENERAL DIRECTIONS and WATCH ALL THE VIDEOS. Each month's pattern has detailed instructions as well.
PRIOR POSTS WITH HELPFUL INFORMATION:
Block 1
Block 2
Block 3
Block 4
Block 5
You are going to LOVE Block 6--large pieces and not many of them! I think this is the easiest block so far.
While construction is the same, Diamonds and Wedges, it is REALLY IMPORTANT to keep your fabrics organized:
With the Cool Kit, Diamond 1, Top and Bottom, are the same fabric, the deep turquoise called Chutes. With the Warm Kit, Diamond 1, Top is Marmalade and Diamond 1, Bottom is Barn.
The Diamonds are symmetrical when done--it is the pressing directions that make a difference. I made my Warm block first and mixed up the Top and Bottom fabrics--let's just say, I really had to figure out the pressing on my own.
WHAT COULD POSSIBLY GO WRONG?
Whether using the Kit, or your own fabric, be sure you watch that you are sewing the correct pieces in the correct places. I learned to double-check that the back of the dark Chutes fabric was on the back of the Diamond 1 space, for both the Top and Bottom of the Cool Kit block. Double-check BEFORE sewing...
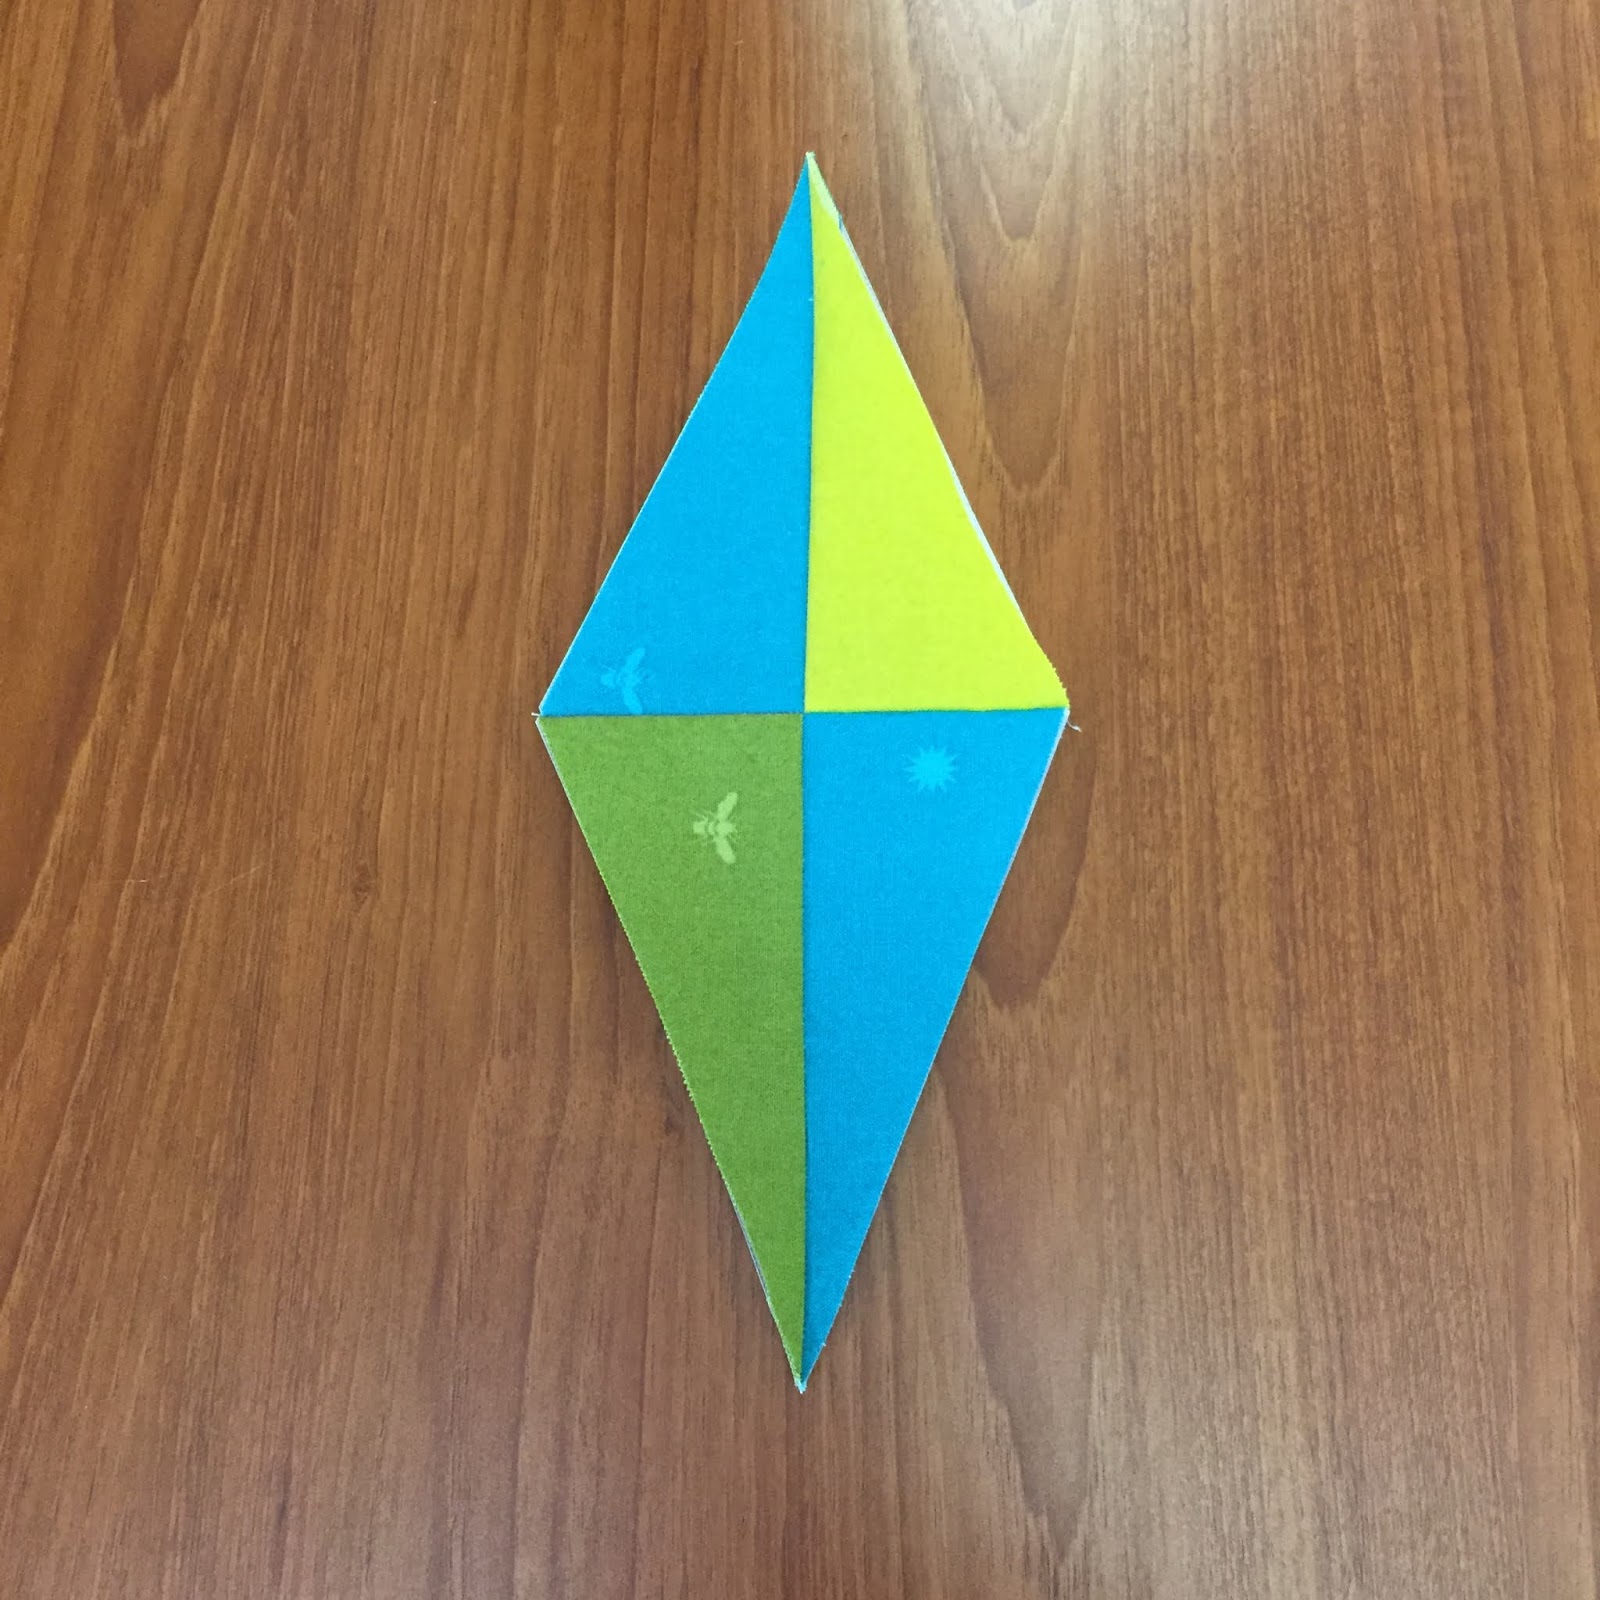
This is what you want, Top is at the Top here:
This is what you DON'T WANT:
Oops. Now I get to print a new page, cut new fabric and start over--much easier than picking out all those stitches...
Once you get yourself on the right track, the piecing goes very quickly. Make two halves, sew them together, add the Block Corners, and you are done!
What about that crazy center? Becky shows how she appliqued a 1.25" circle over the center, then cut away all the bulk where all 16 points come together. Great solution for a flat center.
Or you can leave the center uncovered if you like how well you pieced the block--the choice is yours. Just smoosh that center done on the back as flat as you can. (Block 7, coming up next month, has a similar center).
Without the center circle:
The Back:
With the Center Circle:
The Back:
I used Wash-Away Applique sheets I have used before to make the circle:
The Circle Template was sold for applique years ago, you can buy them now at any office supply store. Trace the 1.25" circle on the non-fusible side of a small scrap of this stuff, cut it out on the pencil line, and fuse it to the back of the circle fabric. Cut out the fabric circle with a narrow seam allowance, no more than 1/4". The Fabric glue stick and the Apliquick "forked tongue" rod made quick work of turning the seam allowance to the back.
Go slow, taking little bites at a time. The "fork" really helps hold the edge in place over the glue as you go around the circle. If there are pleats, use the rod to separate them and make the circle as smooth as you can. Half way around:
I experimented with two different stitches, a blanket stitch, #1329 on my Bernina 765, and a narrow zig zag. Each took small bites of the circle and the background. I used the Quilter's Select 80 wt thread that came in the Accessory Kit. After looking closely at my test stitches, I knew I had to change to a smaller needle. The 80 needle left large holes the fine thread will not fill. I switched to a 70 needle and the holes were much less noticeable. I used the narrow zig zag stitch to applique the circle to the center of the block.
Cutting away all that excess fabric in the center after appliqueing the circle in place was a bit scary. First, I used scissors to remove the big bump in the back. Then I was able to slide the scissors between the circle and the block and carefully remove more of all those seam allowances. Having the wash-away paper on the back of the circle provided a little security as I cut away the bulk.
For a lengthy Tutorial on how I used the Applique' Wash-Away Sheets on a big project go here: Step-By-Step and Photos of the Prep.
We are not too far away from the appliqued borders. Now might be a good time to watch the Applique videos Becky made. You can hand applique if you like, or machine applique--Becky shows two methods for machine stitching the appliques onto the backgrounds. There are 3 new videos posted recently in which Becky gives you tips for Applique': Videos on Applique' They are almost at the bottom of the list of videos.
Let's quilt!
Barbara
Be sure to READ ALL THE GENERAL DIRECTIONS and WATCH ALL THE VIDEOS. Each month's pattern has detailed instructions as well.
PRIOR POSTS WITH HELPFUL INFORMATION:
Block 1
Block 2
Block 3
Block 4
Block 5
You are going to LOVE Block 6--large pieces and not many of them! I think this is the easiest block so far.
While construction is the same, Diamonds and Wedges, it is REALLY IMPORTANT to keep your fabrics organized:
With the Cool Kit, Diamond 1, Top and Bottom, are the same fabric, the deep turquoise called Chutes. With the Warm Kit, Diamond 1, Top is Marmalade and Diamond 1, Bottom is Barn.
The Diamonds are symmetrical when done--it is the pressing directions that make a difference. I made my Warm block first and mixed up the Top and Bottom fabrics--let's just say, I really had to figure out the pressing on my own.
WHAT COULD POSSIBLY GO WRONG?
Whether using the Kit, or your own fabric, be sure you watch that you are sewing the correct pieces in the correct places. I learned to double-check that the back of the dark Chutes fabric was on the back of the Diamond 1 space, for both the Top and Bottom of the Cool Kit block. Double-check BEFORE sewing...
This is what you want, Top is at the Top here:
This is what you DON'T WANT:
Oops. Now I get to print a new page, cut new fabric and start over--much easier than picking out all those stitches...
Once you get yourself on the right track, the piecing goes very quickly. Make two halves, sew them together, add the Block Corners, and you are done!
What about that crazy center? Becky shows how she appliqued a 1.25" circle over the center, then cut away all the bulk where all 16 points come together. Great solution for a flat center.
Or you can leave the center uncovered if you like how well you pieced the block--the choice is yours. Just smoosh that center done on the back as flat as you can. (Block 7, coming up next month, has a similar center).
Without the center circle:
The Back:
With the Center Circle:
The Back:
I used Wash-Away Applique sheets I have used before to make the circle:
The Circle Template was sold for applique years ago, you can buy them now at any office supply store. Trace the 1.25" circle on the non-fusible side of a small scrap of this stuff, cut it out on the pencil line, and fuse it to the back of the circle fabric. Cut out the fabric circle with a narrow seam allowance, no more than 1/4". The Fabric glue stick and the Apliquick "forked tongue" rod made quick work of turning the seam allowance to the back.
Go slow, taking little bites at a time. The "fork" really helps hold the edge in place over the glue as you go around the circle. If there are pleats, use the rod to separate them and make the circle as smooth as you can. Half way around:
I experimented with two different stitches, a blanket stitch, #1329 on my Bernina 765, and a narrow zig zag. Each took small bites of the circle and the background. I used the Quilter's Select 80 wt thread that came in the Accessory Kit. After looking closely at my test stitches, I knew I had to change to a smaller needle. The 80 needle left large holes the fine thread will not fill. I switched to a 70 needle and the holes were much less noticeable. I used the narrow zig zag stitch to applique the circle to the center of the block.
Cutting away all that excess fabric in the center after appliqueing the circle in place was a bit scary. First, I used scissors to remove the big bump in the back. Then I was able to slide the scissors between the circle and the block and carefully remove more of all those seam allowances. Having the wash-away paper on the back of the circle provided a little security as I cut away the bulk.
For a lengthy Tutorial on how I used the Applique' Wash-Away Sheets on a big project go here: Step-By-Step and Photos of the Prep.
We are not too far away from the appliqued borders. Now might be a good time to watch the Applique videos Becky made. You can hand applique if you like, or machine applique--Becky shows two methods for machine stitching the appliques onto the backgrounds. There are 3 new videos posted recently in which Becky gives you tips for Applique': Videos on Applique' They are almost at the bottom of the list of videos.
Let's quilt!
Barbara
Wednesday, May 29, 2019
You Know You Are In Texas
When you see this:
Yes, I know there is one in AL and in FL but when in Texas, you must stop at Buc-ee’s.
When the speed limit is 85, you’re in Texas.
When you see longhorn cattle grazing, yep, it’s Texas.
When you see signs for towns named Gonzales, Goliad, and Cuero, and you remember the Alamo, yes, you are definitely in Texas.
I love to visit Texas and this trip was no exception.
The Quilt Guild of Greater Victoria invited me back and I was delighted to come. Technical assistance was provided by Regina:
Quilts laid out for display:
Dreamsicle and Limeade:
Scrappy to the max:
Pink and Purple and Turquoise, oh, my:
Kim was a little on the wild side:
How Anna chose to sew the first panel, with the dark fabrics in the middle. Of course, the next sewing will join the light fabrics, with the turquoise sashing in the middle there too:
Here is the group the start of day two:
Quilters work best on a full stomach. Here is what came in the morning of day two:
And here is what I had. Those black grapes were amazingly delicious:
On my way back to Austin the last day, I tried out Kreuz' Market in Lockhart for brisket. There was a line at 11 am, and you order, pay and pick up your meat in the pit area--so my clothes smelled like smoked meat ALL DAY. Boy, was it good. No pictures because if you love smoked meat, they would make you cry. I have now been to Smitty's, Black's and Kreuz', all in Lockhart. No real favorite, it's all good.
Can't wait to go back again. My trips to Texas are very special to me.
Let's quilt!
Barbara
Yes, I know there is one in AL and in FL but when in Texas, you must stop at Buc-ee’s.
When the speed limit is 85, you’re in Texas.
When you see longhorn cattle grazing, yep, it’s Texas.
When you see signs for towns named Gonzales, Goliad, and Cuero, and you remember the Alamo, yes, you are definitely in Texas.
I love to visit Texas and this trip was no exception.
The Quilt Guild of Greater Victoria invited me back and I was delighted to come. Technical assistance was provided by Regina:
After lunch, the workshop began--Texas Braid, a pattern by Bonnie Hunter. There were many great color combinations.
Scrappy to the max:
Pink and Purple and Turquoise, oh, my:
Kim was a little on the wild side:
Lynn had such a beautiful palette and it matched her blouse:
The second day a lot of progress was made and they learned how to cut the long stripped panels for sewing together and how to add triangles to the upper ends so you have straight of grain there, just like at the bottom.
When I discussed how to pin all those intersections for precision piecing, someone asked "Could you add sashing between the rows?" Why, yes, you certainly could. That wouldn't have occurred to me but here is what you get:
Anna's laid out with the light fabrics in the middle:
How Anna chose to sew the first panel, with the dark fabrics in the middle. Of course, the next sewing will join the light fabrics, with the turquoise sashing in the middle there too:
Lynn is making a table runner--she is almost done. All she has to do is add the red sashing in the middle. She will bind it with the same red:
The advantage to using sashing is you save tons of time NOT pinning all those intersections and it is very forgiving. Just be sure you cut the sashing exactly to size so everything stays true--don't just add a long sash and whack off the excess--that will make things wonky.
Here is the group the start of day two:
Quilters work best on a full stomach. Here is what came in the morning of day two:
And here is what I had. Those black grapes were amazingly delicious:
On my way back to Austin the last day, I tried out Kreuz' Market in Lockhart for brisket. There was a line at 11 am, and you order, pay and pick up your meat in the pit area--so my clothes smelled like smoked meat ALL DAY. Boy, was it good. No pictures because if you love smoked meat, they would make you cry. I have now been to Smitty's, Black's and Kreuz', all in Lockhart. No real favorite, it's all good.
Can't wait to go back again. My trips to Texas are very special to me.
Let's quilt!
Barbara
Wednesday, May 22, 2019
Sizzling Along
While I'm on the road teaching, I thought I would show you all my completed Sizzle blocks so far.
The Cool Kit blocks are calm and pretty:
The Combo Cool/Warm blocks I am making from my stash are more dynamic:
This is not the final layout of either quilt, I just threw them up on the design wall for their photo op.
It is not too late for you to start this project. The patterns and all instructions are FREE for all of 2019 to Star Members of The Quilt Show. Join Today Get 365 days of great shows and lots more great information and this pattern is FREE, until December 31, 2019. Print your patterns and get started.
Be sure to see my Sizzle blog the first of each month all this year for tips and tricks.
There are also excellent videos with the designer, Becky Goldsmith. You will learn a lot!
Let's quilt.
Barbara
The Cool Kit blocks are calm and pretty:
The Combo Cool/Warm blocks I am making from my stash are more dynamic:
This is not the final layout of either quilt, I just threw them up on the design wall for their photo op.
It is not too late for you to start this project. The patterns and all instructions are FREE for all of 2019 to Star Members of The Quilt Show. Join Today Get 365 days of great shows and lots more great information and this pattern is FREE, until December 31, 2019. Print your patterns and get started.
Be sure to see my Sizzle blog the first of each month all this year for tips and tricks.
There are also excellent videos with the designer, Becky Goldsmith. You will learn a lot!
Let's quilt.
Barbara
Sunday, May 19, 2019
Share the Wealth
At the start of the Quiltmaking 101 class I teach locally for beginning quilters, I start by saying "Making a quilt is an expensive way to get bedding--if you just want a blanket, go to the store."
Quilters know this is true, non-quilters think you should be able to make them a queen-size quilt for $50. Not even close...
So, why do we do it? We are "making gifts for generations yet unborn"--a phrase I have loved since I first heard it years ago. My children, and their children, and hopefully, THEIR children, will have a tangible reminder that I was here.
| Stella admiring "Stella's Splendid Sampler" two years ago |
| "Can you find the flower?" |
![]() |
| Stella and Sam, Easter 2019 |
The Sunday Sew and Sews is a great group of quilters I am leading through the Block of the Month from The Quilt Show. In passing, I mentioned that student's comment and said we should be thankful we can engage in our passion with such abandon. After class, several of them told me they wanted to share some of their excess with this quilter.
![]() |
| Just a few of the Sunday Sew and Sews--we need a new photo |
I let everyone know we would collect things to donate to this student for a couple months. I just asked them not to dump garbage bags full of hand-offs--make the donations nice things a new quilter might actually want to receive.
The other day I gathered up the donations--it was quite the haul! One person would be overwhelmed with all stuff: fabric, notions, books, etc.
One of my goals for each beginning class is to "addict" at least one of them, completely and totally to quiltmaking, so our industry and "tribe" can continue to grow. In the past two classes, two more women jumped in with both feet, eager and excited to learn all they can about quilting.
So, I invited all three of these wonderful women to my home to pick up "a few things".
It was like Christmas--I wish I had taken a photo of my Q20 piled high with all the gifts. I gave each of them a big tote bag and they took turns, selecting whatever they wanted.
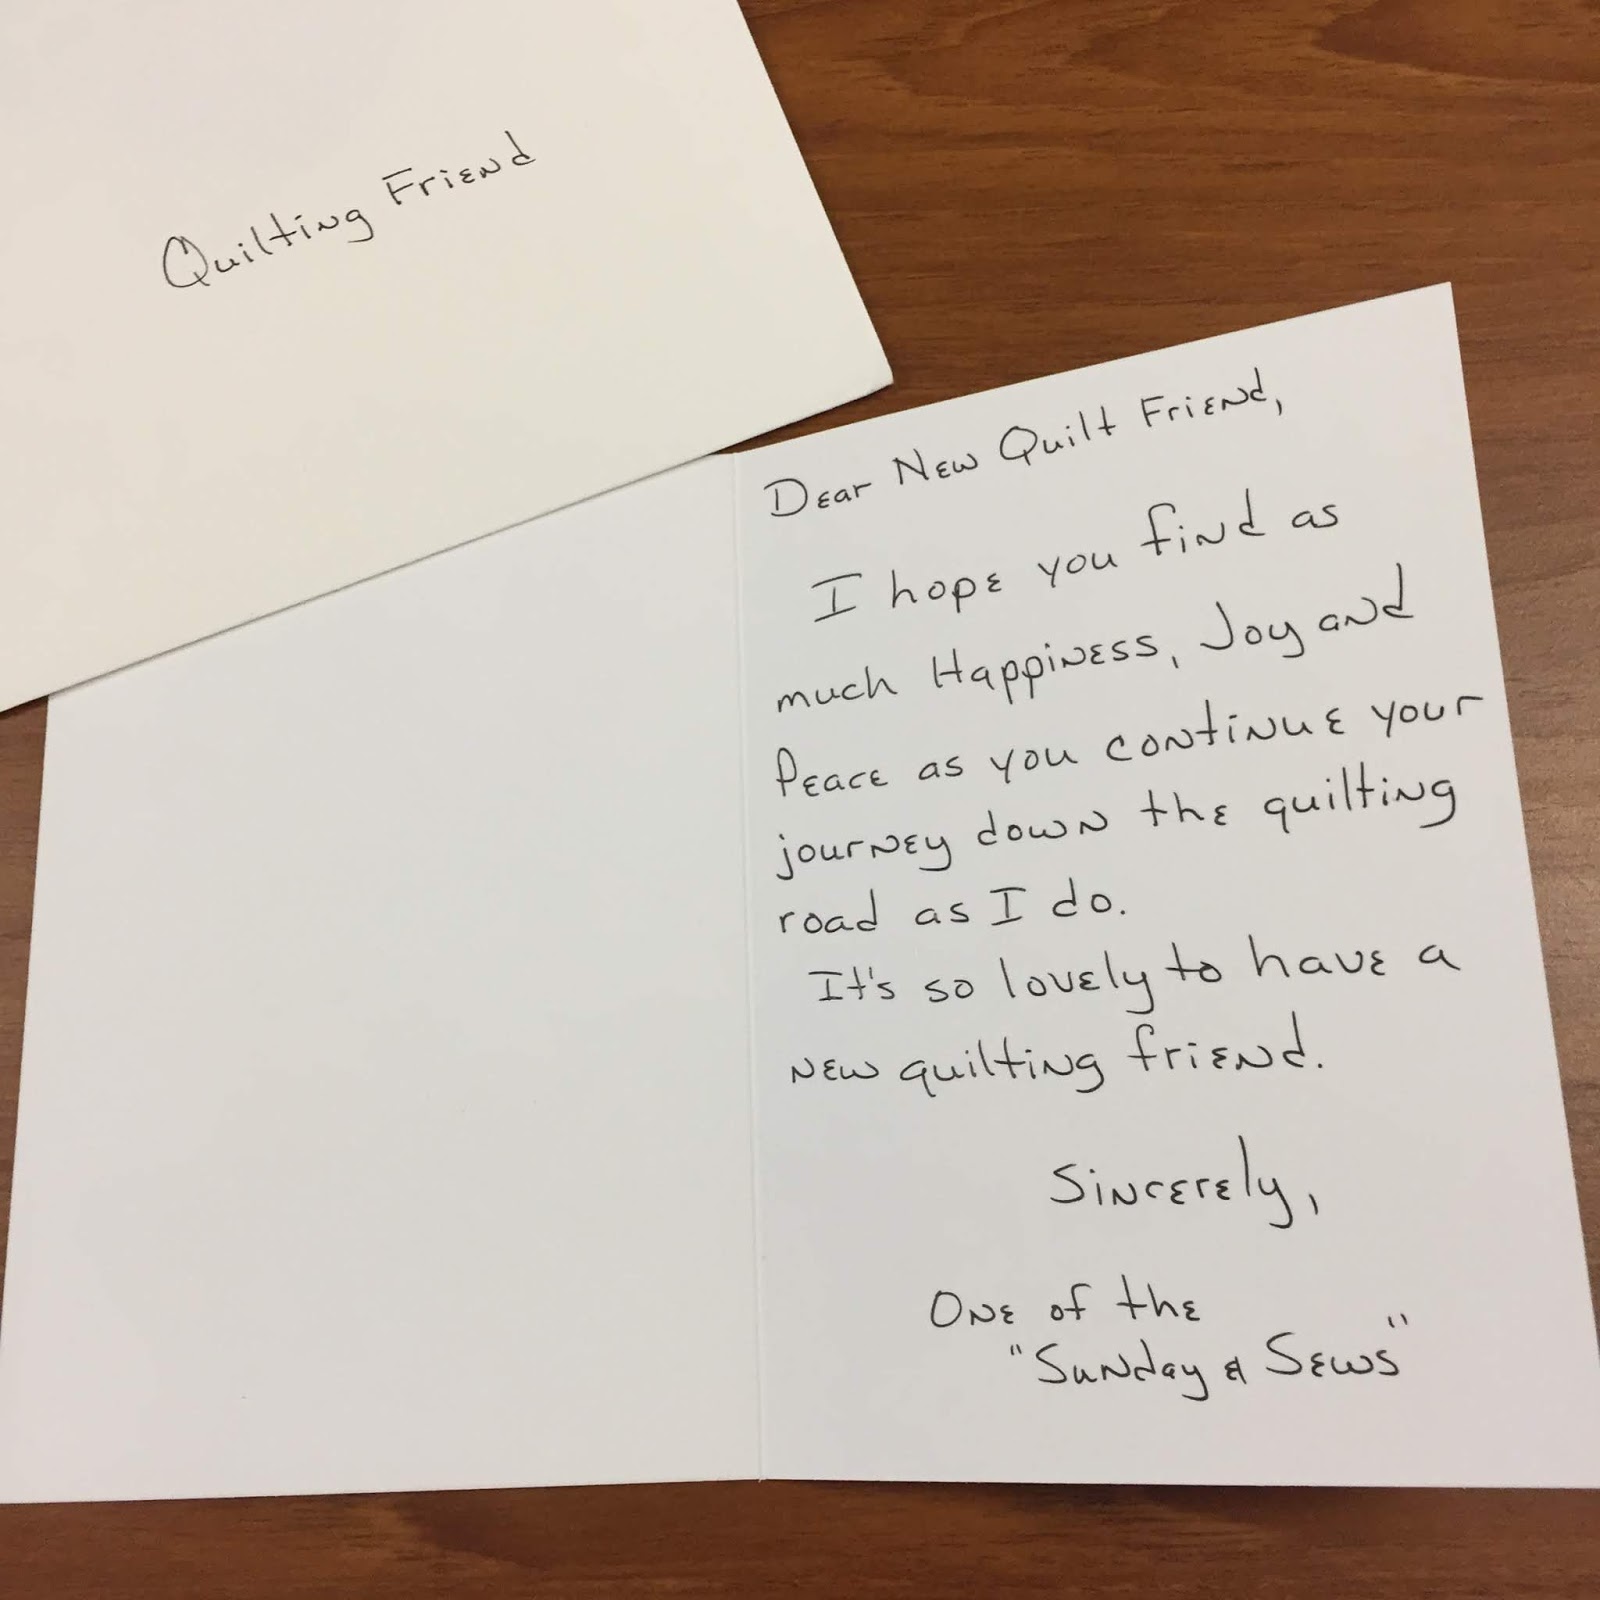
One of the Sunday Sew and Sews wrote this nice note--I read it to all of them:
Most quilters who have been at this a while, have more than they will ever need--I certainly do. It is fun to share with others. If you have a group of quilter friends, consider a "swap"--each person can bring things they want to get rid of in exchange for finding new treasures.
Perhaps there is a Girl Scout troop you can work with--helping future quilters to "catch the bug".
I'm sure you can think of other ways to "share the wealth" with quilters just getting started. I'd love to hear your ideas.
And a big "Thank You" to the Sunday Sew and Sews who generously shared their bounty!
Let's quilt,
Barbara
Wednesday, May 15, 2019
Spellbound for Houston
What a nice surprise to get the "Congratulations" email, that Spellbound will be joining many other Blue and White quilts in Houston this Fall, to help celebrate the 45th Anniversary of the International Quilt Festival, the Sapphire Celebration. She is nestled in a box and safely in Houston right now:
This simple but striking pattern is from Debbie Maddy at Calico Carriage Quilt Designs. I have taught it to a large group of students and they enjoyed making it too. Being organized is a must, there are 3 different sizes of strips to cut.
The SAPPHIRE CELEBRATION is sure to be as wonderful as the Ruby Jubilee was, 5 years ago. I hope you are making preparations to join us, October 31-November 3, 2019, with Preview night October 30. Find more information here: IQF Houston Show Information
I may be a bit lest "bloggy" in the next month or so--there are three working trips in the next 5 weeks: Kansas City for Spring Market, Austin/Victoria, TX and Ft Myers, FL, all great trips that I am looking forward to. At the same time, our grandkids are moving back here in 3 weeks from St. Louis--so excited! AND I am in the middle of a very big project I must keep under wraps. So when home, my head is down and the (sewing machine) pedal is to the metal!
Let's quilt!
Barbara
This simple but striking pattern is from Debbie Maddy at Calico Carriage Quilt Designs. I have taught it to a large group of students and they enjoyed making it too. Being organized is a must, there are 3 different sizes of strips to cut.
The SAPPHIRE CELEBRATION is sure to be as wonderful as the Ruby Jubilee was, 5 years ago. I hope you are making preparations to join us, October 31-November 3, 2019, with Preview night October 30. Find more information here: IQF Houston Show Information
I may be a bit lest "bloggy" in the next month or so--there are three working trips in the next 5 weeks: Kansas City for Spring Market, Austin/Victoria, TX and Ft Myers, FL, all great trips that I am looking forward to. At the same time, our grandkids are moving back here in 3 weeks from St. Louis--so excited! AND I am in the middle of a very big project I must keep under wraps. So when home, my head is down and the (sewing machine) pedal is to the metal!
Let's quilt!
Barbara
Sunday, May 12, 2019
LIFETIME QUILT TOP is Done!
A bit of a happy dance occurred recently--my Lifetime Quilt came off the Design Wall and is now a finished top, 100" x 100":
Here it is just before I took it down to sew the last three seams, one on the left, one on the right, and then finally, the left and right parts could be sewn together.
Here it is getting ready to go "under the needle" for that LONG center seam:
It took 25 minutes to PIN that seam. And almost that long to sew it.
I was merrily stitching along, thrilled to see the end, did the last stitches and took it out. Guess what? I ran out of bobbin thread about half way through...
So, I said "Boulder, Boulder, Boulder" (that's a big dam) and repinned and resewed. Then I pressed the seam open and stay-stitched all around the perimeter. The whole process of joining the big sections and sewing the final seam took about three hours.
It is HEAVY! There are 12,800 triangles and each Half Square Triangle unit finishes at 1.25". There is almost as much seam allowance as triangle.
Here is it resting on a queen-size bed:
Later this year I will quilt it on my Bernina Q20 using wool batt because it is so light and so cozy to sleep under. Eventually, this will be my bed quilt so I can enjoy it every day.
I have written about this quilt several times: here is just one of the times.
The quilt that inspired me is this Half Square Triangle Antique quilt. Since I saw this 3 and a half years ago, I have seen several more like it:
I don't know what the next Lifetime Quilt project will be--something has come up that is taking a lot of time so that decision can wait for a couple months. Stay tuned...
Let's quilt!
Barbara
Here it is just before I took it down to sew the last three seams, one on the left, one on the right, and then finally, the left and right parts could be sewn together.
Here it is getting ready to go "under the needle" for that LONG center seam:
It took 25 minutes to PIN that seam. And almost that long to sew it.
I was merrily stitching along, thrilled to see the end, did the last stitches and took it out. Guess what? I ran out of bobbin thread about half way through...
So, I said "Boulder, Boulder, Boulder" (that's a big dam) and repinned and resewed. Then I pressed the seam open and stay-stitched all around the perimeter. The whole process of joining the big sections and sewing the final seam took about three hours.
It is HEAVY! There are 12,800 triangles and each Half Square Triangle unit finishes at 1.25". There is almost as much seam allowance as triangle.
Here is it resting on a queen-size bed:
Later this year I will quilt it on my Bernina Q20 using wool batt because it is so light and so cozy to sleep under. Eventually, this will be my bed quilt so I can enjoy it every day.
I have written about this quilt several times: here is just one of the times.
The quilt that inspired me is this Half Square Triangle Antique quilt. Since I saw this 3 and a half years ago, I have seen several more like it:
I don't know what the next Lifetime Quilt project will be--something has come up that is taking a lot of time so that decision can wait for a couple months. Stay tuned...
Let's quilt!
Barbara
Subscribe to:
Posts (Atom)