

My instructions are very similar to Month 10, the Side Borders. I printed the patterns on Quilters Select Print and Piece Fuse Lite and cut all those shapes out.
IMPORTANT CUTTING TIP: I found my top and bottom borders to be too short when all the applique' was done and had to add about 3" to each end of both before trimming. The applique' process takes up some fabric. Also, since I had not prewashed the rust fabric, the borders may have shrunk in the sink as they soaked. Ultimately, the borders were trimmed to 6" x 71.5"--start with at least 7" x 75"--I wish I had.
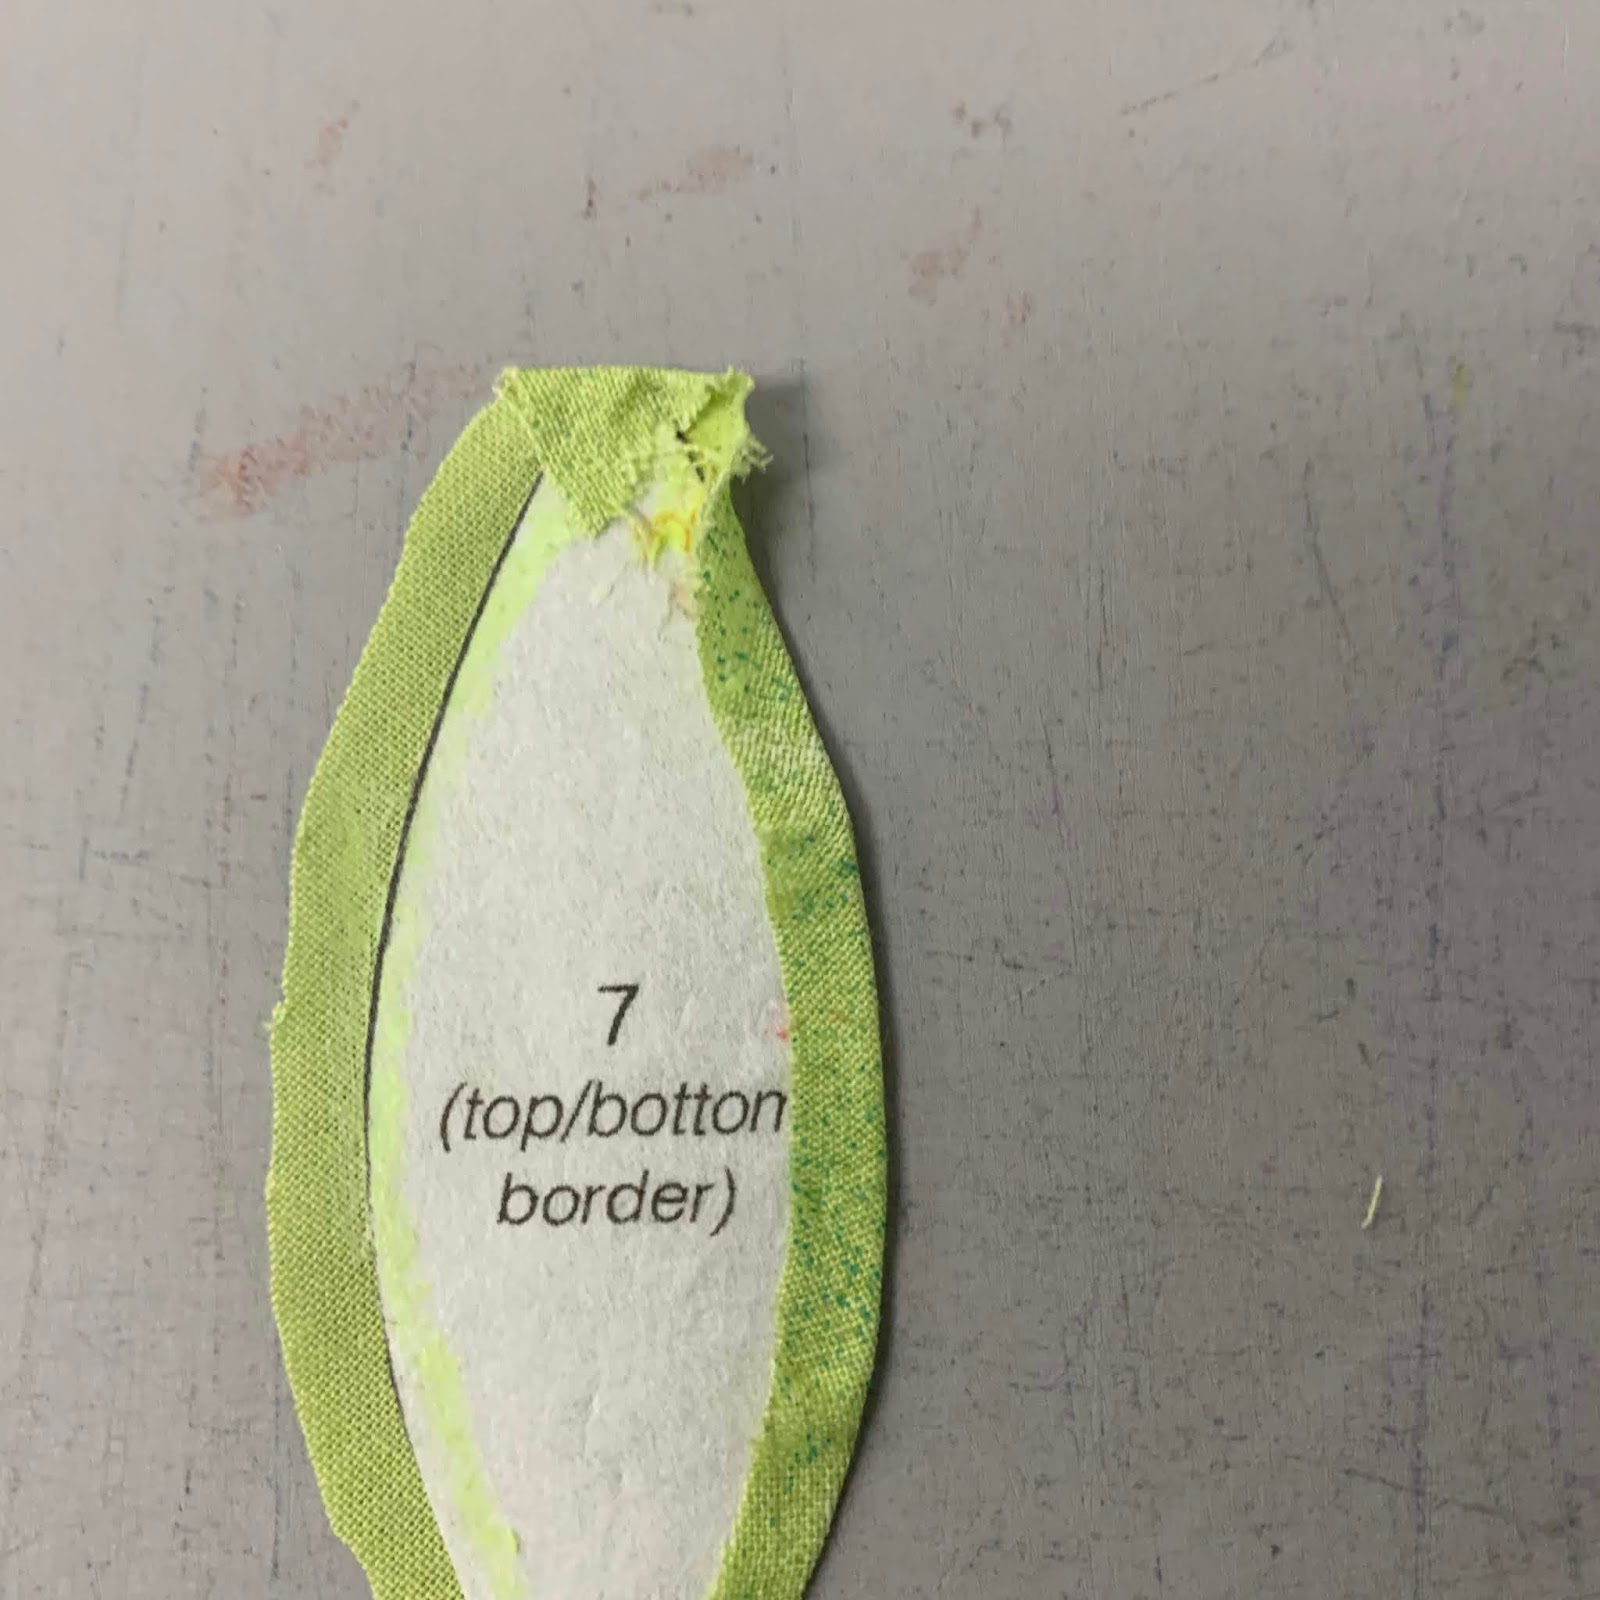
Preparing the shapes takes time. First, you fuse the pattern to the back of the fabric, then cut out the shapes, allowing a 1/4" seam allowance:

Glue the edges of fabric over the interfacing:

I like the forked tongue end of the Appliquick tool, it really grips the fabric:

To make the tip pointy, I turned it under first:
Then I fiddled with both sides to make the tip as pointy as possible:


After all the green leaves were applique'd, I added the orange/yellow sets of leaves, 4 in each group. I did the four leaves as a group so I could applique' them in one step, not changing thread. The green circle covers the place where I moved from one petal to the next.

The single yellow petal that does not go under the green circle was stitched after the 4 orange/yellow leaves were stitched. Since I had to start and stop and tie off the threads, they were done last.
Becky recommends using Karen Kay Buckley's Perfect Circles--that is what I did. I started with the interfacing on the back side of the fabric, that adds a good edge for the applique'. A row of small basting stitches is used around each, in the seam allowance:

Using the templar "washers" the correct size, draw the basting thread around each circle, pull tightly and press:

Once all the circles were made, I added all the blue circles, then all the green circles. Blue thread on the blue, green thread on the green:
I soaked each border in the sink in warm water for about 15 minutes to remove the glue and fusible interfacing. I left them dry overnight before pressing firmly and trimming them to size.
Just as with last month, I used a 6" wide ruler and white chalk pencil to draw lines on the border before cutting. I was able to be sure the shapes were centered before making a mistake cutting. Then I cut the border to 6" wide.

It was at this point I discovered my borders were too short. I added about 3" of rust to each end of both borders, then carefully trimmed them to 71.5" long. See CUTTING TIP above to avoid this problem.
Becky decided to put her top and bottom borders in the same orientation--she did that deliberately. I put mine so they are "mirror images" of each other, with the long orange petals along the outer edges. As she says, "it's your quilt, you get to decide how you want to do it".
So, here we are at the end. Next month we will talk about the quilting and a few other things.
Let's quilt.
Barbara
Good morning, I am still working on last months borders. When do we sew the 9 blocks together, did I miss something?
ReplyDeleteGreat question. December 1 we will cover assembly of the quilt.
DeleteCan u tell me, how to sew on the borders, I want to put thin one and a deeper one, should I attach the top and bottom then the sides of the quilt and the last one to be mired, I'm not sure what is the best or correct thing to do.mthanks Marianne Hill UK
ReplyDeleteWhen I will miter the borders, I make “border fabric”, sewing the border strips together first, them attaching them to the four sides of the quilt. If sewing the borders with “butted corners” I add left, right, top, bottom with each border, adding as many borders as I want.
ReplyDeleteHere is my tutorial on borders:
https://bbquiltmaker.blogspot.com/2018/09/how-to-miter-border.html