
These instructions apply to any machine applique' pattern.
Last post I showed you how to prepare the border paper patterns. Now it's time to prepare the applique' shapes.

Becky uses freezer paper sheets to print the shape patterns. She prints onto the matt side and presses the waxy side to the RIGHT side of the fabric. Because the pattern is printed right side up and placed on the fabric right side up, there is no issue with the pattern pieces being backwards--no Reverse Mirror Image issues to consider. She has an excellent video showing how she turns her edges to the back and glues them down.
My method is different. I print the patterns onto a fusible fiber-based product that will mostly wash out when the applique' is finished. They are fused to the BACK side of my fabric--this means the patterns will be Reverse Mirror Images when placed on the border.
With Sizzle, this is not a real problem. The shapes are either symmetrical, like the center leaf, or asymmetrical but BOTH Left and Right shapes are used.
You have two choices with this method:
1. Set your printer to "Mirror Image"
OR
2. Print as usual, knowing your numbers will not match the pattern. For example, Leaf 2 goes on the pattern where it says Leaf 3 and Leaf 3 covers Leaf 2 on the pattern. I did not find this a problem at all--the shapes are clearly different and it is obvious which one goes where. Same with the orange swirls--my numbers are opposite of the pattern but I knew which was left and which was right.
There are two products for this method I have used and like. They are very similar and work the same way:

Here is information on Quilters Select Print and Piece Fuse Lite
Here is information on C&T Wash-Away Applique' Sheets
The great advantage to these products is they can be run through an ink jet/desk jet printer (NOT A LASER PRINTER) so the patterns are accurate. And it serves as a stabilizer while machine appliqueing. When the stitching is done, I simply soak the borders in warm water in the sink for a few minutes and allow it to air dry. Most of the fibers are gone and the appliques are not stiff.
Using Becky's instructions, I printed the applique' shape pages onto QS Print and Piece Fuse Lite. I stapled 3 or 4 pieces together as she suggests, and cut them out with scissors. I almost forgot to take a photo as I began to cut out the shapes:

I found I had not lined up the pages exactly on top of each other--these lightweight pages shifted a bit going through my printer. It occured to me I could have only printed 2 of the Side Border patterns instead of 6. Then I could have stacked a printed one on top of two plain ones and cut the 3 layers out. Just be sure the fusible side is face down, all three pages have the matt side on top. The bottom two would not have any numbers or writing on them but the shapes are obvious--I really don't need the numbers to know where they go. Just a thought...
I followed the directions to fuse the shapes to the WRONG side of the fabric. I found I needed to increase the heat of the iron to get the shapes to fuse. Use a press cloth:

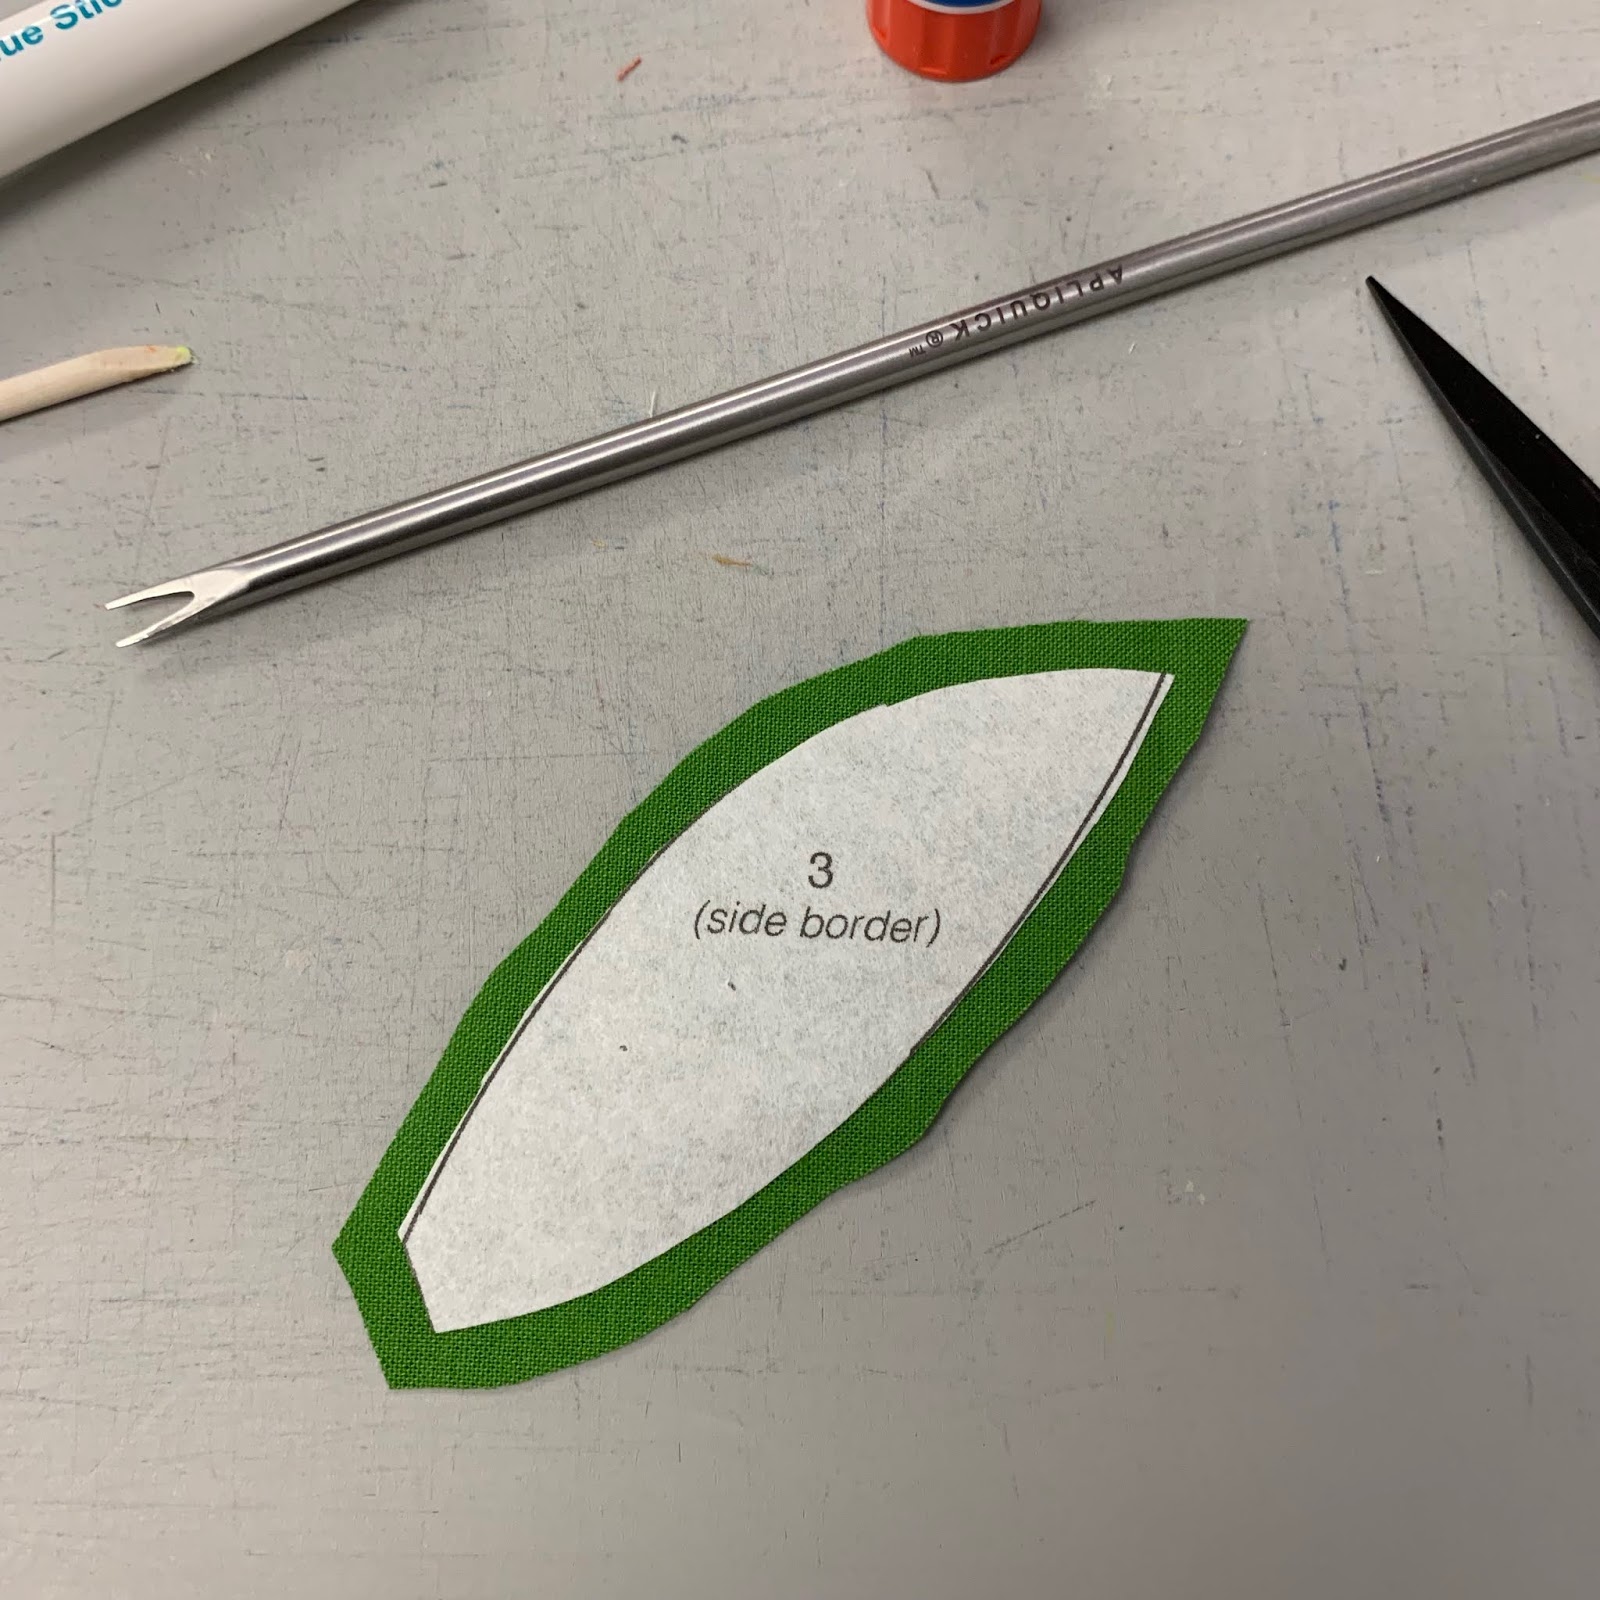
The shape is cut out, ready to glue the edges under. Becky has an excellent video for how to trim and glue this shape.
You can go wrong two ways here--too much seam allowance or not enough. No more than 1/4", less is better, but no less than 1/8":


It takes time to turn the edges under neatly all around the shape. Take it easy, small turns at a time, fix any pleats you get before the glue dries. I really like using the "forked tongue" shape end of the Appliquick tool, it grabs the fabric and allows me to get it glued down fairly easily:


I applied the glue all along one edge before turning it under:


Spend some time getting the outside tip as pointy as you want it to be, then glue the excess fabric in place on the back, Becky shows this in her video.
All done, the front:

For the circles, I used Karen Kay Buckley's Perfect Circles method. Watch her show to see her do it: Karen Buckley, Show 2007
I have another detailed blog post showing how I used the C&T Wash-Away Applique' Sheets for Ruffled Roses. It works the same way. Find it HERE.
Ruffled Roses was begun January 2011--it was the Block of the Month for The Quilt Show that year--another wonderful Sue Garman pattern. I did all the applique' with this method. I recently finished it:

Coming up in the next post, October 4, I will show how I machine stitched the applique's to the border.
Let's quilt.
Barbara
Great tutorial for dealing with those curved edges when doing applique. Thanks for posting!
ReplyDelete